Beginner Friendly Free Crochet Wallet Pattern | Tutorial

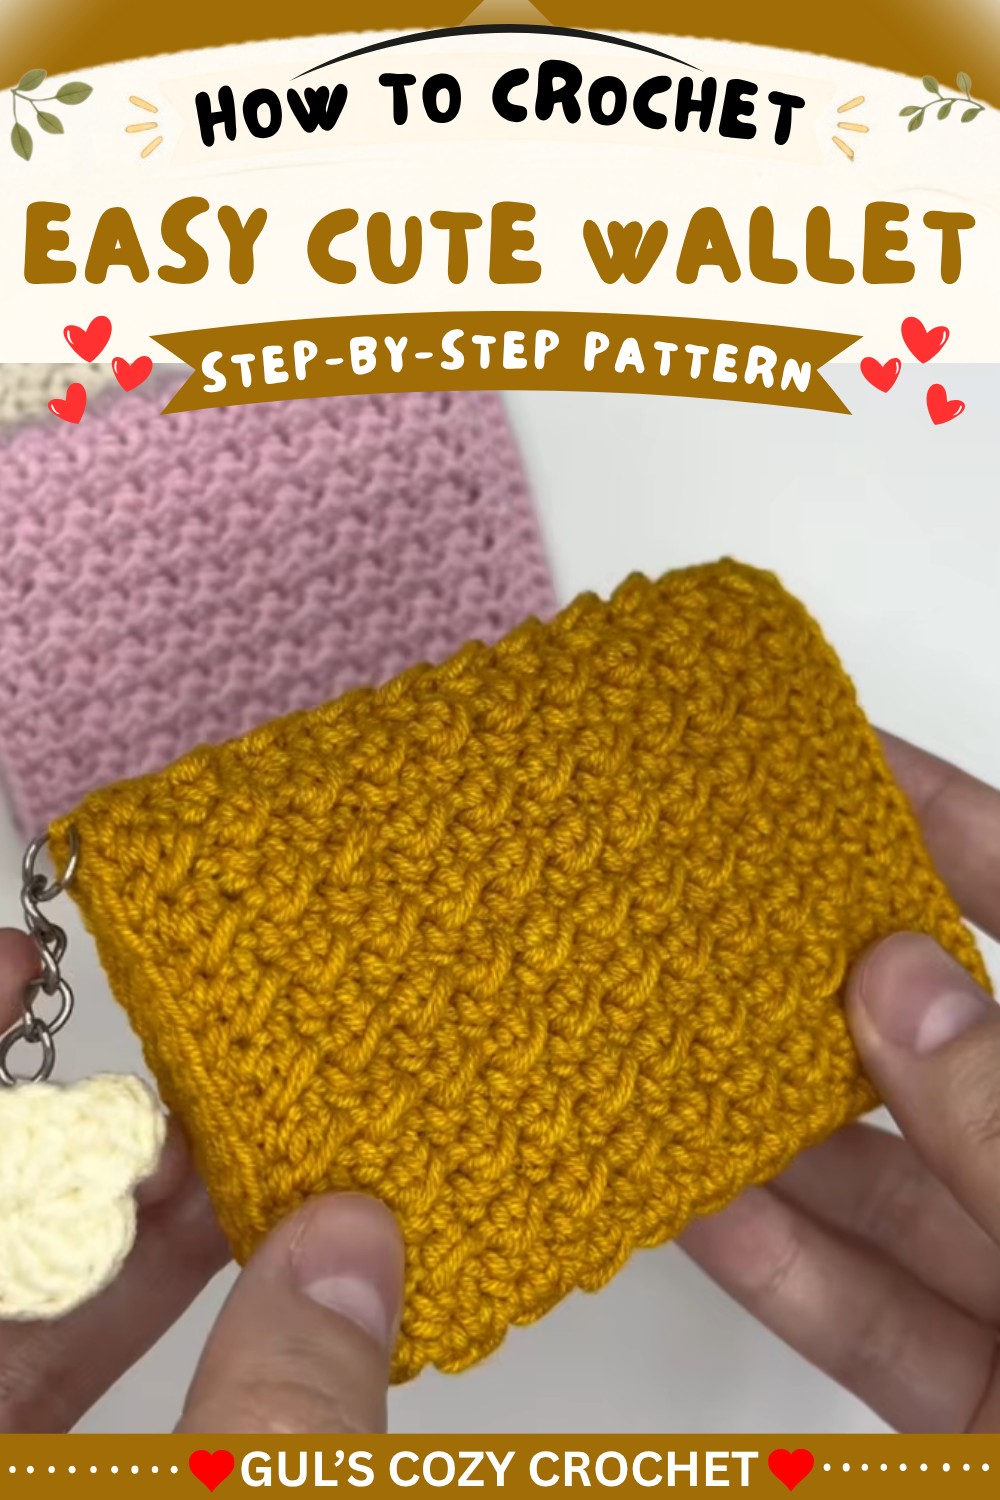
Stay stylish while staying organized with this free crochet wallet pattern, a simple and fun project to create your own trendy handmade accessory.
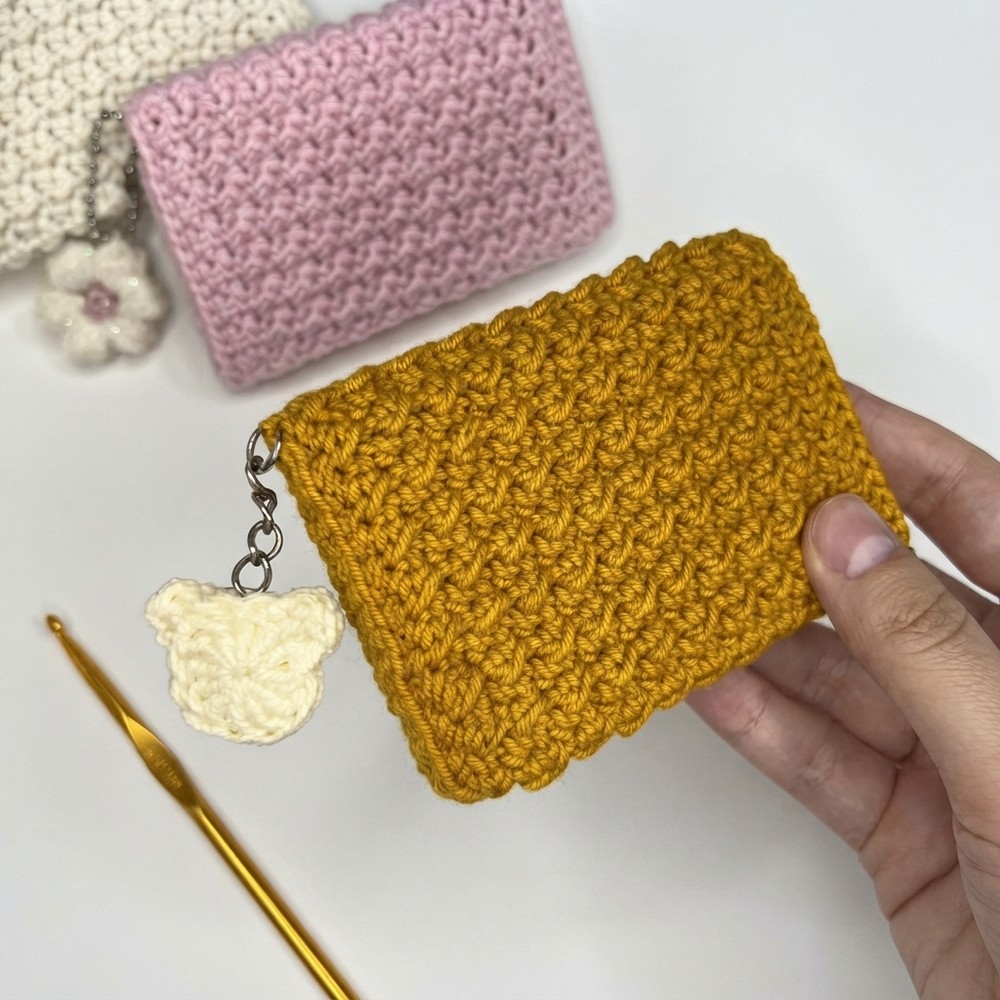
There’s something special about carrying a small, handmade item that fits perfectly in your hand and holds your essentials. This little wallet is just the right size to hold cards and cash, making it both useful and charming. It measures about 3.5 inches wide and 2.4 inches tall, which means it easily slips into your pocket or bag without taking up much space.
Creative Free Crochet Wallet Pattern – Unique Gift Idea
About Channel:
A heartfelt thank you to Gul’s Cozy Crochet for their clear step-by-step guidance that makes this wallet easy and fun to create. Their welcoming style helps crafters of all skill levels bring this lovely project to life.
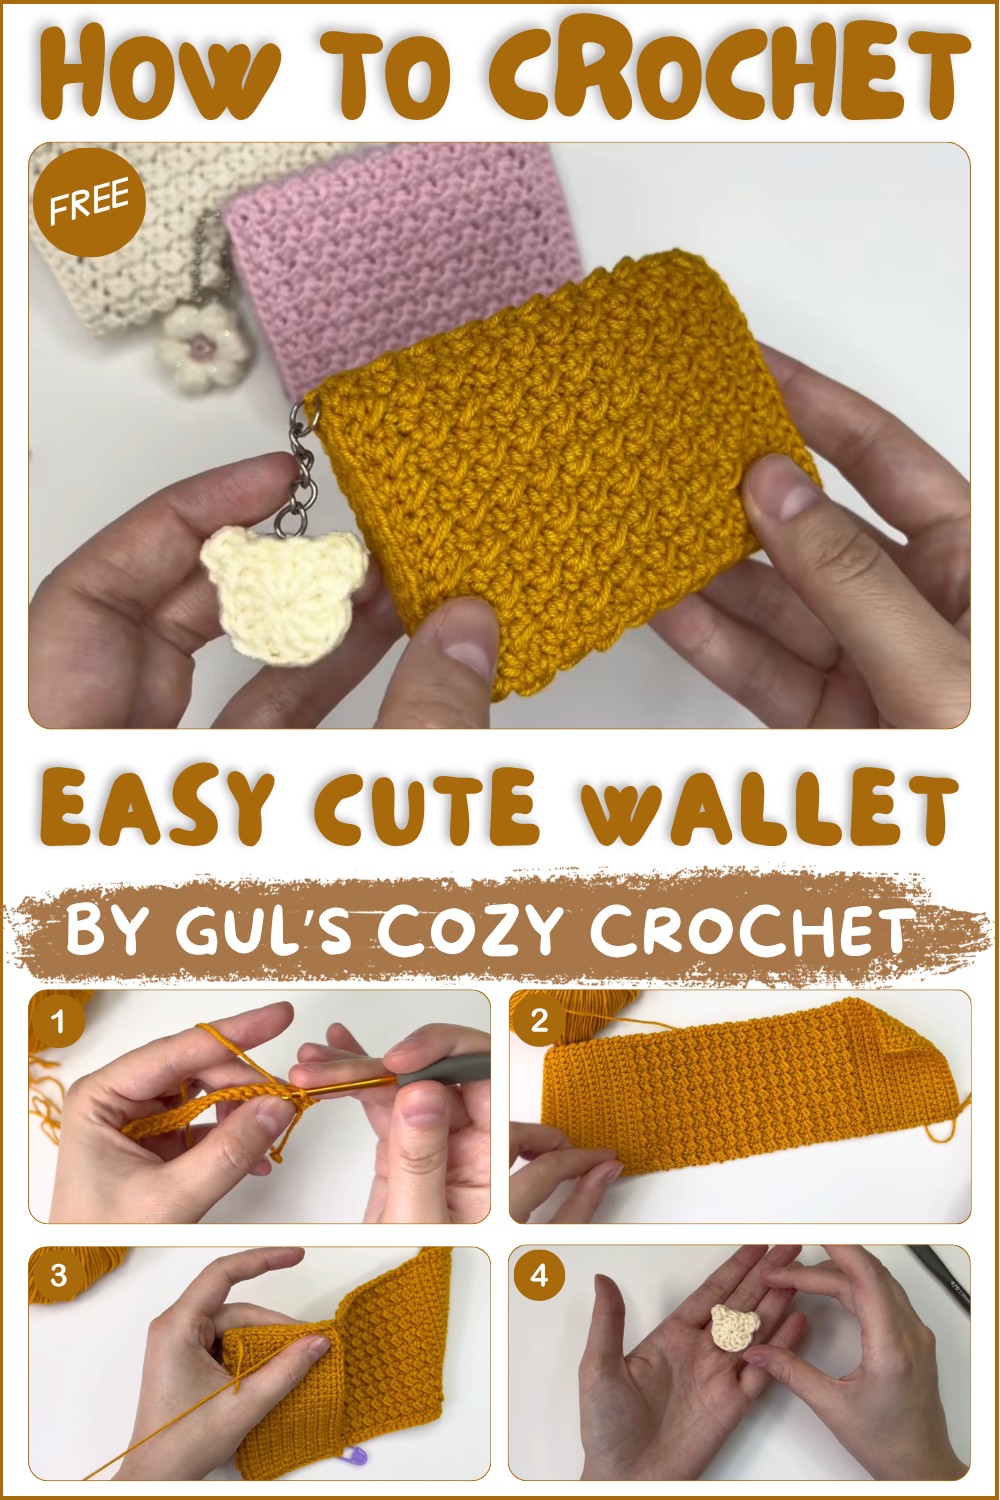
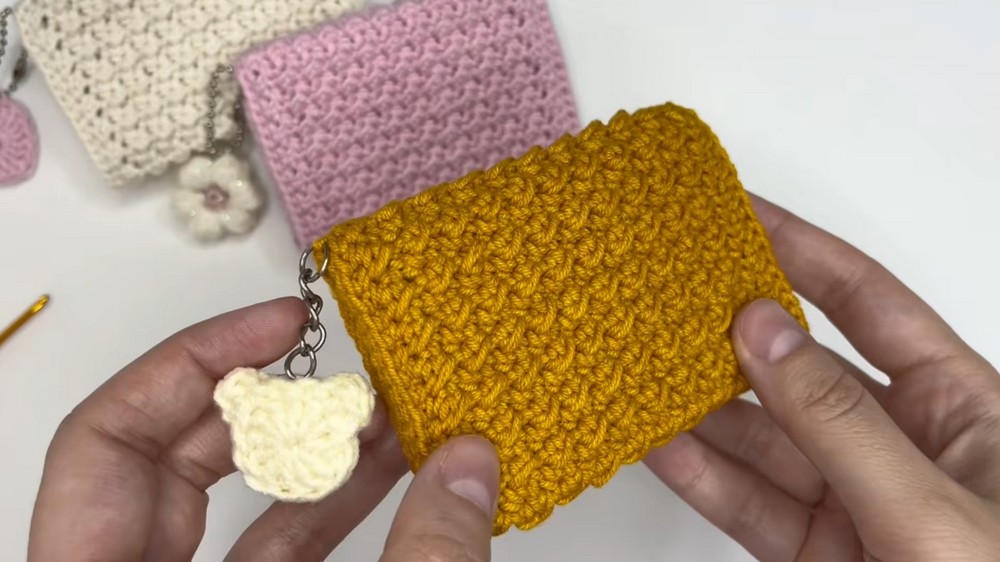
The design is simple yet eye-catching. It starts with neat rows of single crochet stitches to create a smooth, sturdy base. Then, the texture changes to a lovely pattern of alternating slip stitches and half double crochets, giving the wallet a raised, bumpy surface that feels great to touch. This textured section adds a stylish detail that sets it apart from plain wallets. The shape is rectangular with clean edges, finished with a carefully crocheted border that keeps everything neat. When folded and sewn along the sides, it closes securely while keeping your items safe inside.
It’s perfect for daily use—whether you want to carry your essentials to work, school, or on quick errands. You can also personalize it by attaching cute charms, like a tiny bear or a fluffy flower, to make it truly yours.
Crochet Wallet with Bear Charm Pattern
A handmade wallet is a practical and stylish project, and this pattern features a textural body with a soft, sturdy finish that is ideal for everyday use. The bear charm adds a playful touch and can be attached to any keychain or zipper, making the wallet extra personal. The pattern uses a combination of simple crochet stitches and an easy-to-follow structure, which makes it friendly for ambitious beginners and satisfying for more experienced crafters as well.
Pattern Basic Points
Structure and Process
- The wallet is constructed in a long rectangular panel, worked in rows.
- The panel incorporates plain and textured sections for both function and visual interest.
- The finished rectangle is bordered to create clean edges and then sewn into a wallet shape.
- A small, double-layered bear motif can be added as a playful charm, attached with a keychain.
- The size and style can be easily customized by varying yarn colors or using different hardware.
Special Notes
- Use a semi-cotton DK blend for both durability and softness; a tightly spun yarn yields the best stitch definition.
- The textured section’s alternating slip stitches and half double crochets create a woven effect that is attractive and hardwearing.
- Maintain even tension throughout, especially in the textured rows, for consistent dimensions and drape.
- Block the finished rectangle if necessary before assembly to ensure crisp corners and straight edges.
- The bear charm can be omitted if you prefer a more minimalist style.
Skill Level
Ambitious Beginner to Intermediate. This pattern includes basic single crochet, slip stitch, half double crochet, working in rows, sewing pieces together, and a simple amigurumi motif (bear charm).
Materials
- Semi-cotton yarn (55% cotton / 45% acrylic), DK/Light Worsted weight (#3)
- 2.5 mm crochet hook
- Yarn needle
- Scissors
- Stitch markers (optional)
- Keychain chain or hardware
Measurements / Sizing
- Unfolded rectangle: approx. 20–22 cm (8.0–8.7 in) wide x 16–18 cm (6.3–7.0 in) tall (before assembly)
- Finished wallet: fits cards, cash, and coins; size can be adjusted by adding/subtracting foundation chains or rows
- Bear charm: approx. 3–4 cm (1.25–1.5 in) wide
Gauge (and Stitch Pattern)
- Gauge: 22–24 single crochet (sc) = 10 cm (4 in); adjust hook if needed
- Pattern features both plain sc and a woven slip stitch/hdc texture
Stitch Abbreviations
- ch = chain
- sc = single crochet
- sl st = slip stitch
- hdc = half double crochet
- dc = double crochet
- MR = magic ring
Special Stitches
- Textured Pattern (Rows 17–35): sl st in next st, hdc in next st, repeat—this creates a woven effect.
- Bear Ear: Chain 1, hdc in the same stitch, chain 1, slip stitch in same stitch.
- Assembly Join for Bear: Place two circles wrong sides together, join with sl sts or whipstitch.
Detailed Pattern Instructions
1. Base Section (Rows 1–16)
- Foundation: Chain 22.
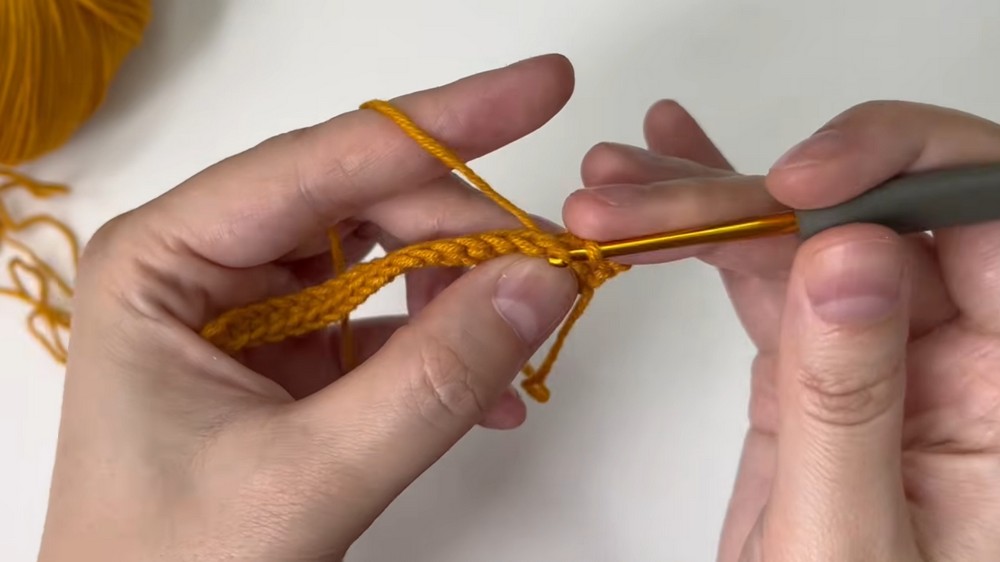
- Row 1: Skip the first chain, work 1 sc in each stitch across. (21 stitches)
- Rows 2–16: Ch 1, turn, sc in each stitch across.
2. Textured Section (Rows 17–35)
- Row 17 (Odd Rows): Ch 2, turn, skip first stitch, sl st in next st, hdc in next st. Repeat from * to * across.
- Row 18 (Even Rows): Ch 1, turn, sl st in first stitch, hdc in next st. Repeat from * to * across.
- Continue alternating Row 17 and Row 18 for a total of 19 rows (ending with Row 35).
(Textured section starts with an odd row, so this spans Rows 17 to 35.)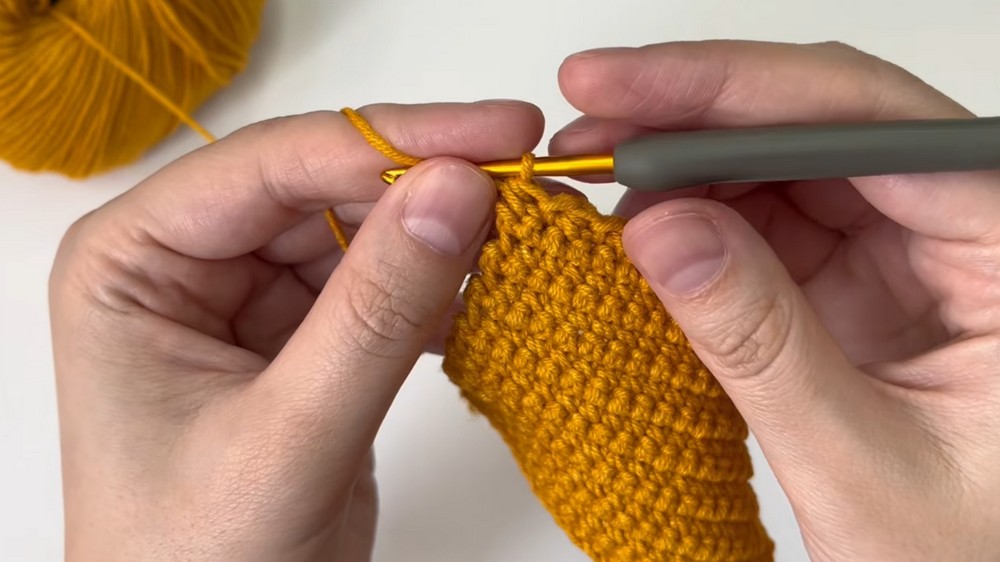
3. Final Plain Section (Rows 36–51)
- Rows 36–51: Ch 1, turn, sc in each stitch across.
(Repeat for 16 rows.)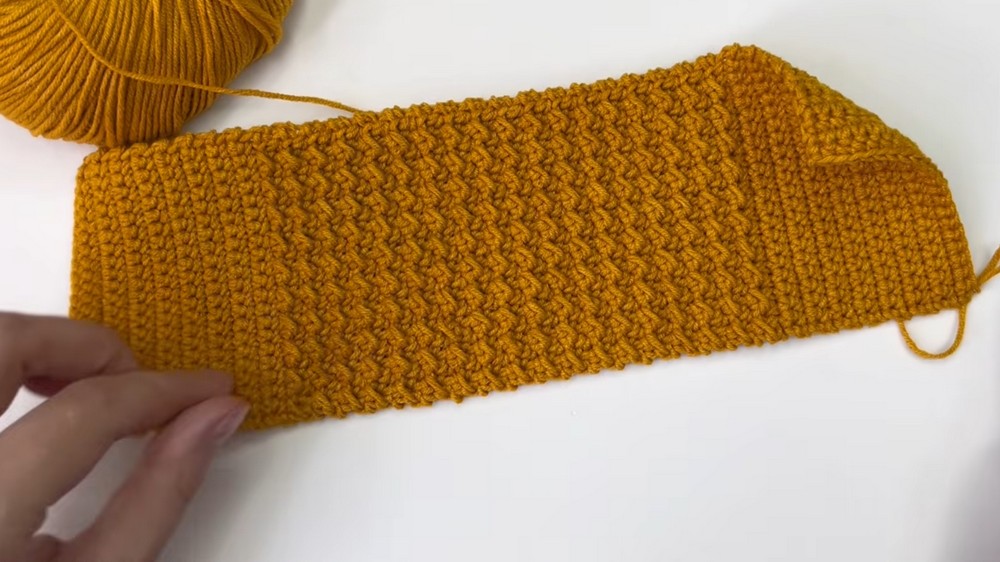
4. Border
- Top Edge: Work slip stitches across the top edge to neaten.
- First Long Side: Ch 1 at the corner, then sc evenly down the side. Target 67 sc along the side (one sc per row).
- Bottom Edge: Ch 1 at the next corner, work slip stitches across the bottom edge.
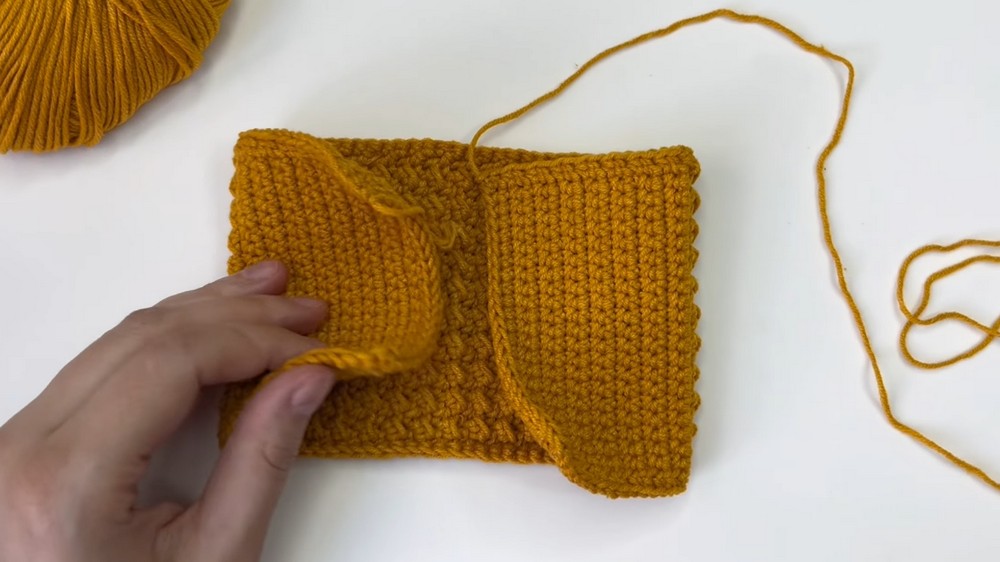
- Second Long Side: Ch 1 at last corner, sc evenly up the remaining side, matching the number on the first side (67 sc).
- Finish with a slip stitch in the first stitch of your border; fasten off and weave in all ends.
5. Assembly
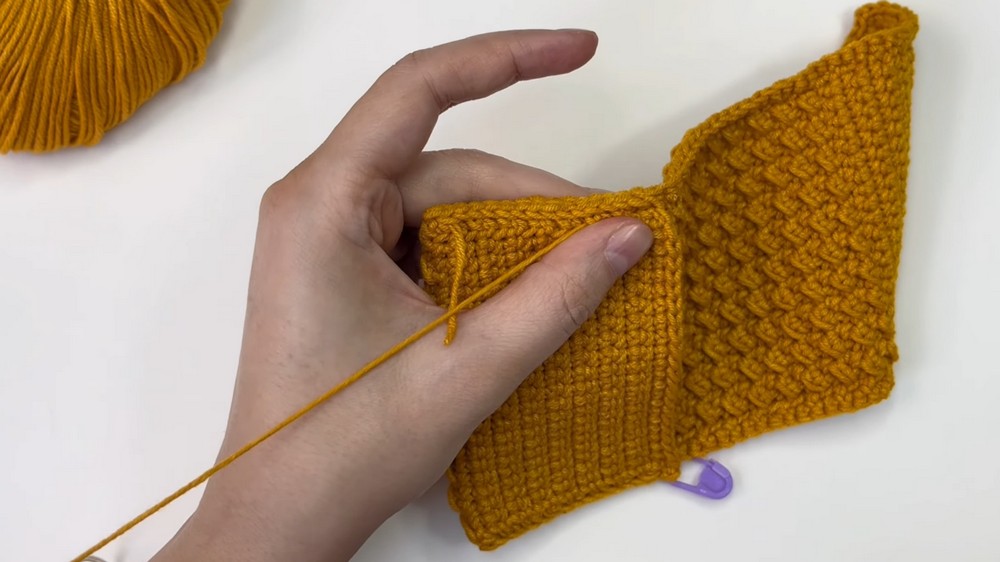
- Fold the rectangle into a wallet shape by bringing the two short edges toward each other, creating a natural flap (you may decide on exact folding placement for card or coin pocket size).
- Using a long yarn tail and yarn needle, sew the two long sides together using whip stitch or mattress stitch.
- Weave in all remaining ends and turn the wallet right side out.
- If desired, attach a keychain to one corner or loop.
6. Bear Charm
Make Two Identical Pieces:
- Start with a magic ring, ch 2.
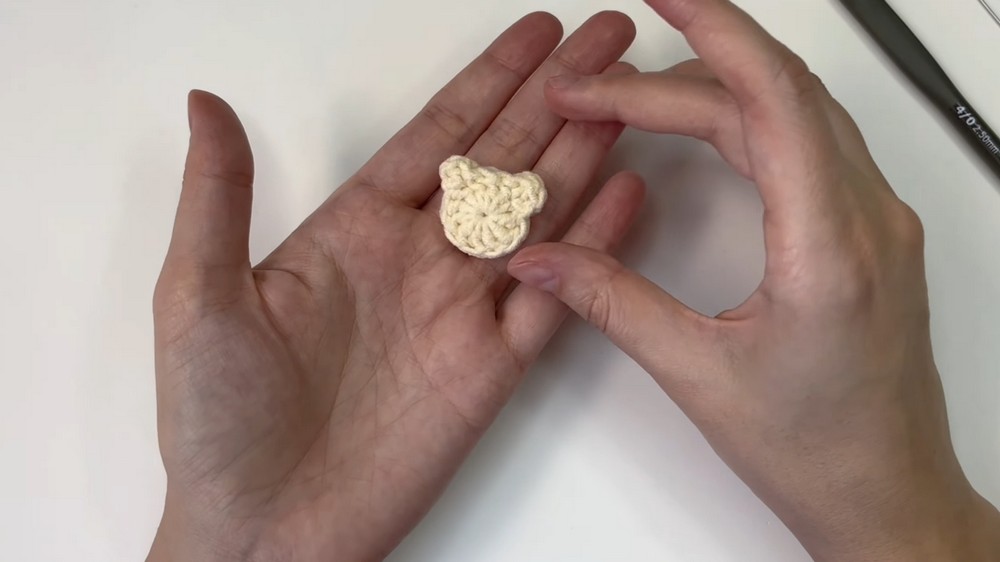
- Work 11 dc into the magic ring, then join with a sl st. (Bear Face)
- Ear 1: Ch 1, 1 hdc in the same stitch, ch 1, sl st (forms one ear).
- Sl st into the next two stitches.
- Ear 2: Ch 1, 1 hdc in the same stitch, ch 1, sl st (completes second ear).
- Fasten off.
- Repeat to make a second piece.
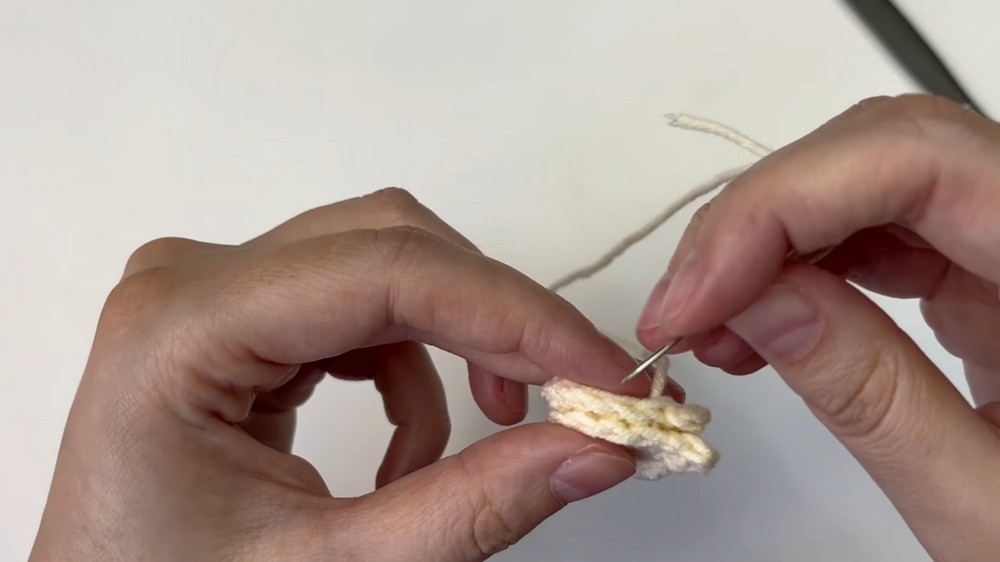
Finishing Bear Charm:
- Place the two bear faces wrong sides together.
- Join around the edge (either sl st through both layers or sew with yarn needle) for a double-sided face.
- Thread a keychain chain through a loop at top or sew onto the wallet corner as desired.
Conclusion
This crochet wallet pattern blends functional structure with decorative texture, yielding a compact piece suitable for daily use and easy customization. The combination of plain stitches for durability and a woven texture for interest provides a satisfying crochet experience, while the sweet bear charm lends personality. The compact construction readily fits into bags or pockets, and the step-by-step rows and clear border make assembly intuitive. Enjoy incorporating unique color choices or extra accessories to personalize this versatile, handmade accessory.