Free Crochet Butterfly Top Pattern + Step-by-Step Tutorial

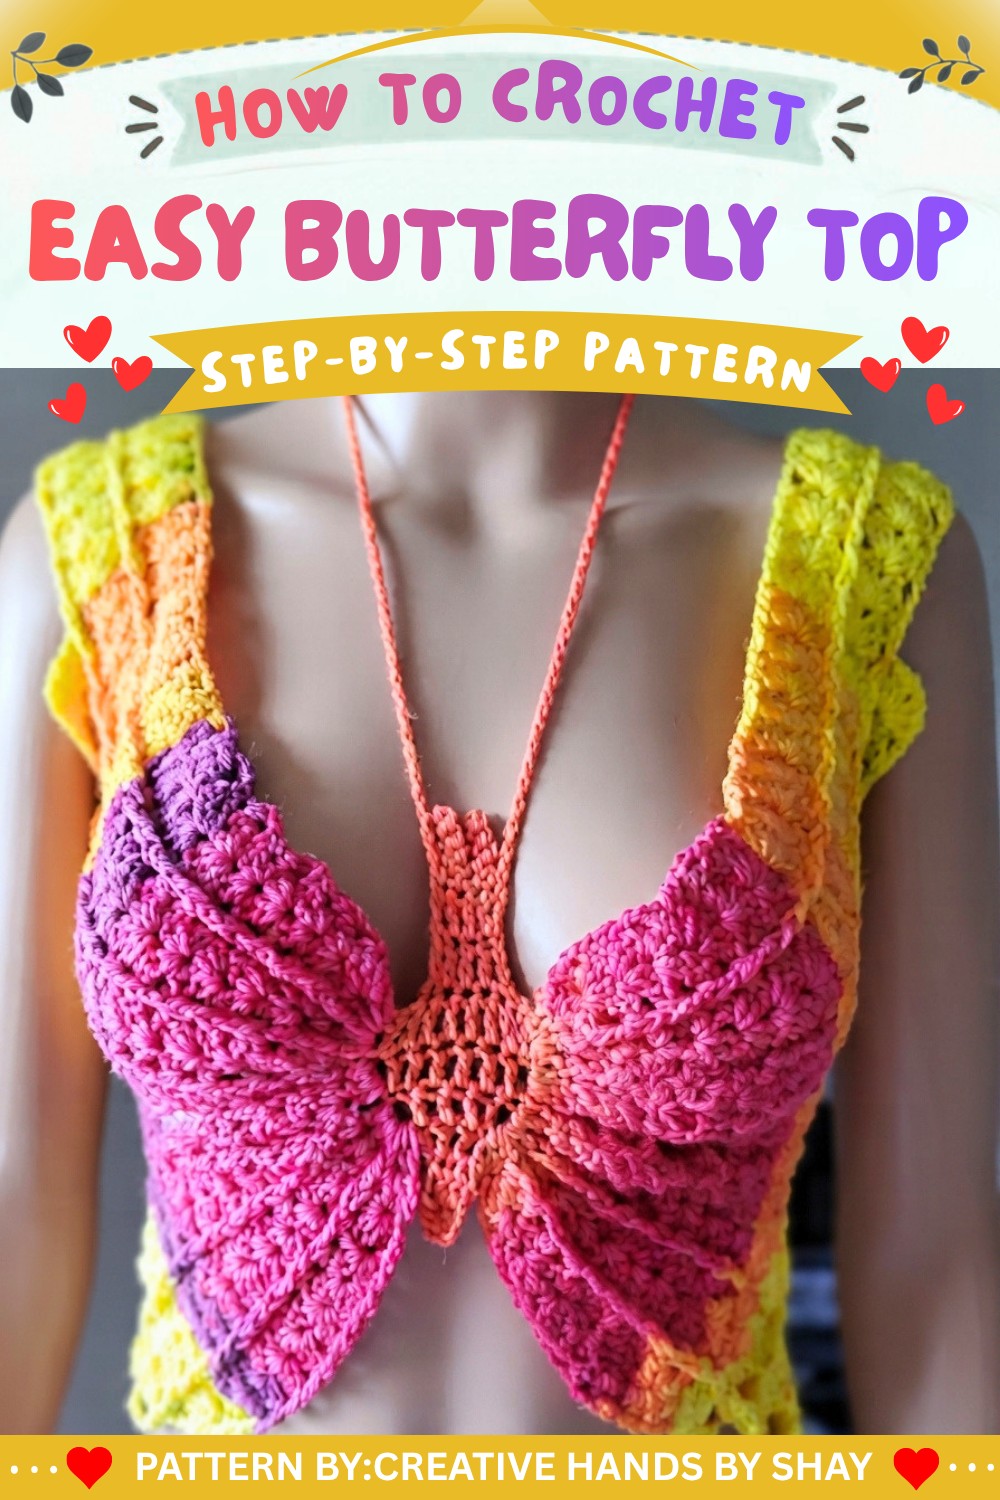
Make a bold, fluttery fashion choice using this free crochet butterfly top pattern, ideal for crafting a unique and breezy summer statement piece.
Crochet enthusiasts will love creating a unique and stylish garment with the Free crochet Butterfly Top Pattern. This beautiful project, brought to you by Creative Hands by SHAY, results in a lightweight and breathable top perfect for warmer days. The design is both eye-catching and comfortable, making it a wonderful addition to your wardrobe or a heartfelt handmade gift.
Crochet Butterfly Top – Free and Simple Pattern
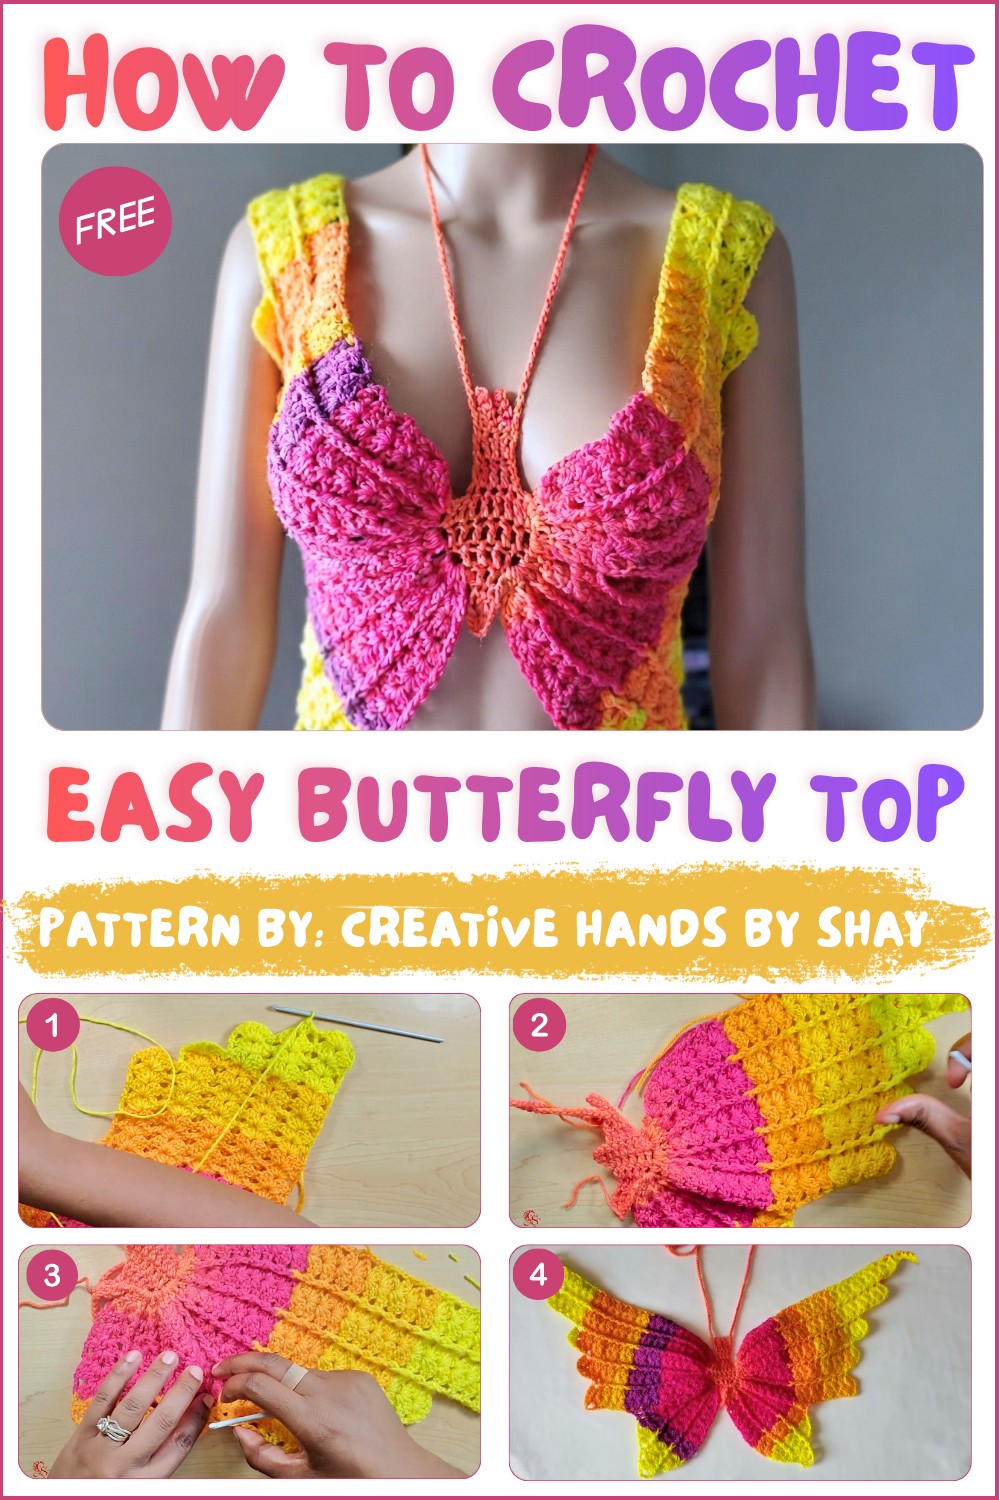
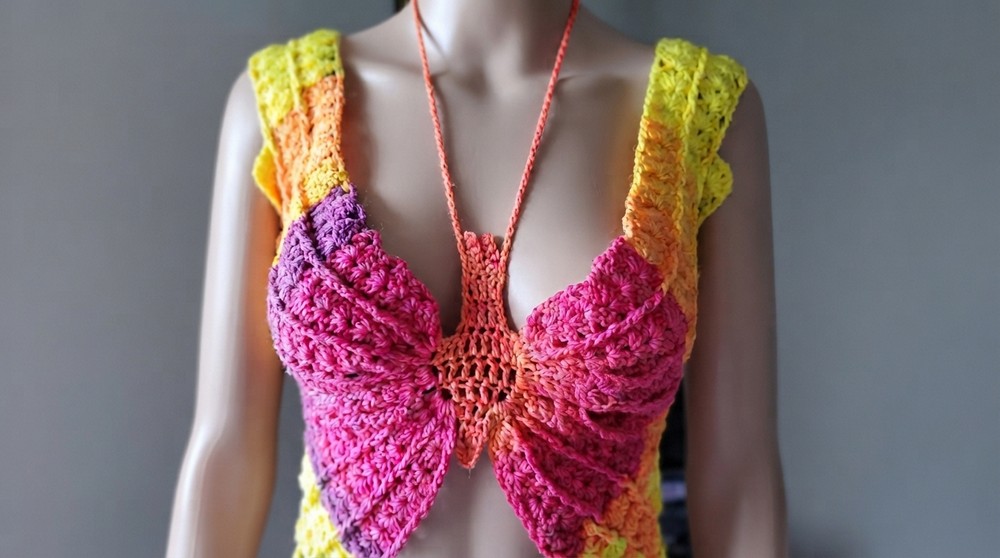
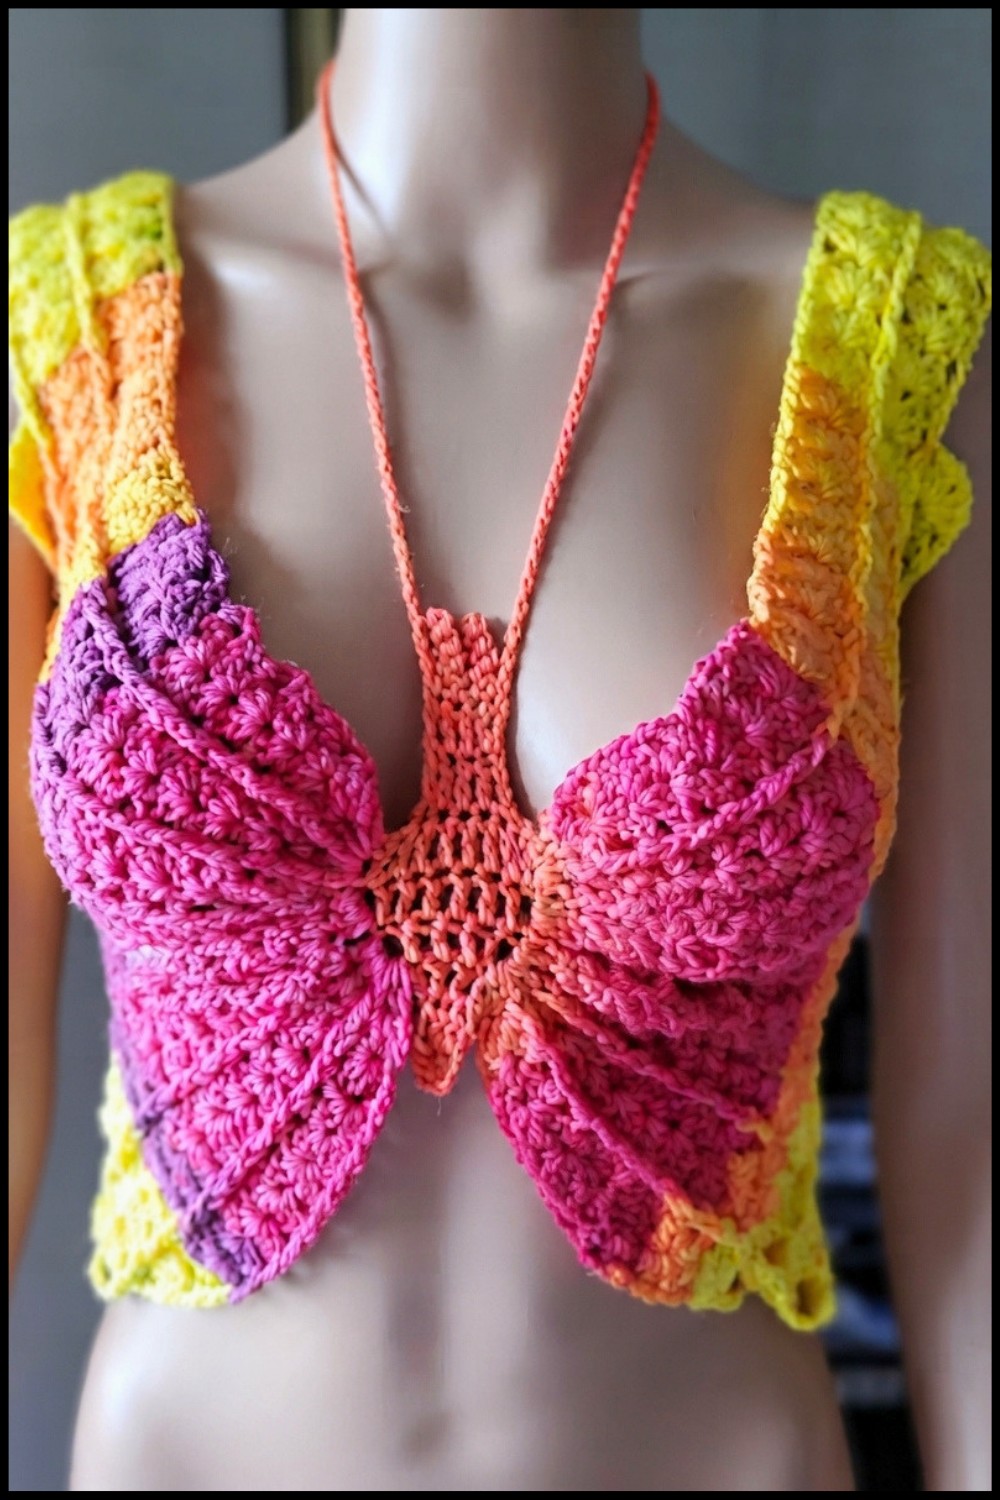
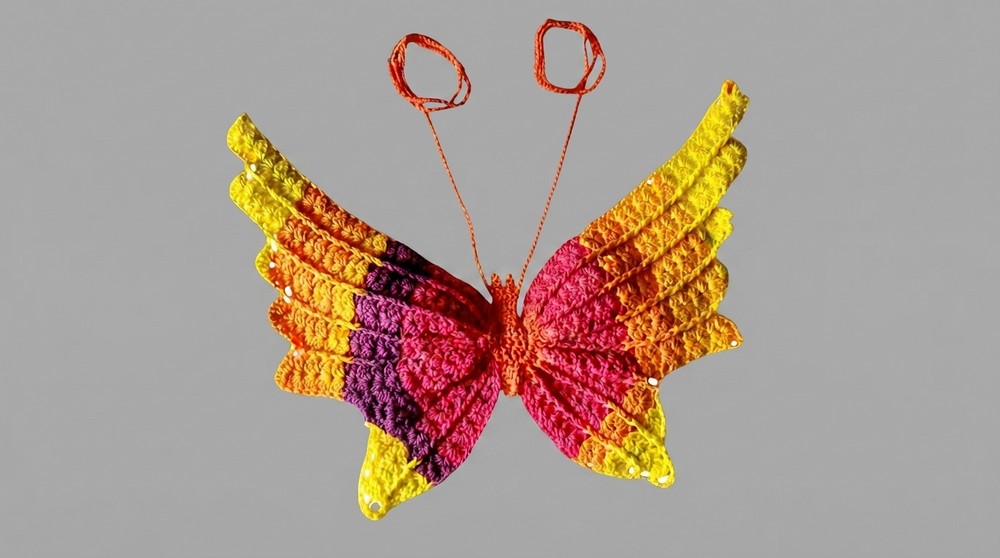
The butterfly top features delicate shell stitches and back post double crochets that form a textured, wing-like appearance. Its shape gracefully mimics butterfly wings, with layered details extending around the body to add a whimsical and feminine touch. The airy openwork pattern ensures breathability, while structured straps provide a polished finish. This combination of intricate texture and soft flow makes the top as decorative as it is wearable.
Ideal for casual outings, beachwear, or layering over simple tops, this crochet piece brings a playful yet elegant vibe to any outfit. Its vibrant design can be customized with different colors to reflect personal style, making each creation truly unique.
Thanks to Creative Hands by SHAY’s clear and easy-to-follow video tutorial, crocheters of all skill levels can confidently tackle this project. The Free crochet Butterfly Top Pattern transforms yarn into wearable art, showcasing the beauty and versatility of handmade fashion.
Butterfly Crochet Top Pattern
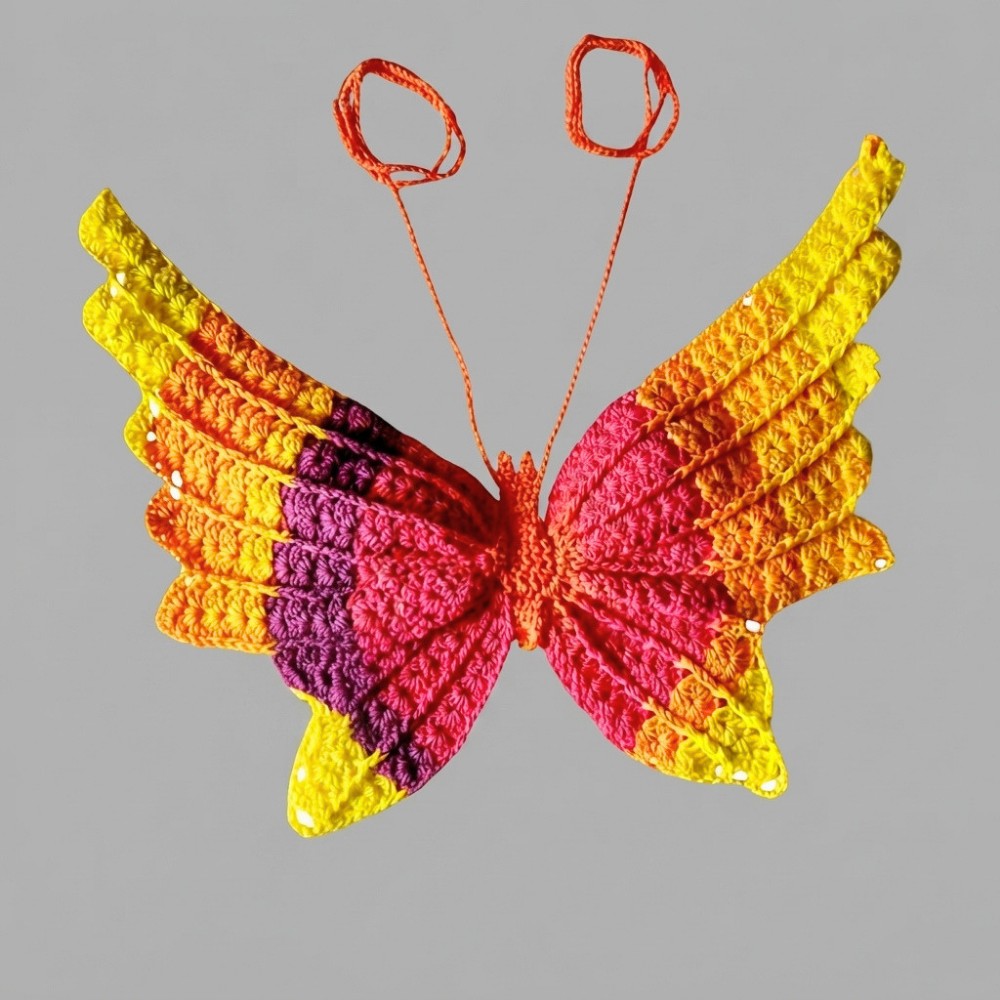
Radiating whimsy and character, the Butterfly Crochet Top transforms the classic idea of motifs into wearable art. This pattern brings together a shaped butterfly body, textured shells, layered wings, and playful finishing details for a festival-ready creation. Lightweight yarn and seamless construction add to its comfort and style, while unique ties ensure adjustable fit. The finished piece flatters and celebrates movement, making it a creative addition to any summer wardrobe.
Pattern Basic Points
- Centralized Construction: The top is built from the center butterfly body outwards, using increases for the body and working shells for expansive wings.
- Layered Wings: Both upper and lower wings are constructed in rows and expanded or decreased for sculptural effect.
- Textural Shells: Shell patterns and alternating front/back post double crochet stitches provide depth, dimension, and visual movement.
- Functional Straps: Long chaining and ‘circle’ motifs form sturdy, customizable straps that both tie and decorate the back.
- Simple but Secure Ties: Extended ties and antennae both secure and embellish the fit.
Special Notes
- Color-changing yarn like Lion Brand Mandala creates striking effects with minimal effort; let the yarn’s gradient enhance each butterfly “wing.”
- The body and wings are made using double crochet and shell variations, making the project accessible for adventurous beginners.
- Keep even tension, especially if using variegated yarn, to keep motif shapes crisp.
- Try on the piece before fastening off the straps and ties, as the fit can easily be customized for comfort or styling.
- Blocking improves stitch definition for the body and sets the wings for an even finish.
Skill Level
Advanced Beginner to Intermediate
The pattern involves basic shaping, shell patterns, front/post stitches, and some familiarity with assembling motifs, making it suitable for those comfortable with foundational stitches and simple shaping.
Materials
- Yarn: Lion Brand Mandala (size 3, light DK; 100% acrylic; approx. one cake needed)
- Hook: 3.75mm crochet hook (or size needed for gauge)
- Tools: Scissors, darning needle for finishing
Measurements / Sizing
- Body Width: Butterfly body (center motif) measures approximately 3″–4″ wide at the base of the wings once blocked.
- Finished Wingspan: Each wing extends approx. 6″–10″ from the body, depending on the number of rows and your gauge.
- Straps: Each side tie is 150 chains; back straps are approx. 50 repeats of chained circle motifs or as needed for fit.
- Adjustable for S–L adult sizes by adding or reducing rounds or repeats, or adjusting strap length.
Gauge and Stitch Pattern
- Gauge: Gauge is flexible due to custom-fit nature. For reference, 7 rows of double crochet with increases in this yarn/hook = ~2.5″ tall.
- Main Patterns:
- Double crochet rows (for body and wings)
- Shell stitch (2–3 dc, ch 1, 2–3 dc in same space)
- Front and back post double crochet for shell edging
Stitch Abbreviations
| Abbreviation | Description |
|---|---|
| ch | chain |
| sc | single crochet |
| dc | double crochet |
| fpdc | front post double crochet |
| bpdc | back post double crochet |
| sl st | slip stitch |
| rep | repeat |
| sp | space |
Special Stitches
- Shell Stitch: (2–3 dc, ch 1, 2–3 dc) in the same space.
- Front Post Double Crochet (fpdc): Yarn over, insert hook from front around dc post, yarn over and draw up loop, complete as for dc.
- Back Post Double Crochet (bpdc): Yarn over, insert hook from back around dc post, yarn over and draw up loop, complete as for dc.
- Circle Strap Motif: Chain 3, dc into first chain (or designated space) to form a small circle; repeat as instructed for straps.
Pattern
Body Construction
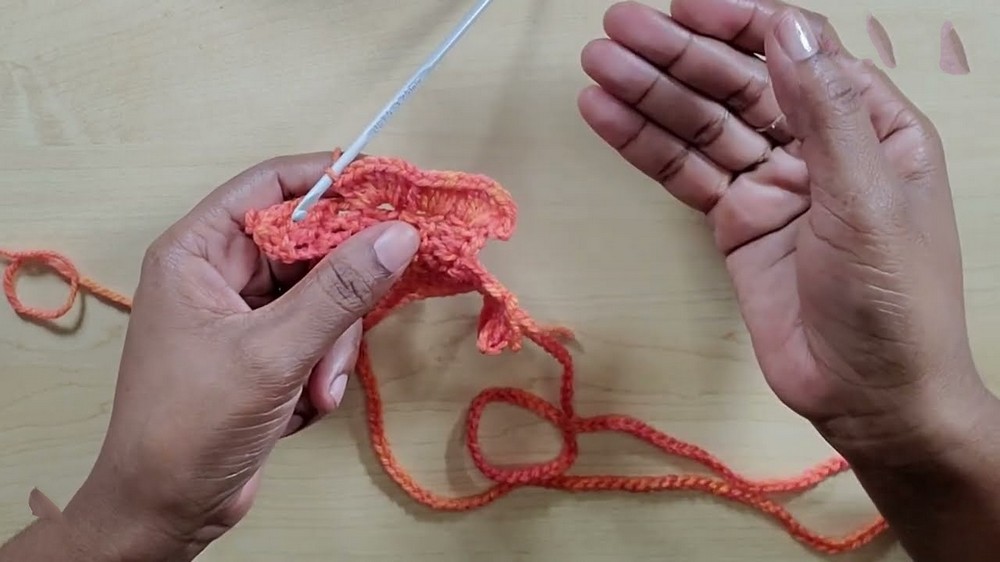
- Round 1:
- Make slip knot, ch 4, join with sl st.
- Rows 1–7:
- Work double crochet rows directly into ring, increasing:
- Row 1: Ch 3 (counts as dc), 2 dc into ring (3 dc).
- Row 2: Ch 3, dc in each dc across, dc in turning ch (4 dc).
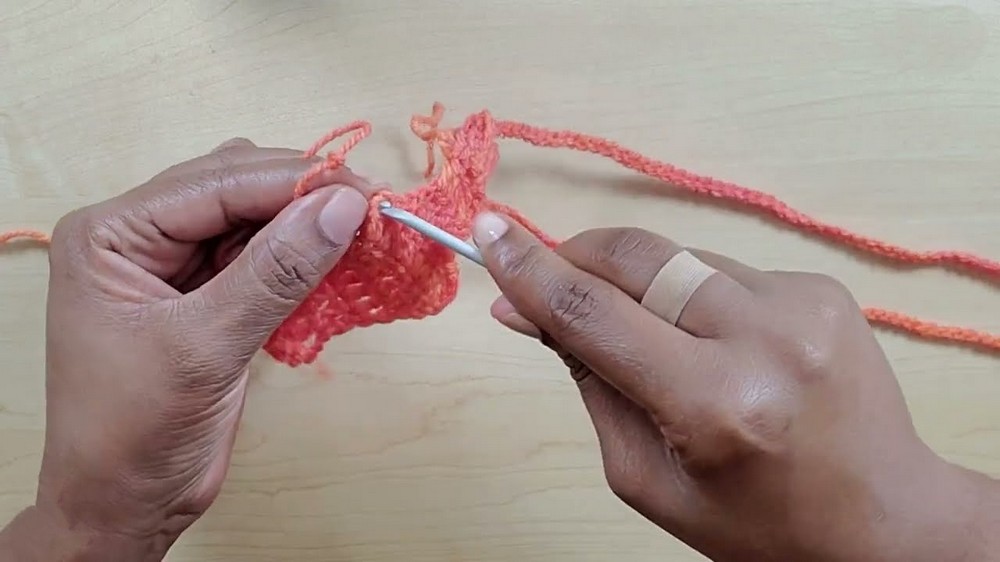
- Row 3: Ch 3, dc in each dc across, dc in turning ch (5 dc).
- Repeat for each row, increasing by 1 dc (in last turning ch) each row, until there are 5 dc in final row. Fasten off and break yarn.
- Work double crochet rows directly into ring, increasing:
Antennae & Setup
- Side Ties:
- Attach yarn to top corner of body.
- Chain 150 (for the tie), fasten off.
- Repeat on other top corner.
- Antennae:
- Attach yarn at top center of body.
- Ch 5, turn, sc in each ch back to base. Fasten off.
- Repeat for second antenna.
Wings: Base Layers
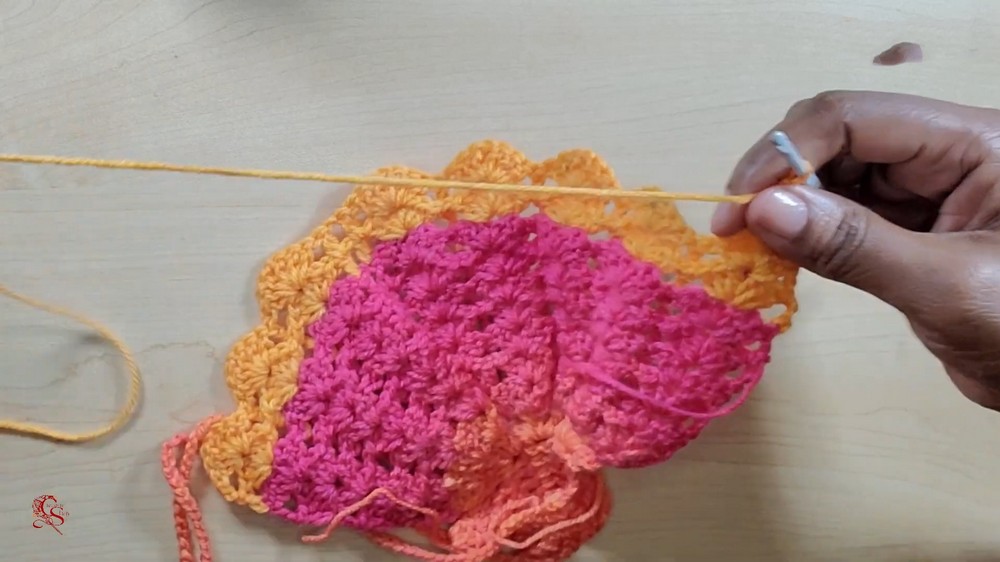
- Upper Wing
- Attach yarn at upper edge of body.
- Row 1: Ch 3, work 5 dc evenly spaced across side edge.
- Row 2–(desired): Continue rows of 5 dc across each row, as established, for depth.
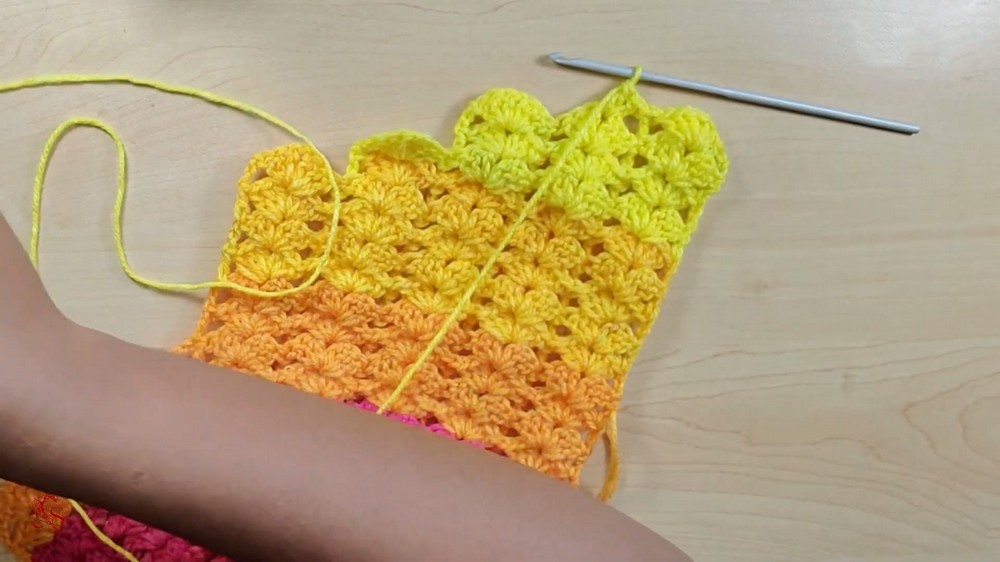
- Lower Wing
- Reattach yarn further down body’s edge.
- Row 1: Ch 3, work 7 dc across lower edge.
- Row 2–(desired): Continue rows of 7 dc for required size.
Wing Details (Shells & Posts)
- Shell Pattern
- Begin in first wing row after base rows.
- Shell pattern: [2 dc, ch 1, 2 dc] in same space, skip next stitch, repeat. Alternate as needed.
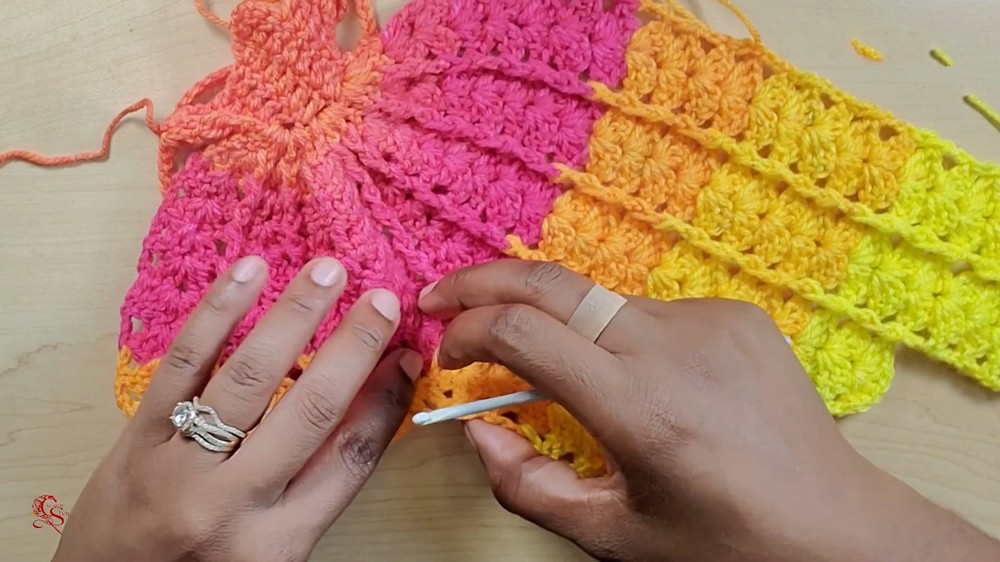
- Textured Ridge Rounds
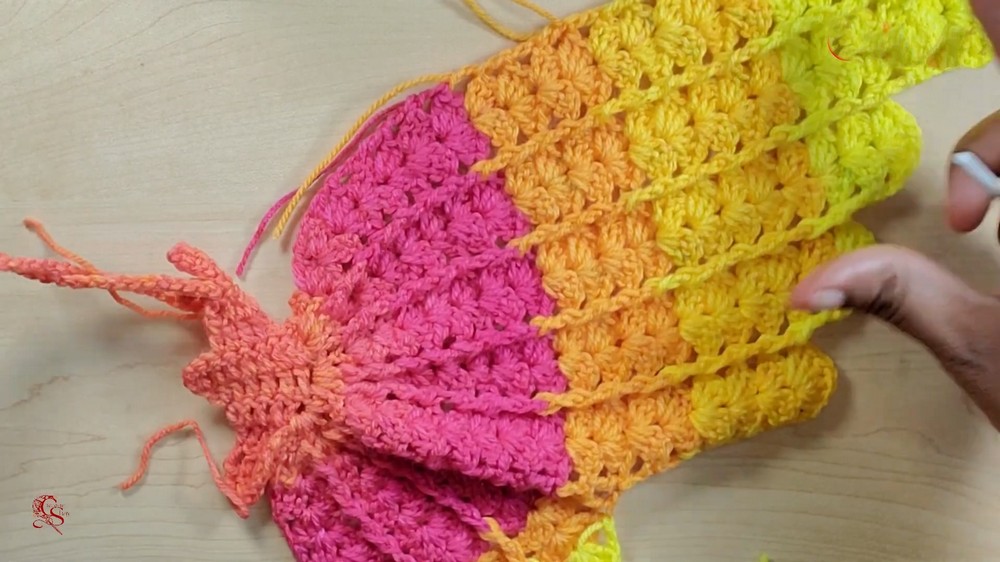
- Rows 1–7+: Work shell row into previous shell or space, alternate fpdc and bpdc around previous row’s posts to create ridges.
- Continue for at least 7 rows as needed for curved, dimensional wings. Extend with more rows for greater coverage.
Upper Wing Extension
- Shaping the Upper Wing
- Continue working only on upper portion.
- To decrease, at the start of a row, sl st in first stitch and work across remainder.
- Extend wing shape by adding or reducing repeats or shell rows as desired for dramatic, flared upper wing tips.
Lower Wing & Straps
- Lower Wing Point
- Resume at lower wing base after upper wing extension complete.
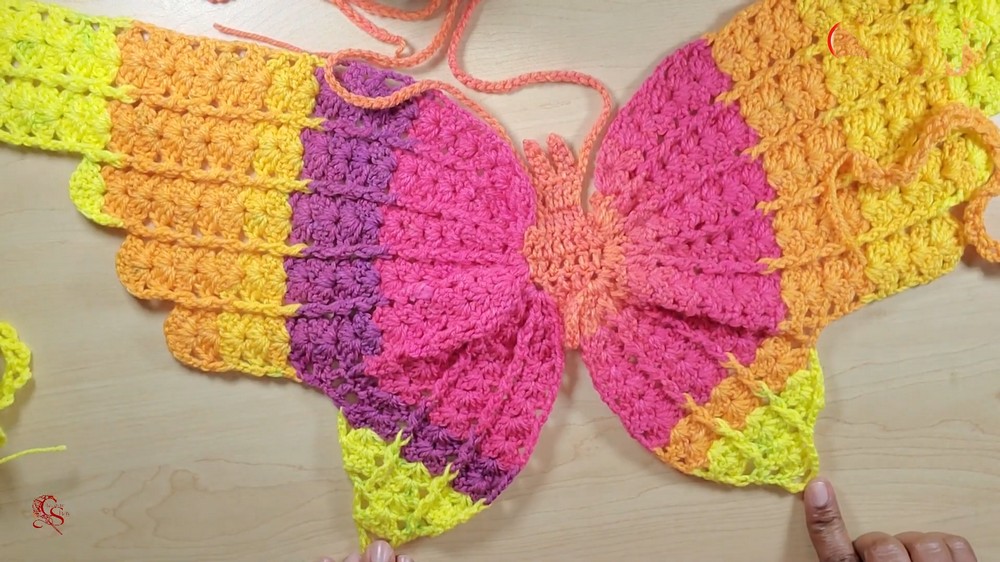
- Work decreases as above (sl st in first st) to taper wing into a gentle tail point.
- Fasten off neatly.
- Back/Side Straps
- Attach yarn at tip of lower wing/side.
- For each, *ch 3, dc in first ch or in desired space (forming a small loop); rep from * for 50 repeats or to desired length.
- Fasten off.
Finishing
- Weave in all ends securely with darning needle.
- Block the butterfly gently to shape, especially wings, for clarity of shells and structure.
- Use the long side ties and lower circle-motif straps to fasten at back, passing through spaces to form an ‘X’ lacing for best fit and security.
Assembly
- Begin by weaving in all yarn tails at finish points.
- Adjust and shape the butterfly on a flat surface, blocking damp if necessary.
- To wear, center the butterfly with body over chest. Pull both upper ties around to the back and tie firmly behind neck or upper back for halter style.
- Pass the back lower straps through the open wing spaces at the back in an ‘X’ and tie off, adjusting for desired snugness.
- Make final adjustments to antennae placement, shaping, and wings for optimal symmetry and drape.
Conclusion
The Butterfly Crochet Top is a vibrant celebration of technique, color, and bohemian charm, perfect for festivals, casual outings, or simply standing out in the sun. With adjustable wings, flexible strapping, and eye-catching shell details, the piece fits a range of body types and showcases gradient yarn beautifully. Experimental crafters can easily add to the number of rows or play with edge stitches for more personalized wings, ensuring each butterfly top is uniquely expressive.