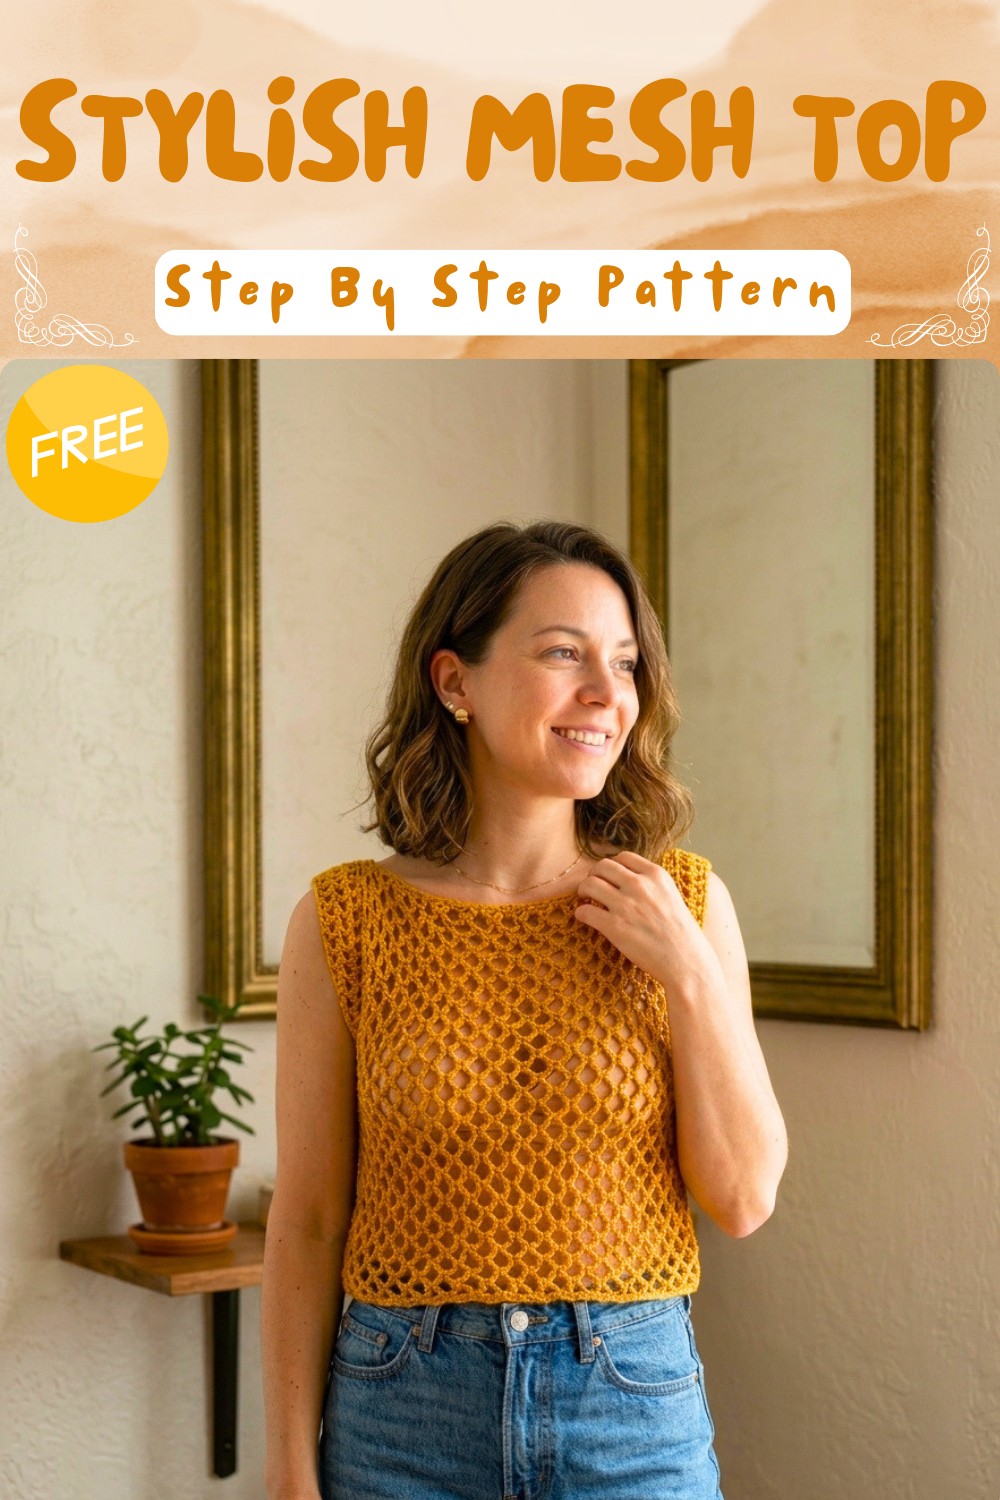
Free Crochet Mesh Top Pattern With Mesh Stitch Design
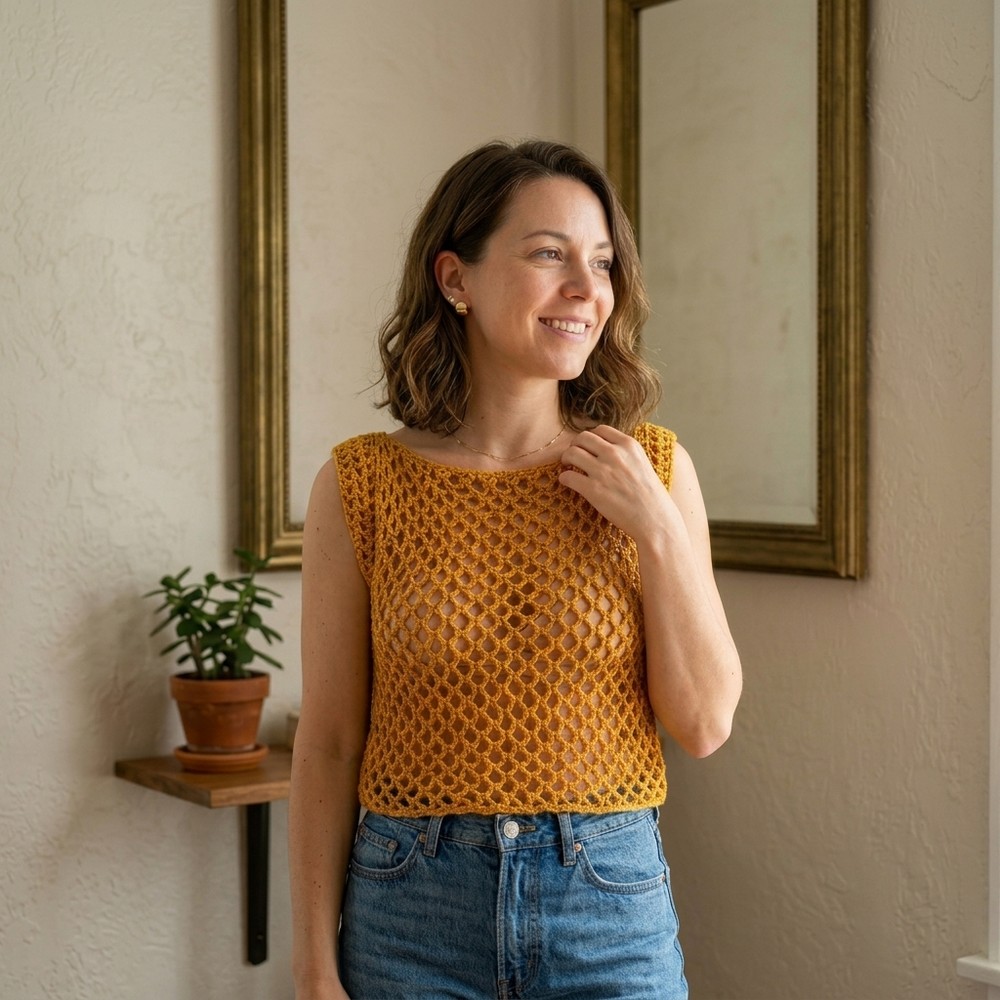
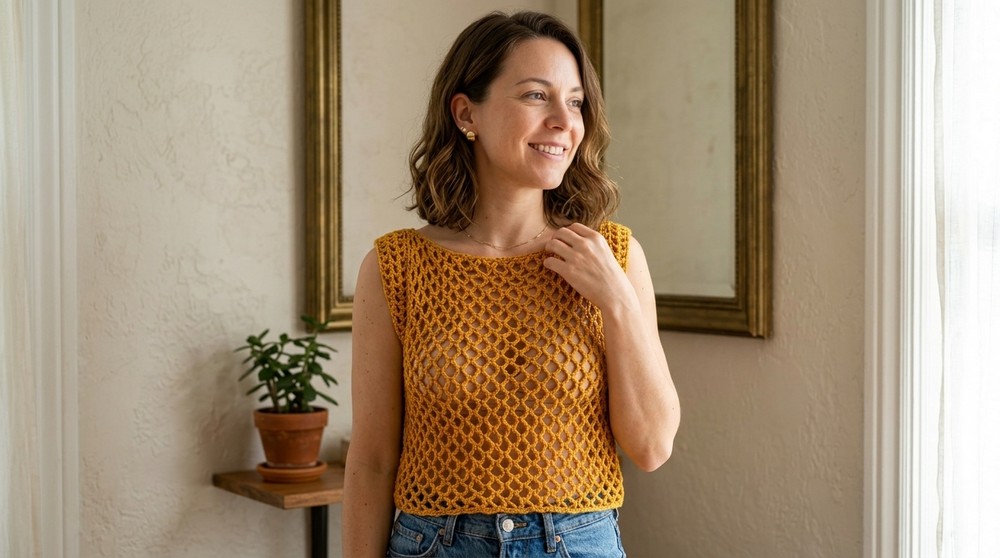
Feel cool and stylish all day wearing a crochet mesh top pattern that brings easy comfort and a fresh look to every outfit and any occasion.
Feeling cool and free all day is easier than you think when wearing a stylish and airy design made for everyone. With the crochet mesh top pattern, you get a beautiful look that shines in any setting, from a walk in the park to a fun get-together or even relaxing at home. This top stands out because its open stitches let air flow through, making it perfect for sunny weather or layering over your favorite clothes in the evening.
Elegance Crochet Mesh Top Pattern That Keeps You Cool

Each piece can be made in different colors, so you can choose bright shades for summer or soft tones for relaxing days. Even if you haven’t made clothes before, following the simple steps means you can create something useful and lovely, giving you new confidence in your own style. It is not just comfortable but also easy to care for, making it a favorite for every moment.
Staggered mesh is a crochet pattern where you alternate the placement of mesh stitches (typically made up of chains and double crochets or similar stitches) so that the open spaces do not line up vertically, but instead are offset in each row or round. This creates a visually interesting, airy, and textured fabric, perfect for light and lacy garments or accessories.
Is Staggered Mesh Difficult?
Not at all! The staggered mesh technique is quite beginner-friendly. It relies on basic crochet stitches and straightforward repetition. If you are comfortable with making chains and double crochets (or single crochets, depending on the pattern), you will find staggered mesh easy to master. Its beauty lies in its simplicity and the lovely effect achieved with minimal effort.
Rotated Panel Crochet Top Pattern
Gauge (and Stitch Pattern)
Gauge is not critical but should approximate the given measurements (37 × 39 cm for S). Use a 4 mm hook, adjust as needed for your yarn and tension. Most of the top is worked in rows with a mesh pattern (alternating double crochet and chain), staggered for a modern effect, and finished with arches. The panel is constructed as a rectangle and rotated for wear.
Special Stitches
- Mesh pattern: Alternating double crochet and chain, staggered in each row.
- Arches: Repeated sets of chains and single crochet for a textured effect.
- Border: Simple chain and single crochet worked along neck/hem for finishing.
Pattern Notes
- The top consists of two identical rectangular panels, rotated to form the garment.
- Begin with the base width measured from shoulder to shoulder, and work to a height from shoulder to waist.
- The mesh pattern is a multiple of 8 + 1.
- Once panels are complete, seam on sides and top, leaving armholes and neckline.
- Borders are added for a softer finish and to stabilize edges.
- The pattern is beginner friendly, using only basic stitches and simple joining.
Skill Level
Beginner/Easy
Basic stitches and straightforward construction make this ideal for new crocheters.
Summary
Create a contemporary crochet top using high-quality cotton yarn and simple mesh motifs. The design features staggered double crochets, chain-arch textures, and is assembled by rotating two panels for unexpected interest. This breezy top is perfect for summer layering. Adjust the size easily by changing panel dimensions or yarn weight.
Materials
- Cotton yarn, ~170g for S (sample: 160m per 100g)
- 4 mm crochet hook
- Yarn needle or tapestry needle for seaming and weaving in ends
- Scissors
- Measuring tape
Stitch Abbreviations
- ch = chain
- sc = single crochet
- dc = double crochet
- sl st = slip stitch
- sk = skip
- rep = repeat
Measurements / Sizing (Optional Schematic)
- Size S panel: 37 cm wide × 39 cm tall
- The base width is from shoulder to shoulder, height is shoulder to waist.
- Leave 16–18 cm for armholes when seaming.
- For other sizes, increase/decrease starting chain and/or number of rows.
The Crochet Pattern!
Panel (Make 2 identical)
- Foundation Chain
- Ch a multiple of 8 + 1 to match your measured width (e.g., 37 cm).
- For S, ch enough to reach 37 cm, using the yarn and hook specified.
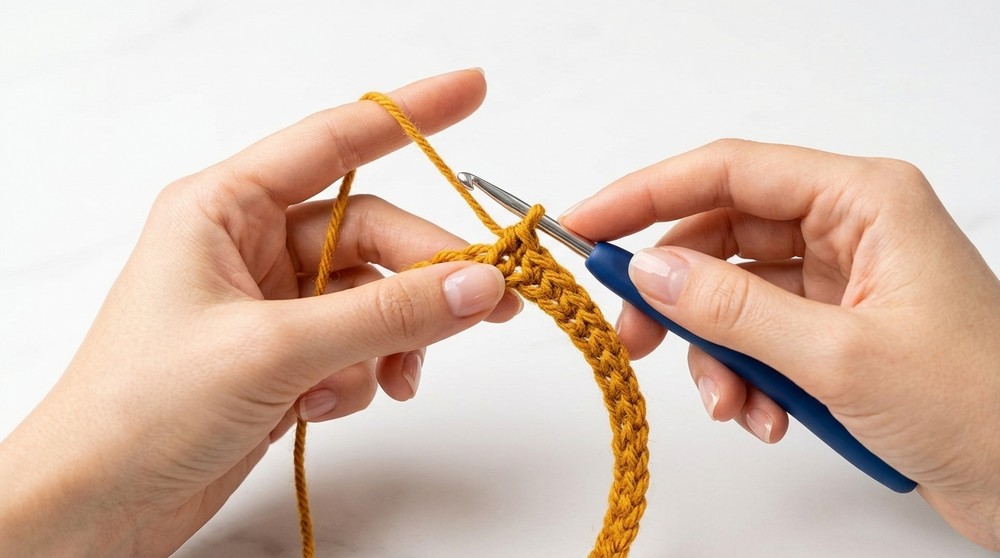
- Row 1: Mesh Setup
- Ch 3 (counts as 1 dc), dc in last ch, ch 1 (separation), sk 1 ch, dc in next ch.
- Ch 1, sk 1, dc in next ch. Rep to end.
- Turn.
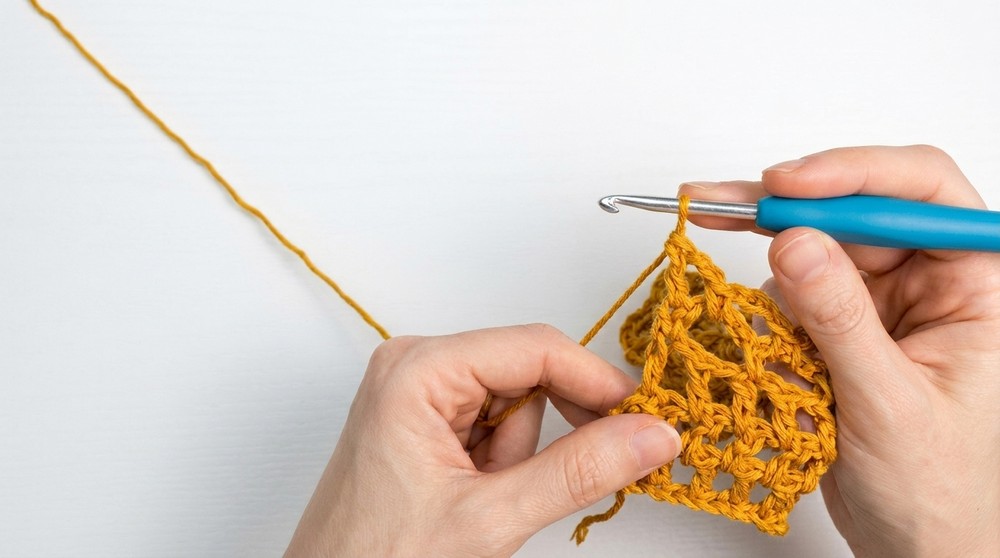
- Row 2: Staggered Mesh
- Ch 1, sc in first st. In each ch-1 space: dc, then in each dc: ch 1. Rep across, alternating dc/ch-1 into spaces/stitches of previous row. End with 2 dc as final stitches for border stability.
- Ch 1, sc in first st. In each ch-1 space: dc, then in each dc: ch 1. Rep across, alternating dc/ch-1 into spaces/stitches of previous row. End with 2 dc as final stitches for border stability.
- Rows 3–4: Repeat mesh pattern
- Work the mesh pattern as in Row 2, maintaining the staggered alignment.
- End with two dc at each side as before.
- Row 5: Arch Row
- Ch 1 to begin.
- Ch 4, sk 3, sc in next st. Rep across for full row of mesh arches.
- Turn.
- Row 6: Mesh On Arch
- Ch 1, sc in first st.
- Ch 4, sk arch, sc in next arch. Rep across, creating staggered arches.
- Continue
- Alternate mesh rows (double crochet and chain) and arch rows as above, until your panel height equals your measured shoulder-to-waist measurement (e.g., 39 cm). Remember that final border will add a few cm.
- Final Border
- When desired length is reached, finish with a row of three chain arches for an even edge:
- Ch 1, sc in first st, ch 3, sc in next arch, rep across.
- Finish off with three rows of the mesh pattern as at the start for symmetry.
- When desired length is reached, finish with a row of three chain arches for an even edge:
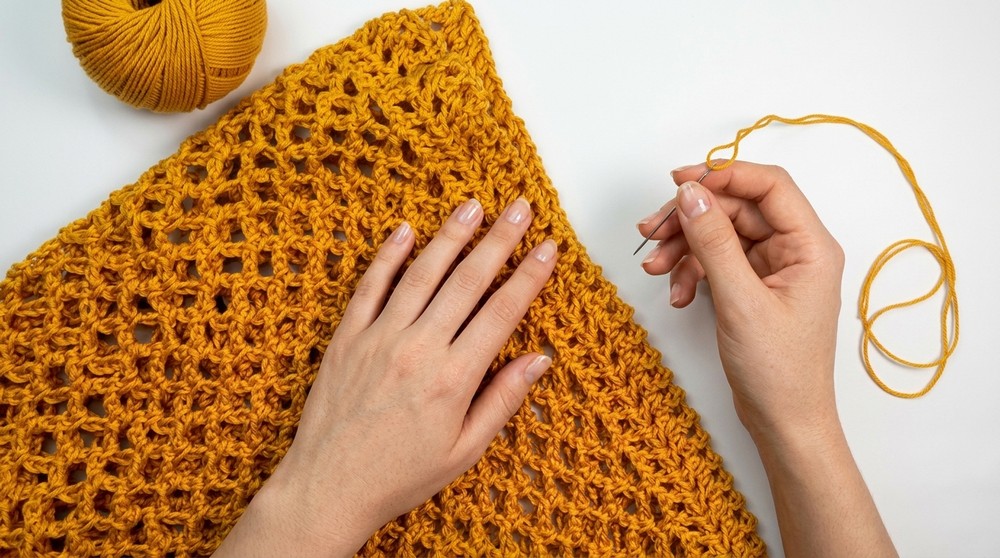
- Fasten off; weave in all ends.
Assembly & Finished Size (Bullets)
- Make two identical panels.
- Overlap panels; seam sides (choose the mesh border or staggered side; match identical sides for symmetry).
- Use a yarn needle and mattress stitch for invisible seams.
- Leave armhole opening of 16–18 cm, try on to check fit.
- Seam the upper edges for shoulders, using same technique; adjust neckline opening wide or narrow as desired.
- Weave in remaining yarn ends inside seams for a neat finish.
- Add a simple border along neckline and hem: sc in each stitch, keeping tension soft.
- Optional: Add sc border along bottom panel for consistent appearance.
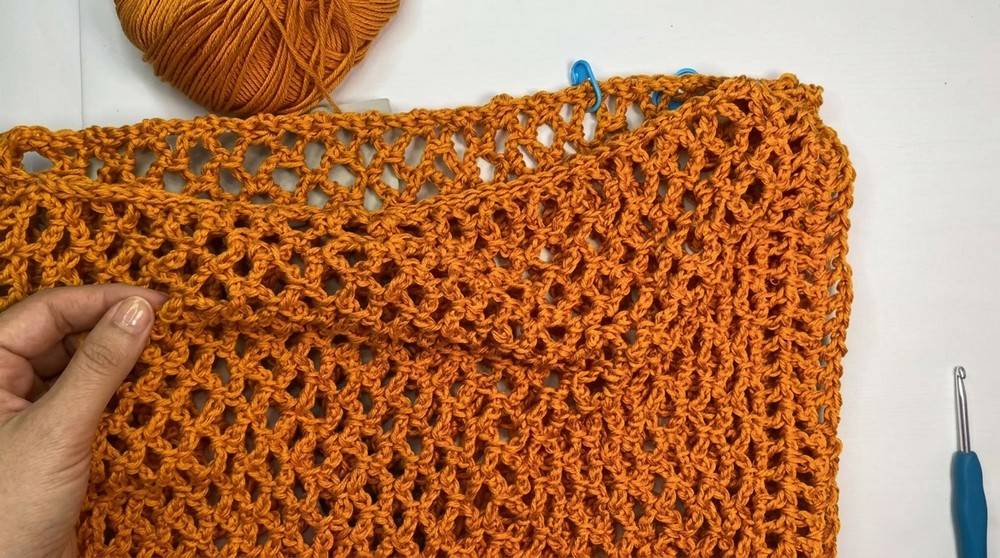
- Finished garment is a loose cropped top, ~37 cm wide × 39 cm tall, fits S. Adjust panels for your desired size.
Finished Size
- Panel: 37 × 39 cm (S)
- Final garment: Boxy and breezy; width and height will be slightly more after assembly.
- Armhole: 16–18 cm open.
Pattern Corrections & Tips
- Correction: Always keep a multiple of 8 + 1 for the base chain to maintain the pattern across both panels.
- Tip: Adjust armhole opening to your comfort—try the panels over your shoulders before seaming.
- Tip: Work loosely on the single crochet border and seams to prevent puckering.
- Tip: Before final seaming, check which side is your “chain” edge and which is “dc edge,” and make sure to match up panels for the neatest finish.