Quick Crochet Granny Stitch Polo Shirt Pattern + Free Tutorial Guide

Refresh your wardrobe with handmade charm with this free crochet granny stitch polo shirt pattern, perfect for crocheting a classic and casual outfit piece.
Creative Hands by SHAY presents a delightful way to crochet a stylish and comfortable polo shirt using crochet techniques. The Free crochet Granny Stitch Polo Shirt Pattern offers a perfect blend of classic charm and modern fashion that anyone can make with ease. This project turns the timeless granny stitch into a breathable and elegant garment that is ideal for warm weather.
Easy Free Crochet Granny Stitch Polo Shirt Pattern for All
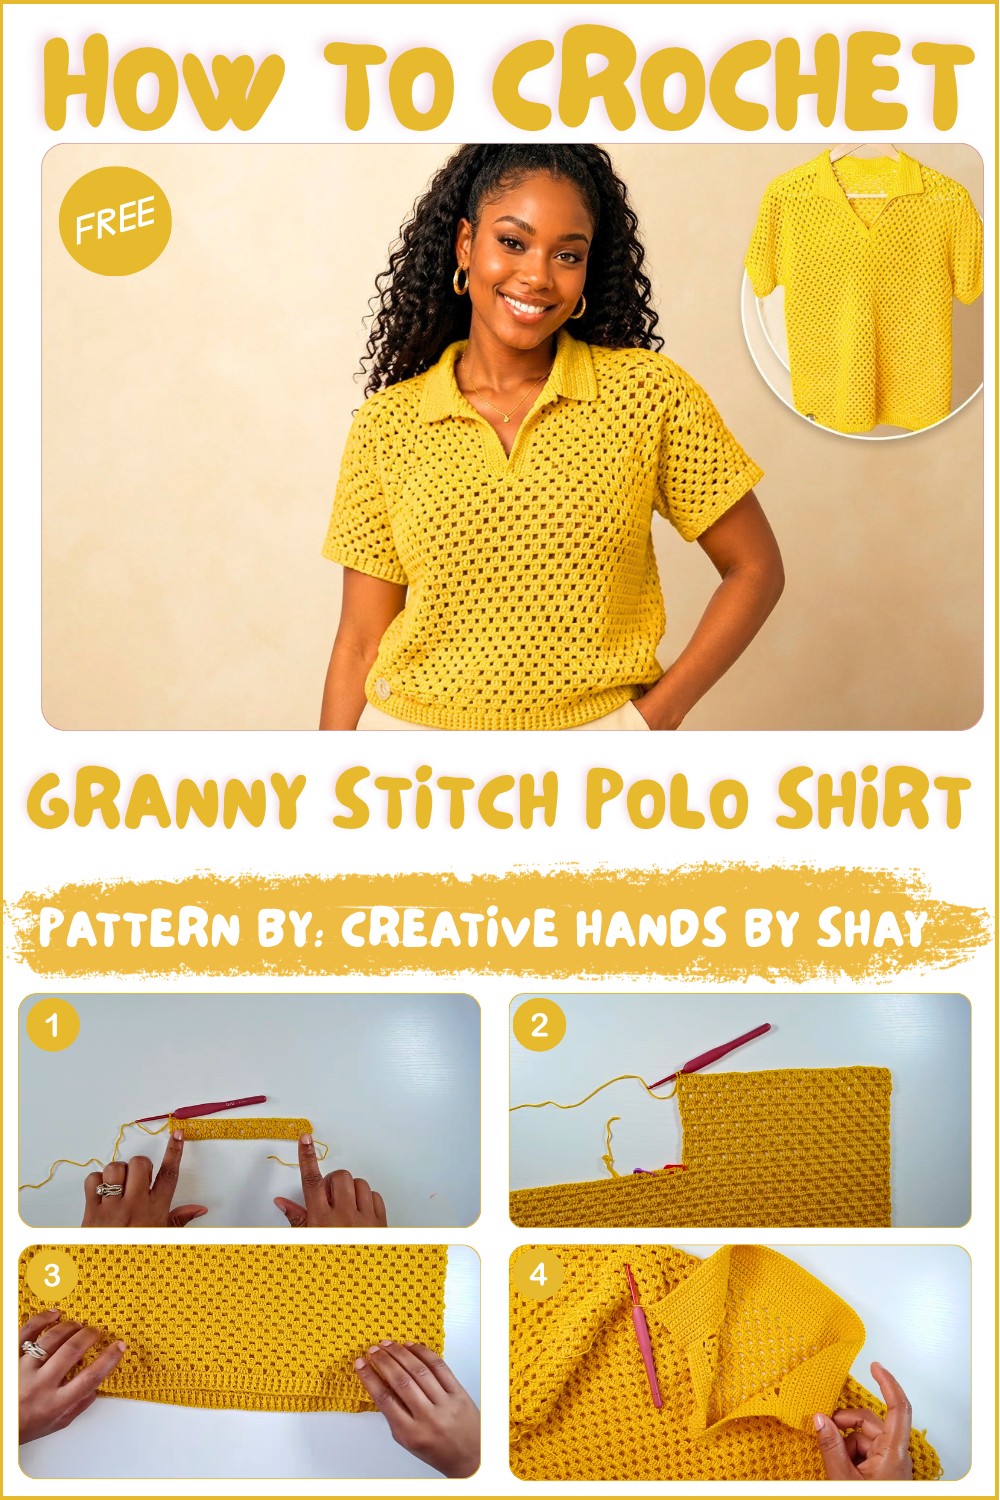
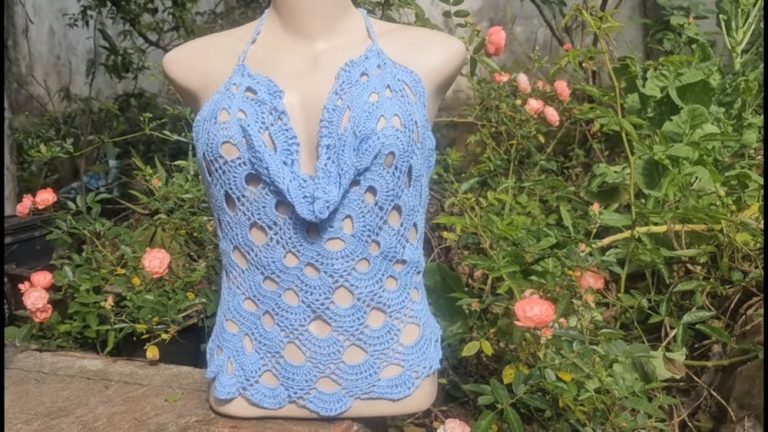
The shirt features a lovely texture created by clusters of double crochet stitches, giving it a unique mesh-like appearance that feels light and airy. Its design includes a smart collar and fitted sleeves, shaping the shirt into a flattering silhouette that suits casual and semi-formal occasions alike. The open stitch pattern ensures comfort and breathability without sacrificing style.
This polo shirt serves as a thoughtful handmade gift that shows care and creativity. It’s perfect for layering over simple tops or wearing alone on sunny days. The ability to choose different yarns and colors also allows for personal expression, making each shirt truly one of a kind.
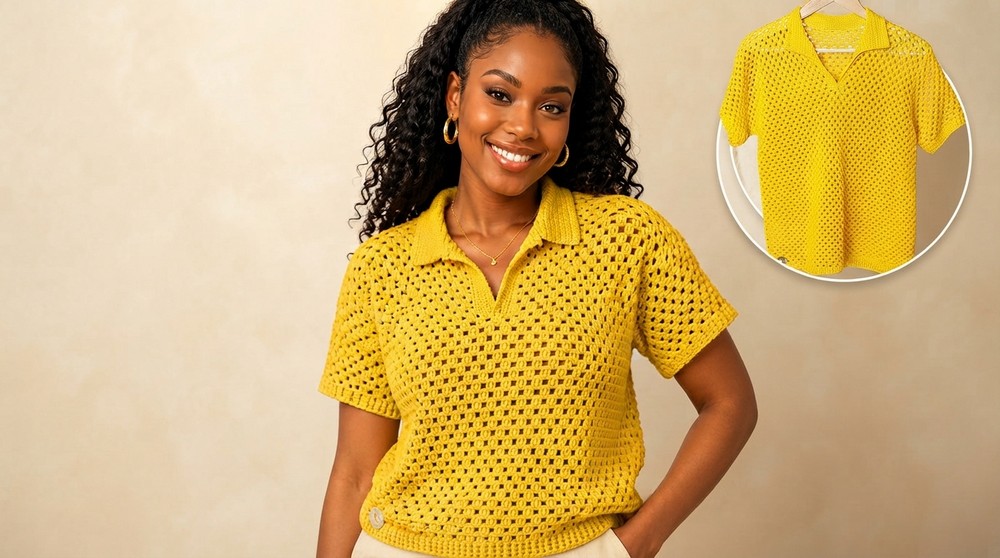
Beyond its attractive look, the project boasts easy-to-follow instructions that make creating this piece enjoyable for beginners and experienced crocheters alike. From the signature granny stitch texture to the polished finishing details, this crochet polo shirt seamlessly combines beauty, practicality, and versatility in a charming design.
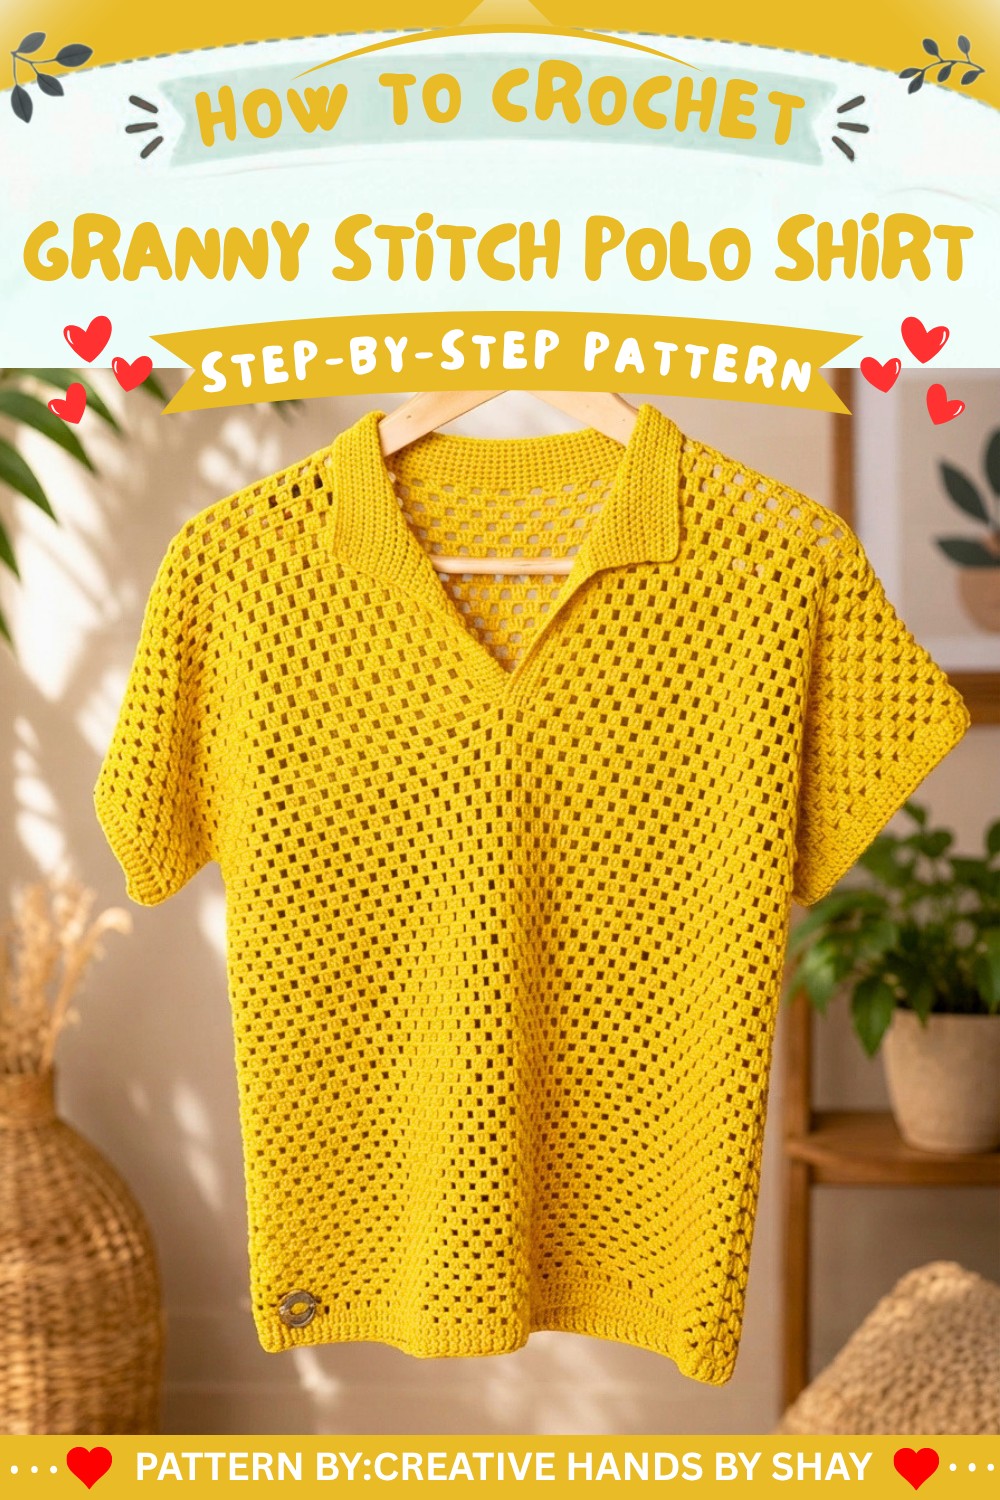
Granny Stitch Polo Shirt
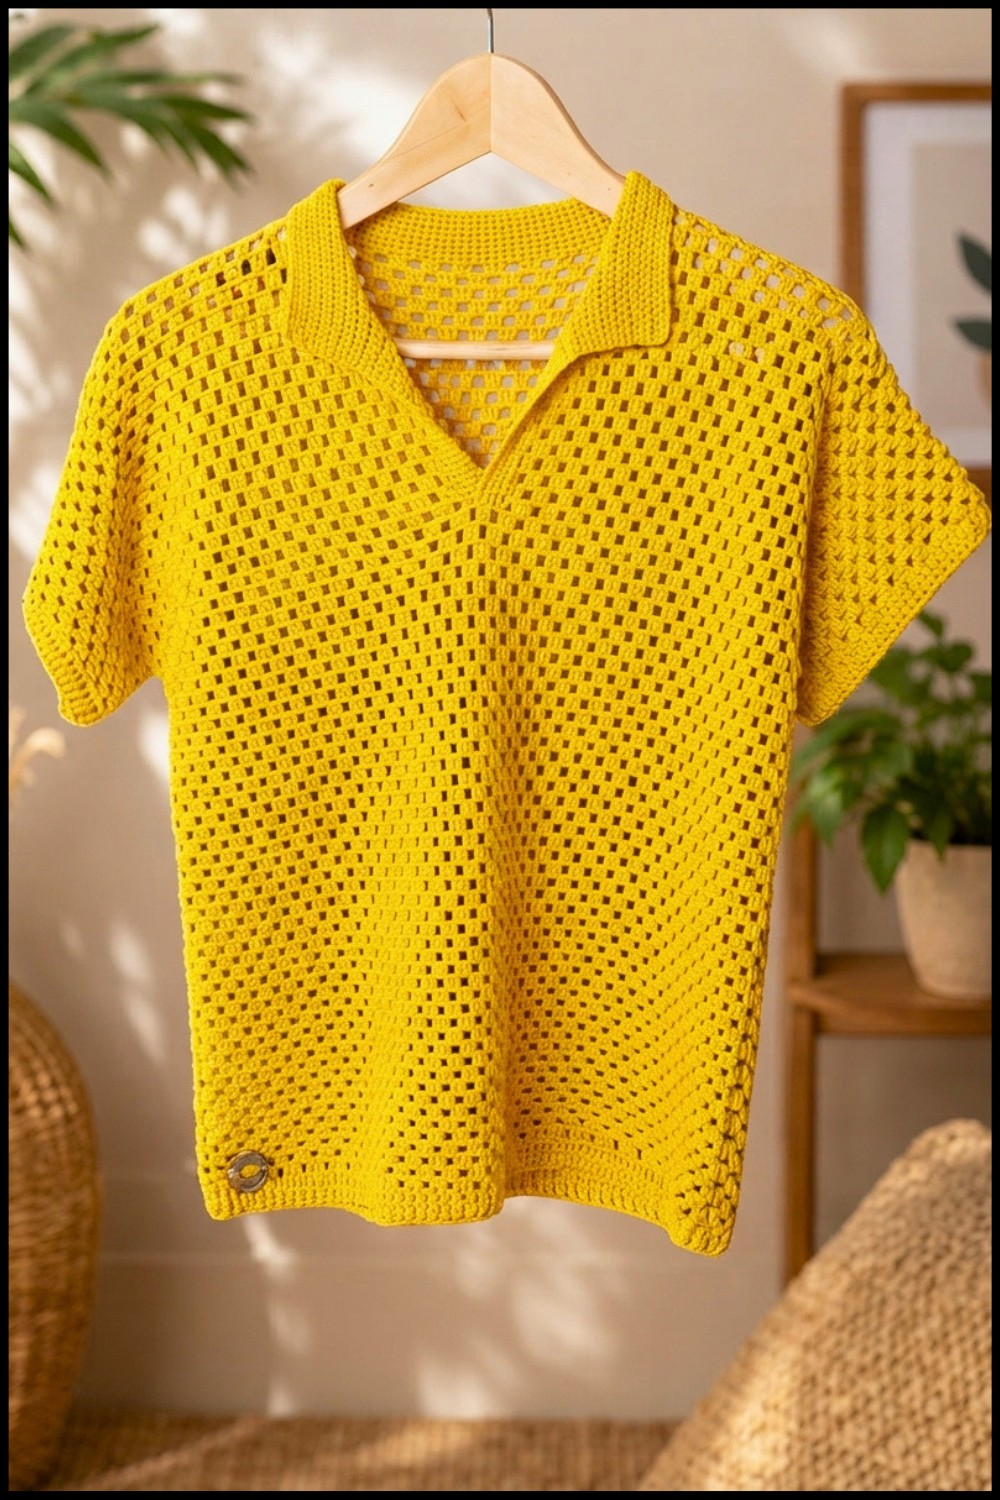
This Granny Stitch Polo Shirt merges classic granny clusters with crisp shaping and a tailored collar, resulting in a comfortable, breathable, and stylish garment suitable for warm weather. Featuring neat lines, modular construction, and customizable sections, this pattern creates a versatile shirt with a vintage touch. The bamboo cotton yarn ensures a lightweight, silky feel and superior drape, while the alternating stitches produce visual and textural interest. The design’s modularity makes it easy to adapt to individual measurements for a personalized fit.
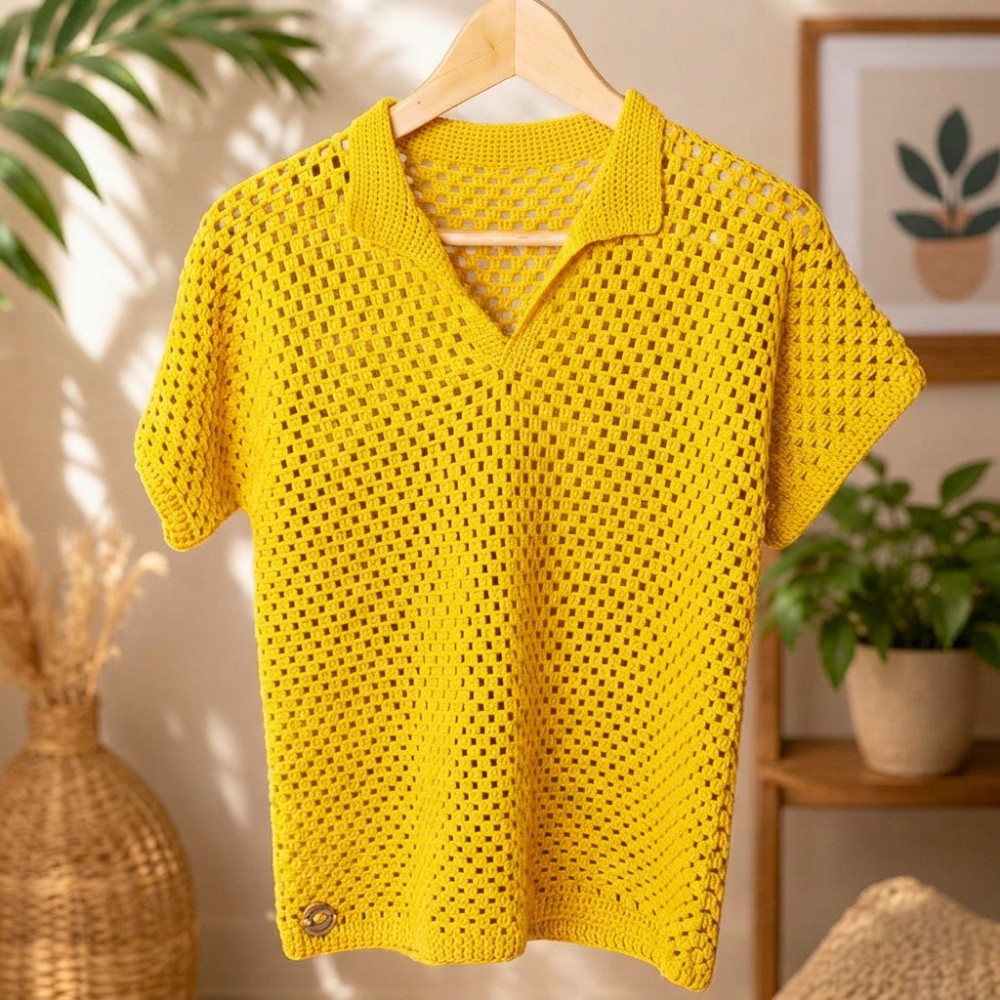
Pattern Basic Points
- Classic Construction: Separate front and back panels are worked flat, then shaped and joined.
- Iconic Granny Clusters: The body is built with rows of 3-double crochet clusters and open chain spaces.
- Polo Neck Detailing: Unique split neckline and established collar transform the shirt for modern polish.
- Refined Edges: Ribbed-style cuffs and hem bring structure with front and back post stitches.
- Fully Adjustable: Starting chain, row repeats, and shaping are easy to modify for different body measurements or style preferences.
Special Notes
- Chains must be made in multiples of 4, plus 5 extra, to maintain stitch pattern continuity.
- Measure yourself for your preferred fit, remembering the bamboo cotton provides stretch and is best blocked to shape.
- Steam blocking the collar produces a neater turn and a more professional finish.
- Fit can be altered by adjusting the number of foundation chains and the number of body or sleeve rows, as well as by customizing the armhole and collar depth.
Skill Level
Intermediate
Familiarity with working granny stitch, shaping through increases and decreases, working post stitches, and basic seaming is required. Some experience with garment construction will be helpful, especially for the collar and sleeve shaping.
Materials
- Yarn: Bamboo cotton (size 1 fine), 6 skeins (50g each)
- Hooks: 3.5mm (main body), 3.0mm (cuffs and finishing)
- Tools: Darning needle for weaving in ends, stitch markers, measuring tape
Measurements / Sizing
- Width: Foundation chain determines shirt width; e.g., 120 + 5 chains (~125) can fit a standard S/M. Add or subtract by increments of 4 chains for width adjustments.
- Body Length: Number of rows sets the length; follow sample or add rows for extra length.
- Armhole: Leave an 8″ opening on each side for sleeves (or adjust as needed).
- Collar Height: Worked to 2″ (or desired width).
- Sleeve Length: Typically 10 rows for base, finished with ribbed cuff.
Gauge and Stitch Pattern
- Gauge: 10 granny clusters (30 dc) + 8 rows in pattern = 4″ x 4″ (blocked; adjust hook/yarn if necessary).
- Primary Stitch Pattern: Granny Stitch (3-dc clusters separated by chain spaces).
Stitch Abbreviations
| Abbreviation | Meaning |
|---|---|
| ch | chain |
| sc | single crochet |
| dc | double crochet |
| fpdc | front post double crochet |
| bpdc | back post double crochet |
| sl st | slip stitch |
| st | stitch |
| rep | repeat |
Special Stitches
- Granny Stitch (3-dc cluster): Work 3 double crochets in one space.
- Front Post Double Crochet (fpdc): Yarn over, insert hook from front to back around the post (stem) of the indicated stitch, yarn over and complete as a normal dc.
- Back Post Double Crochet (bpdc): Yarn over, insert hook from back to front around the stitch post, yarn over and complete as a normal dc.
Pattern Instructions
1. Foundation and Body Panels
- Foundation Chain
- Make a slip knot.
- Chain in multiples of 4 to equal desired width (e.g., 120), then add 5 extra chains (e.g., 125 total).
- Foundation Row
- Skip first 3 ch (counts as dc), dc in 4th ch, dc in next ch (3-dc cluster).
- Ch 1, sk 1 ch, 3 dc in next ch.
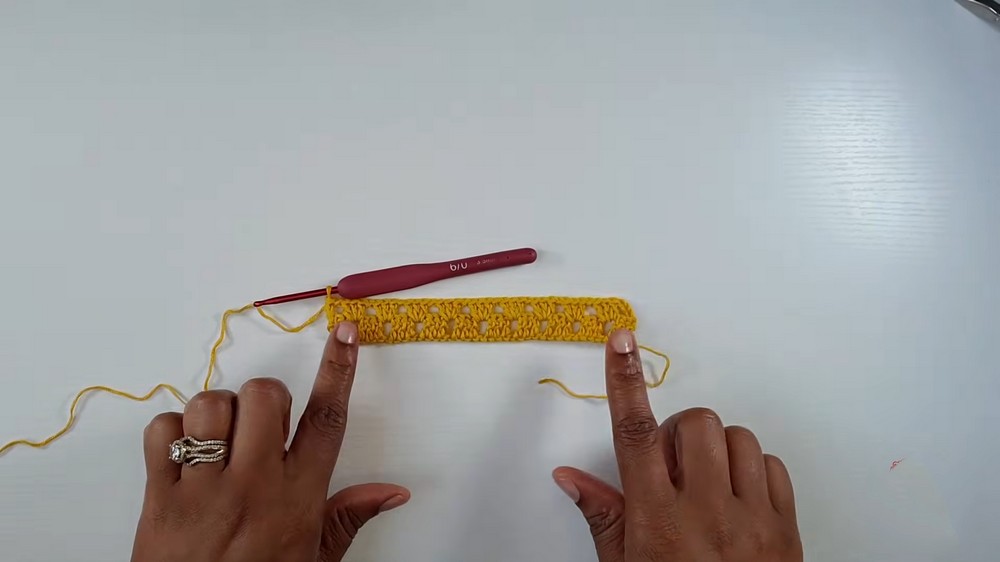
- Rep from * to * across row. End with last cluster at row’s end.
- Row 2
- Ch 4 (counts as 1 dc, ch-1), turn.
- 3-dc cluster in next ch-1 sp, ch 1; rep across.
- End row with dc in very last dc stitch from prior row.
- Row 3
- Ch 3 (counts as dc), turn.
- 2 dc in same space as turning chain (forms 3-dc cluster).
- Ch 1, 3-dc cluster in each ch-1 space across.
- End with ch 1, dc in top of turning ch from prior row.
- Alternate Row 2 and Row 3 for the full shirt length (e.g., 48 rows).
2. Front Panel Shaping
- At row 48, divide for neckline: Determine center by counting clusters and mark the neck split.
- Each Side (from split)
- Work straight up the first shoulder for 11 rows in established pattern (no increasing or decreasing).
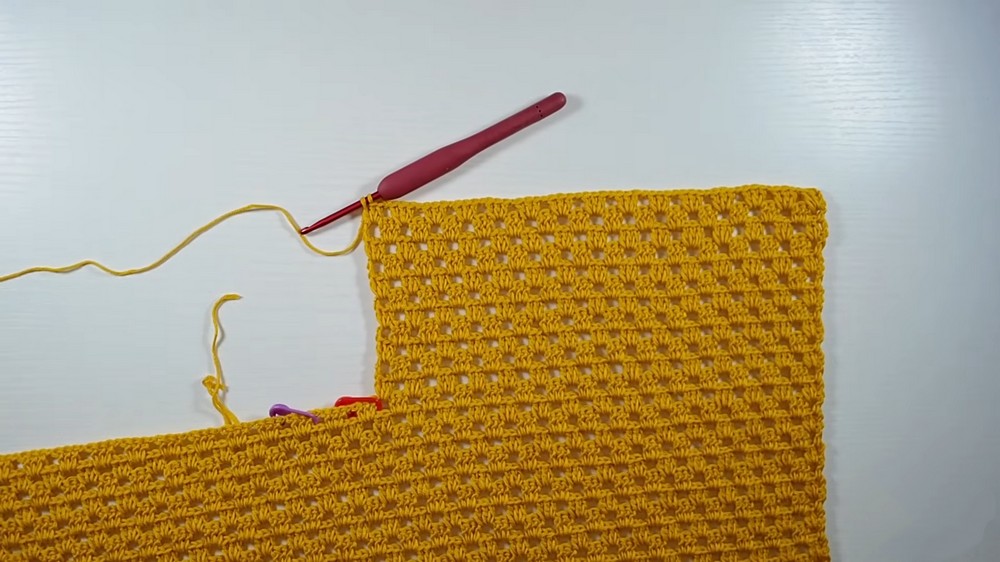
- Work straight up the first shoulder for 11 rows in established pattern (no increasing or decreasing).
- Decrease/Slant Rows (for Polo Neck Shape)
- Over 8 rows, for each shoulder:
- On the neckline edge, ch 4 at start (for shaping) and skip the first ch-1 space, dc into top of last cluster at row’s end to create diagonal shape.
- On each shoulder, complete all 11 straight rows first, then work 8 decrease (slanted) rows.
- Repeat for both sides.
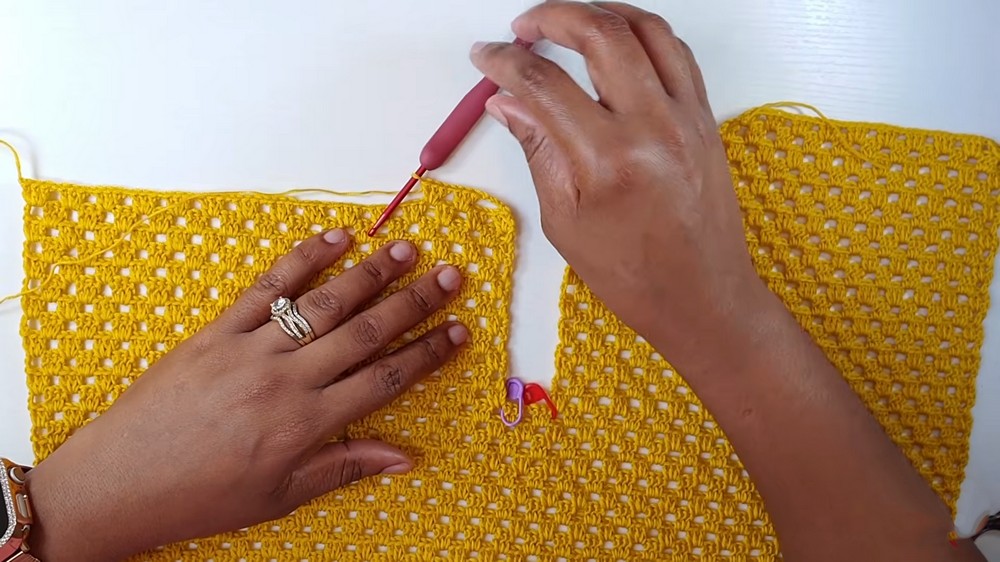
- Over 8 rows, for each shoulder:
3. Assembly and Collar
- Seaming
- Place back and front panels together, matching rows and edges.
- Using slip stitches, join at sides, leaving an 8″ gap at the bottom of each armhole.
- Inner Collar Flap
- At neckline split, rejoin yarn.
- Sc 5 rows (back and forth) to create two small interior collar flaps that overlap at the placket.
- Fold and neatly sew flaps down on wrong side.
- Main Collar
- With 3.5mm hook, sc evenly around entire neckline:
- Place 3 sc into each ch-4 space, 1–2 sc in each regular space.
- Work rows of sc until the collar is 2″ wide, or desired width.
- Fasten off and weave in ends.
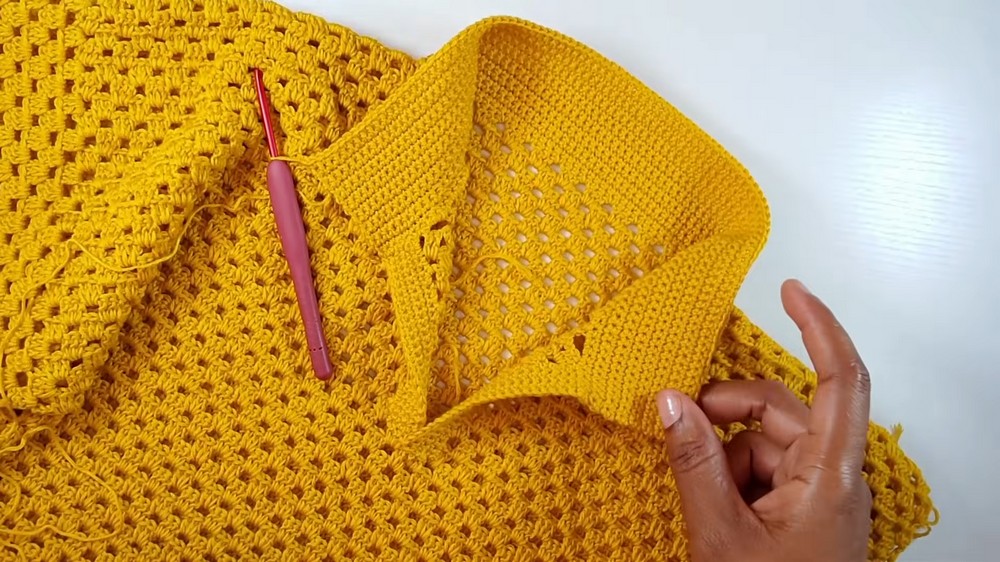
- With 3.5mm hook, sc evenly around entire neckline:
4. Sleeves and Finishing
- Sleeve Base
- Join yarn at armhole opening.
- Work 3-dc clusters all the way around, chaining 1 between clusters as established. Join each round.
- Repeat for 10 rows.
- Cuff
- Switch to 3.0mm hook.
- Work 1 round of dc evenly.
- Next 2 rounds: fpdc in 1 st, bpdc in next, alternating for ribbed cuff effect.
- Fasten off, repeat for second sleeve.
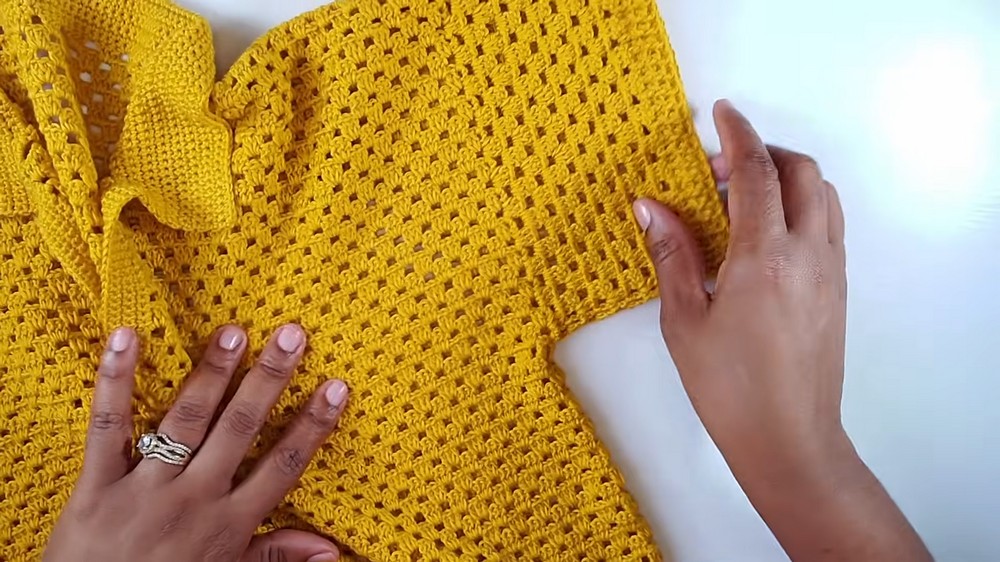
- Bottom Hem
- Repeat cuff instructions at shirt base (switching to 3.0mm hook), working 2 rounds of fpdc/bpdc ribbing for a clean hem.
- Blocking
- Steam iron collar lightly to set shape and ensure a crisp, flat edge.
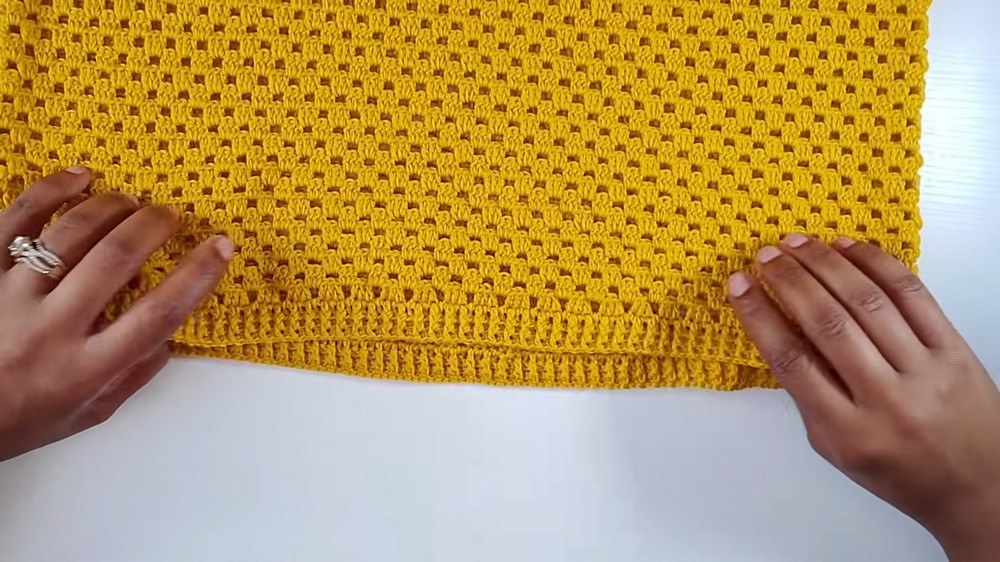
- Steam iron collar lightly to set shape and ensure a crisp, flat edge.
Assembly
After all pieces are completed:
- Weave in all loose ends using a darning needle.
- Block the finished shirt to measurements, focusing on opening the granny stitch and smoothing seams.
- Attach buttons at neckline if desired, ensuring both flaps overlap neatly.
- Try on the shirt, checking armhole size and collar alignment; adjust with additional sc or post rows as needed for fit.
Conclusion
The Granny Stitch Polo Shirt features timeless granny clusters combined with tailored garment shaping for a modern, comfortable polo. The modular build allows for adjustments in length, sleeve width, and collar depth, providing ample opportunity for personal customizations. The final piece is a polished, lightweight shirt with excellent structure and movement, adding handmade sophistication to any wardrobe. Experiment with stripes or color changes for additional style, and enjoy the fit and finish of a classic made unique by hand.