Free Mini Jellyfish Amigurumi Crochet Pattern for Keychains

Bring an undersea vibe to life with this free crochet jellyfish amigurumi pattern and make an adorable addition to your handmade collection.
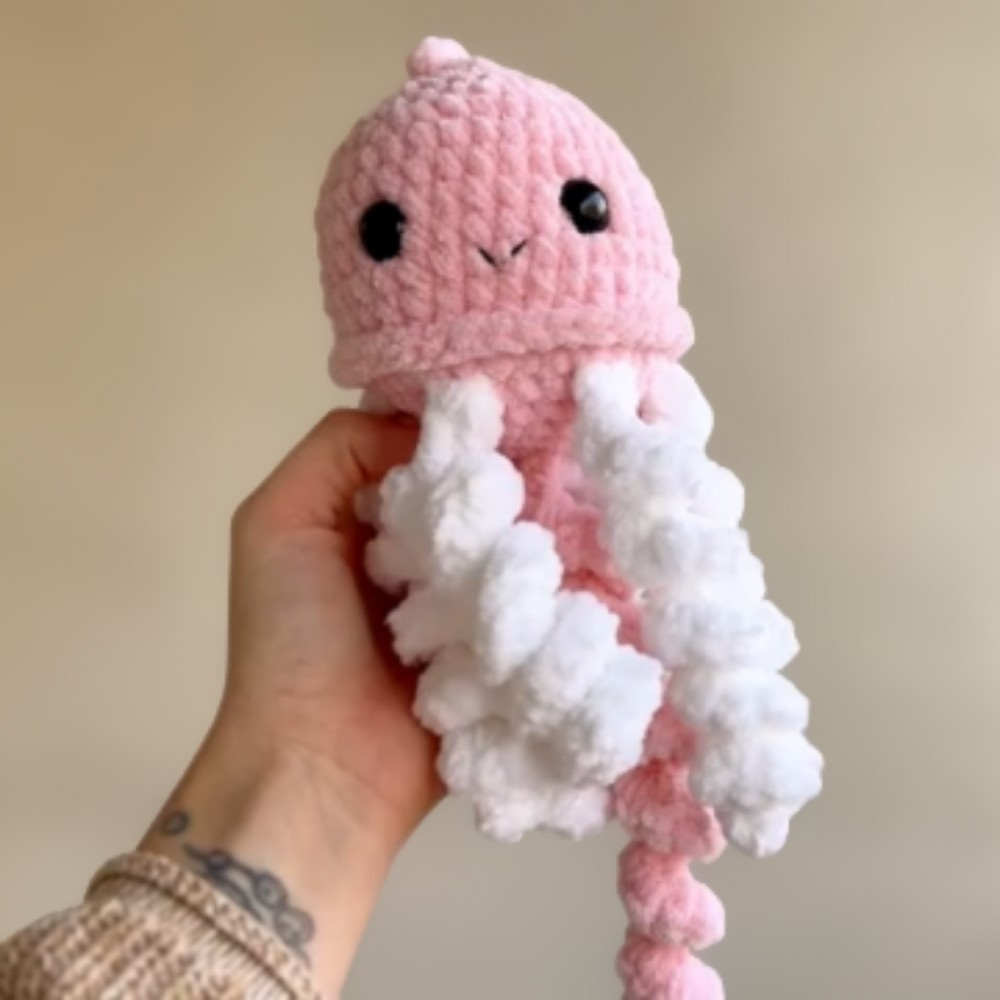
Creating a tiny ocean friend with yarn and a hook brings a special kind of joy. This little jellyfish amigurumi is not only cute but full of charm and personality. Its delicate tentacles and rounded body give the impression of gently floating underwater, adding a touch of sea wonder to your home or workspace.
Easy & Adorable Free Jellyfish Amigurumi Crochet Pattern
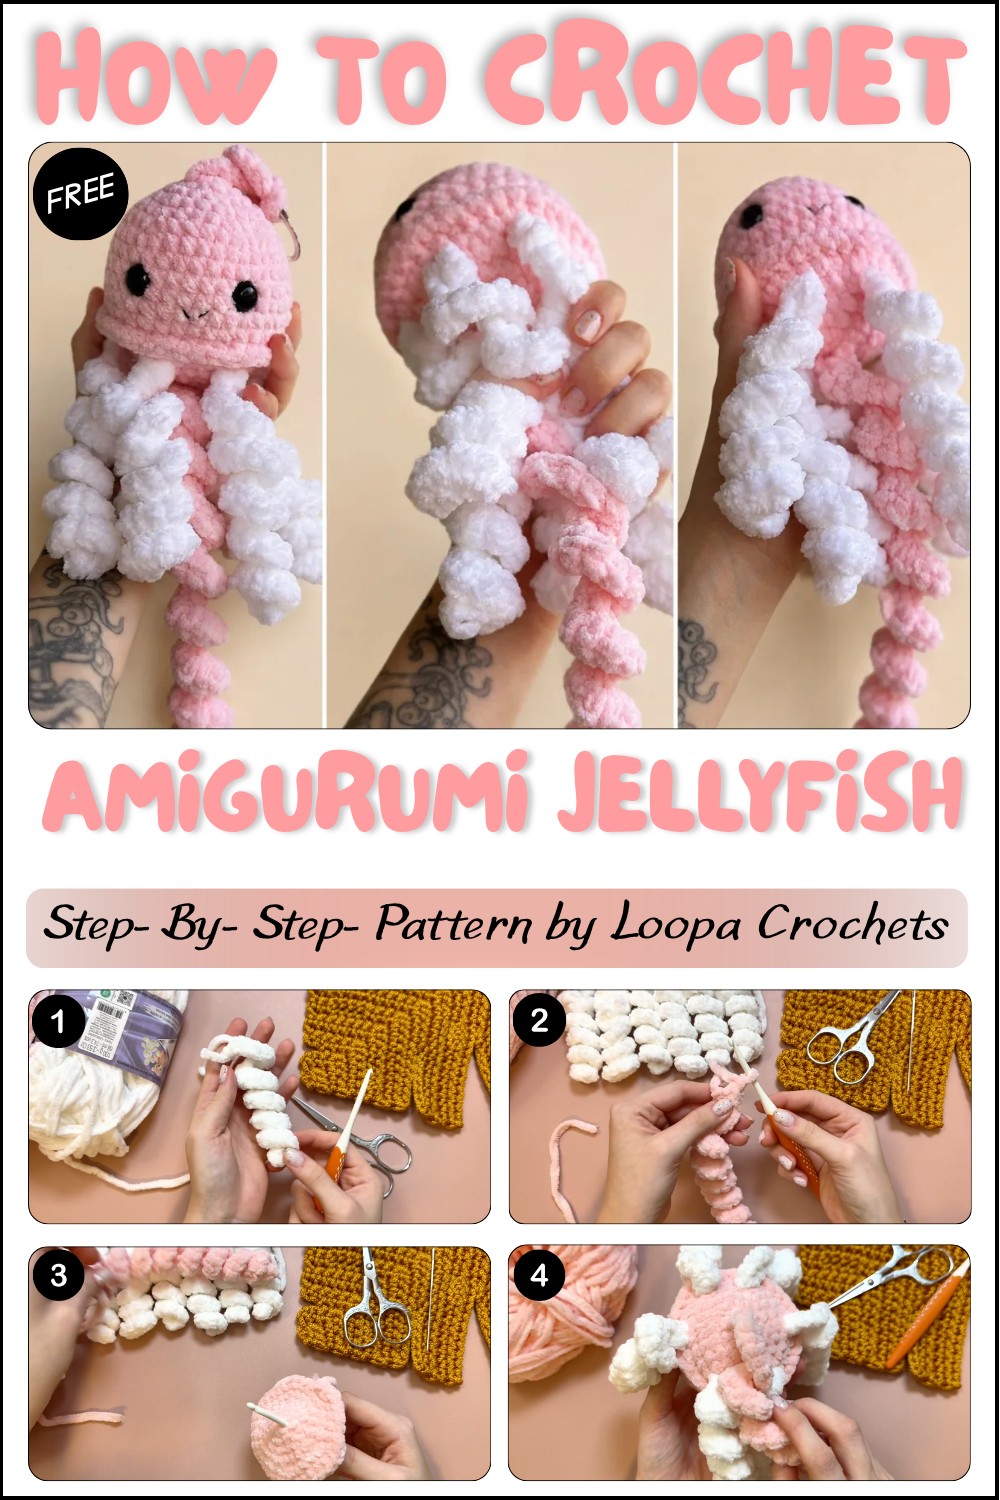
The tutorial comes from a channel Loopa Crochets that makes crochet easy and enjoyable. It offers calm, clear, and step-by-step instructions that help both beginners and experienced crafters follow along with confidence. The friendly teaching style breaks down each part of the project, making it simple to create adorable, handmade pieces that bring joy and satisfaction.
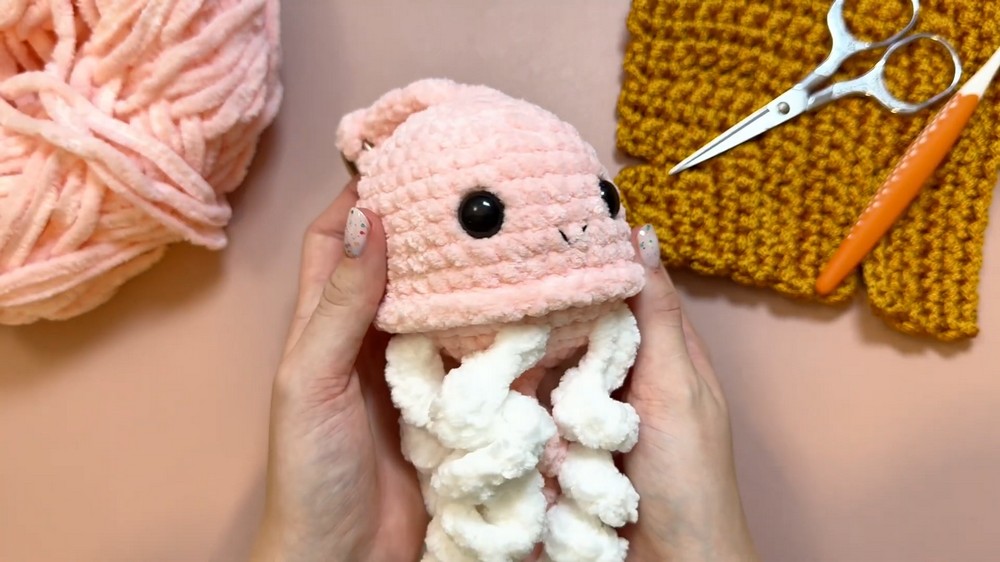
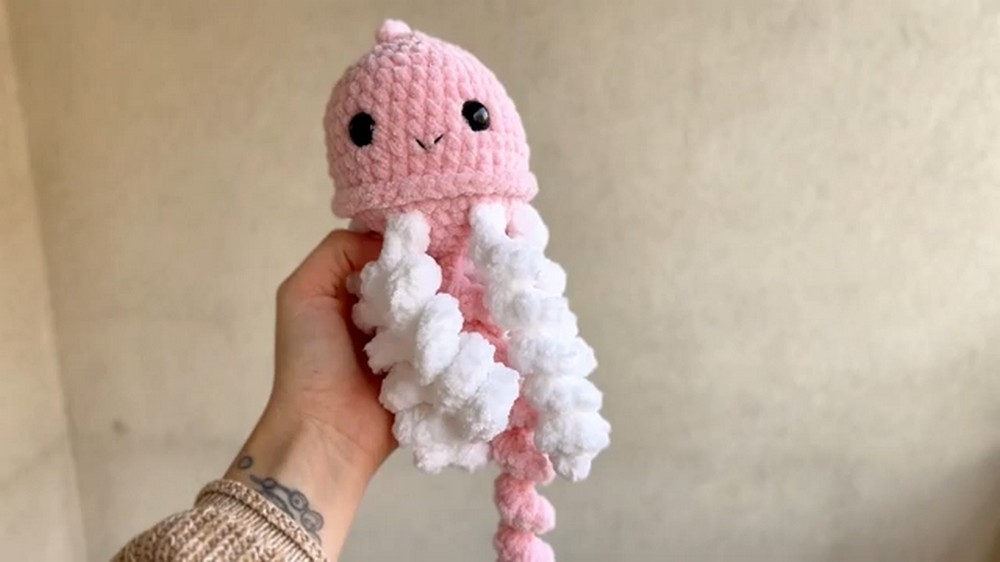
The design features both small and large tentacles crocheted with careful crochet stitches, giving the jellyfish a soft, textured feel that’s pleasant to hold. The round body is made in two parts that are sewn together, forming a smooth and plump shape that really stands out. Adding safety eyes close together and a tiny embroidered smile gives the jellyfish a friendly and happy expression, inviting smiles from anyone who sees it.
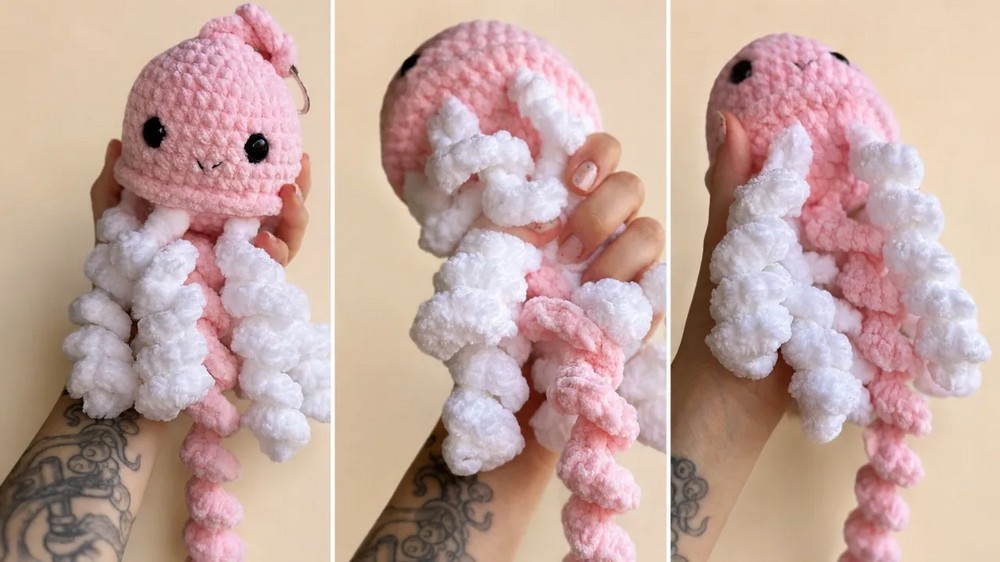
This little stuffed jellyfish makes a lovely decoration on a bookshelf, a cheerful keychain hanging from your bag, or a thoughtful handmade gift for friends and family. Its compact size makes it easy to carry around, and the loop option allows you to customize how you want to use it.
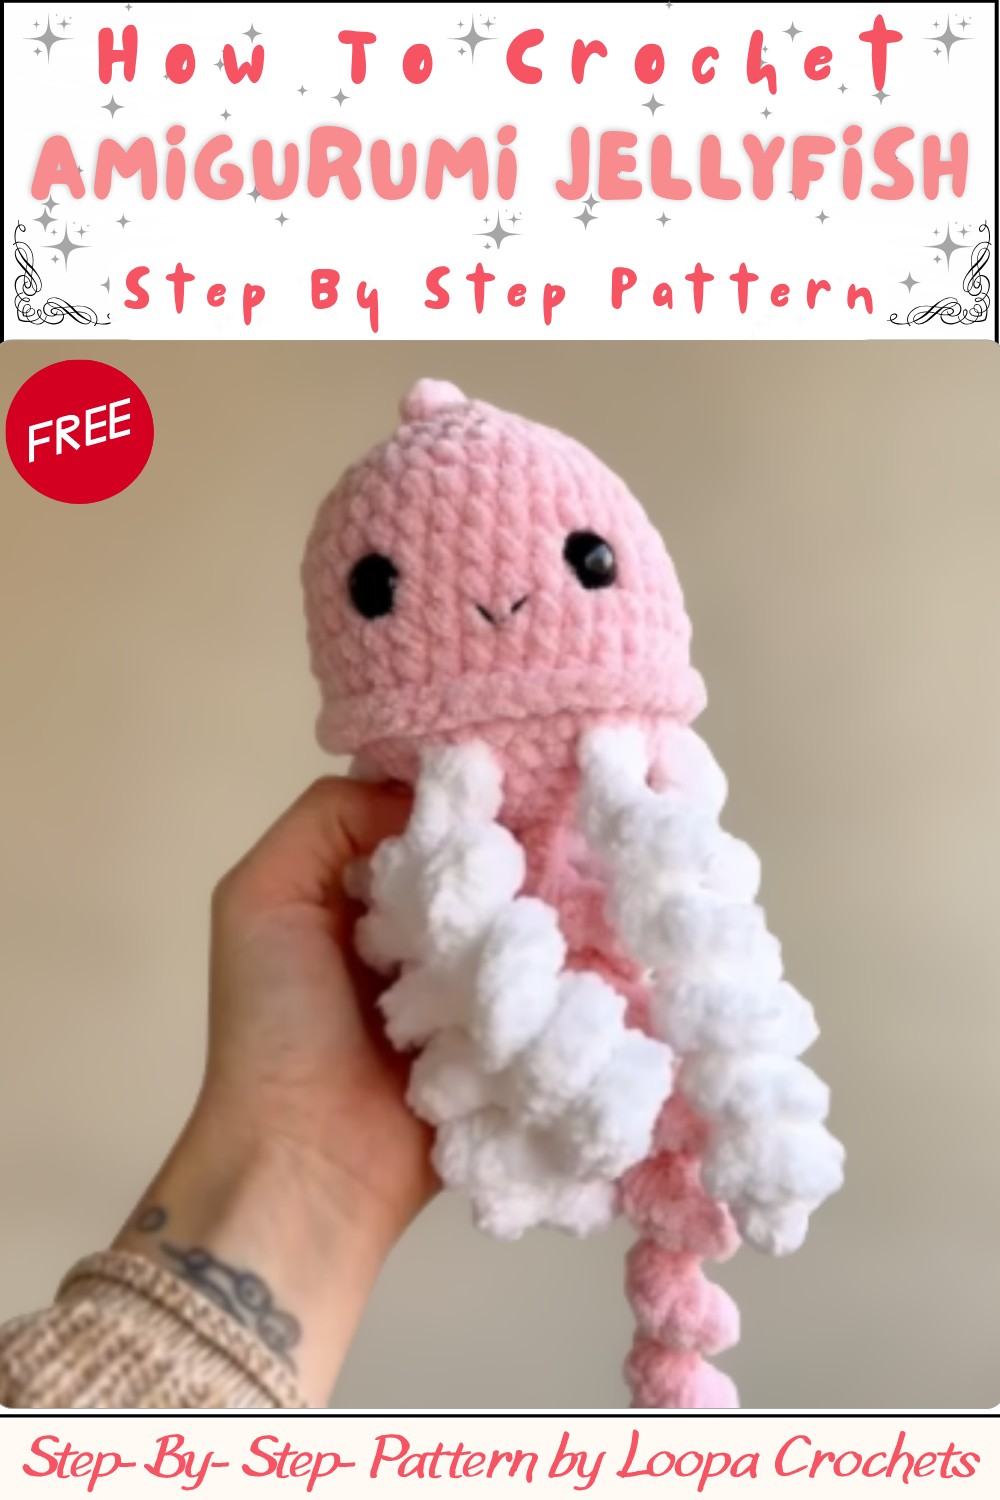
Jellyfish Amigurumi Pattern
This jellyfish amigurumi delivers cheerful character and tactile interest with its ruffled tentacles and rounded, squishy body. The design features two joined discs (head and underside), playful curly tentacles of two lengths, and the option to add a keychain loop. Crocheted in the round with basic increases, this project is versatile in size and well-suited for whimsical gifts or personal keepsakes. Strategic eye and tentacle placement brings out the jellyfish’s classic, friendly personality.
Pattern Important Tips
- Curly tentacles are formed with increase stitches along chains for even, bouncy spirals.
- Safety eyes sit higher than the tentacle row for an expressive, well-balanced face.
- Stuff the body firmly but not so much as to distort the disc shape during assembly.
- Spacing tentacles evenly prevents bunching and ensures a uniform appearance.
Special Notes
- Use a soft, loosely spun plush or velvet yarn for maximum squish and texture.
- If gifting to a young child, consider securely embroidering eyes for safety.
- Precise placement of the tentacles and eyes will keep your jellyfish looking symmetrical and neat.
- Keychain loop is completely optional and can be omitted for a display plush.
Skill Level
Beginner-Friendly
This amigurumi uses elementary stitches, simple rounds, and basic increases, with assembly that’s straightforward for new makers. Experience with sewing or weaving parts together is helpful but not required.
Materials
- Yarn: Alice Voluto or similar plush/velvet yarn in color of choice
- Hook: 4.5 mm crochet hook (or appropriate size for yarn)
- Eyes: 10 mm safety eyes
- Stuffing: Fiberfill/polyester
- Notions: Scissors, tapestry/yarn needle
Measurements / Sizing
- Finished Diameter: Approximately 8–10 cm (3–4 in) across for the jellyfish body, variable depending on yarn and tension
- Tentacle Length: Small tentacles ~6 cm (2.3 in), Large tentacle ~10 cm (4 in) curled
Gauge and Stitch Pattern
- Gauge is not critical since the shape is dictated by the stitch counts, but stitches should be close/tight so stuffing is not visible.
- Recommended: 7 single crochet stitches x 7 rows ≈ 4 cm square with 4.5 mm hook in main yarn.
- All pieces are worked in continuous spirals unless slip stitch or chaining is specifically indicated.
Stitch Abbreviations
- ch: chain
- sc: single crochet
- inc: increase (2 sc in the same stitch)
- sl st: slip stitch
- st(s): stitch(es)
- mr: magic ring
Special Stitches
- Magic Ring (mr): Wrap yarn around fingers to create a loop, insert hook and pull up a loop, then work stated number of sc in the ring, pulling yarn tail to close.
- Tentacle Spiral: Work 2 sc (or more) in each chain to create a curling effect.
Complete Pattern with Rounds
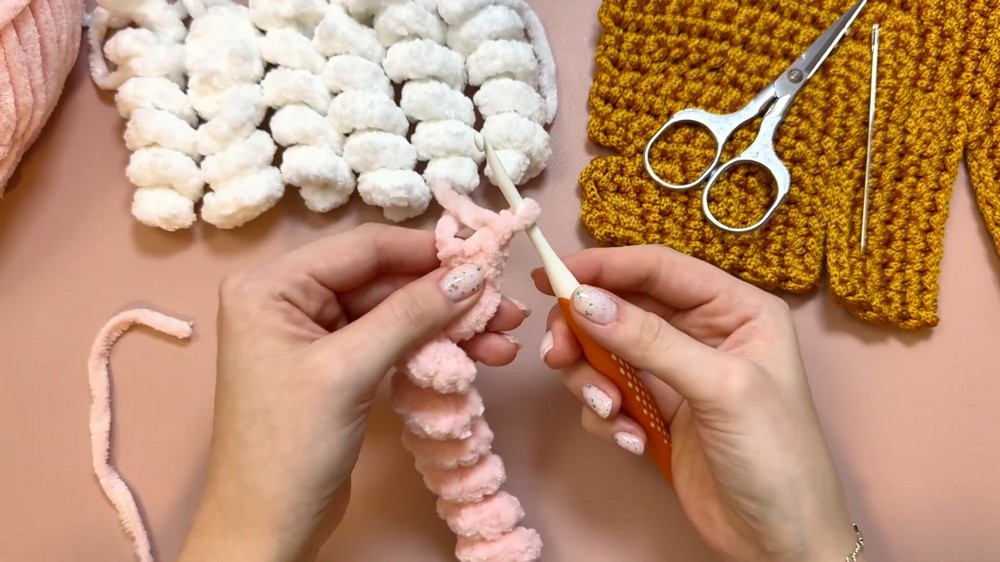
Small Tentacles (Make 6)
- Ch 26.
- Beginning in 2nd chain from hook, work 2 sc in each chain across (25 inc).
- Fasten off and leave a tail for sewing.
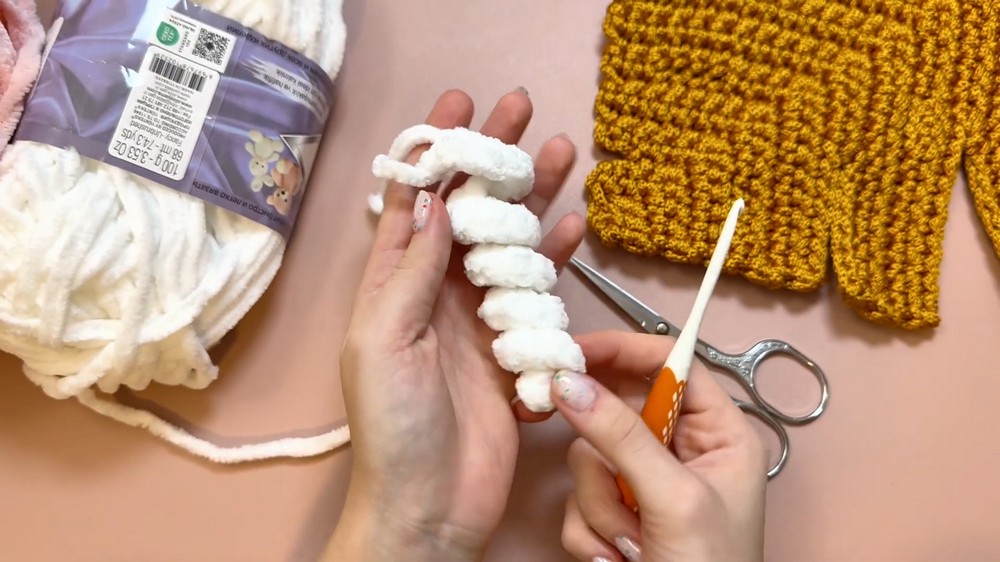
Large Tentacle (Make 1)
- Ch 41.
- Beginning in 2nd chain from hook, work 2 sc in each chain across (40 inc).
- Fasten off and leave a tail for sewing.
Body Bottom
- Begin with a magic ring (mr), chain 1.
- Round 1: 6 sc in magic ring. (6)
- Round 2: 2 sc in each st (inc) around. (12)
- Round 3: 1 sc, 1 inc—repeat around. (18)
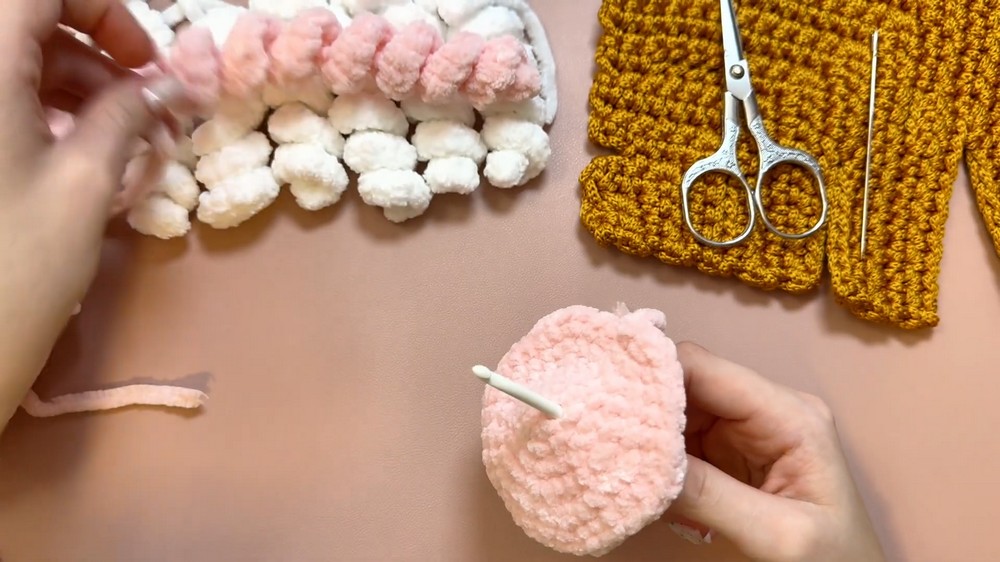
- Round 4: 2 sc, 1 inc—repeat around. (24)
- Round 5: 3 sc, 1 inc—repeat around. (30)
- Round 6: 4 sc, 1 inc—repeat around. (36)
- Slip stitch to finish and fasten off.
Assembly (Tentacles and Keychain Loop)
- Attach Large Tentacle: Sew the large tentacle to the very center of the bottom piece (inside foundation magic ring).
- Attach Small Tentacles: Evenly space and sew the 6 small tentacles to the bottom piece between rounds 5 and 6, spacing approximately every 5 stitches around the edge.
- (Optional) Keychain Loop: If desired, ch 50; sew or knot securely through a stitch at the top center of the body bottom or main body for a hanging loop.
Main Body (Top)
- Repeat rounds 1–6 as for Body Bottom (36 sc at end).
- Rounds 7–12: 1 sc in each st around. (36 per round; total 6 rounds)
- Do not fasten off.
Final Assembly and Finishing
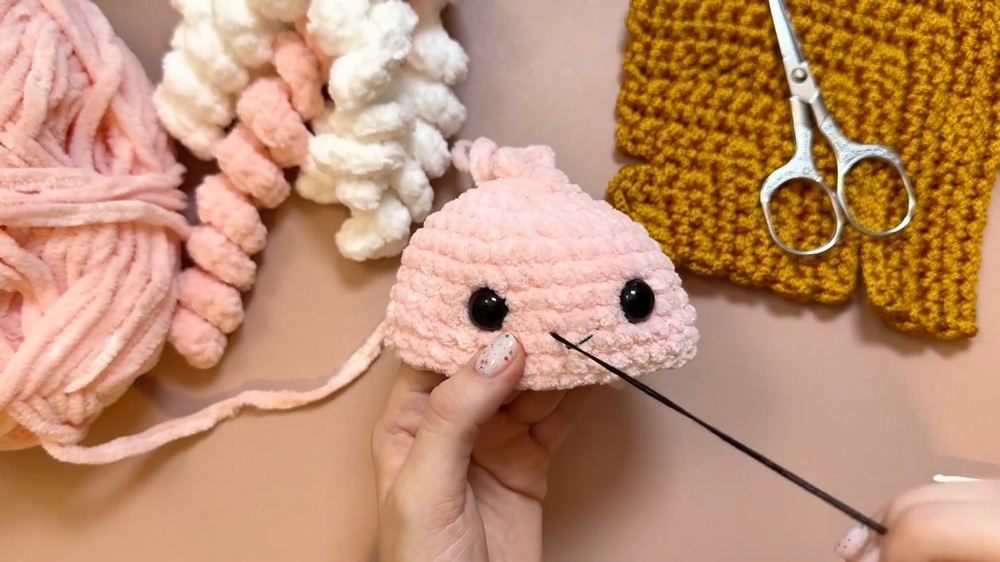
- Insert Safety Eyes: Place the 10 mm safety eyes between rounds 9 and 10 of the main body, about 5 stitches apart. Attach washers inside.
- Embroider Mouth: With a needle and contrasting yarn, stitch a small smile at round 11 between the eyes.
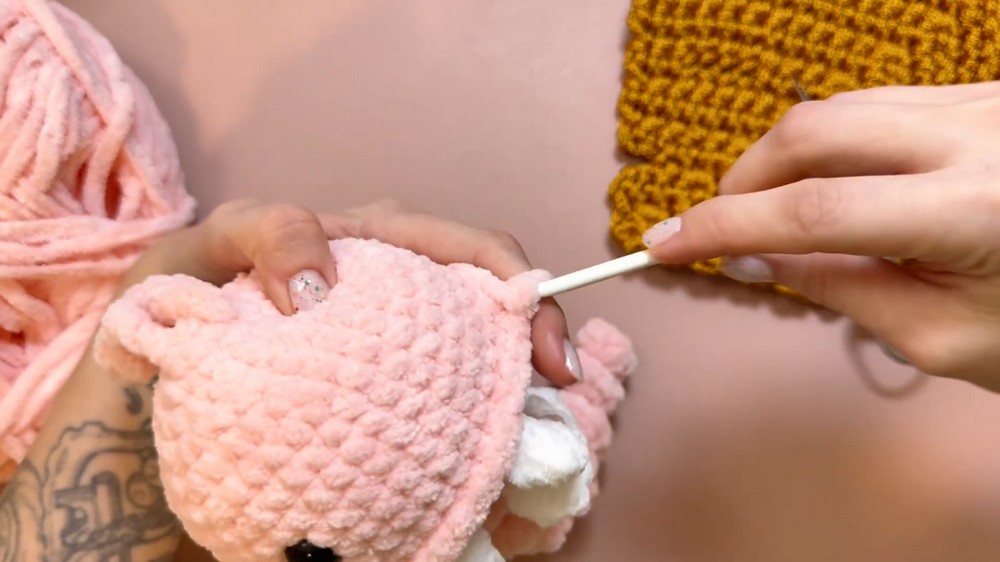
- Join Body Pieces: Hold main body and bottom together, right sides out. Align stitches.
- Round 13: Starting from the same position, sc through both layers (top and bottom) all the way around (36 sc total), inserting the hook through a st in each disc at once.
- Round 13: Starting from the same position, sc through both layers (top and bottom) all the way around (36 sc total), inserting the hook through a st in each disc at once.
- Stuff Firmly: Before closing the final stitches, add fiberfill to shape.
- Fasten Off: Weave in all ends and secure neatly inside.
Conclusion
With its vivid ruffled tentacles, plush body, and sweet face, this jellyfish amigurumi is delightful as a décor accent, fidget or bag charm. The simple structure, secure finishing, and cheerful details make for a reliable project perfect for both newer crocheters and seasoned makers looking to relax or whip up a quick gift. Customizing with colors and facial features produces charming variations, each with its own personality for brightening up any space.


![How to Crochet Eleven (Stranger Things) Amigurumi Tutorial [EN, ES, DE Sub] 13](https://claireabellemakes.com/wp-content/uploads/2026/07/How-to-Crochet-Eleven-Stranger-Things-Amigurumi-Tutorial-EN-ES-DE-Sub-13-768x768.jpg)