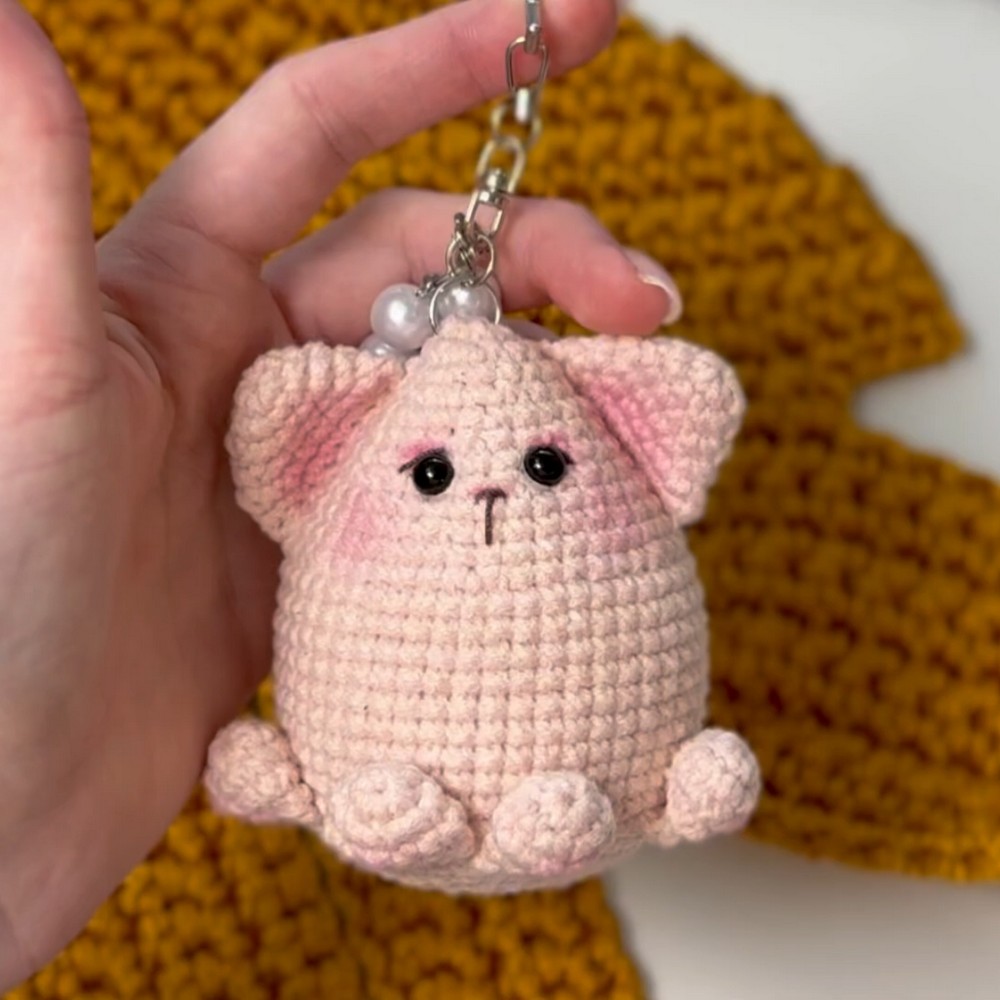
Crochet Mini Cat Keychain Free Pattern | Cute Amigurumi Tutorial

Add personality to your everyday essentials by crocheting a lovable mini cat keychain with this free pattern for fun and creative making.
There’s something truly special about having a tiny, handmade cat that you can carry everywhere. This mini crochet cat is not just adorable but also very practical. Its small size makes it perfect for adding a little charm to everyday items.
Free Crochet Mini Cat Keychain Pattern for Beginners
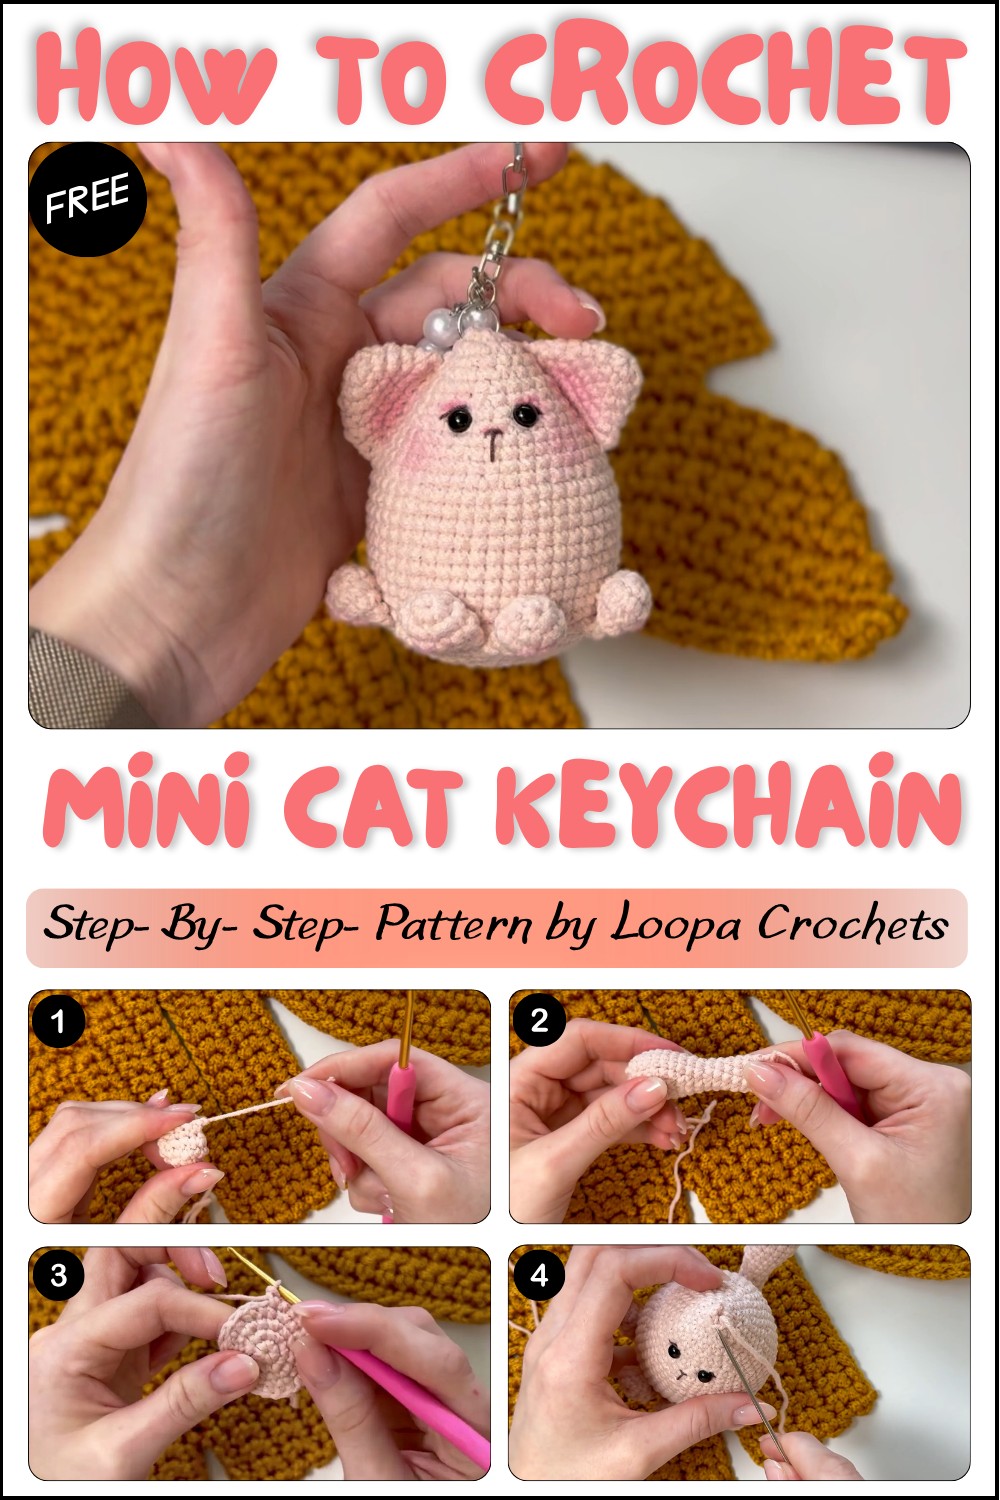
What makes this pattern especially enjoyable is Loopa Crochets’ teaching style. The channel provides calm, clear instructions that guide you step-by-step through the process. Whether you’re new to crocheting or experienced, this channel helps you turn simple yarn into charming creations with ease and confidence.
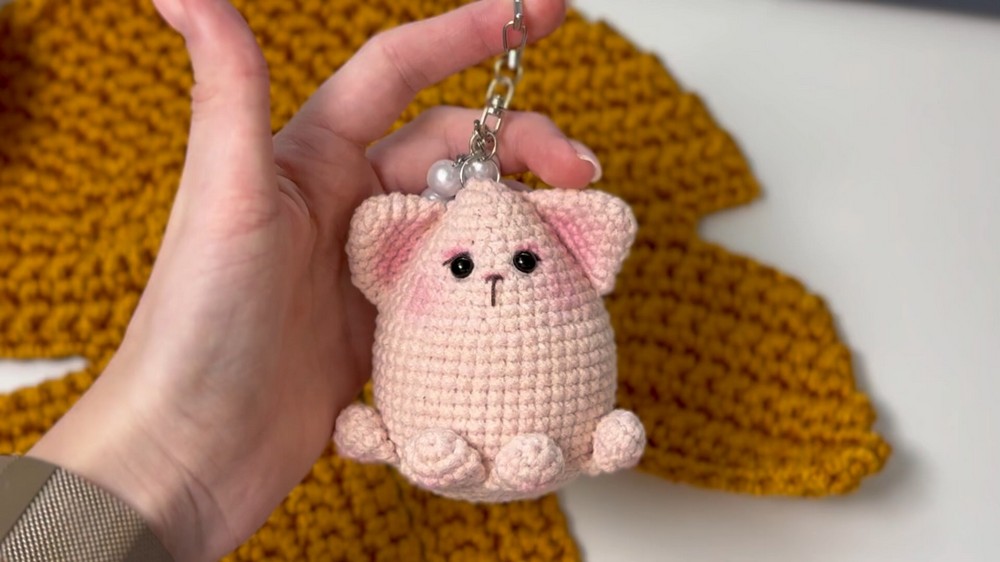
One of the best features of this cat is its cute and well-defined shape. The body is tightly stitched, giving it a firm texture that keeps its form even after lots of use. Its little ears stand up nicely, and the embroidered face, with bright eyes and a sweet smile, adds personality and warmth. The soft yarn feels comfortable to touch, making it easy to hold or hang without any worries.
This mini cat works great as a keychain, letting you personalize your keys or bags. It’s also a lovely gift for friends who appreciate handmade crochets, or a fun decoration to brighten up your workspace. Thanks to its compact size, it’s easy to take along everywhere or tuck into a pocket for a little dose of cuteness on the go.
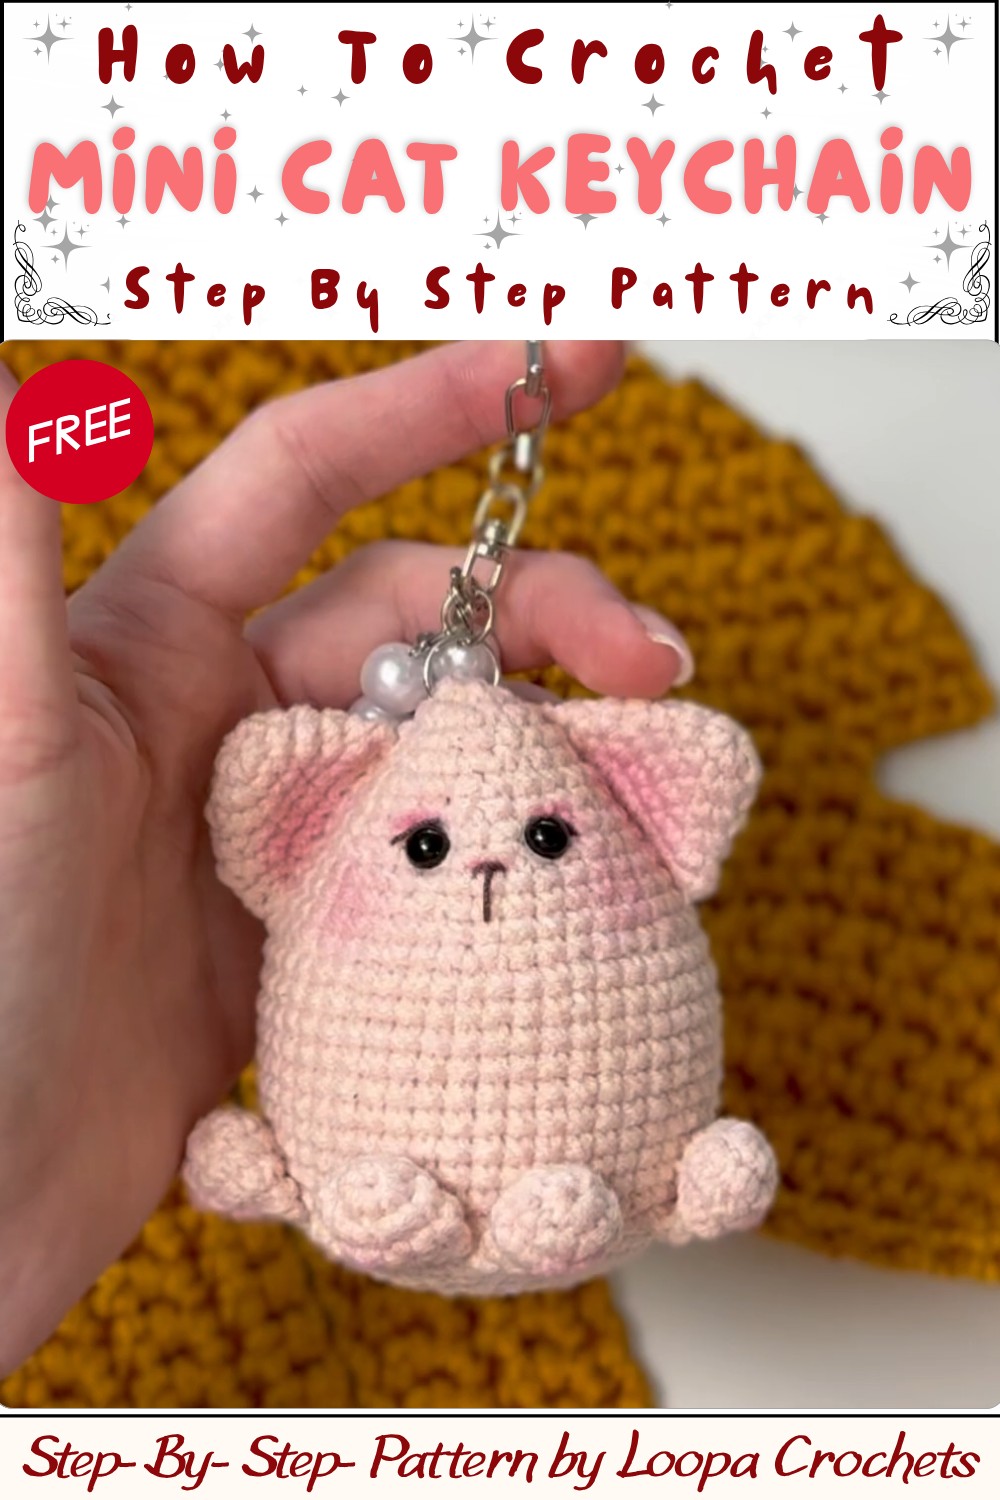
Mini Crochet Cat Pattern
The mini crochet cat is designed to be a compact, lovable figurine, perfect as a pocket plushie, stress-relief toy, or personalized gift. Its seamless body construction with integrated legs and joined tail ensures durability and smooth shaping, while each appendage is created individually for excellent detail and control. The pattern employs beginner-friendly stitches and simple increases/decreases, with clear rounds and strategic joining for ideal results.
Skill Level & Terminology
Skill Level: Beginner
This pattern is ideal for crafters with basic crochet experience or those new to amigurumi. The main techniques are single crochet, working in the round, basic increases and decreases, and basic sewing.
Terminology: US Terms
All stitches and instructions use standard US crochet terminology for accessibility and clarity.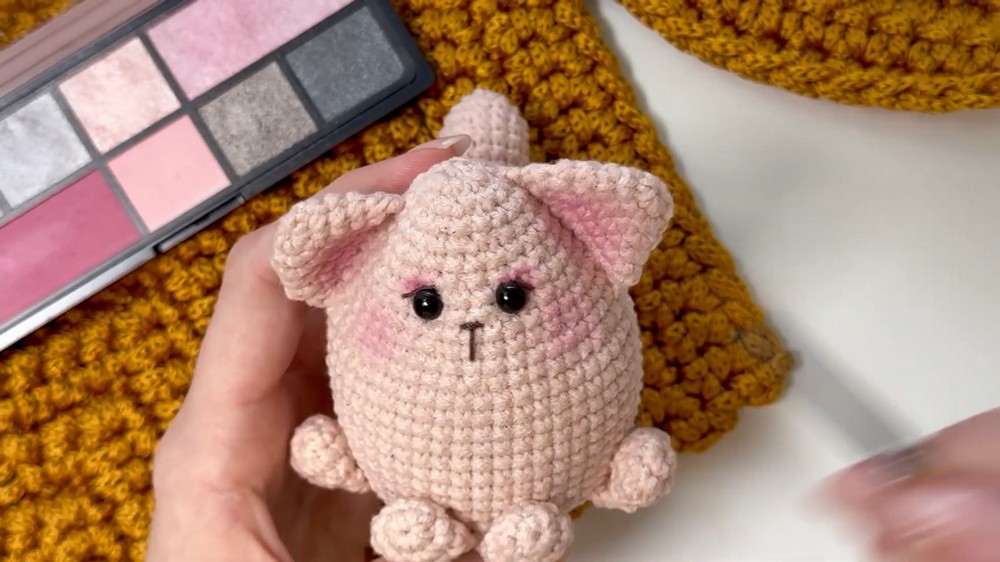
If you are new to reading written patterns, this project uses single crochet, increases, and decreases throughout, with all steps listed in rounds. Assembly tips help guide the joining of parts.
Materials & Tools
- Yarn: Any DK weight yarn (e.g., Alize Cotton Gold), color of choice for the cat’s body; a scrap of thinner yarn in pink or black for embroidery.
- Safety Eyes: 6 mm black (or desired style).
- Hook: 2.5 mm crochet hook.
- Stuffing: Fiberfill/poly-fil.
- Notions: Tapestry (yarn) needle, scissors, stitch markers.
- Optional: Pins for easier assembly.
Gather yarn, hook, and basic tools. The pattern is worked tightly in amigurumi style to prevent stuffing from showing.
Gauge
Gauge is not crucial for amigurumi, as the goal is a tight, dense fabric:
- 10 sc x 10 rounds ≈ 4 cm (1.5″) square with 2.5 mm hook in DK yarn.
- Adjust hook down a half size if holes form.
Don’t worry if your piece is slightly larger or smaller; just ensure stitches are tight enough to contain stuffing for best results.
Abbreviations List
Pattern Stitch Dictionary:
- ch: chain
- sc: single crochet
- inc: increase (2 sc in 1 st)
- dec: decrease (sc 2 together)
- MR: magic ring
- st(s): stitch(es)
- rep: repeat
These basic abbreviations are used throughout the pattern. Written step-by-step instructions tell you exactly where to place each stitch.
Special Stitch Instructions
Magic Ring (MR):
Wrap yarn into an adjustable ring; work first round’s stitches into ring; pull tail to close circle.
Increase (inc):
Work 2 sc into the next st.
Decrease (dec):
Single crochet two stitches together using the invisible amigurumi method: insert hook in front loop of first st, then next, yarn over, pull through both, yarn over, pull through two loops.
Fold and Seam:
When directed to “fold flat” and work through both layers, simply squash the open piece and crochet together into a closed, flat shape—creating crisp, sturdy edges.
If this is your first amigurumi, you’ll only need to master the single crochet and simple increase/decrease. Watch for instructions to fold and close using sc for neat limbs and points.
Finished Size
- Approximate Height: 6–8 cm (2.5–3.25 in) from base to tip of ears
- Body Width: 3–4 cm (1.25–1.75 in)
- Tail Length: 4–5 cm (1.5–2 in)
- Dimensions may vary with yarn, hook, and individual tension.
The result is a palm-sized cat, great for keychains, shelf decor, mini gifts, or as the perfect companion in a set of tiny animals.
The Pattern
Legs (Make 4)
- R1:
- Make a Magic Ring (MR); work 6 sc into ring. (6)
- R2:
- 6 inc (2 sc in each st around). (12)
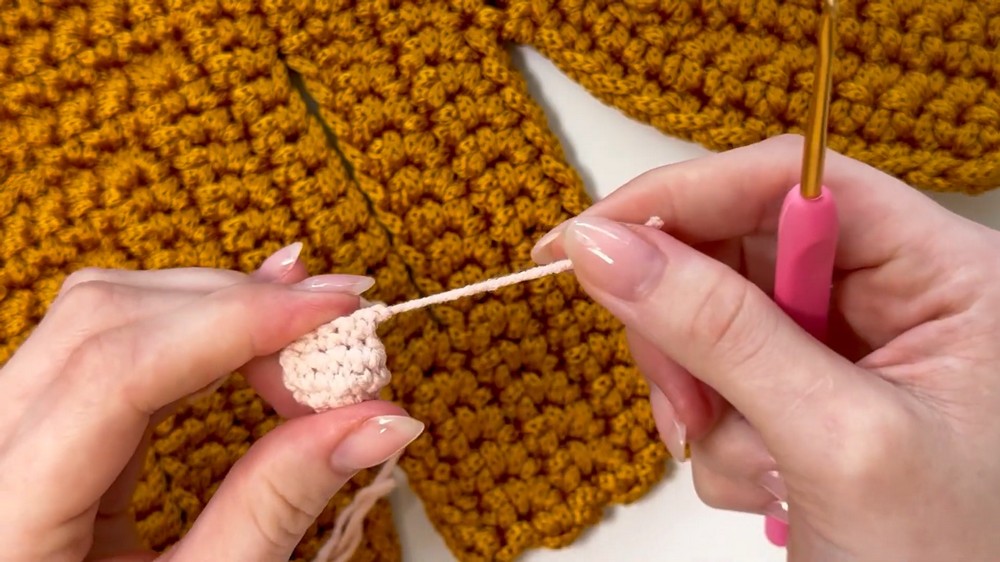
- 6 inc (2 sc in each st around). (12)
- R3:
- 12 sc (one in each st). (12)
- R4:
- (1 sc, 1 dec) x4 (work 1 sc, then 1 dec—repeat 4 times). (8)
- Finish: Stuff lightly. Fold piece flat and work 4 sc through both layers to close.
- Fasten off, leaving a tail for joining to body.
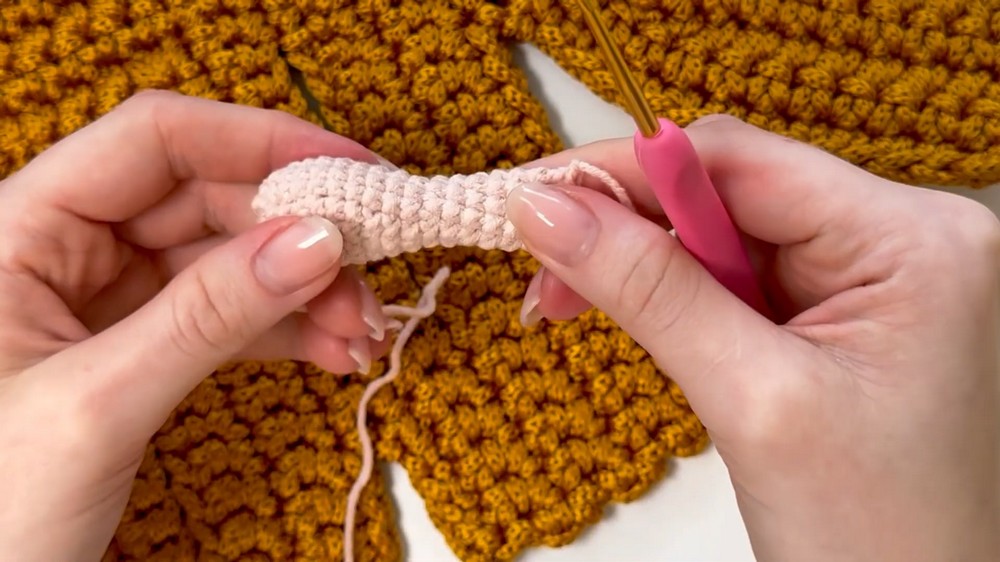
Crochet four small tube shapes, flattening and stitching across for paws. They are ready for joining to the cat body later.
Ears (Make 2)
- R1:
- 6 sc in MR. (6)
- R2:
- (1 sc, 1 inc) x3 (work 1 sc, then 1 inc; repeat 3 times). (9)
- R3:
- (2 sc, 1 inc) x3 (work 2 sc, 1 inc; repeat). (12)
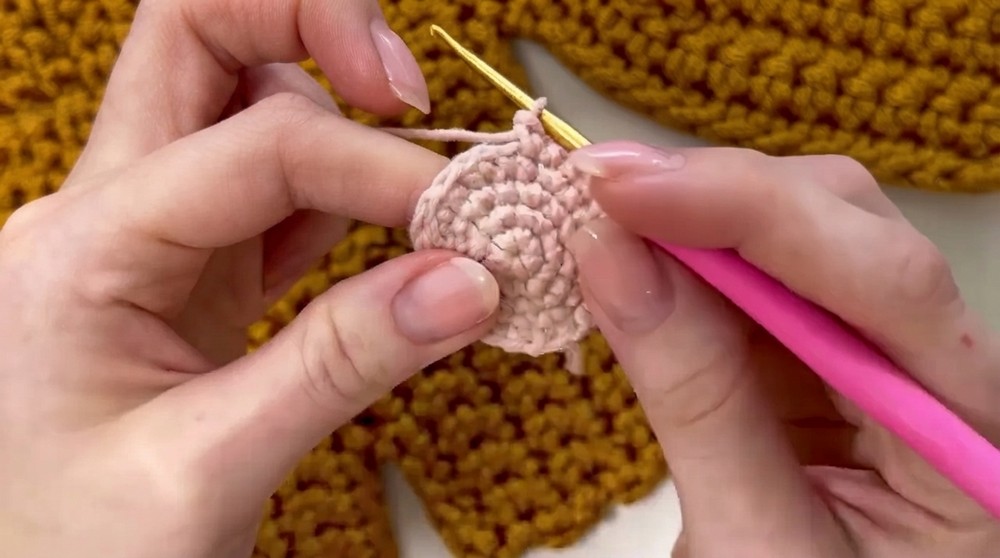
- (2 sc, 1 inc) x3 (work 2 sc, 1 inc; repeat). (12)
- R4:
- (3 sc, 1 inc) x3 (3 sc, 1 inc; repeat). (15)
- R5:
- (4 sc, 1 inc) x3 (4 sc, 1 inc; repeat). (18)
- Finish: Fold flat and sc 9 through both layers to close shape.
- Fasten off, leave long tail for sewing.
Work the ear rounds then fold and close for the classic pointed ear look, which will be attached at the end.
Tail
- R1:
- 6 sc in MR. (6)
- R2:
- (1 sc, 1 inc) x3 (1 sc, 1 inc; repeat). (9)
- R3:
- (2 sc, 1 inc) x3 (2 sc, 1 inc; repeat). (12)
- R4:
- (3 sc, 1 inc) x3 (3 sc, 1 inc; repeat). (15)
- R5–7:
- 15 sc each round (work 3 rounds even).
- R8:
- (3 sc, 1 dec) x3 (3 sc, 1 dec; repeat). (12)
- R9:
- 12 sc (12)
- R10:
- (2 sc, 1 dec) x3 (2 sc, 1 dec; repeat). (9)
- R11:
- 9 sc (9)
- R12:
- 1 dec, 7 sc (decrease, then 7 single crochets). (8)
- R13–17:
- 8 sc each round (5 rounds).
- Finish: Stuff the bottom, fold flat, and 4 sc through both layers to close the tip.
- Fasten off, leaving a long tail.
An elongated, slightly tapered tail is made seamless by folding and joining. Stuff as you go for best results.
Body
- R1:
- 6 sc in MR. (6)
- R2:
- 6 inc (12)
- R3:
- (1 sc, 1 inc) x6 (18)
- R4:
- (1 sc, 1 inc, 1 sc) x6 (24)
- R5:
- (3 sc, 1 inc) x6 (30)
- R6:
- (2 sc, 1 inc, 2 sc) x6 (36)
- R7:
- (5 sc, 1 inc) x6 (42)
- R8:
- (3 sc, 1 dec, 3 sc) x6 (36)
- R9 (Joining):
- 2 sc,
- 4 sc — Join and crochet across tail,
- 11 sc,
- 4 sc — Join leg 1,
- 3 sc,
- 4 sc — Join leg 2,
- 4 sc — Join leg 3,
- 3 sc,
- 4 sc — Join leg 4,
- 9 sc (Total 48 sts)
- R10–19:
- 48 sc (work 10 rounds even).
- R20:
- (3 sc, 1 dec, 3 sc) x6 (42)
- R21:
- 42 sc (42)
- R22:
- (5 sc, 1 dec) x6 (36)
- R23:
- 36 sc
- R24:
- (2 sc, 1 dec, 2 sc) x6 (30)
- Insert safety eyes between rounds 24 and 25, spacing evenly.
- R25:
- 30 sc (30)
- R26:
- (3 sc, 1 dec) x6 (24)
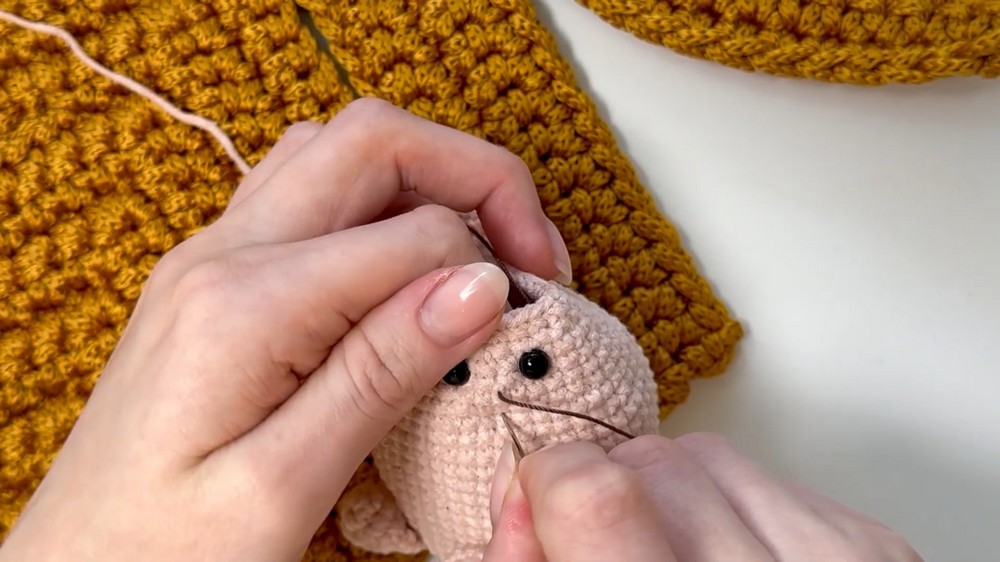
- (3 sc, 1 dec) x6 (24)
- R27:
- 24 sc (24)
- R28:
- (1 sc, 1 dec, 1 sc) x6 (18)
- R29:
- 18 sc (18)
- R30:
- (1 sc, 1 dec) x6 (12)
- R31:
- 6 dec (use invisible decrease to close) (6)
- Fasten off. Weave in and hide the end.
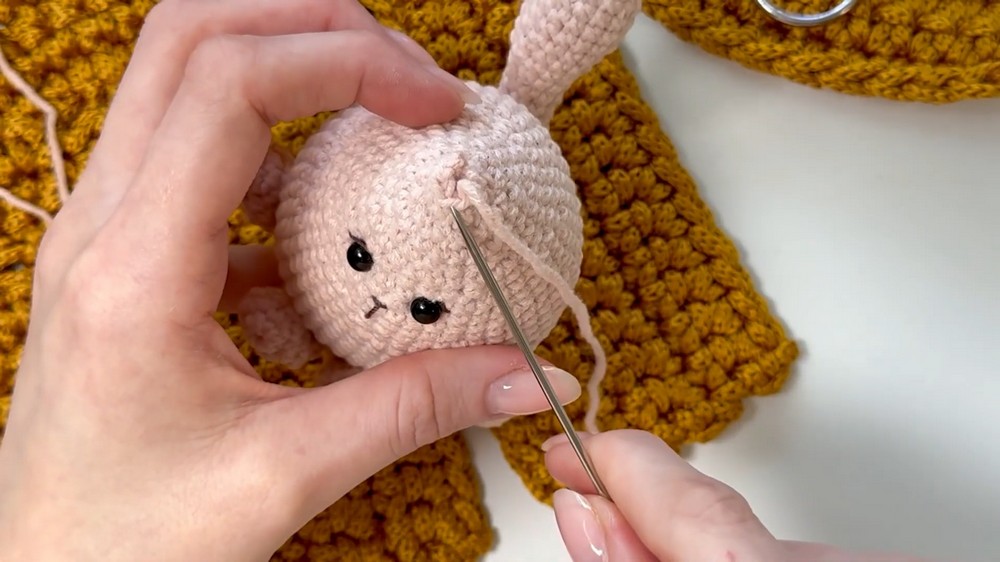
The body section is seamless, with the legs and tail crocheted into the lower rounds. Stuff the body as you work, especially before completing final decreases for a firm, cuddly shape.
Assembly & Finishing
- Sew Ears to Head:
Position each closed ear at equal distance from the center top of the head. Use the tails to sew securely. - Embroider the Nose:
With a yarn needle and thin pink or black thread, make a small triangle or vertical dash at the center between and just below the eyes. - Weave in and Secure Ends:
Make sure all tails are hidden inside the body. - Shaping:
Gently massage to even out stuffing, shaping tail and ears as needed. - Finishing Details:
Add optional embroidered mouth or whiskers as desired. - Final Inspection:
Check for symmetry and secure all sewn pieces.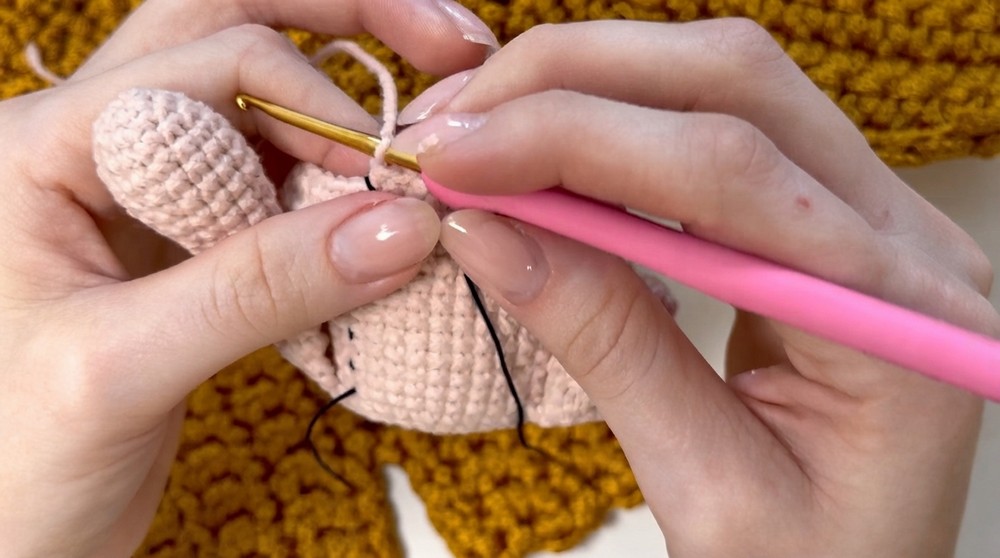
After closing the body and attaching all features, your mini cat is complete and ready to brighten your desk, bag, or gifting occasions with charm.
Summary for those who do not read or understand the pattern format:
- You will crochet the legs, ears, and tail individually as small tubes or triangles, then close and stuff as directed.
- The body is started like a ball, and the tail/legs are attached as you go. Once the basic body is finished, the ears are sewn to the top and the nose is embroidered for character.
- Simple single crochet stitches, invisible decreases, and folding/closing techniques ensure your mini cat is cute, sturdy, and full of personality.

![How to Crochet Eleven (Stranger Things) Amigurumi Tutorial [EN, ES, DE Sub] 13](https://claireabellemakes.com/wp-content/uploads/2026/07/How-to-Crochet-Eleven-Stranger-Things-Amigurumi-Tutorial-EN-ES-DE-Sub-13-768x768.jpg)