Free Crochet Easter Egg Pattern – Quick and Easy Tutorial

Brighten your celebrations with this free crochet Easter egg pattern that’s adding festive charm to your seasonal decorations effortlessly.
Bringing a handmade touch to your Easter decorations can make the holiday feel extra special. The free crochet Easter EGG Pattern is a fun and easy project that helps you create a cute and soft Easter egg. This helpful pattern comes from a talented crafter named Iryna Tsokalo Crochet, who shares simple steps anyone can follow.
Colorful Free Crochet Easter Egg Pattern with Instructions
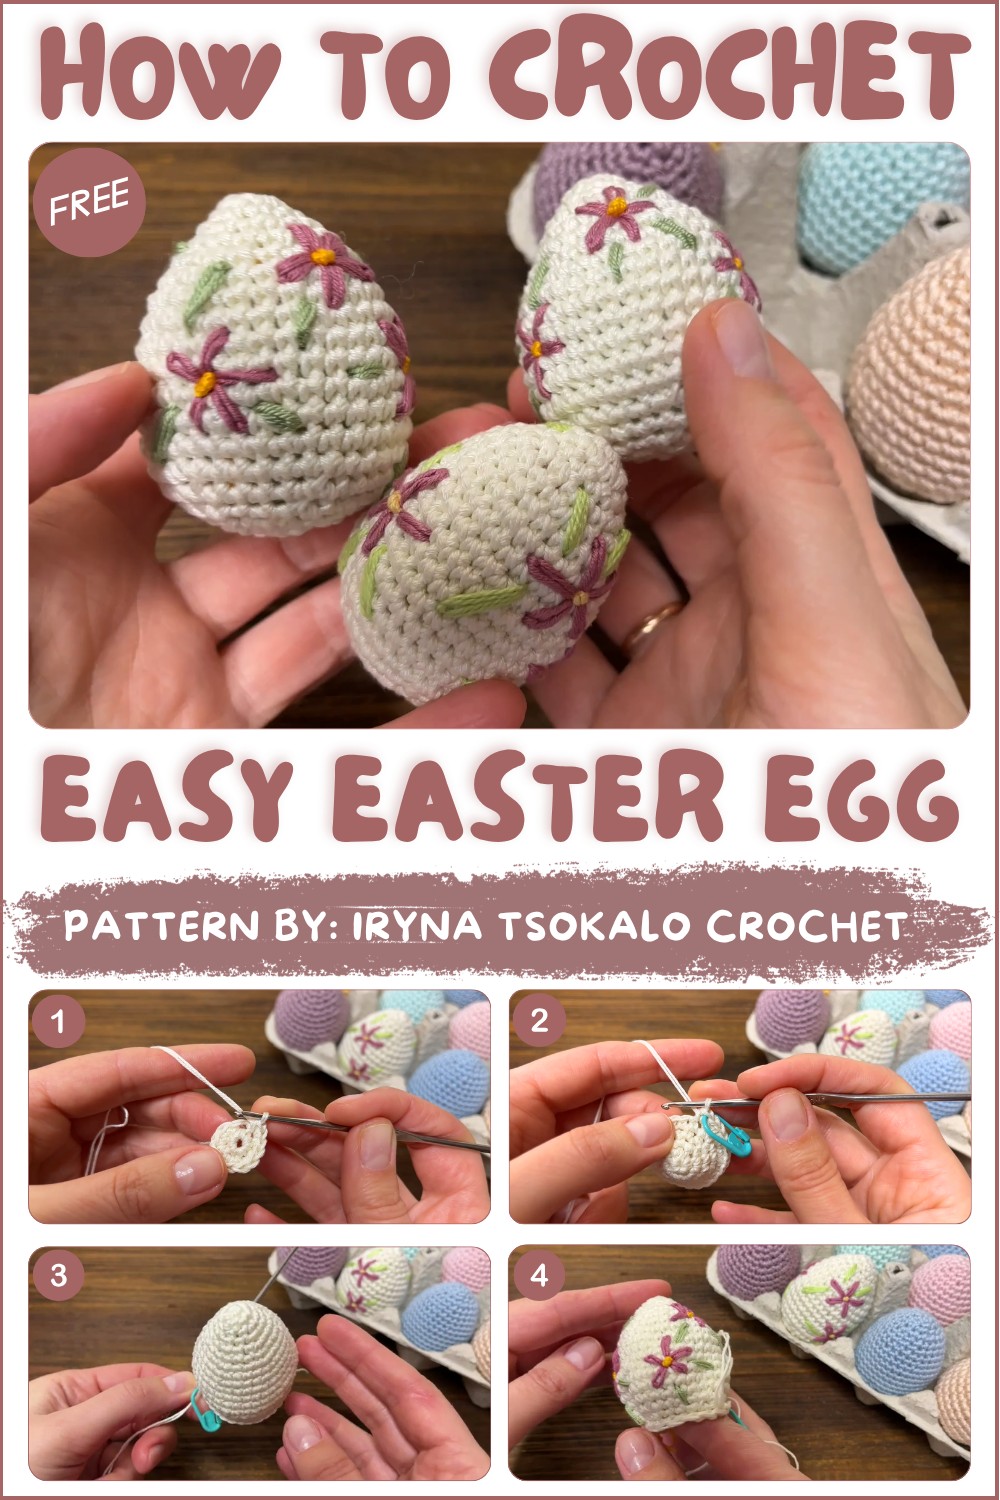
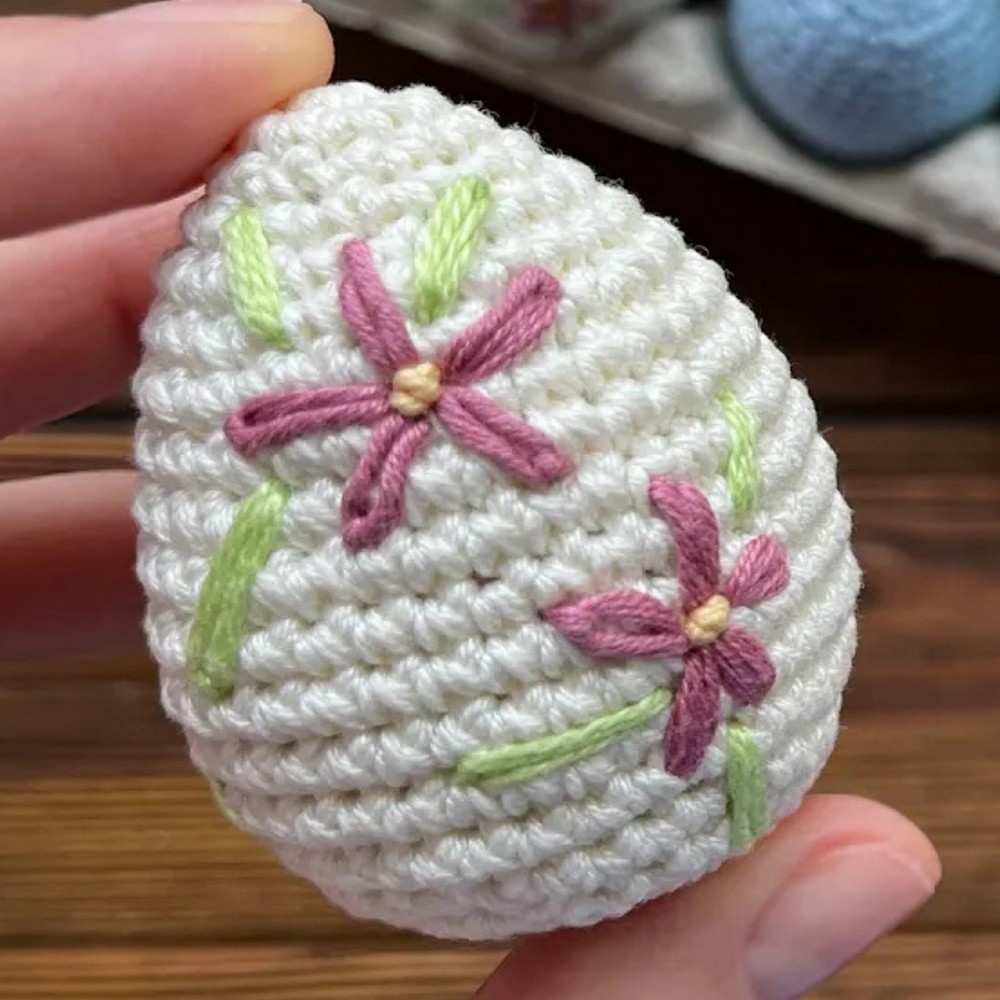
The Easter egg made with this pattern is smooth and round, shaped by adding and reducing stitches in a circle. Using a small 2.1 mm crochet hook, the egg feels soft but keeps its shape well. Its classic egg form looks lovely and shows the charm of making things by hand.
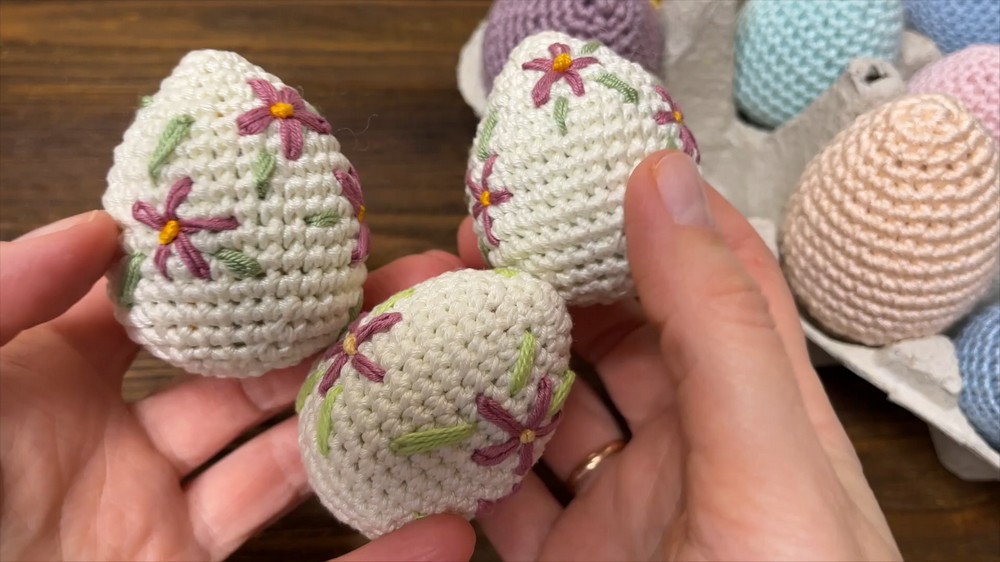
This crocheted egg is not just a pretty decoration, but also a nice gift idea. You can choose different colors or add small decorations to make each egg your own. It’s a good size to hang on Easter trees, put in gift baskets, or use as a cute table decoration. The pattern also includes a neat trick to pull some loops, which adds a little extra texture and makes the egg stand out.
Overall, the free crochet Easter EGG Pattern is a simple and enjoyable craft. It offers a pretty shape, soft feel, and a fun way to add handmade joy to your Easter. This project is perfect for anyone who wants to make their holiday decorations more personal and cheerful.
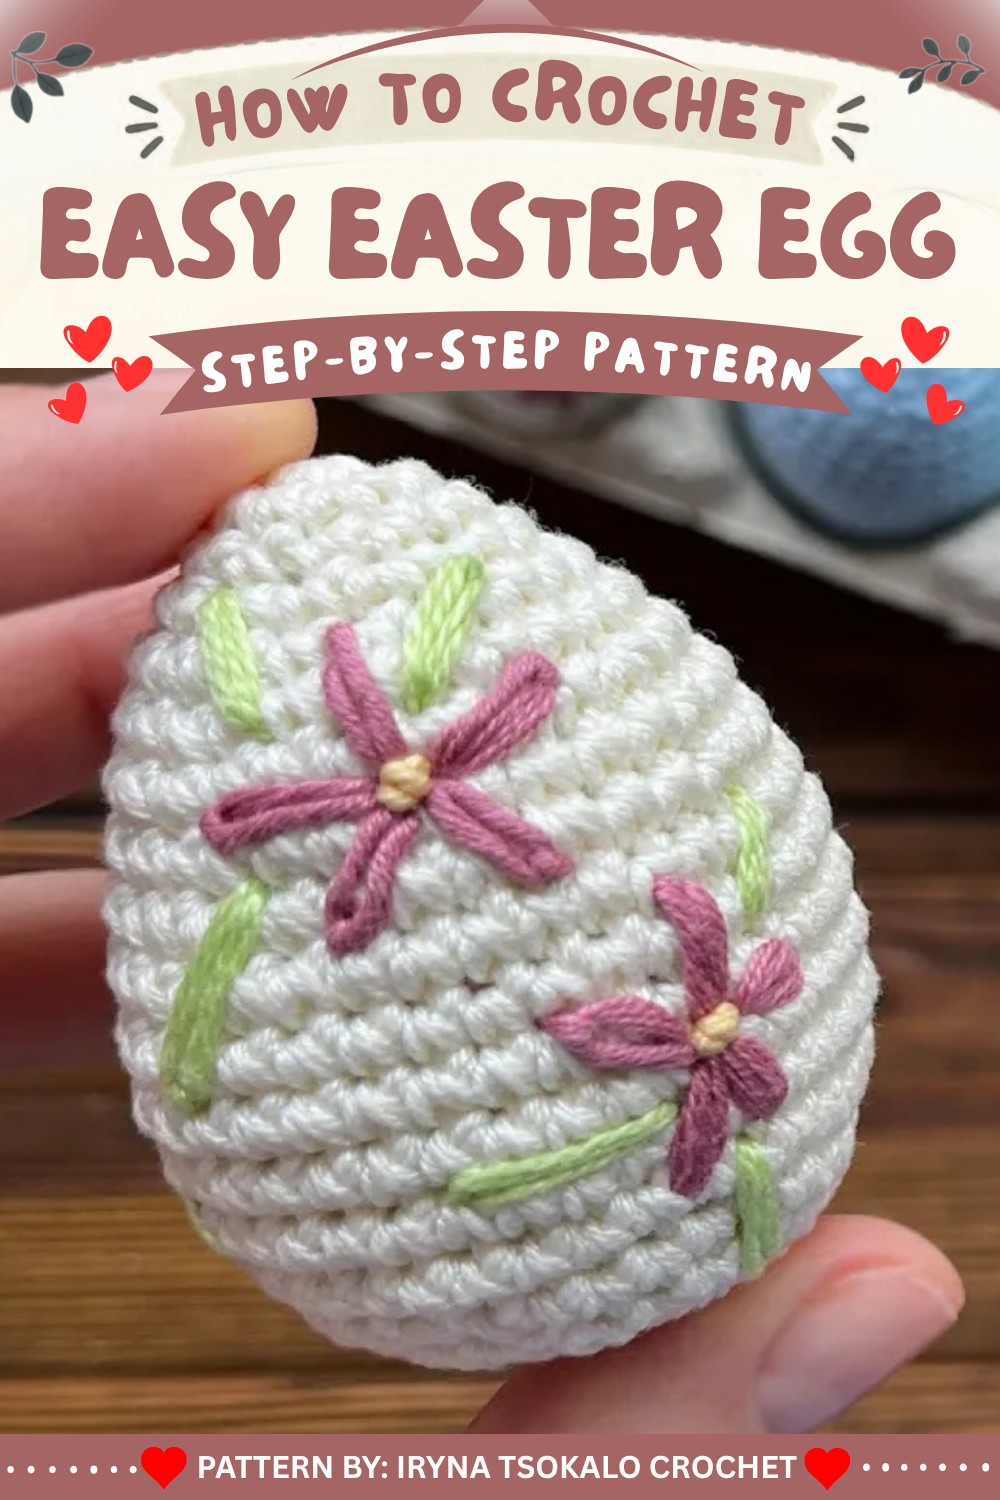
Crochet Easter Egg – Easy Step-by-Step Pattern
This pattern will show you how to crochet a cute Easter egg, just like in the video. You will work in rounds, adding and reducing stitches to make the egg shape. At the end, you’ll stuff the egg and close it up. You can decorate your egg with flowers or French knots. Each step is explained so that even beginners can follow along!
Pattern Basics
- The egg is made in a continuous spiral (no joining at round end).
- Use single crochet (sc) for all rounds.
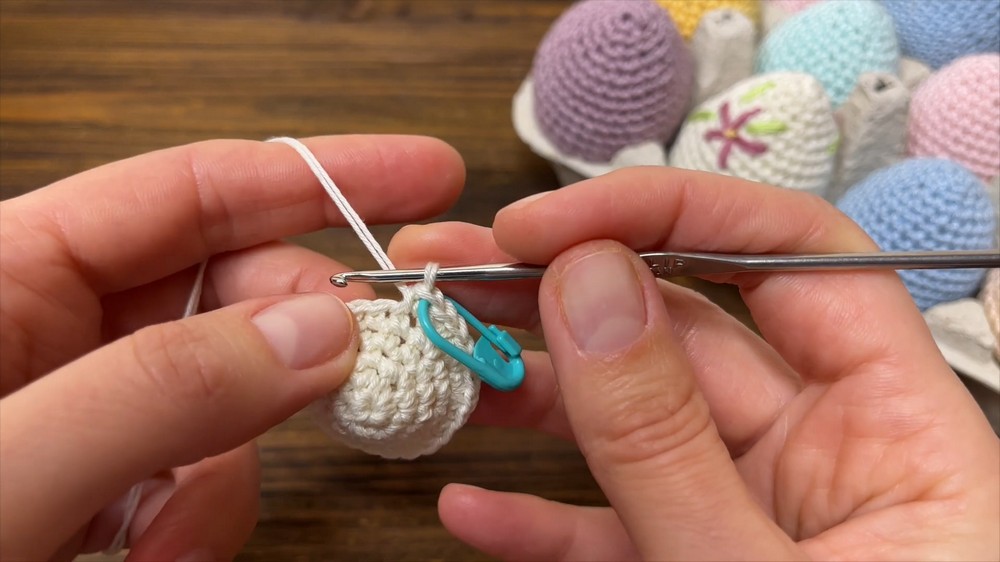
- Use a stitch marker to help keep track of rounds.
- You will add more stitches to make the egg wider, then reduce toward the end.
- Stuff the egg before closing, then decorate if you wish.
What You’ll Need
- Yarn: 2 strands held together for a sturdy egg (choose any color).
- Hook: 2.1 mm crochet hook.
- Stitch marker: To mark your round start (a piece of yarn works too).
- Yarn needle: For closing and weaving in ends.
- Stuffing: Polyfill or any soft filling.
- Decorative Yarn: Optional, for flowers and knots.
Finished Size
- The egg will be about 7–10 cm tall (fits in your hand).
- The size may change with different yarn or hook sizes.
Crochet Terms
- sc: Single crochet
- st: Stitch
- dec: Decrease (single crochet two stitches together)
Tips for Crocheting Easter Eggs
Based on the tutorial from this video, here are some useful tips to make your crocheted Easter eggs look great:
- Use Two Threads and a Small Hook: The tutorial suggests using 2 threads held together with a 2.1 mm hook. This gives your egg a firm and neat texture suitable for amigurumi shapes.
- Keep a Stitch Marker Handy: Especially important when working in rounds to keep track of the beginning of each round and maintain an even stitch count.
- Work in Continuous Rounds: The pattern involves rounds with increasing stitch counts in a specific sequence to create the oval egg shape.
- Follow the Increase Pattern Carefully: For example:
- Start with 6 single crochets in a magic ring.
- Increase gradually (2 sc in every stitch, then every 2nd stitch, and so on) to shape the egg.
- Maintain some rounds without increases to build height.
- Use Decreases to Shape the Top: After reaching the widest part (usually around round 15), begin decreasing stitches to taper off the egg shape.
- Pick Up Outer Half Stitches at the End: After finishing crocheting, use a needle to pick up the outer half of each stitch and pull tightly to close the opening for a smooth finish.
- Fill Firmly: Use filler when shaping your egg to keep it firm and maintain its shape.
- Choose Your Colors Wisely: Consider colorful yarns for a festive Easter look or pastels for a soft effect.
Before You Start
- Place your stitch marker in the first stitch of each round and move it as you finish rounds.
- Work in a spiral, so do not join at the end of each round.
- Count your stitches at the end of each round.
Step-by-Step Instructions
Step 1: Start with a Magic Ring
- Make a magic ring:
- Wrap the yarn and insert your hook into the loop.
- Pull up a loop and chain 1.
Step 2: Round 1
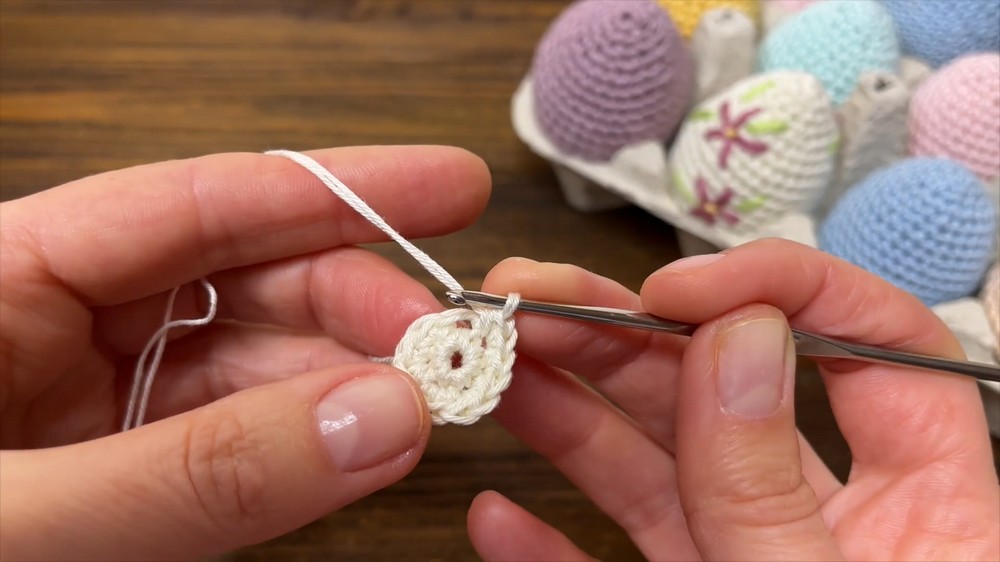
- Work 6 single crochets (sc) into the ring.
- Place your marker in the first stitch.
Step 3: Round 2
- Work 2 sc in every stitch around (increase).
- You should have 12 stitches when you finish this round.
Step 4: Round 3
- Work 1 sc in each stitch around.
- Total: 12 stitches.
Step 5: Round 4
- Increase every 2nd stitch:
- Work [1 sc in next stitch, 2 sc in next stitch], repeat to the end.
- Total: 18 stitches.
Step 6: Round 5
- Increase every 3rd stitch:
- Work [1 sc in next stitch, 1 sc in next stitch, 2 sc in next stitch], repeat.
- Total: 24 stitches.
Step 7: Round 6
- Work 1 sc in each stitch around.
- Total: 24 stitches.
Step 8: Round 7
- Increase every 4th stitch:
- Work [1 sc in next stitch, 1 sc in next stitch, 1 sc in next stitch, 2 sc in next stitch], repeat.
- Total: 30 stitches.
Step 9: Round 8
- Work 1 sc in each stitch around.
- Total: 30 stitches.
Step 10: Round 9
- Increase every 5th stitch:
- Work [1 sc in next stitch, 1 sc in next stitch, 1 sc in next stitch, 1 sc in next stitch, 2 sc in next stitch], repeat.
- Total: 36 stitches.
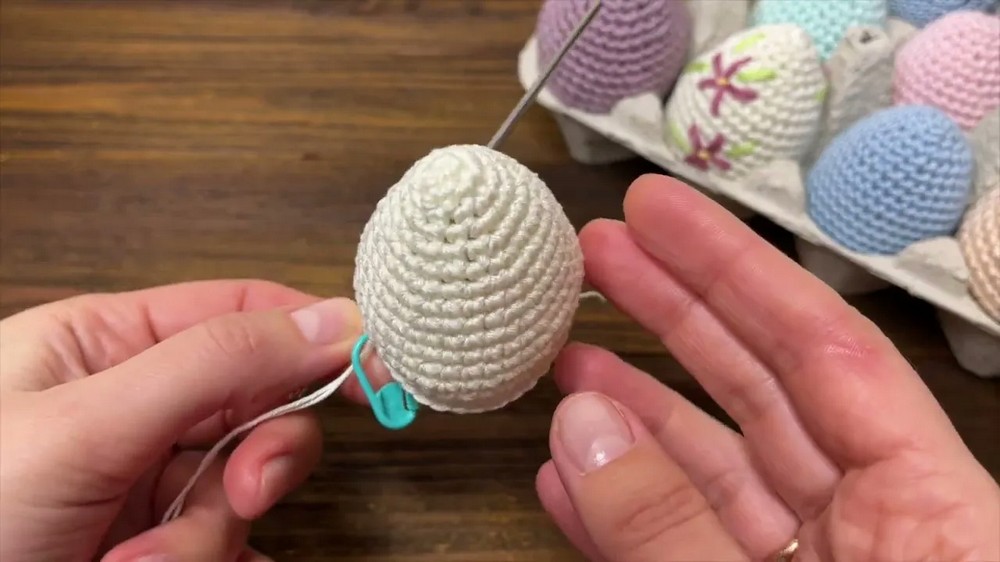
Step 11: Rounds 10 to 15
- Work 1 sc in each stitch around for 6 rounds.
- Each round: 36 stitches.
Step 12: Round 16
- Decrease round:
- Work [4 sc, dec] (single crochet decrease), repeat.
- End with 30 stitches.
Step 13: Round 17
- Decrease round:
- Work [3 sc, dec], repeat.
- End with 24 stitches.
Step 14: Round 18
- Decrease round:
- Work [2 sc, dec], repeat.
- End with 18 stitches.
Step 15: Round 19
- Decrease round:
- Work [1 sc, dec], repeat.
- End with 12 stitches.
Step 16: Stuff the Egg
- Fill your egg with stuffing until it feels full but not too tight.
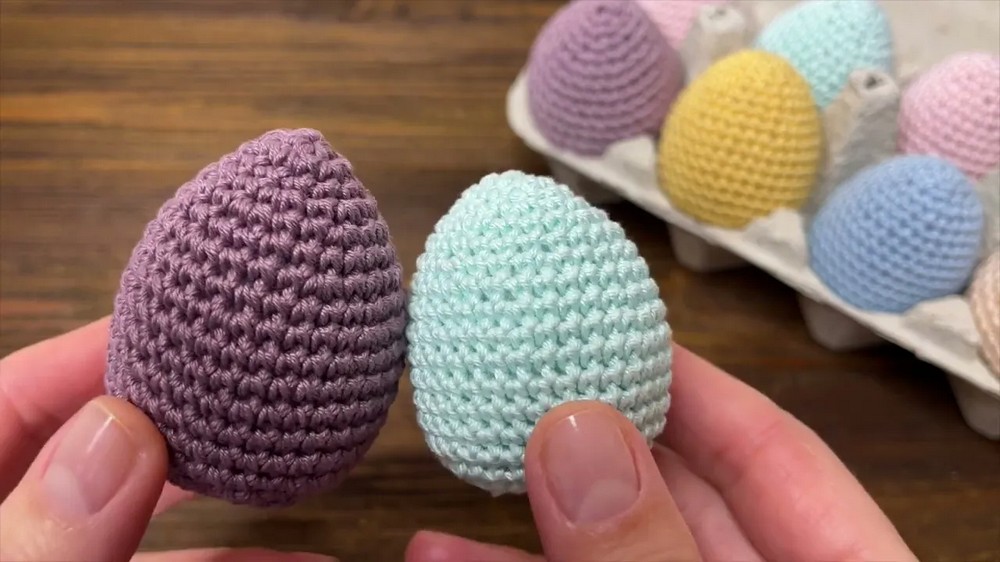
Step 17: Close the Egg
- Take a yarn needle.
- Go through the outer half of each of the 12 stitches.
- Pull the yarn tight to close the opening.
- Fasten off and weave in the ends.
Decorating Your Egg
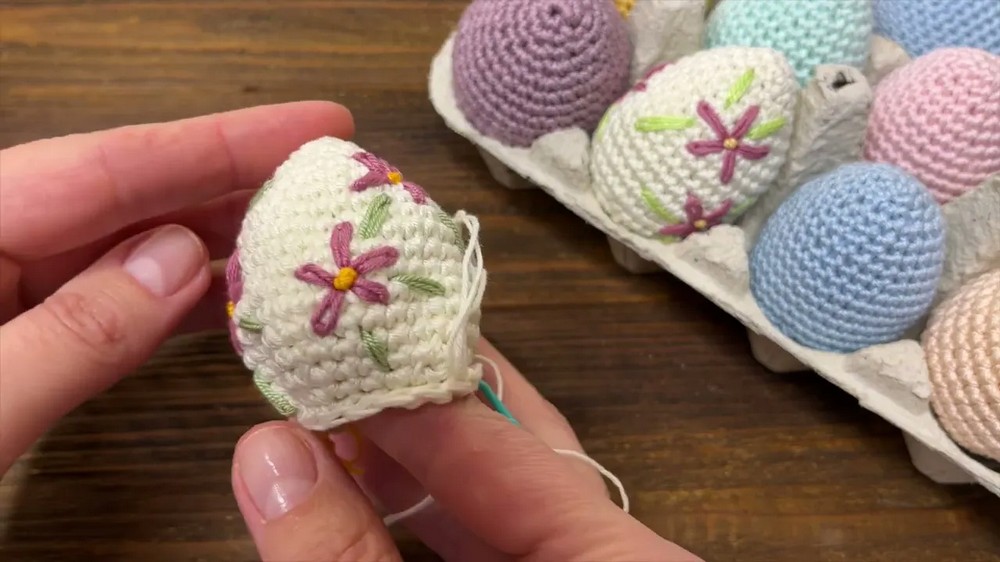
- French Knots: Use a needle and colored yarn. Wrap the yarn around the needle, insert it into the egg, and pull through to make a knot. Repeat as desired.
- Crochet Petals: Use colorful yarns. Chain 5, sc in the 2nd chain, hdc in the next, dc in the next, sc in the last chain. Fasten off and sew onto the egg as petals or flowers.
Assembly & Display
- Weave in all yarn tails neatly.
- Decorate your egg as you wish.
- Place your finished egg in a basket or give it as a gift.
Conclusion
You have now made a lovely crochet Easter egg! This easy pattern is perfect for beginners and creates a fun, colorful decoration. You can make many eggs in different colors and decorate them with flowers or simple knots. Enjoy your new crochet skills and happy spring!