How to Crochet Fish Hair Clip – Free Pattern for Beginners

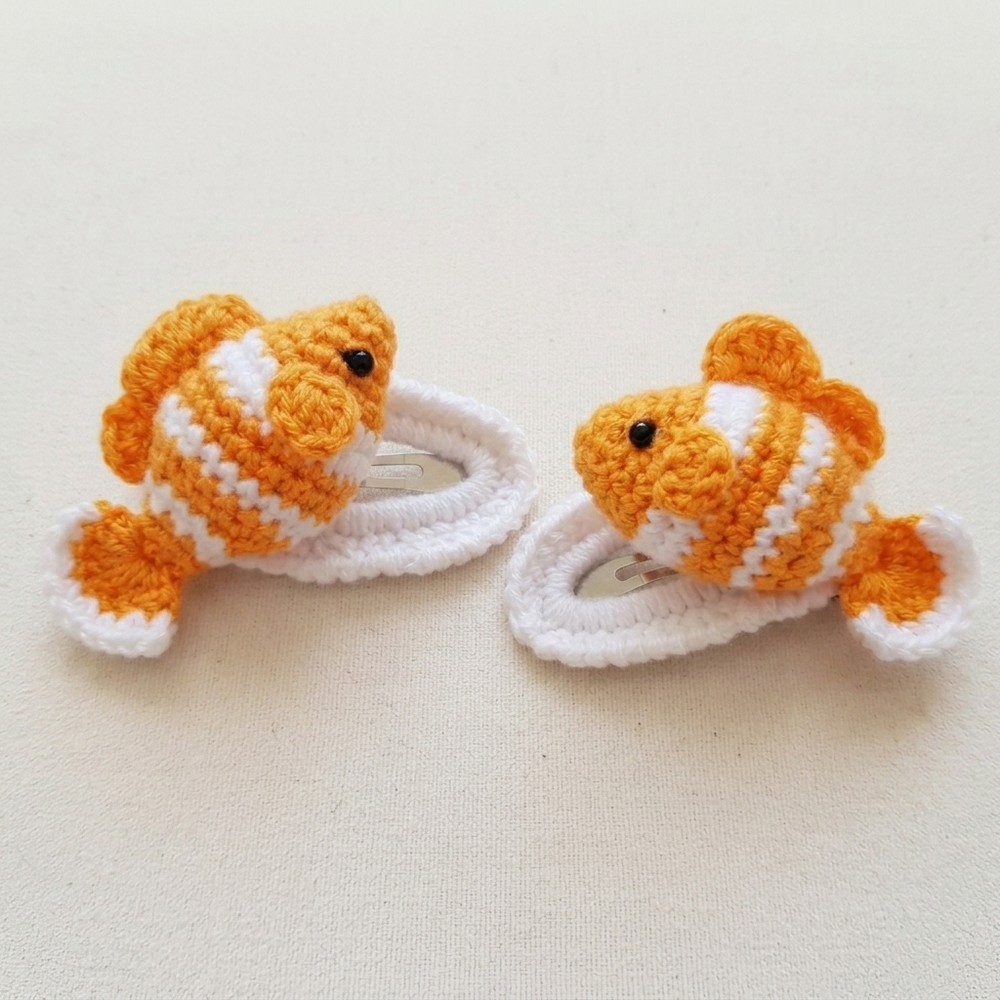
Brighten your hairstyle with a charming free crochet fish hair clip pattern that’s fun to make and perfect for adding a splash of color to any look.
Adding a splash of color and charm to everyday hair accessories can brighten anyone’s day and make simple moments special. Many thanks to the Örgü Hikayem channel for sharing a wonderful tutorial that shows how to create a delightful small fish hair clip with clear and easy instructions. This accessory not only holds hair neatly in place but also serves as a cute decoration that adds personality and style. The technique uses steady and simple steps involving single crochets, increases, and color changes to shape the fish beautifully.
Free Crochet Fish Hair Clip Pattern – Easy Accessory
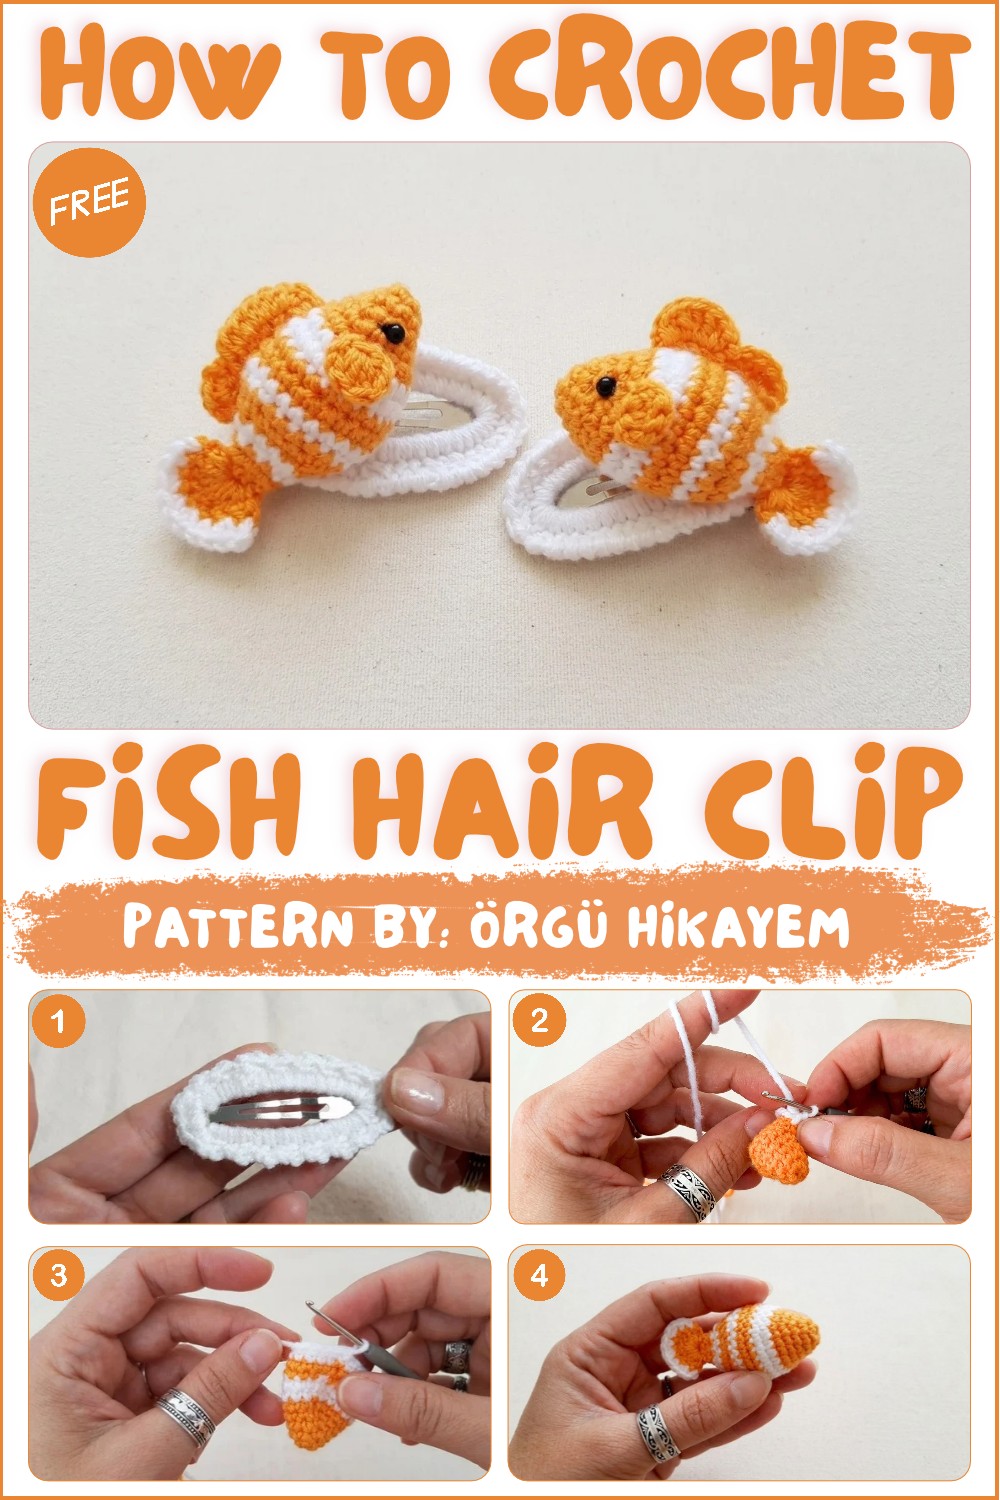
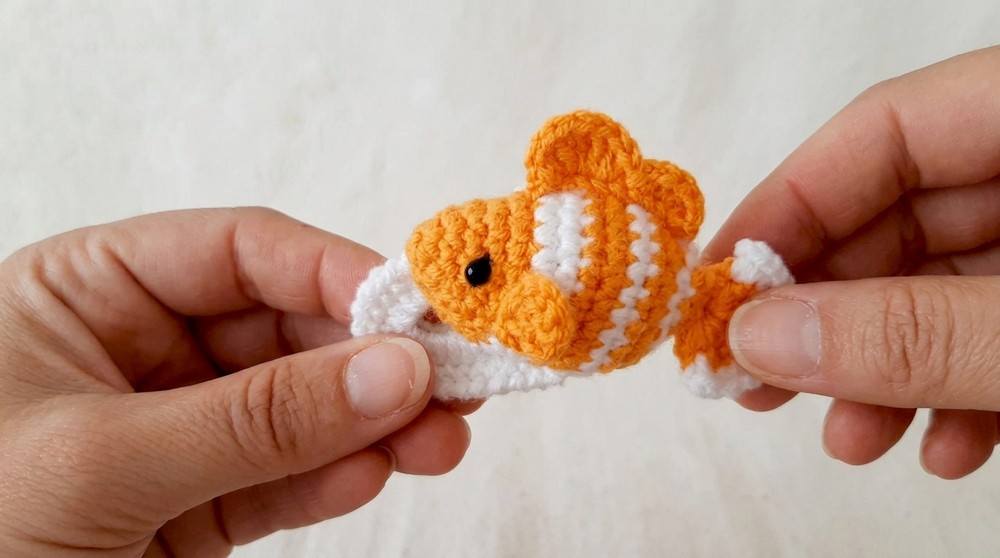
It starts by making a strong base with single crochet stitches worked evenly on both sides to fit the clip securely. Then, using a magic ring and careful stitch increases, the fish body forms row by row to achieve a rounded shape. Different colors create stripes and highlights, adding realism and visual interest, while small details like a bead eye bring warmth and character to the design. The finishing touches include creating fins and the tail with half double crochets and decorative stitching that give a lifelike and balanced look.
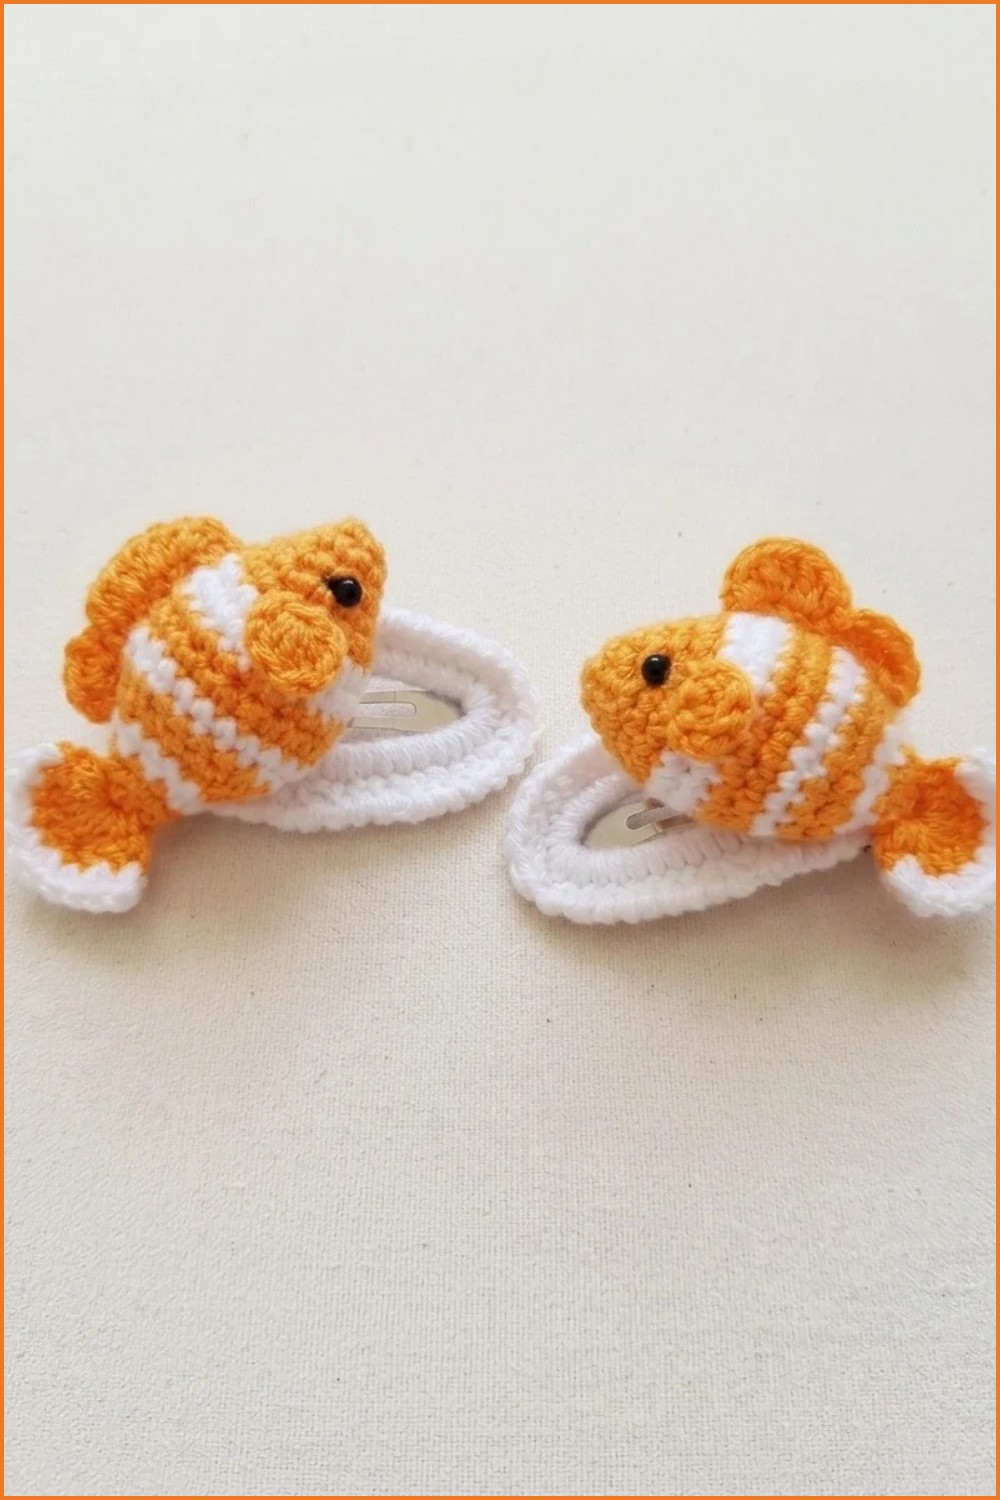
This design stands out for its perfect size and shape to fit comfortably on hair while remaining light and durable. The combination of neat stitch work and thoughtful color placement makes the fish charming without being overwhelming. This pattern blends creativity and practicality in a way that is easy to follow and enjoyable to complete, making it a great choice for anyone wanting to add a bright, joyful touch to their hair accessories.
Amigurumi Fish Hair Clip Crochet Pattern
Create a delightful amigurumi fish hair clip that pairs functionality with charm. This project is perfect for adding a playful touch to any hairstyle or gifting a handmade piece. The pattern provides detailed instructions for crocheting the fish body, fins, tail, and attaching it to a clip base. With vibrant yarn colors, bead eyes, and a snug fit on the clip, this project is compact yet engaging.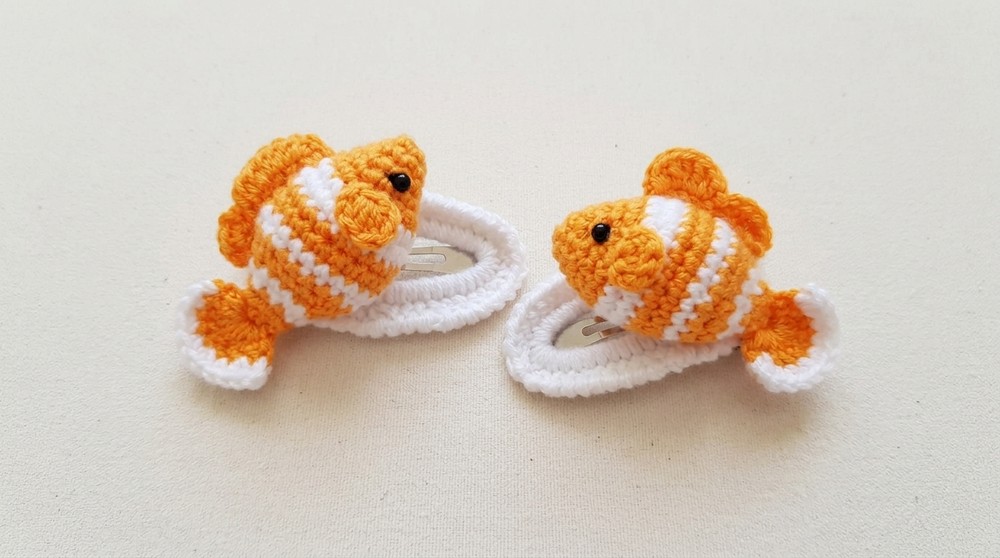
Skill Level
Intermediate:
This pattern is best suited for crocheters familiar with basic stitches such as single crochet, half-double crochet, double crochet, increases, and decreases. It requires working in the round, performing color changes, shaping parts, and sewing attachments.
Materials
To create this fish hair clip, you will need:
- 6 mm clip base for attaching the finished fish to a hair clip.
- Small bead: For the fish’s eye.
- 2 mm crochet hook: Suitable for tight, small stitches.
- Yarn: Two colors (e.g., orange for the fish body and white for the contrasting stripe). Choose lightweight yarn for optimal shape and size.
- Fiberfill stuffing: For stuffing the fish body.
- Thread or sewing needle: For attaching the bead eye to the fish.
- Scissors
- Stitch marker (optional): To track the first stitch of each round.
Special Stitches
This pattern uses the following stitches:
- Magic Ring (MR): Adjustable loop foundation for working in the round.
- Single Crochet (sc): Basic crochet stitch for creating tight, even fabric.
- Half-Double Crochet (hdc): A taller stitch for shaping (yarn over, insert hook, pull up a loop, yarn over, pull through all three loops).
- Double Crochet (dc): Elongated stitch for creating texture and structure.
- Slip Stitch (sl st): Used for joining or securing stitches without adding height.
- Increase (inc): Creating 2 stitches in the same stitch to expand the work.
- Decrease (dec): Joining two stitches into one, reducing the stitch count.
Stitch Abbreviations
| Abbreviation | Meaning |
|---|---|
| MR | Magic Ring |
| sc | Single Crochet |
| hdc | Half-Double Crochet |
| dc | Double Crochet |
| sl st | Slip Stitch |
| ch | Chain |
| inc | Increase |
| dec | Decrease |
Useful Tips
- Use stitch markers to keep track of your rounds, especially for the fish body.
- Always maintain even tension for smooth shaping, especially when working the tail and fins.
- Stuff the fish body lightly using fiberfill to avoid distorting its shape.
- When attaching parts like fins and the eye bead, use a pin to hold the pieces in place while sewing for accuracy.
- Experiment with different color combinations for a variety of fun designs.
Pattern Instructions
Clip Base
Use any yarn color that matches the fish design.
- Foundation:
- Begin by placing the clip base on your crochet hook.
- R1: Work single crochets (sc) around the base, ensuring the stitches fit snugly and evenly on the clip.
- Finishing:
- Secure the stitches with a sl st on the final loop.
- Fasten off and weave in the ends, ensuring the stitches are secure to the clip.
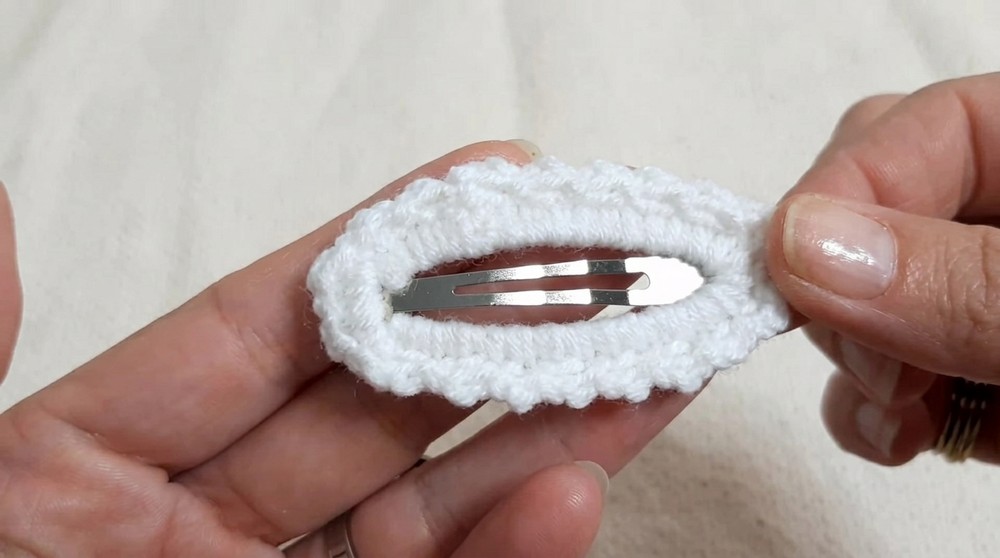
Set the clip base aside; the fish will later be attached to this foundation.
Fish Body
Use orange yarn for most of the body, switching to white yarn for the stripe in Row 10.
- R1:
- Create a magic ring and work 6 sc into the ring. = 6 sts
- R2:
- (1 sc, 1 inc)—repeat 3 times. = 9 sts
- R3:
- (2 sc, 1 inc)—repeat 3 times. = 12 sts
- R4:
- (3 sc, 1 inc)—repeat 3 times. = 15 sts
- R5:
- (4 sc, 1 inc)—repeat 3 times. = 18 sts
- R6:
- (5 sc, 1 inc)—repeat 3 times. = 21 sts
- R7–R9:
- Work 21 sc evenly for 3 rounds. This forms the middle section of the fish body.
- Row 10 (Color change):
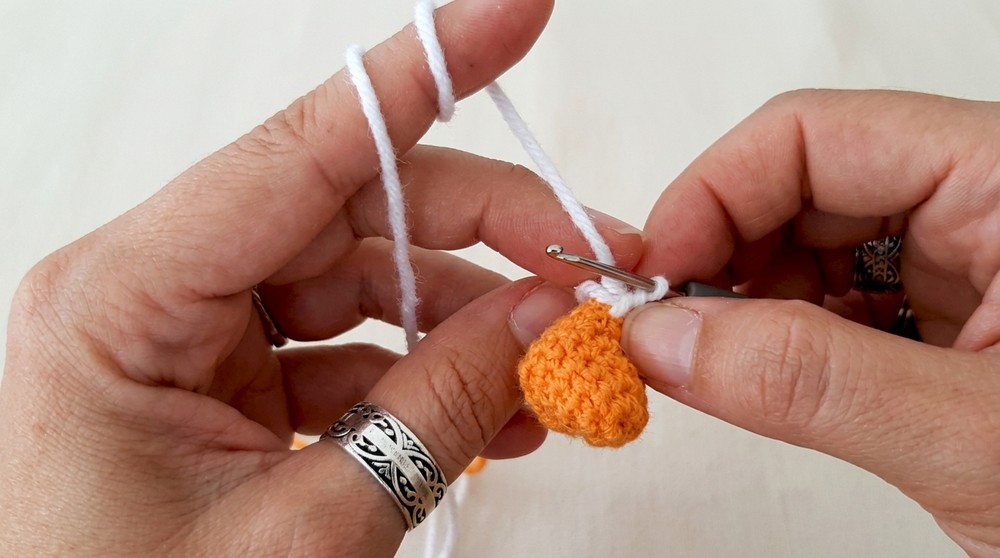
- Switch to white yarn.
- Work a round of 21 sc evenly for a distinct stripe.
- R11:
- (5 sc, 1 dec)—repeat 3 times. = 18 sts
- R12:
- (4 sc, 1 dec)—repeat 3 times. = 15 sts
- R13 (Switch back to white):
- (3 sc, 1 dec)—repeat 3 times. = 12 sts
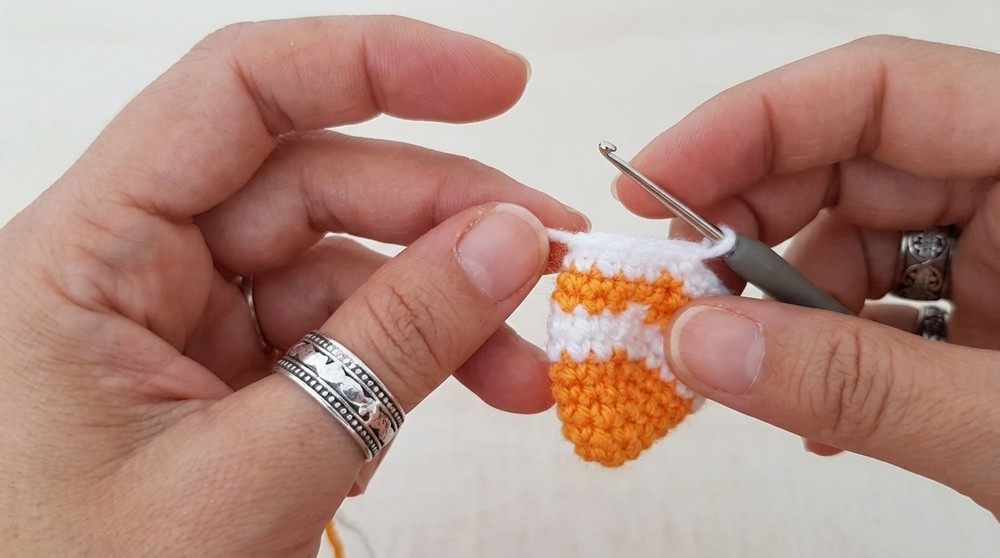
- (3 sc, 1 dec)—repeat 3 times. = 12 sts
Stuffing:
- Stuff the fish body lightly using fiberfill stuffing before continuing.
- R14:
- Work 6 dec evenly around to close the body.
Fasten off and sew the last stitches to close the opening completely. Weave in any remaining yarn ends.
Tail
Use orange yarn to begin the tail, crocheted directly onto the closed edge of the fish’s body.
- Base of tail:
- Flatten the closed end of the fish body.
- Work 3 sc across the flattened edge to begin.
- Fan shaping:
- Ch 3, turn, and crochet the following:
- 2 dc into the first stitch,
- 1 hdc in the next stitch,
- 1 sc in the last stitch,
- sl st to close the fan shape.
- Fasten off and weave in ends.
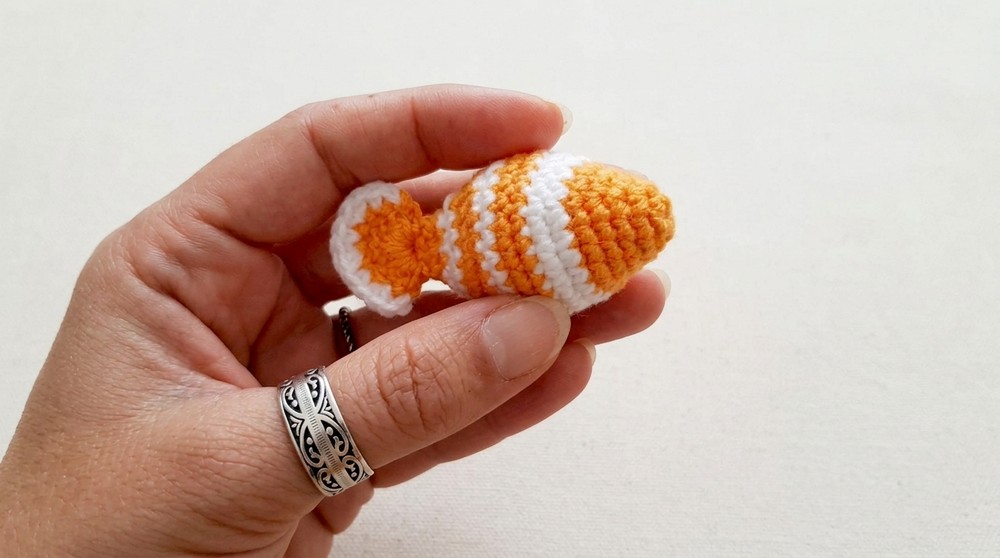
- Ch 3, turn, and crochet the following:
The tail should fan out from the end of the fish body and be symmetrical on both sides.
Eye Attachment
Use a small bead for the fish eye.
- Using a needle and thread, sew the bead securely onto the fish body at the third row (counting from the top of the fish body).
- Position the bead for symmetry to mimic a fish eye and ensure the sewing is tight to prevent movement.
Fins
Top Fin
Use orange yarn.
- Base chain:
- Ch 10.
- Fan shape:
- Work hdc stitches back along the chain to create the top fin shape.
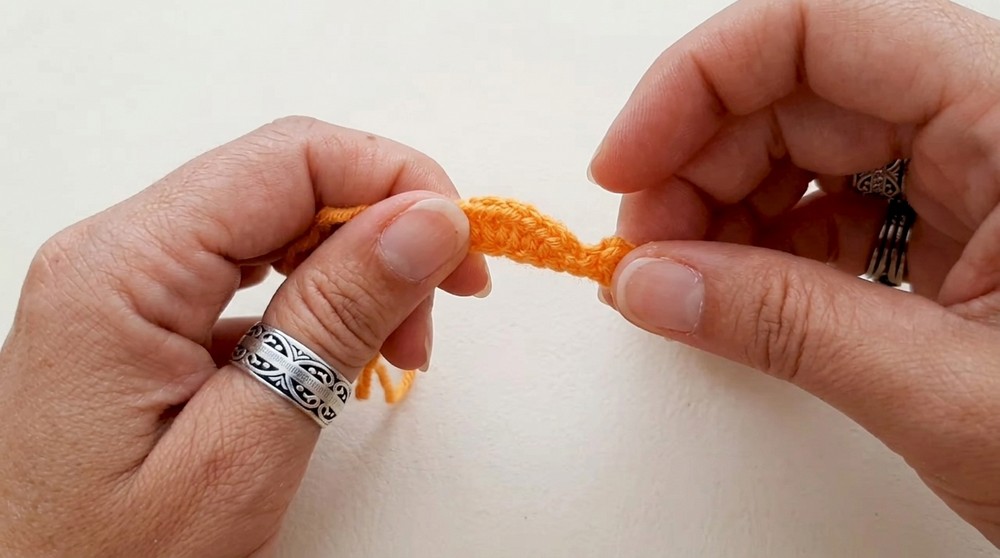
- Work hdc stitches back along the chain to create the top fin shape.
Fasten off and securely sew the fin onto the top center of the fish body, slightly behind the bead eye.
Side Fin
Use orange yarn.
- R1:
- Create a magic ring.
- Into the ring, work:
- Ch 2,
- 1 hdc,
- 2 dc,
- 1 hdc,
- sl st to finish the round.
Fasten off and sew each fin to the sides of the fish body, about halfway down. Ensure they are evenly positioned.
Final Assembly
- Attach the completed fish securely to the clip base, ensuring it sits snugly on the clip.
- Experiment with different placements of fins or color combinations to suit your hair clip design preferences.
- Weave in all ends to tidy up the piece.
Conclusion
This Amigurumi Fish Hair Clip is a creative and functional crochet project for intermediate crocheters. With its playful design, compact structure, and decorative options, it offers an opportunity to explore color combinations while crafting a delightful addition to accessories. Follow the instructions closely for precise shaping, and enjoy experimenting with unique designs and styling!