Free Crochet Koala Hair Clip Pattern + Tutorial for All Skill Levels

Give your hairstyle a cozy upgrade by crocheting a cute koala hair clip using this free pattern that’s easy to follow and perfect for gifting.
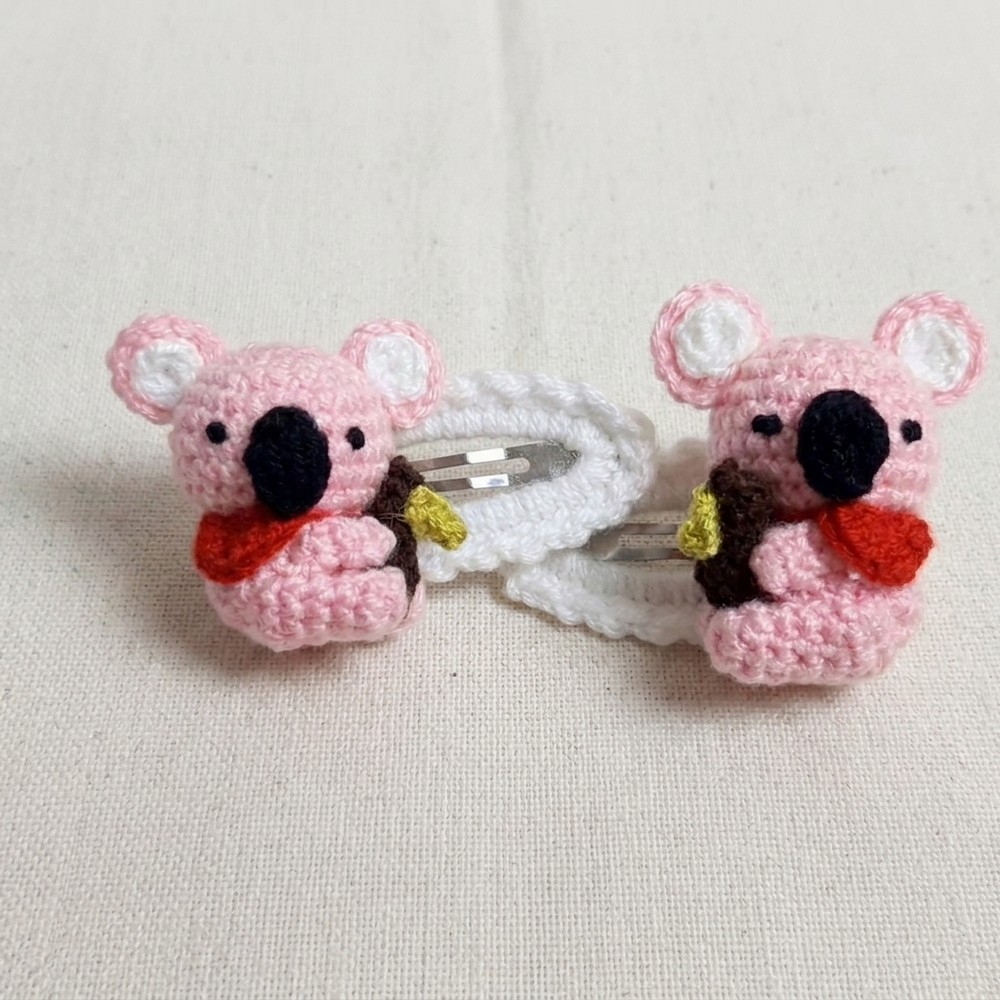
Adding a touch of nature’s charm to hair accessories can make everyday styles more delightful and unique. Many thanks to the Örgü Hikayem channel for sharing an excellent tutorial that introduces a lovely koala hair clip, perfect for anyone looking to add a sweet and playful detail to their look. This accessory is not only practical for keeping hair neatly in place but also brings a gentle, warm feeling with its soft and inviting design. The use of smooth color contrasts and rounded shapes makes it stand out as an attractive piece.
Cute and Simple Free Crochet Koala Hair Clip Pattern
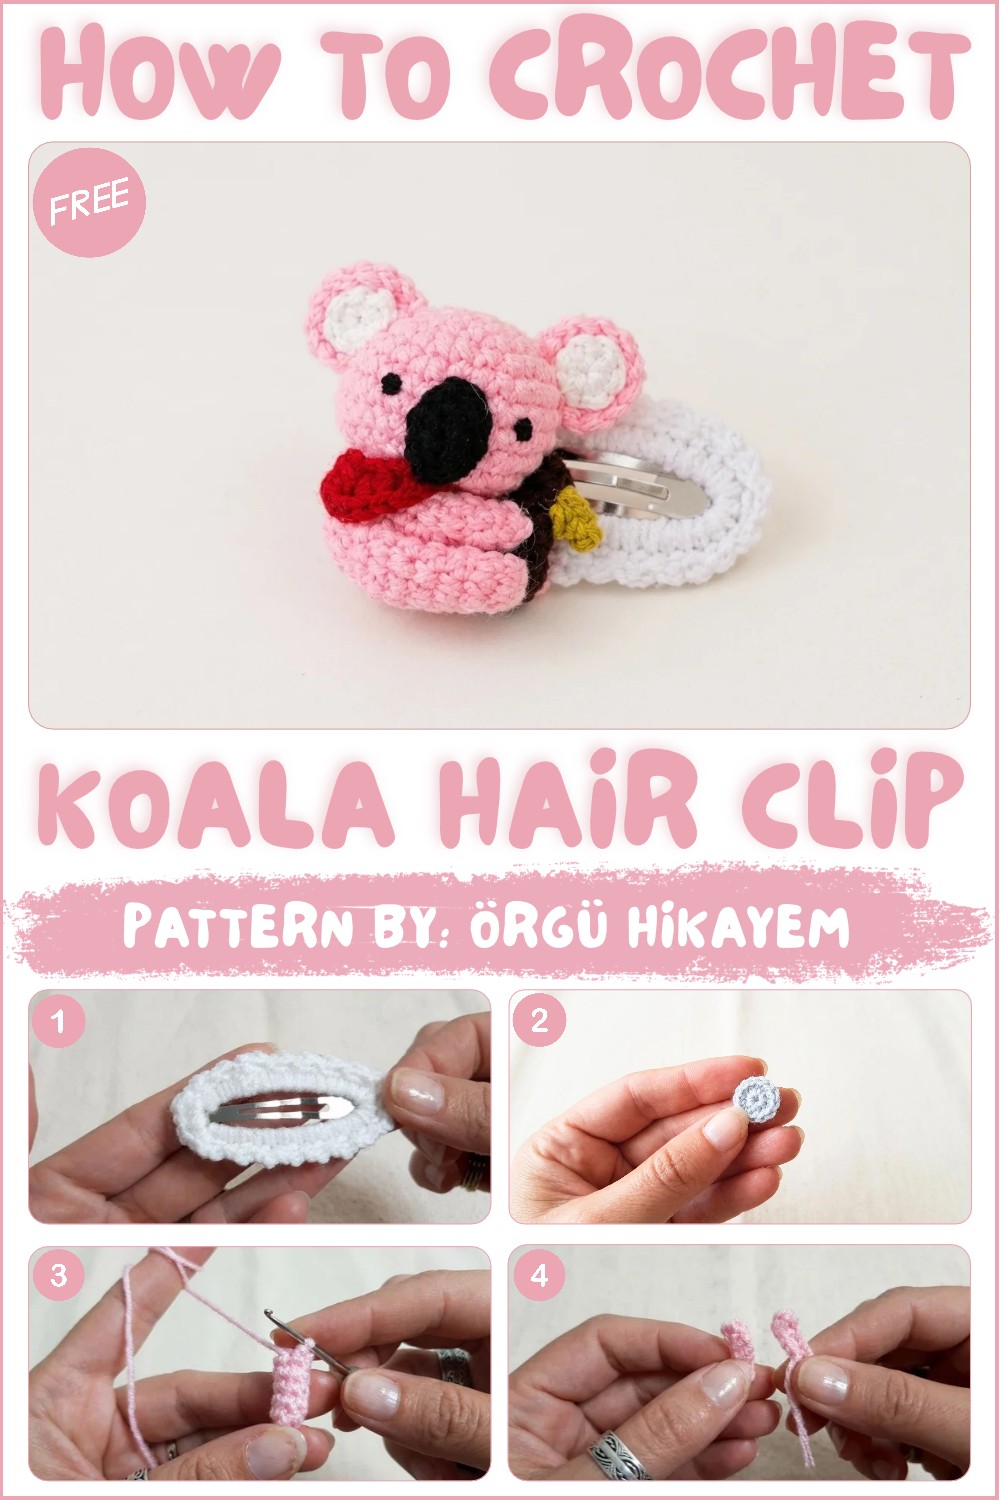
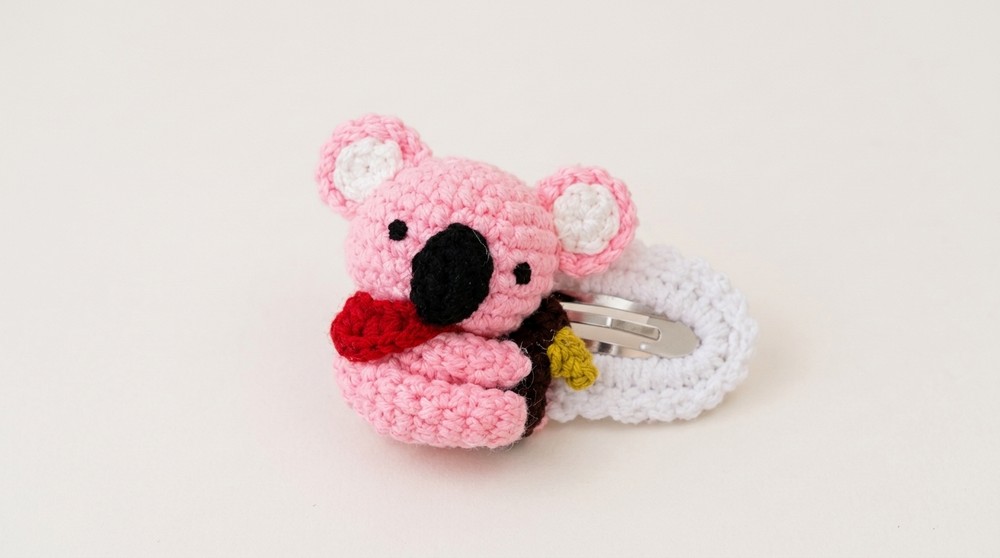
This hair clip is best because of its comfortable size and lightweight feel, making it suitable for both children and adults. The koala’s face has a soft, rounded shape with delicate details such as the gentle ears and subtle nose, which give it a friendly and endearing appearance. These features make the clip charming without being too bold, allowing it to complement any outfit or occasion. Its balanced shape ensures that it stays securely in the hair while adding a natural and joyful touch.
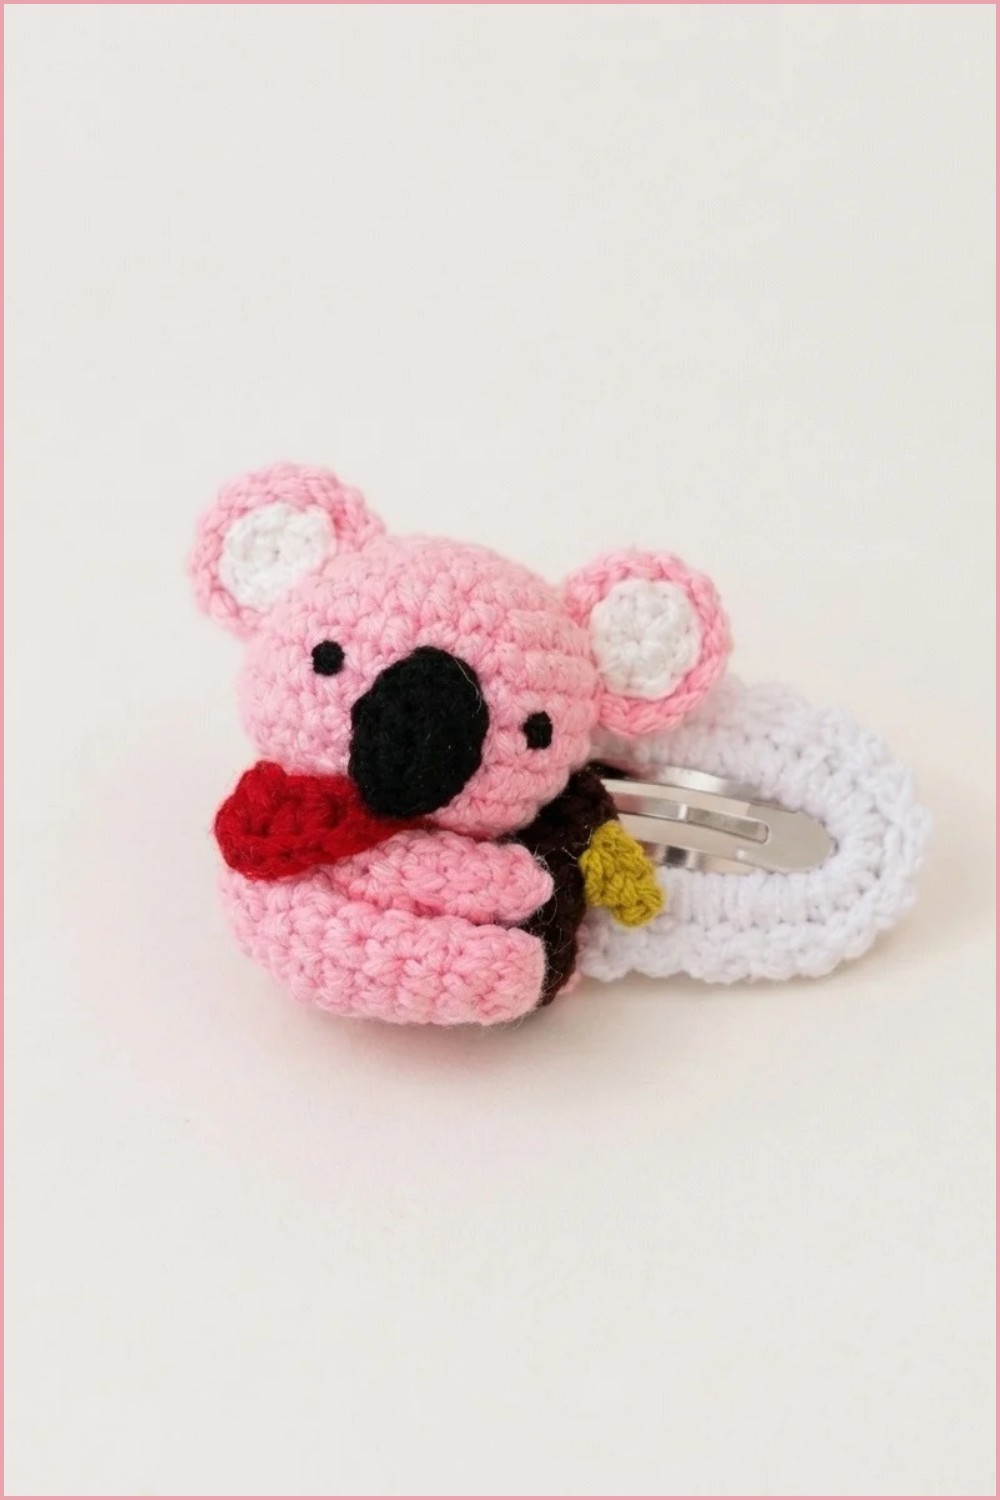
This design brings together beauty and function in a way that appeals to many people. Its neat, simple form and thoughtful details create an accessory that is both eye-catching and easy to wear, making it a wonderful addition to anyone’s hair accessory collection.
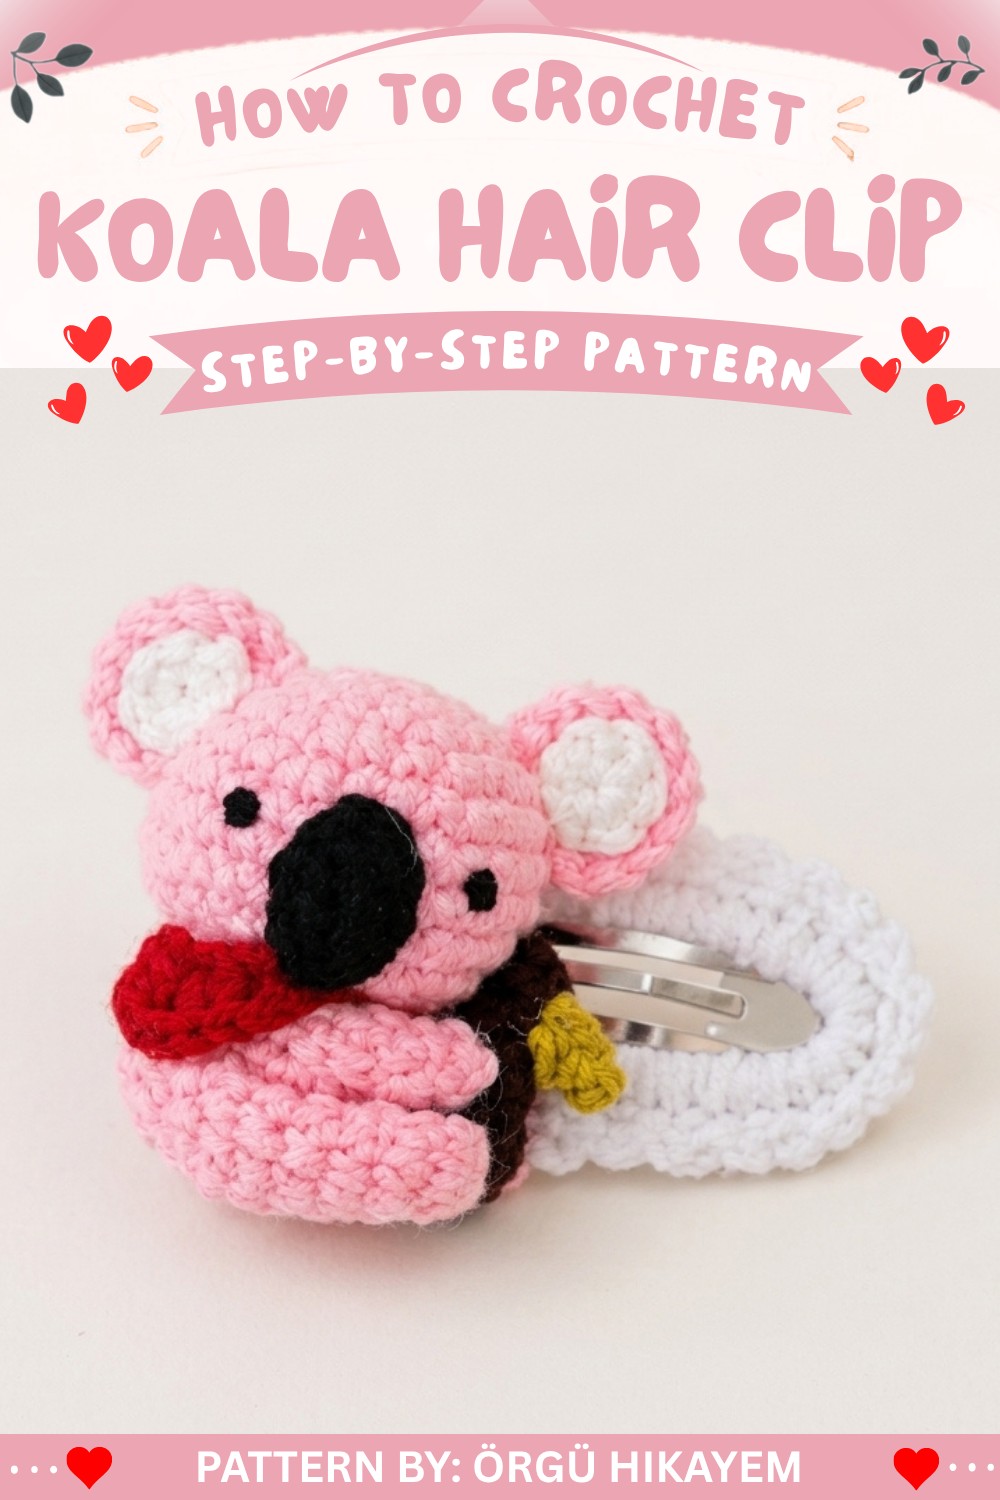
Crochet Koala Hair Clip Pattern
This project lets you create an adorable koala hair clip, perfect for accessorizing hair or gifting as a handmade craft. The koala design can be securely attached to a 6 cm hair clip for both aesthetics and practicality. By following this guide, you will learn how to crochet the koala’s body, head, arms, legs, and accessories, as well as how to assemble them into a polished hair clip.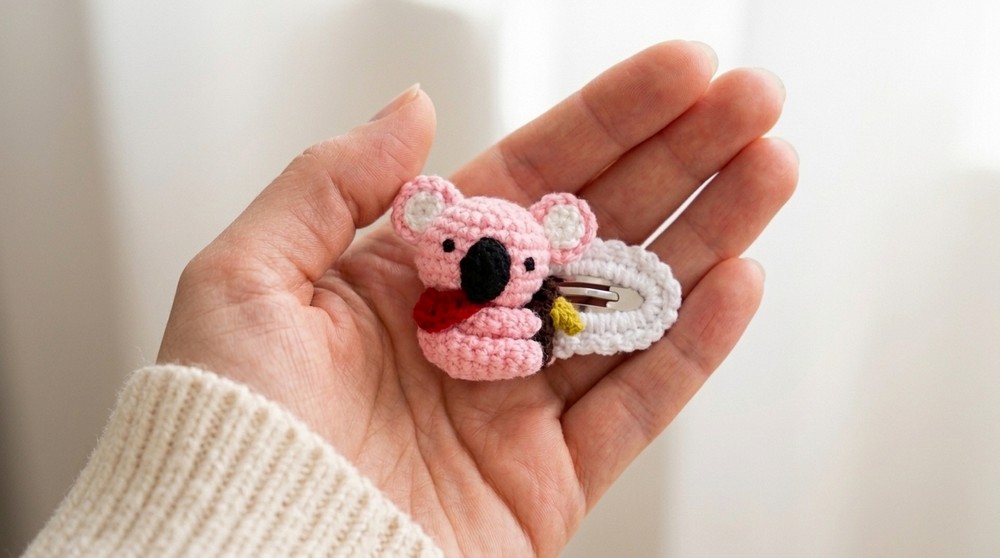
Skill Level
Intermediate
This pattern is suited for crocheters who are comfortable working in the round, shaping parts using increases and decreases, and crocheting small details. Assembly and sewing of multiple pieces are also required.
Materials
- 2 mm crochet hook: Suitable for small, tight stitches.
- Yarn:
- Grey: For the koala’s base body and head.
- White: For ear detailing.
- Pink or Red: For accessories (scarf or apron).
- Brown: For the branch.
- Black: For nose and facial embroidery.
- 6 cm hair clip: Metal clip to attach your finished piece.
- Needle and thread (or yarn): For embroidery, sewing, and attaching details.
- Scissors
- Stitch marker (optional): Useful to mark the first stitch of each round when working in the round.
Special Stitches Used
- Magic Ring (MR): A starting method for crocheting in the round with an adjustable center.
- Single Crochet (sc): Basic crochet stitch for tight, sturdy fabric.
- Half-Double Crochet (hdc): A slightly taller stitch: yarn over, insert hook in stitch, yarn over, pull through all loops on the hook.
- Double Crochet (dc): Taller stitch: yarn over, insert hook in stitch, yarn over, pull through two loops twice.
- Slip Stitch (sl st): Used for joining rounds or creating small details without adding height.
- Increase (inc): Crochet two stitches in the same stitch.
- Decrease (dec): Combine two stitches into one to reduce the stitch count.
Stitch Abbreviations
| Abbreviation | Meaning |
|---|---|
| MR | Magic Ring |
| sc | Single Crochet |
| hdc | Half-Double Crochet |
| dc | Double Crochet |
| sl st | Slip Stitch |
| ch | Chain |
| inc | Increase |
| dec | Decrease |
Useful Tips
- Always work tight stitches when crocheting amigurumi-style designs.
- Use a stitch marker to identify the start of each round when working in the round.
- Assemble all crocheted parts by pinning them in place first to ensure proper positioning before sewing.
- Experiment with different color schemes for the accessories, like the scarf or apron, for personalized designs.
- Take breaks, as small-detail work can be meticulous.
Pattern Instructions
Toka Base (Metal Clip Cover)
- Place the 6 cm hair clip on your crochet hook.
- R1: Work tight sc stitches around the hair clip, ensuring a snug fit. Continue until the length of the clip is fully covered.
- Join the two sides together by working 3 chains at the wider end of the clip.
- Edging: Work around the entire clip with sc to create a decorative border.
- Finish with a sl st and weave in the ends to secure.
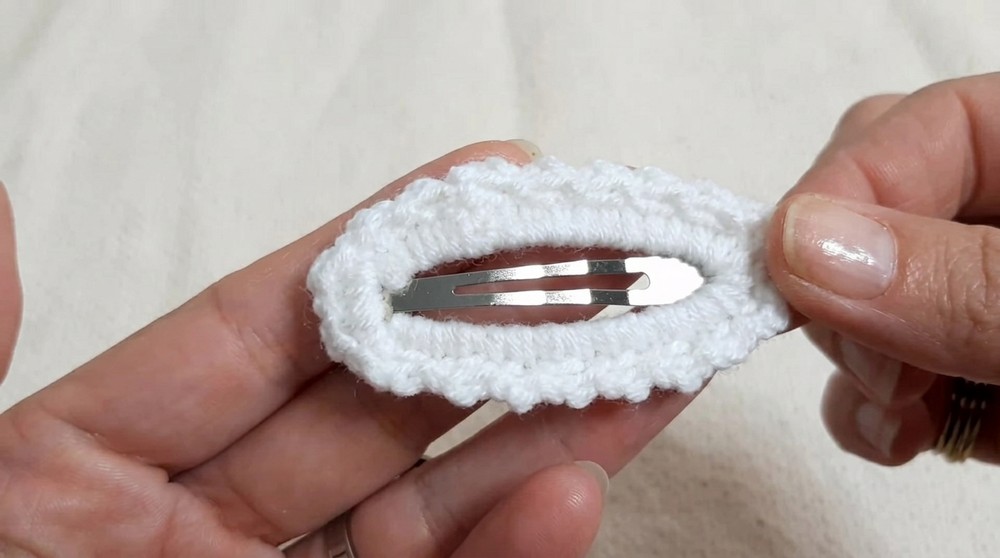
Set the decorated hair clip aside for final assembly later.
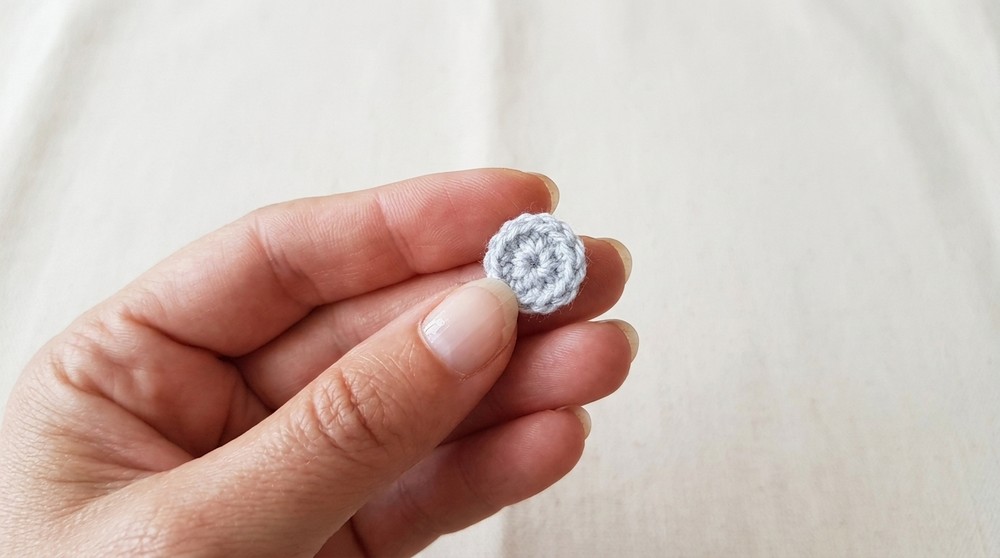
Ear Inserts (Make 2)
Use white yarn to crochet the inner details of the ears.
- R1: Work 6 sc in MR. = 6 sts
- Pull the ring tight, then fasten off, leaving a long tail for sewing to the outer ear later.
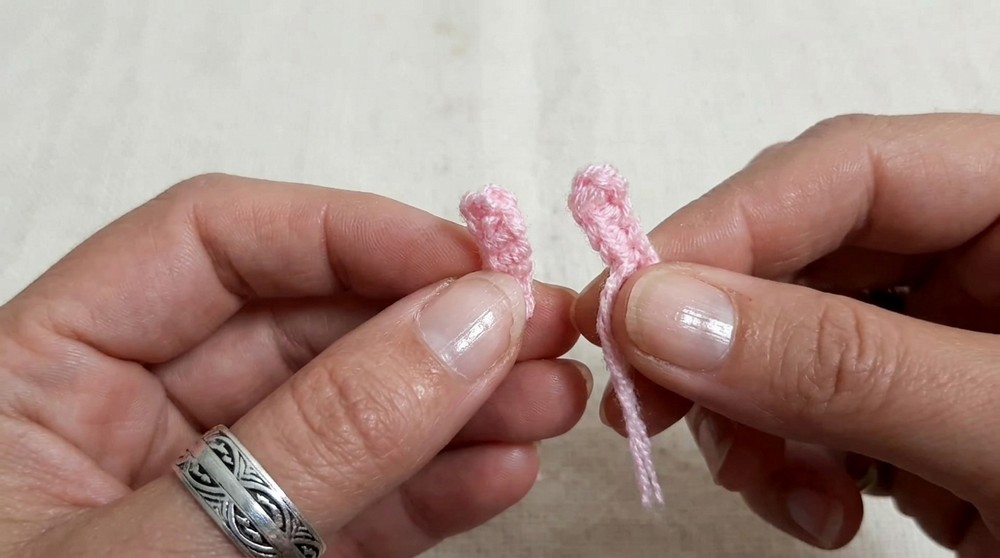
Arms (Make 2)
Use grey yarn.
- Start with ch 5.
- In the 2nd ch from the hook, work the following stitches:
- 1 dc,
- 1 dc,
- 1 sc,
- 1 sc,
- Finish with 1 sl st.
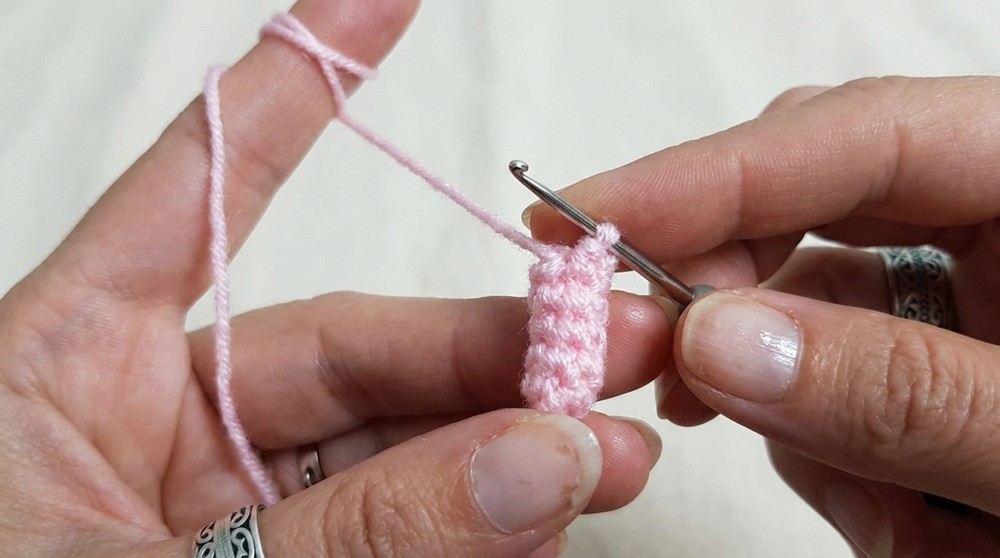
- Fasten off and leave a long tail for sewing to the body.
Outer Ears (Make 2)
Use grey yarn to crochet the outer ear components.
- R1: Work 8 sc in MR. = 8 sts
- R2:
- (3 sc, 1 inc)—repeat until the round is complete. = 10 sts
Fasten off and sew each ear insert (white) onto the corresponding grey outer ear before attaching them to the koala’s head.
Legs/Feet (Make 2)
Use grey yarn.
- R1: Work 6 sc in MR. = 6 sts
- Rows 2–5: Work 6 sc evenly in each round for 4 rows to form the cylindrical shape of the leg.
- Flatten the open top of the leg to form an oval shape.
- Close the opening by crocheting across the top with 3 sc through both edges.
Stuff each leg lightly before folding and closing. Fasten off and leave a tail for sewing.
Nose
Use black yarn.
- Ch 4.
- Working into the chains:
- 2 sc,
- 3 sc in the last chain,
- Turn and work 1 sc,
- 1 inc in the last stitch.
This forms an oval-shaped nose. Fasten off and sew the nose securely to the center of the koala’s face (later attached to the head).
Scarf/Apron
Use pink or red yarn.
- Ch 5.
- Into the chain, work:
- 1 sc,
- 2 hdc,
- Ch 1,
- 2 hdc,
- 1 sc.
This small accessory can be tied around the koala’s neck or sewn as an apron for its body.
Branch
Use brown yarn.
- R1: Work 6 sc in MR. = 6 sts
- R2–R6: Work 6 sc evenly for 6 rounds to form a cylindrical branch.
Fasten off, leaving a tail to sew the branch to the koala’s hands during assembly.
Koala Head and Body
Use grey yarn for both the head and body.
Head
- R1: Work 6 sc in MR. = 6 sts
- R2: 6 inc. = 12 sts
- R3: (1 sc, 1 inc)—repeat 6 times. = 18 sts
- R4: (2 sc, 1 inc)—repeat 6 times. = 24 sts
- R5: (3 sc, 1 inc)—repeat 6 times. = 30 sts
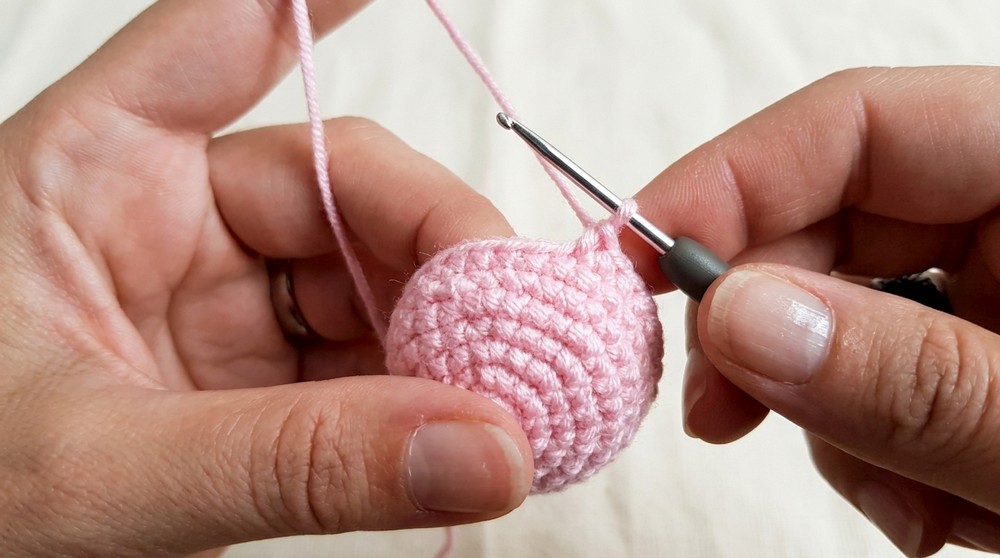
- R6: (4 sc, 1 inc)—repeat 6 times. = 36 sts
- R7–R9: 36 sc evenly for 3 rows.
Stuff the head with fiberfill as you go.
Body
- R10: (4 sc, 1 dec)—repeat 6 times. = 30 sts
- R11: (3 sc, 1 dec)—repeat 6 times. = 24 sts
- R12: Work 12 dec. = 12 sts
- R13: (1 sc, 1 inc)—repeat 6 times. = 18 sts
- R14: (2 sc, 1 inc)—repeat 6 times. = 24 sts
- R15: Work structured shaping: (4 sc, cluster dec) for shaping the torso and narrowing.
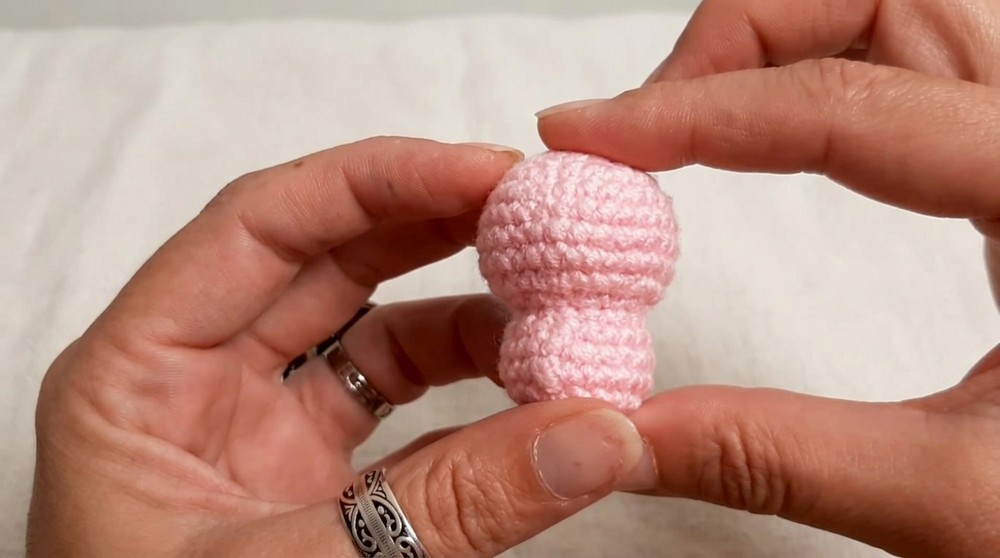
Continue working decreases until the opening is closed, securing the body. Ensure the body is well-stuffed before finishing.
Assembly Instructions
- Attach koala head to the body using the yarn tails. Ensure they are centered and securely stitched together.
- Sew the outer ears to the sides of the head. Attach the white ear inserts to the center of the grey ears.
- Sew the arms to the upper sides of the body. Position the legs symmetrically at the bottom half of the body, on opposite sides.
- Sew the nose to the center of the koala’s head. Embroider small black dots for the eyes or use small black beads.
- Attach the scarf or apron around the neck or stitch it to the torso as desired.
- Place the branch in the koala’s hands, sewing the ends to secure the grip.
- Sew the finished koala to the clip base, ensuring it is stable and firmly attached.
Conclusion
This crochet koala hair clip combines practical functionality with whimsical charm. Its small, detailed design makes it an ideal accessory or gift. When attaching the koala to the clip base, ensure stability using secure stitching. Experiment with yarn colors to create unique variations, and enjoy the process of bringing your koala design to life.