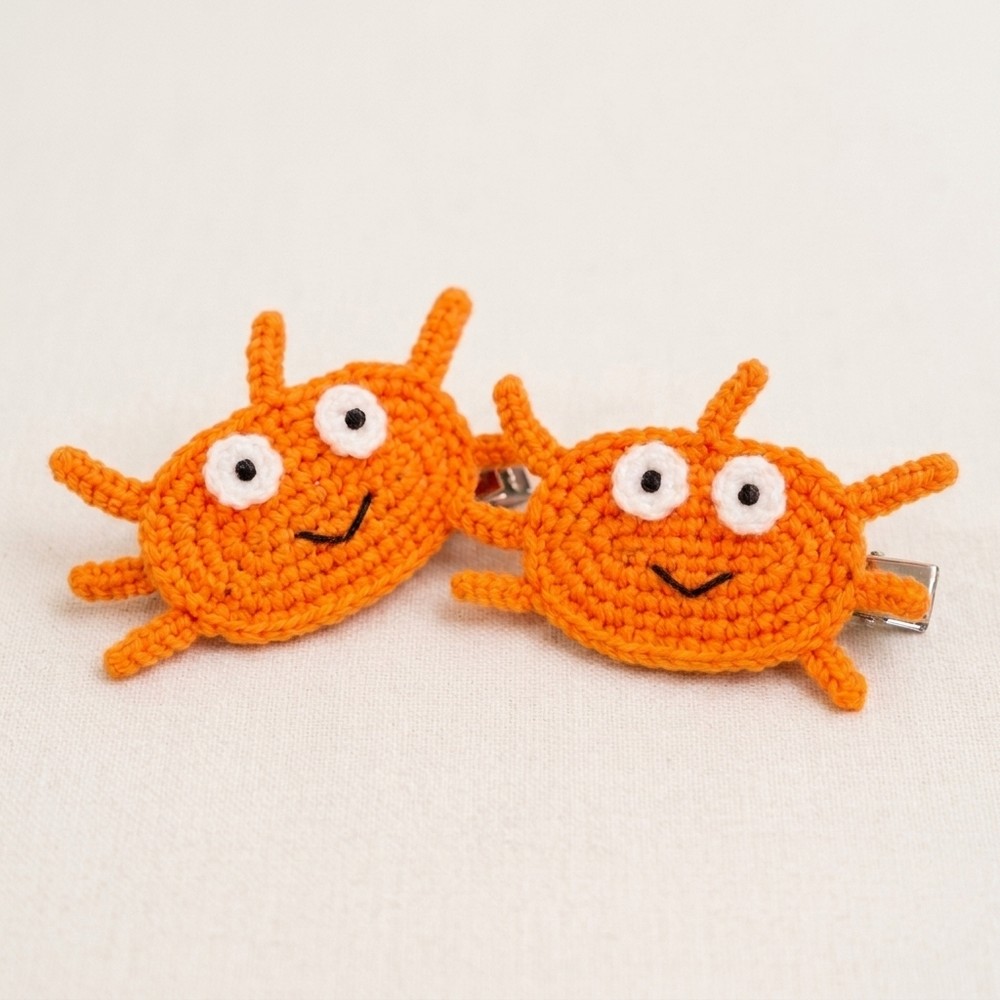
Free Crochet Crab Hair Clip Pattern – Perfect for Summer Accessories

Turn yarn into a charming crab hair clip with this free crochet pattern that brings whimsy and personality to your everyday style.
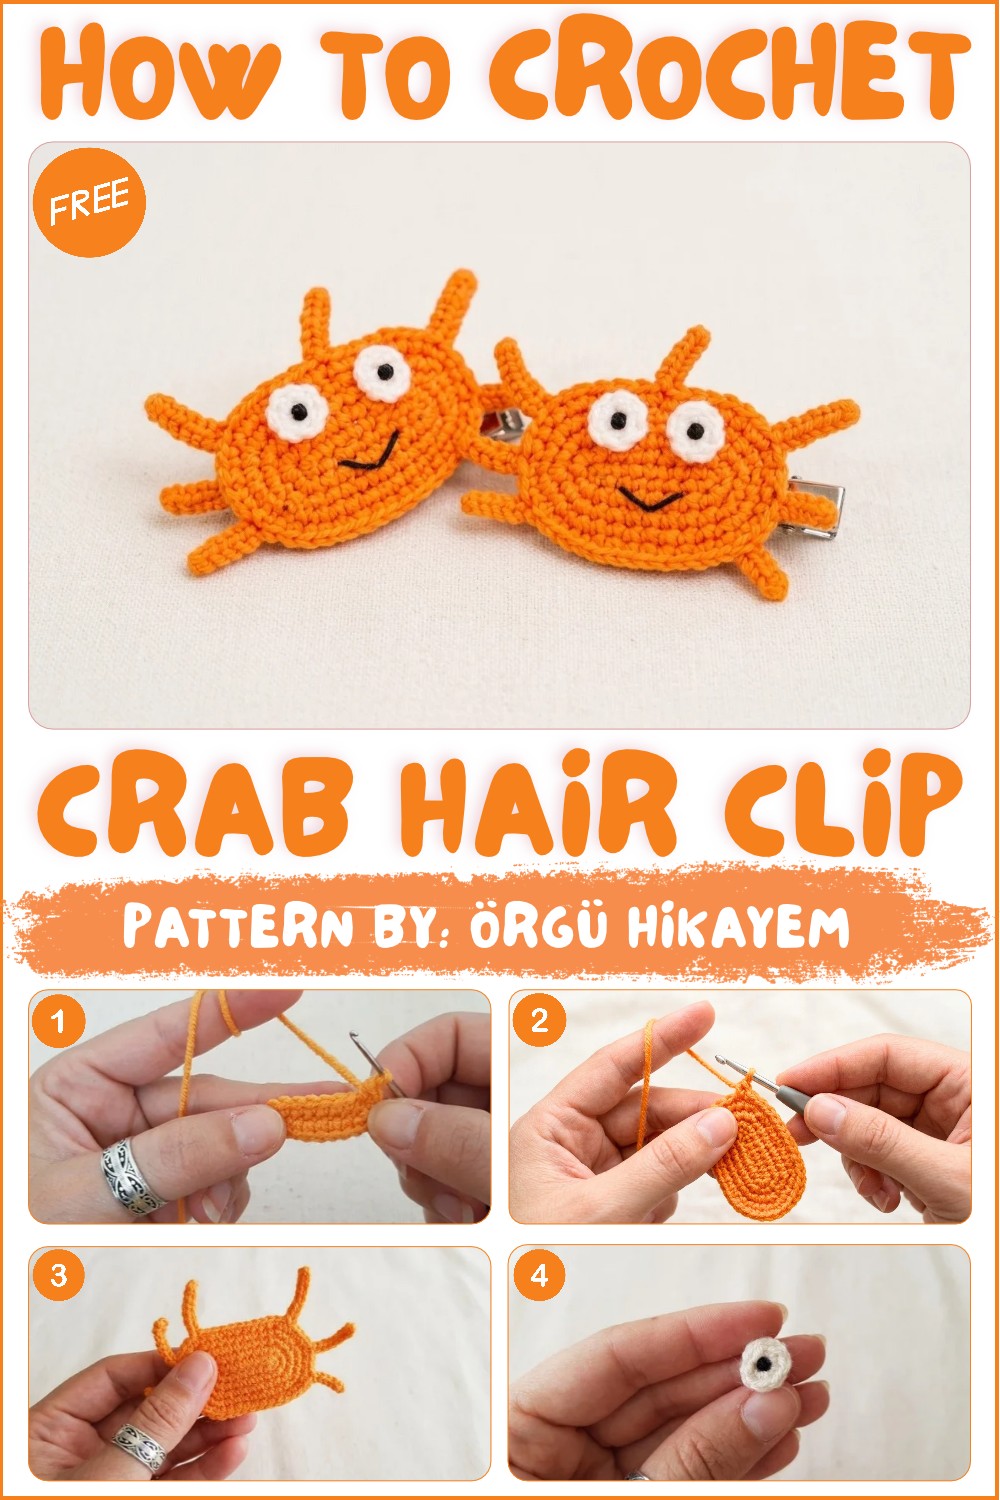
Adding a bright and cheerful touch to hair accessories can make everyday looks more fun and charming. Many thanks to the Örgü Hikayem channel for sharing a wonderful tutorial that introduces a playful small crab hair clip full of personality and vibrant color. This accessory serves both as a practical tool to keep hair tidy and as a delightful decoration that brings smiles. The creation uses simple, clear steps that shape the crab’s rounded body and distinct claws with smooth color changes and balanced stitch work.
Quick & Easy Free Crochet Crab Hair Clip Pattern for All Ages
This hair clip works best because of its perfect size and lightweight design, making it comfortable to wear for long periods and suitable for all ages. The crab’s round body and outstretched claws give it a lively and friendly shape that easily attracts attention. The use of bright red tones highlights the crab’s character while maintaining a neat and polished appearance. Small details, such as the eyes placed high on the body, add to its playful expression, giving the accessory a sense of warmth and uniqueness without overwhelming the overall look.
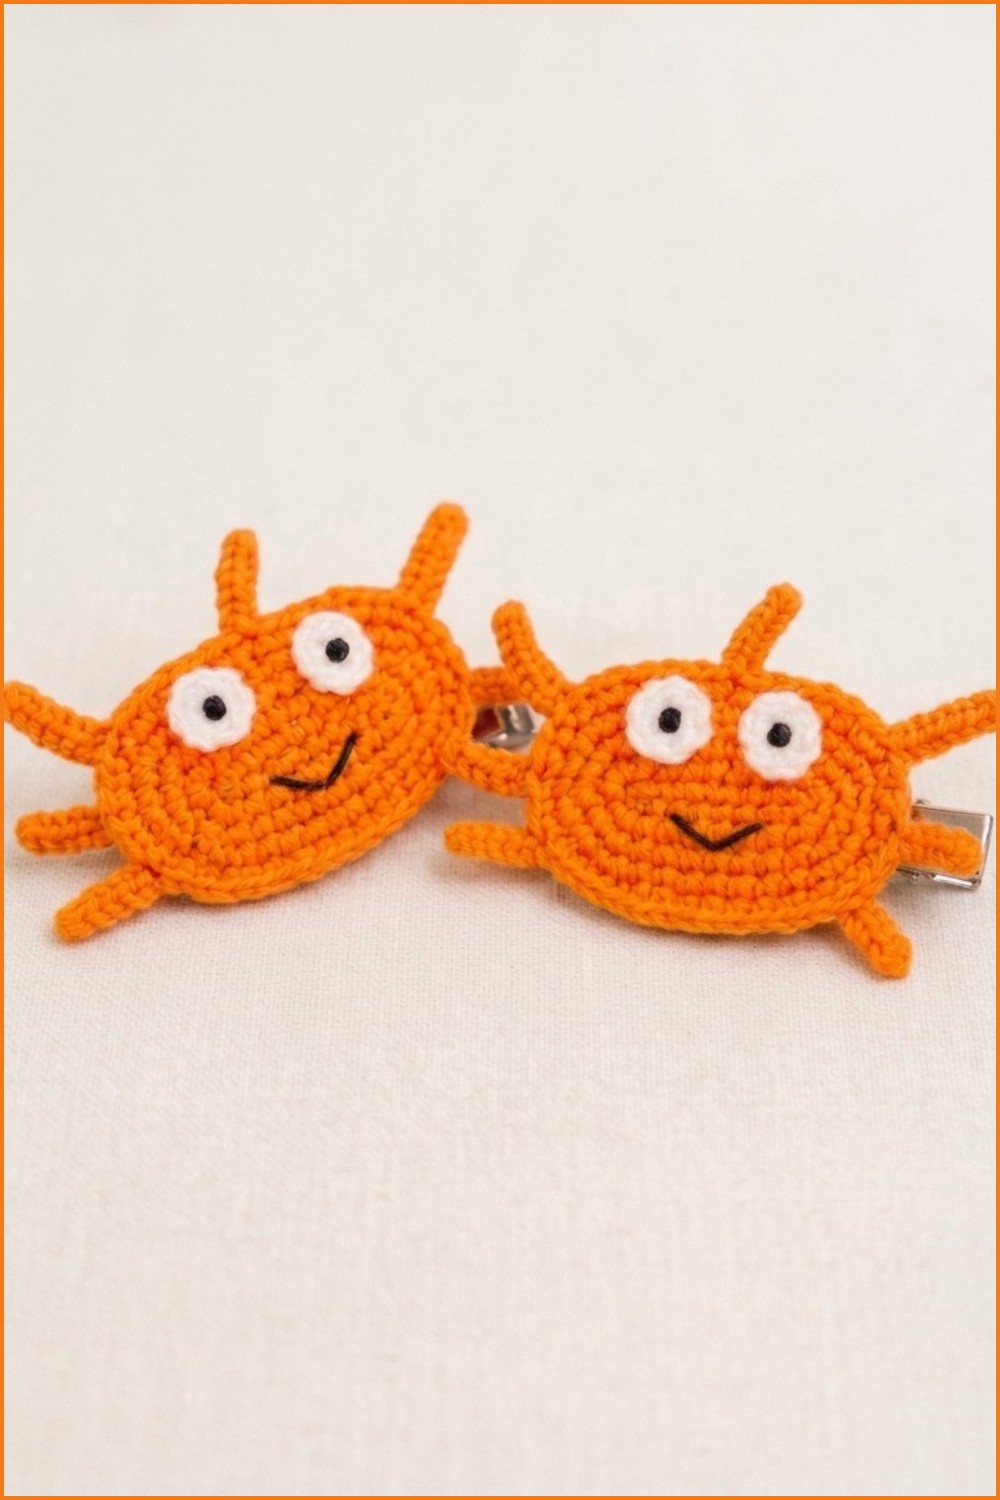
This accessory combines practical function with a fun and eye-catching design that suits daily wear or special occasions. Its thoughtful shape and vibrant colors make it a favorite among those who want to add a joyful and lighthearted element to their hair accessories in a simple and effective way.
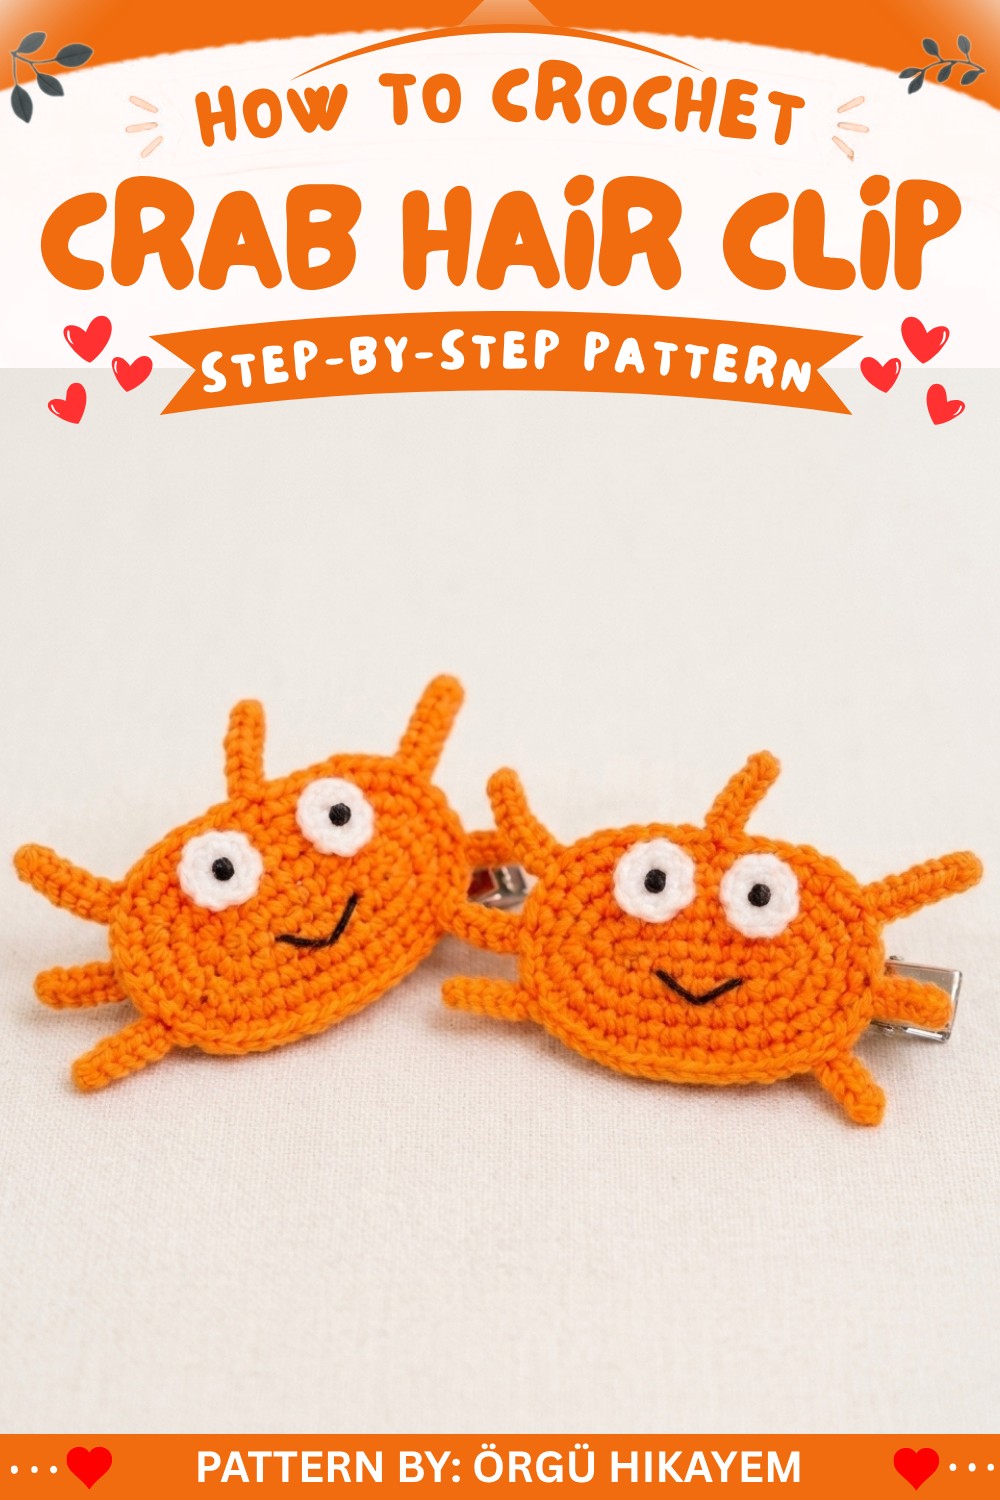
Amigurumi Crab Hair Clip Crochet Pattern
This crochet pattern demonstrates how to create an amigurumi crab hair clip, combining cute design and practicality. The finished crab is securely attached to a felt-backed hair clip, making it sturdy and charming. The project involves crocheting the crab’s body, legs, claws, and eyes, with easy-to-follow instructions provided below.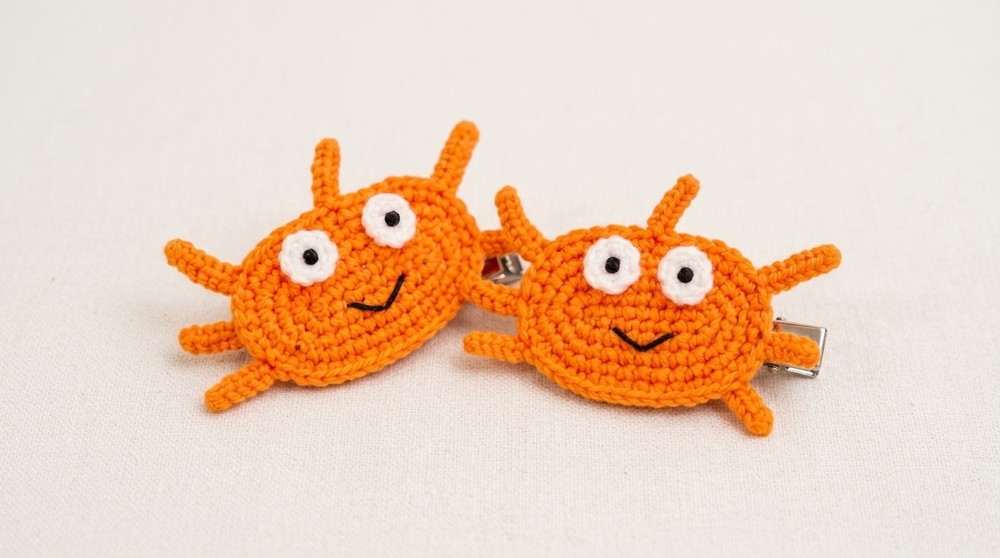
Skill Level
Intermediate
This pattern is suitable for those with moderate crochet experience, featuring techniques like working in the round, shaping through increases and decreases, and assembling small details. Minor sewing and attaching pieces to a base are required.
Materials
- 2 mm crochet hook: Ideal for small stitches and fine detailing.
- Yarn:
- Red or Orange yarn: Main body, legs, and claws.
- Black yarn: Eye detailing.
- Felt or fabric: Matching felt backing for the hair clip.
- 6 cm metal hair clip: Provides the base for the finished piece.
- Fiberfill stuffing: Lightly fills the body and eyes for shape.
- Thread or sewing needle: For assembly and attaching felt.
- Scissors
- Stitch marker (optional): To track rounds in circular crocheting.
Special Stitches
This pattern uses the following stitches:
- Magic Ring (MR): Adjustable loop for creating tight round beginnings.
- Single Crochet (SC): Basic crochet stitch used for forming the crab’s shape and structure.
- Slip Stitch (sl st): Stitch for joining and finishing without adding height.
- Increase (inc): Two stitches worked into one stitch to expand the round.
Stitch Abbreviations
| Abbreviation | Meaning |
|---|---|
| MR | Magic Ring |
| sc | Single Crochet |
| sl st | Slip Stitch |
| ch | Chain |
| inc | Increase |
Useful Tips
- Maintain tight tension to ensure the crab’s body and details take shape properly, especially when stuffing lightly.
- Use a stitch marker to mark the beginning of each round when working the main body.
- When attaching the crab body to the felt and clip base, position it securely before sewing to ensure durability.
- Plan your placement for legs and claws symmetrically to achieve a balanced design.
- Feel free to experiment with yarn colors for personalization or creative variations.
Pattern Instructions
Main Body Construction
Foundation
- Row 1:
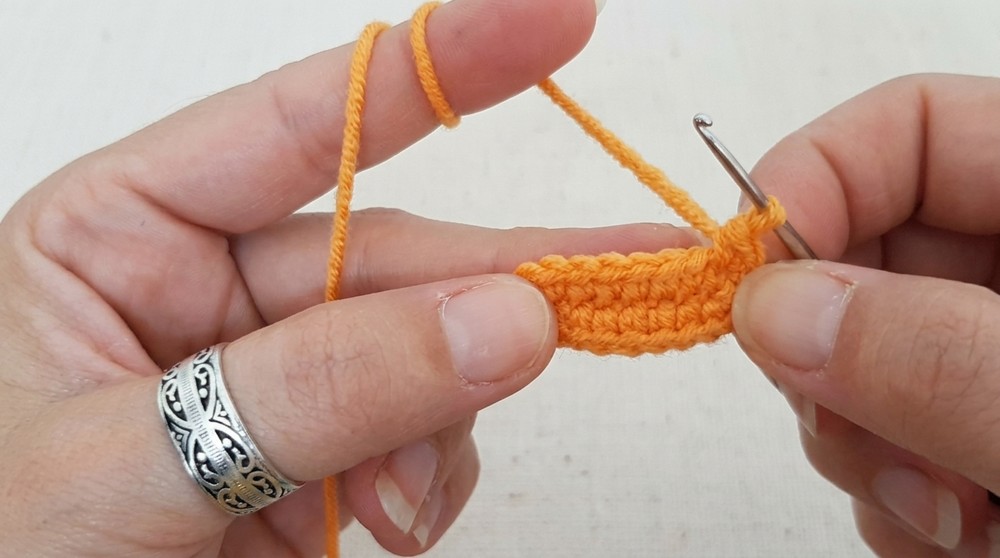
- Ch 9.
- Skip the first chain and work 7 sc back along the chain.
Edge and Turning
- Row 2:
- 3 sc into the final chain (to create a turning point).
- Turn and work 6 sc along the opposite side of the chain.
Increasing (Rounds 1–2)
- Round 1:
- At the turning point, work 1 inc, then continue as follows:
- 6 sc,
- 3 inc,
- 6 sc,
- 2 inc at the end.
- At the turning point, work 1 inc, then continue as follows:
- Round 2:
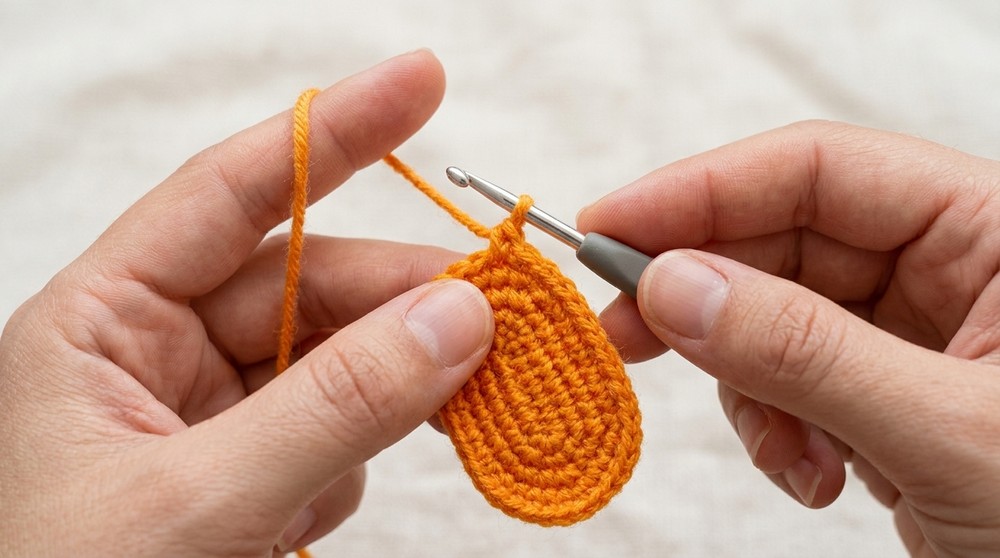
- Continue increasing to expand the body:
- (1 sc, 1 inc),
- 6 sc,
- (1 sc, 1 inc)—repeat 3 times,
- 6 sc,
- (1 sc, 1 inc)—repeat 2 times.
- Continue increasing to expand the body:
Further Expansion (Rounds 3–5)
- Round 3:
- (2 sc, 1 inc),
- 6 sc,
- (2 sc, 1 inc)—repeat 3 times,
- 6 sc,
- (2 sc, 1 inc)—repeat 2 times.
- Round 4:
- (3 sc, 1 inc),
- 6 sc,
- (3 sc, 1 inc)—repeat 3 times,
- 6 sc,
- (3 sc, 1 inc)—repeat 2 times.
- Round 5:
- (4 sc, 1 inc),
- 6 sc,
- (4 sc, 1 inc)—repeat 3 times.
Fasten off, leaving a tail for sewing. Lightly stuff the crab’s main body using fiberfill stuffing to give it volume and shape.
Legs and Claws
Small Legs (Make 4)
- For each leg:
- Ch 6, then work 5 slip stitches (sl st) back along the chain.
- Attach the leg directly to the crab’s main body using 3 sc stitches.
- Repeat for all small legs, evenly spacing them on the sides of the body.
Large Legs or Claws (Make 2)
- For each claw:
- Ch 9, then work 8 sl st back along the chain.
- Attach to the crab’s body using SC and increases as specified:
- For symmetry, ensure claws are evenly spaced and angled slightly outward.
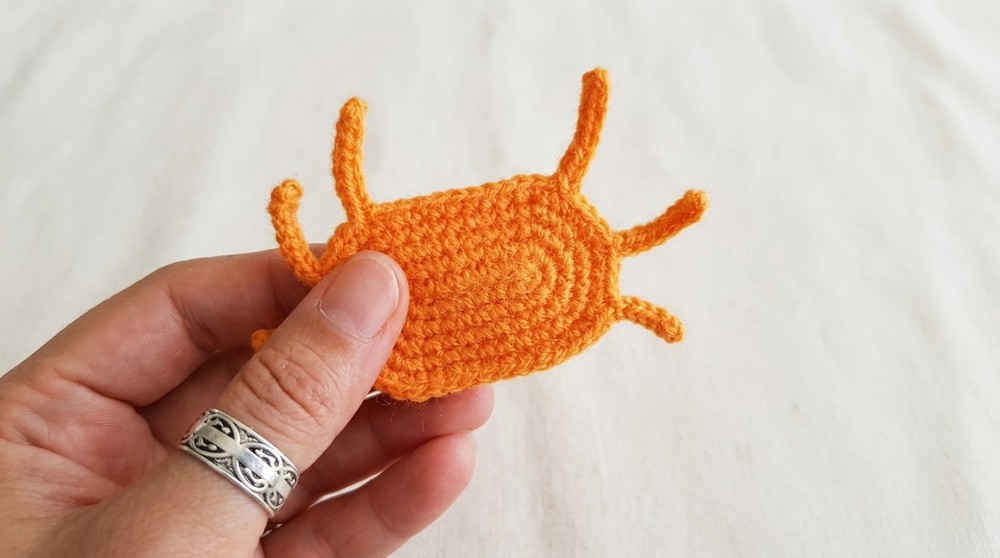
- For symmetry, ensure claws are evenly spaced and angled slightly outward.
Secure the claws with sl st and weave in ends neatly.
Eyes
Use black yarn for crocheting the eyes.
- Begin with a magic ring (MR).
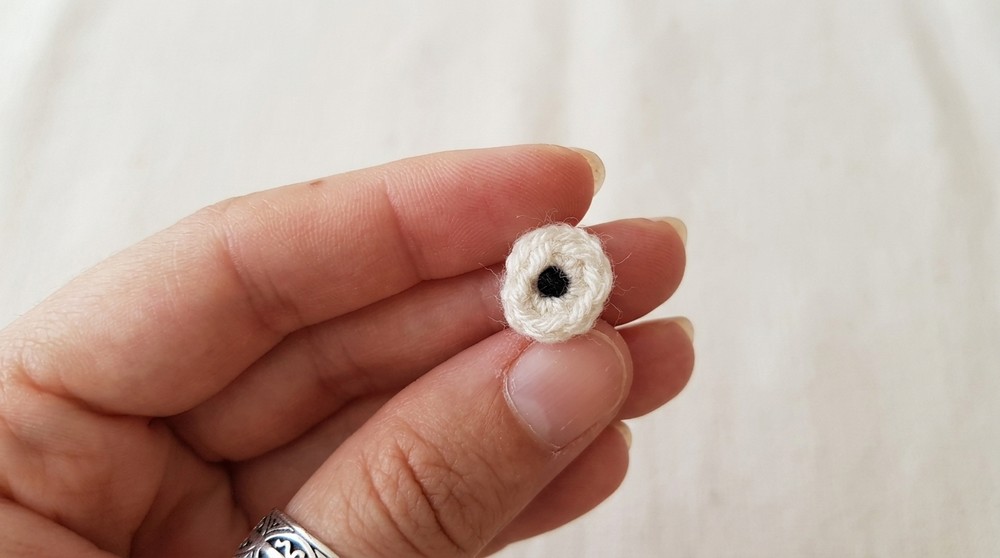
- R1: Work 6 sc into the MR. Pull the ring tight.
Stuff the eyes lightly and use the long tail to sew them onto the crab’s body. Position the eyes symmetrically at the top of the crab’s body for an expressive look.
Final Assembly
- Cut a piece of matching felt that is slightly smaller than the crab’s body to reinforce it and cover the back side of the crochet piece.
- Sew or glue the felt backing to the crab’s underside.
- Attach the 6 cm metal hair clip to the felt backing with strong thread or glue, ensuring it holds securely.
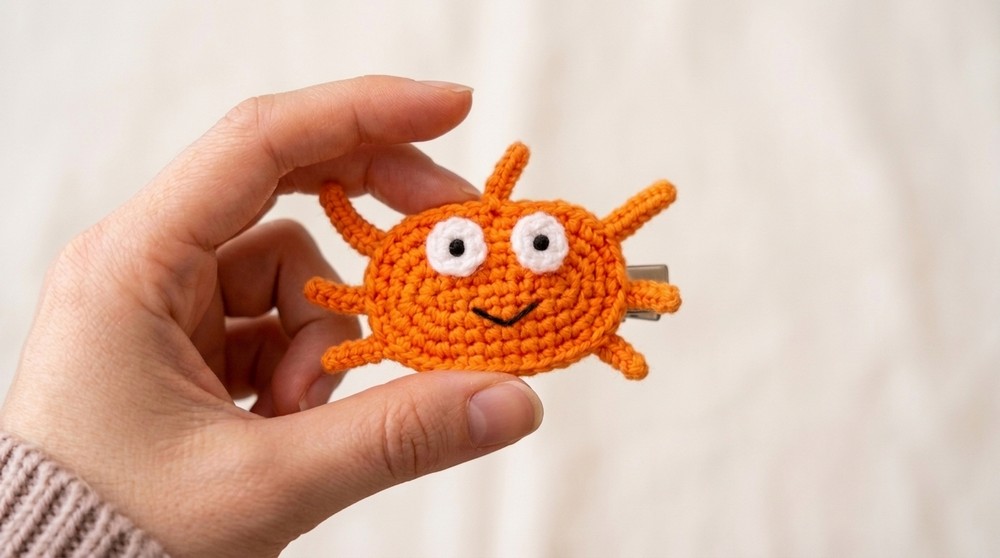
- Check the stability of all parts (legs, claws, eyes) and reposition them if needed before final assembly.
Conclusion
This amigurumi crab hair clip is a fun and practical project that combines design creativity with compact functionality. The blend of crocheted details, felt reinforcement, and hair clip attachment creates a cute and durable accessory. Follow the assembly steps carefully to achieve symmetrical legs, claws, and eyes, and enjoy experimenting with yarn colors to craft unique variations.