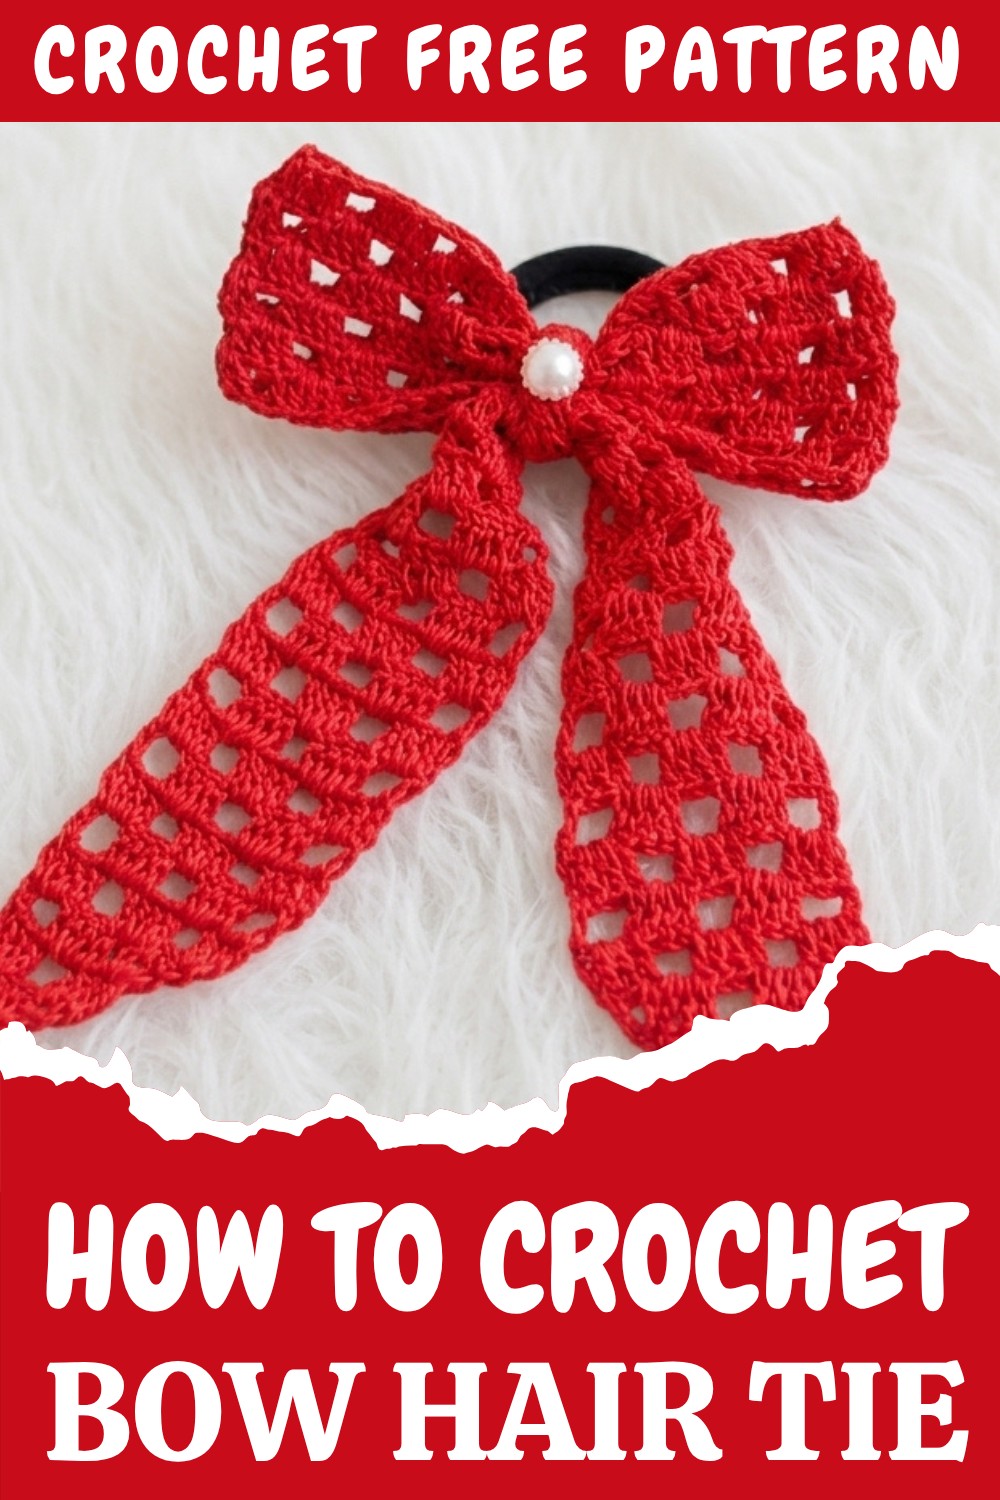
Adorable Free Crochet Bow Hair Tie Pattern for Youthful Style
Refresh your lookbook through a free crochet Bow Hair Tie pattern that’s innovative, stylish, and perfect for showing off handmade flair.
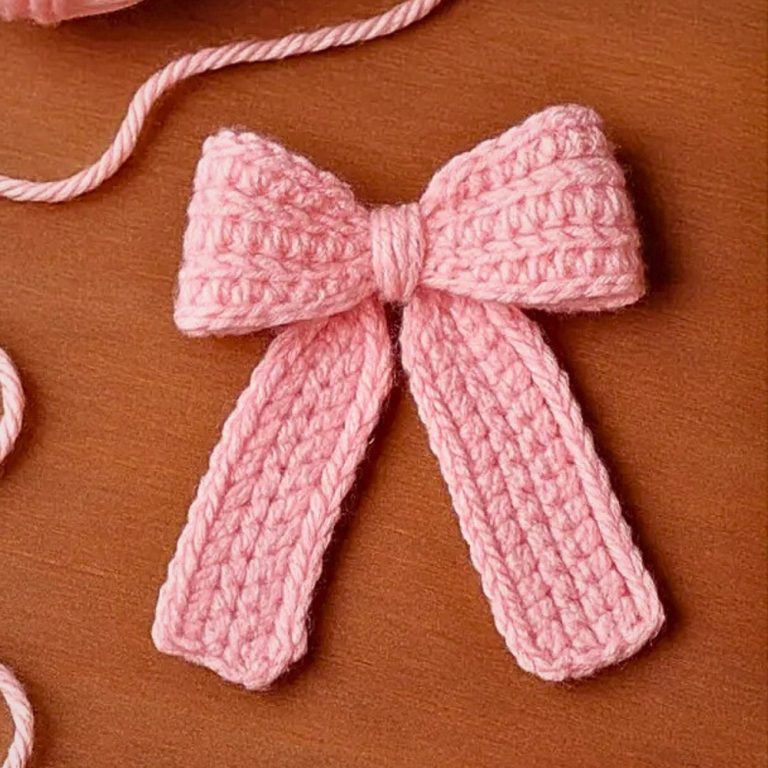
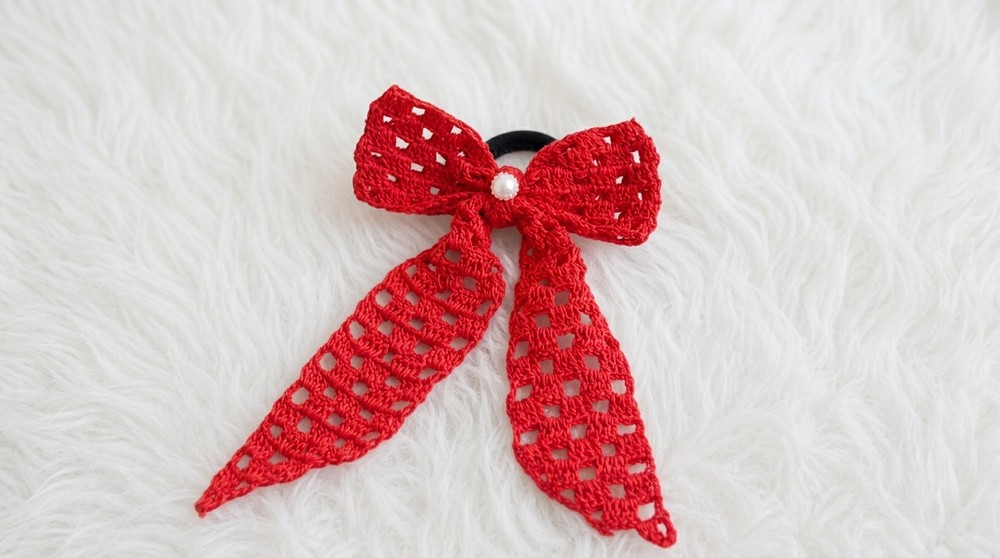
Creating something charming and functional with a bit of yarn and a crochet hook is always magical! This crochet bow hair tie pattern combines simplicity and elegance, making it perfect for beginners and seasoned stitchers alike. A beautifully textured bow wrapped neatly around a hair tie, crocheted in your favorite yarn colors—bright red, pastel blue, or a bold pink. The beauty of this pattern lies in its versatility; it can be adjusted for adults, kids, or even small decorative purposes. This easy, step-by-step pattern lets you turn basic double crochet (DC) stitches and chains into a delightful accessory. Whether you’re creating it for daily wear, as a gift, or to sell, the bow’s lightweight, stylish appeal makes it ideal for any occasion.
Sparkling Free Crochet Bow Hair Tie Pattern for Pretty Moments
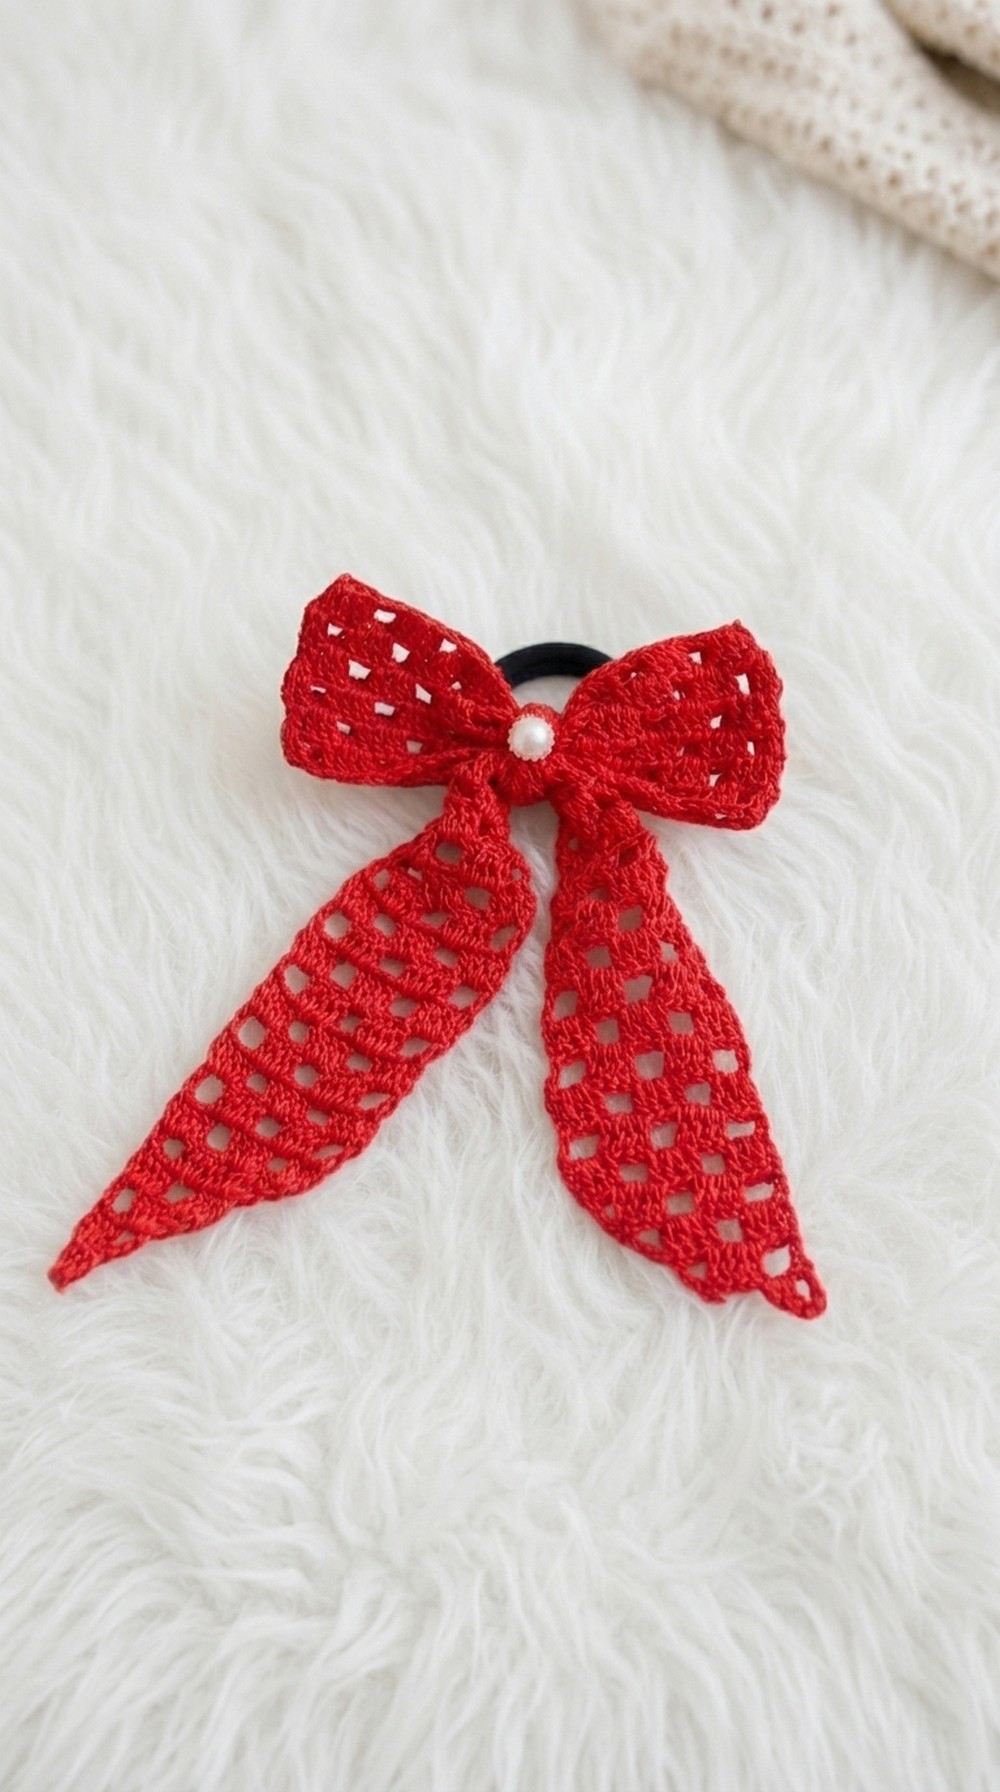
What makes this pattern even more special is how customizable it is. You can add embellishments like tiny beads, attach decorative charms, or even pair it with fabric or glitter elements. The shell-like pattern created by simple double crochets gives the bow a soft yet structured texture, ensuring it stands out no matter how you style it. It’s perfect for a quick project in the afternoon or a relaxing weekend craft session.
Other Creations You Can Make with These Stitches
This pattern opens the door to creating so much more! With the same skills used here, you can crochet:
- Elastic headbands with bow details.
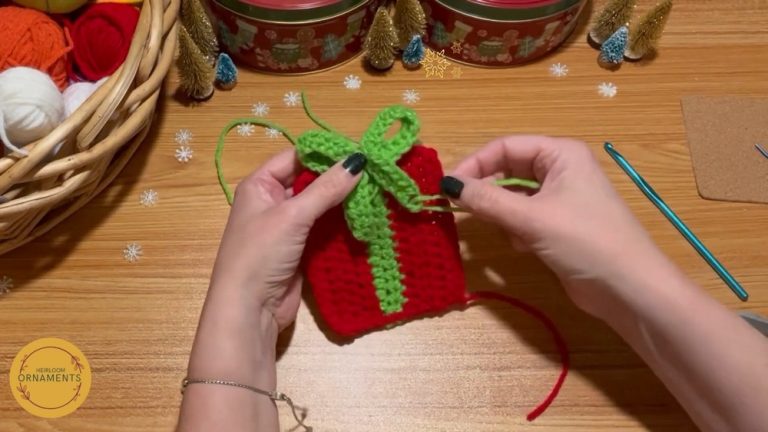
- Wrapped bows for gift decorations.
- Crochet pet accessories, like bow collars.
- Brooches or bag charms using this bow design.
Crochet Pattern: Bow-Style Scrunchie (Beginner)
This beginner-level crochet pattern teaches you how to create a beautiful bow-style scrunchie, complete with a rubber band attachment to hold your hair with style and charm. Ideal for crochet enthusiasts of all skill levels, this easy-to-make project uses simple stitches, allowing you to create elegant accessories quickly. By combining double crochets and chains, this pattern forms a structured bow design that can be customized with your favorite colors and embellishments like beads or fabric flowers. In a single crafting session, you can crochet multiple scrunchies using minimal supplies!
Skill Level & Terminology
- Skill Level: Beginner
- Terminology: US Crochet Terms
Materials & Tools
- Yarn: 16-ply mercerized cotton or similar (in your chosen color or bright red).
- Hook: 1mm or 1.5mm crochet hook (adjust hook size based on your yarn).
- Accessories:
- Rubber band for scrunchie base (1mm size).
- Scissors.
- Yarn needle.
- Optional embellishments: Decorative beads, fabric flowers, glue gun.
Gauge
- Gauge: Gauge is not critical for this design. It’s more about creating the desired texture and size of the bow. Using thicker yarn and larger hooks will give you a larger bow.
Abbreviations List
- Ch – Chain
- Sl St – Slip Stitch
- DC – Double Crochet
- YO – Yarn Over
Special Stitch Instructions
How to Make a Slip Knot
- Wrap the yarn around your fingers to create a loop.
- Pull the working yarn through the loop to form a knot.
- Place the knot onto the hook and pull it snug.
How to Make a Chain (Ch)
- Yarn over the hook.
- Pull the yarn through the loop on the hook.
How to Work a Double Crochet (DC)
- Yarn over (YO), insert hook into the desired stitch or space, YO and pull up a loop (three loops on the hook).
- YO and pull through the first two loops.
- YO and pull through the remaining two loops.
Finished Size
- The final scrunchie diameter is approximately 5cm in height and 12cm in width. When attached to a rubber band, the total finished piece will measure about 24cm in circumference.
The Pattern
Step 1: Creating the Base with Chains
- Make a Slip Knot and place it on your hook.
- Ch 70, keeping tension loose (not too tight or too loose).
- Tip: Work in multiples of 5 to maintain consistency if you adjust the size.
- Join the last chain to the first chain using a Sl St to form a ring. Be careful not to twist the chains.
Recap: At this point, you have created a chain ring that will serve as the foundation for your scrunchie.
Step 2: Round 1—Forming the Shell Pattern
- Ch 3 (counts as the first DC).
- Work 2 DC into the same stitch.
- In the next chain, work 1 DC.
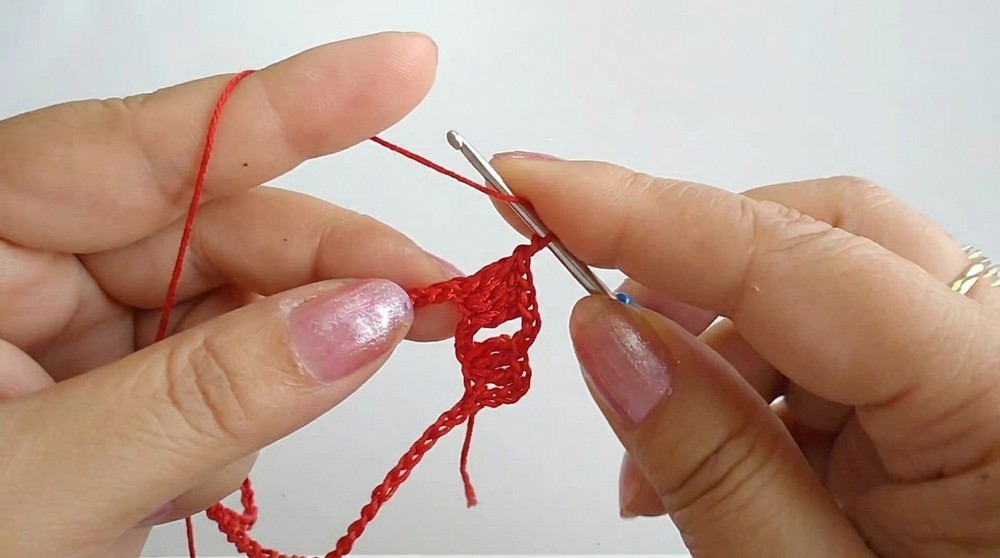
- You now have a set of 4 DCs (3 from step 1 and 1 in step 3).
- Ch 2, skip 2 chains, and move to the third chain.
- Repeat the following sequence across the round:
- 1 DC in the next chain.
- 2 DC in the next chain.
- 1 DC in the next chain for a total of 4 DCs in each set.
- Ch 2 and skip 2 chains before starting the next set.
- At the end of the round, Sl St into the top of the first Ch 3 to join the round.
Recap: You’ve completed your first round, forming alternating “shells” (clusters of DCs) and “spaces” (Ch 2).
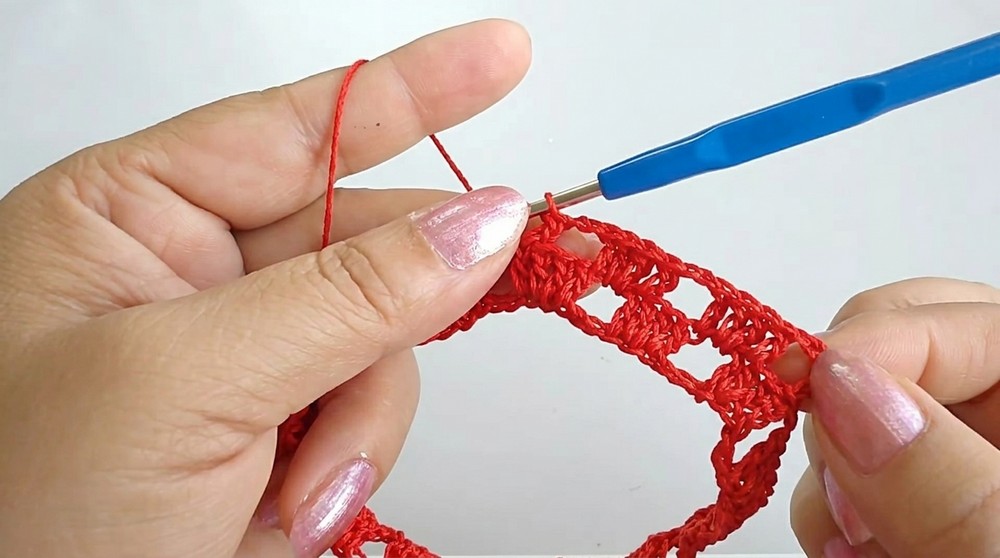
Step 3: Round 2—Building Patterns of Shells and Spaces
- Ch 3 and Ch 2 (counts as 1 DC and space).
- DC on top of the fourth DC of the previous row.
- Work 2 DC into the space between shells.
- Ch 2, skip the next shell, and repeat the pattern:
- DC on top of the fourth DC of the previous shell.
- Work 2 DC into the space between shells.
Recap: Continue this shell-space pattern in rounds, creating the bow structure. Add as many rounds as desired to achieve the desired width of the bow.
Step 4: Forming the Base Connector (Optional Bow Center)
- Begin with a slip knot and Ch 6.
- Work 3 DC into the top of the third chain from the hook. This forms a small shell.
- Ch 3, turn the work, and continue adding DCs to form a small rectangular strip (approximately 8 rows).
- Tip: Adjust the length of the strip based on the width of your bow.
Recap: This strip forms the centerpiece for joining and shaping the bow.
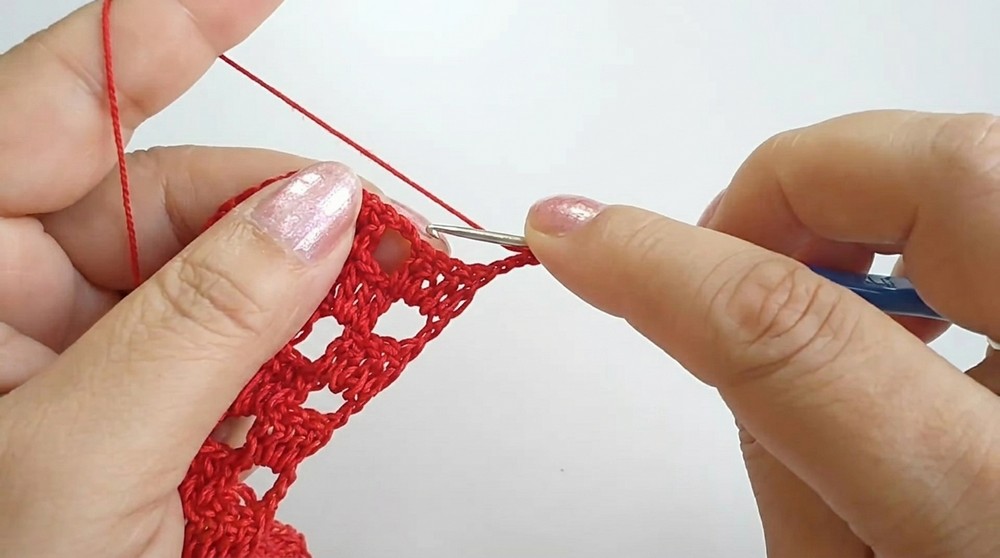
Step 5: Assembly
- Place the two bow panels together, ensuring the side you want visible is facing outward.
- Fold the rectangle strip around the center of the bows to form the bow shape.
- Use a yarn needle and remaining thread to sew the rectangle securely around the bow panels.
- Tip: Ensure the stitches are hidden for a clean look.
- Attach the rubber band to the back of the bow using the remaining yarn and secure it firmly. Be sure to sew it through the rectangle strip to keep everything in place.
Recap: Once the bow is sewn together and attached to the rubber band, trim any excess yarn and weave in the ends.
Assembly & Finishing
The bow-style scrunchie is now ready for final detailing. Use a glue gun to attach beads, fabric flowers, or other decorative elements to the bow or its center. Ensure embellishments are securely fastened. You can now enjoy your new handmade accessory or gift it to a friend!
What You’ll Learn
- How to work consistently with chains and double crochets.
- Creating shell patterns for texture.
- Building symmetrical designs using simple techniques.
- Attaching the crochet piece to rubber for functional use.
How to Adapt This Pattern
- Play with Color: Try variegated or contrasting yarn for unique effects.
- Vary the Yarn: Use bulkier yarn for a larger design or finer thread for a delicate look.
- Make Variations: Skip the rectangle strip for a more minimalist aesthetic or double its length for a larger bow.
Why You’ll Love This Project
- Quick to Make: Easily complete in a day, even for beginners.
- Customizable: Perfect for playing with colors and textures.
- Impressively Functional: Combines style and usability for a chic, handmade hair accessory.