Trendy Free Crochet Round Handle Bag Pattern and Guide

Organize your essentials effortlessly with this free crochet round handle bag pattern, combining practicality and elegance for a timeless accessory.
Looking for a stylish yet practical accessory to elevate your wardrobe? A handmade bag can be just the perfect addition, combining creativity with functionality. The free crochet round handle BAG Pattern provides a fantastic opportunity to crochet such a piece. Presented by Iryna Tsokalo Crochet, this tutorial guides you through an engaging process that results in a beautifully detailed bag, perfect for everyday use or gifting to someone special.
Free Crochet Round Handle Bag Pattern for Handmade Gifts
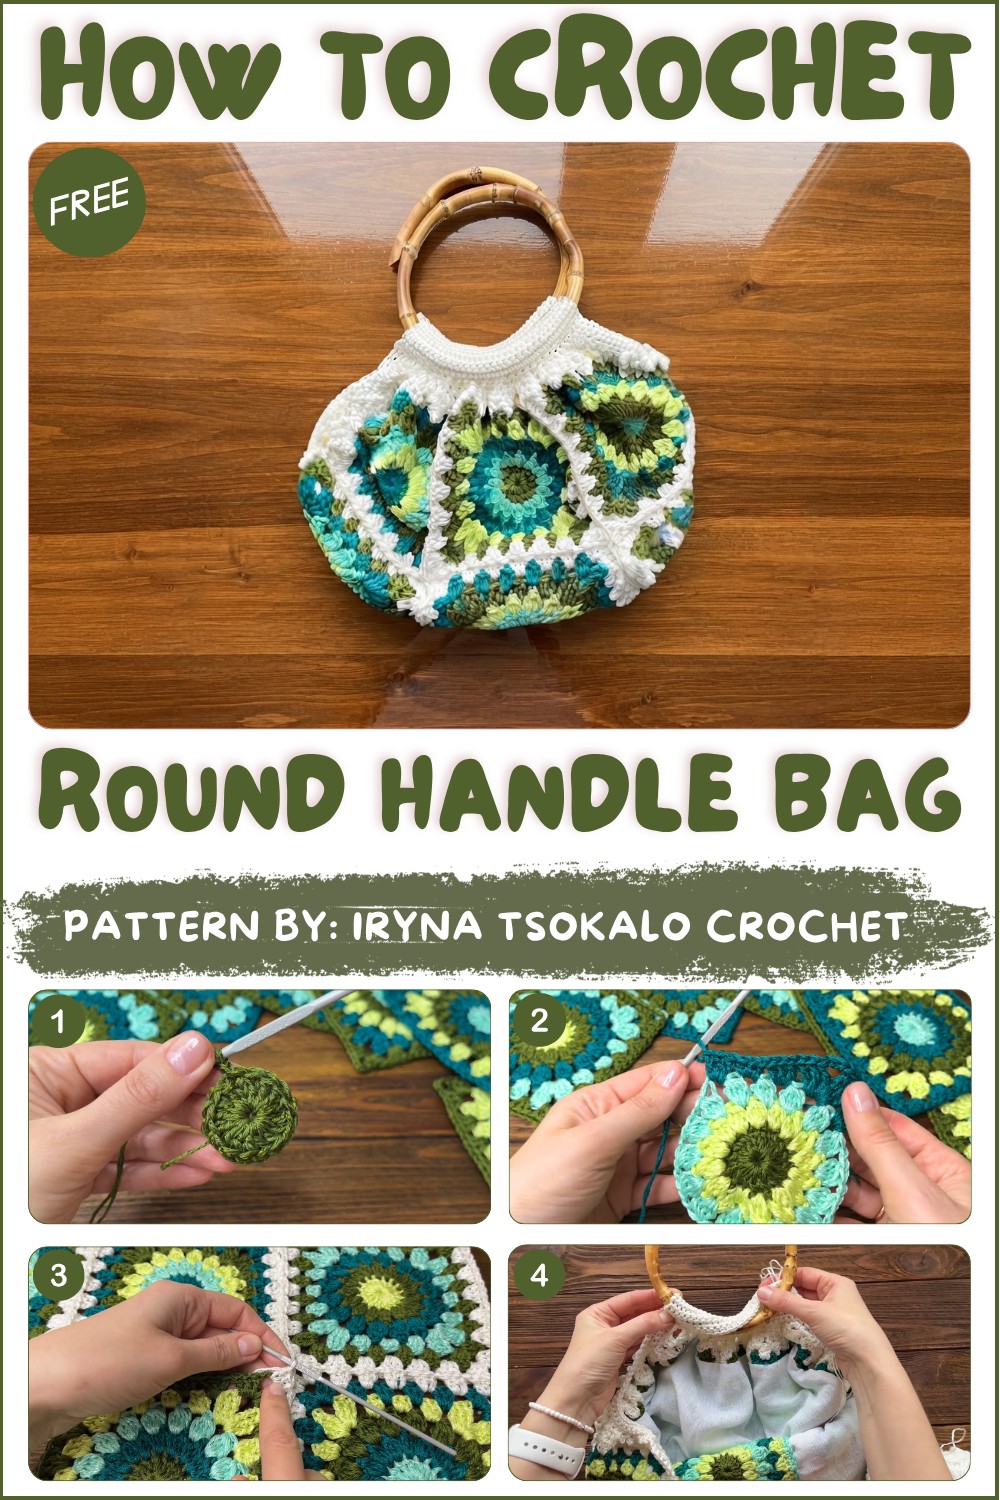
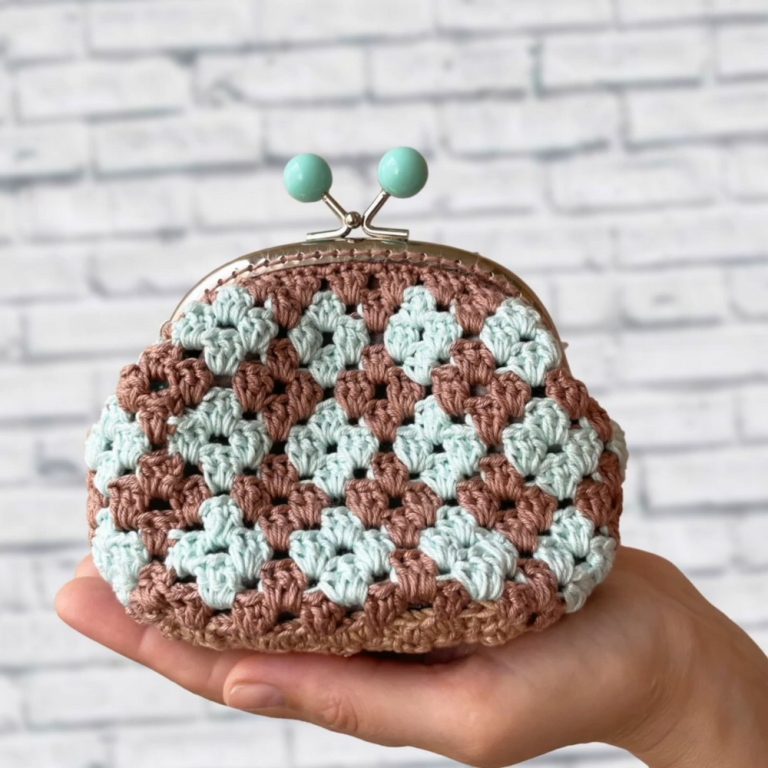
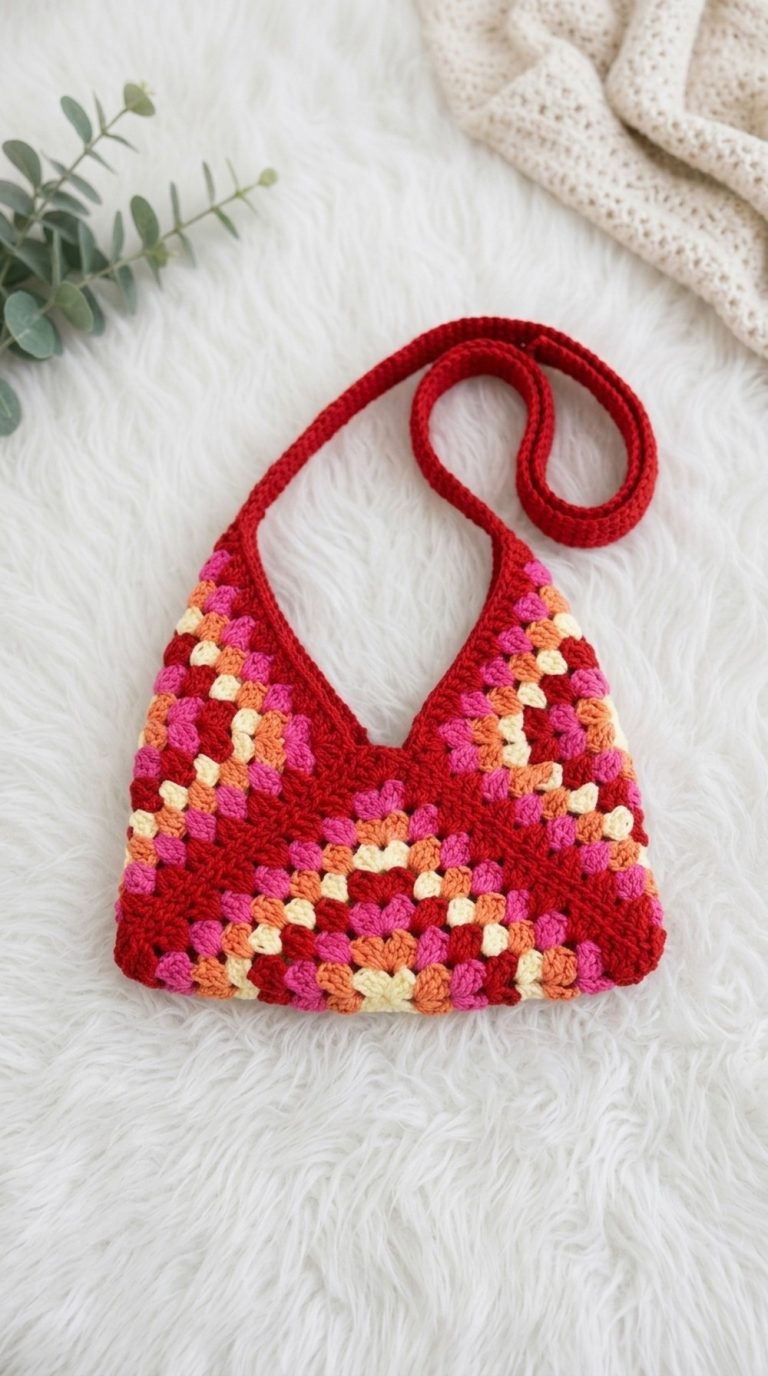
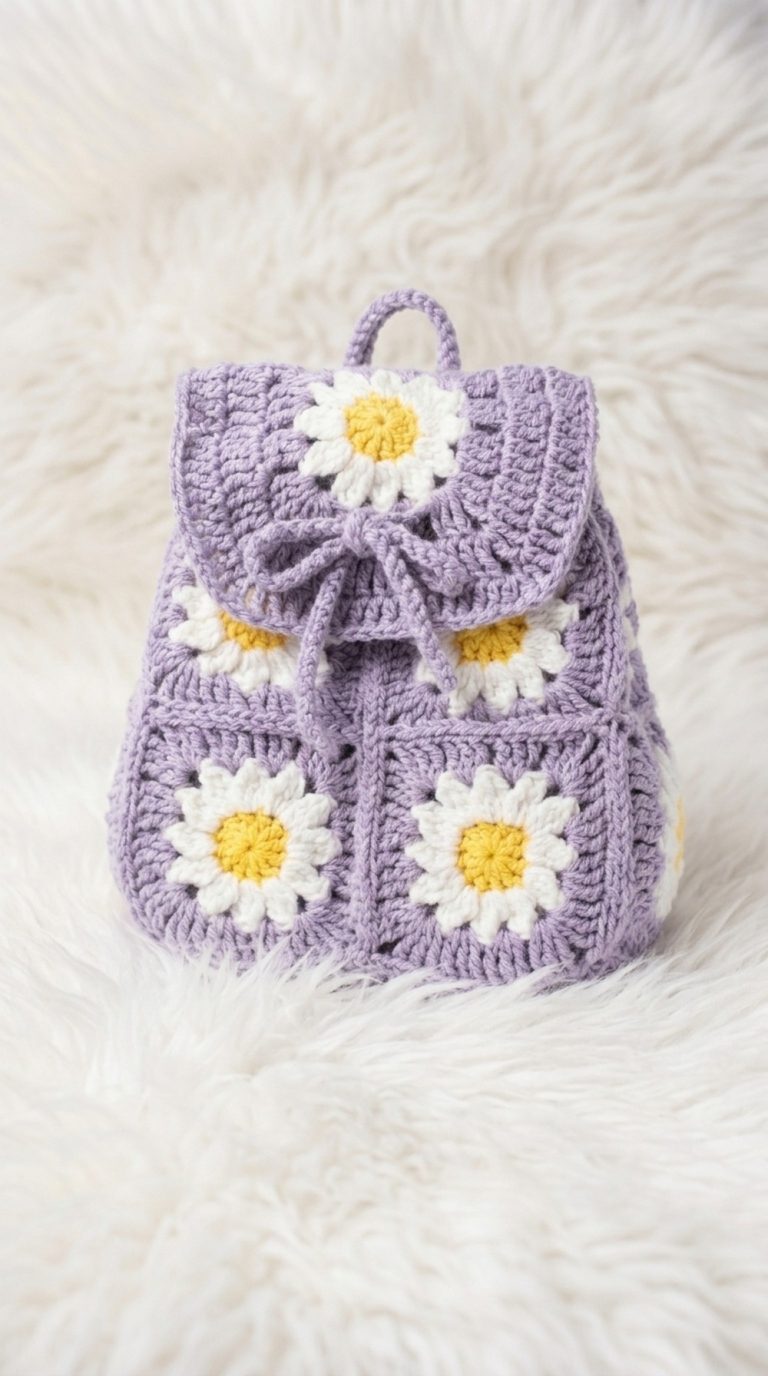
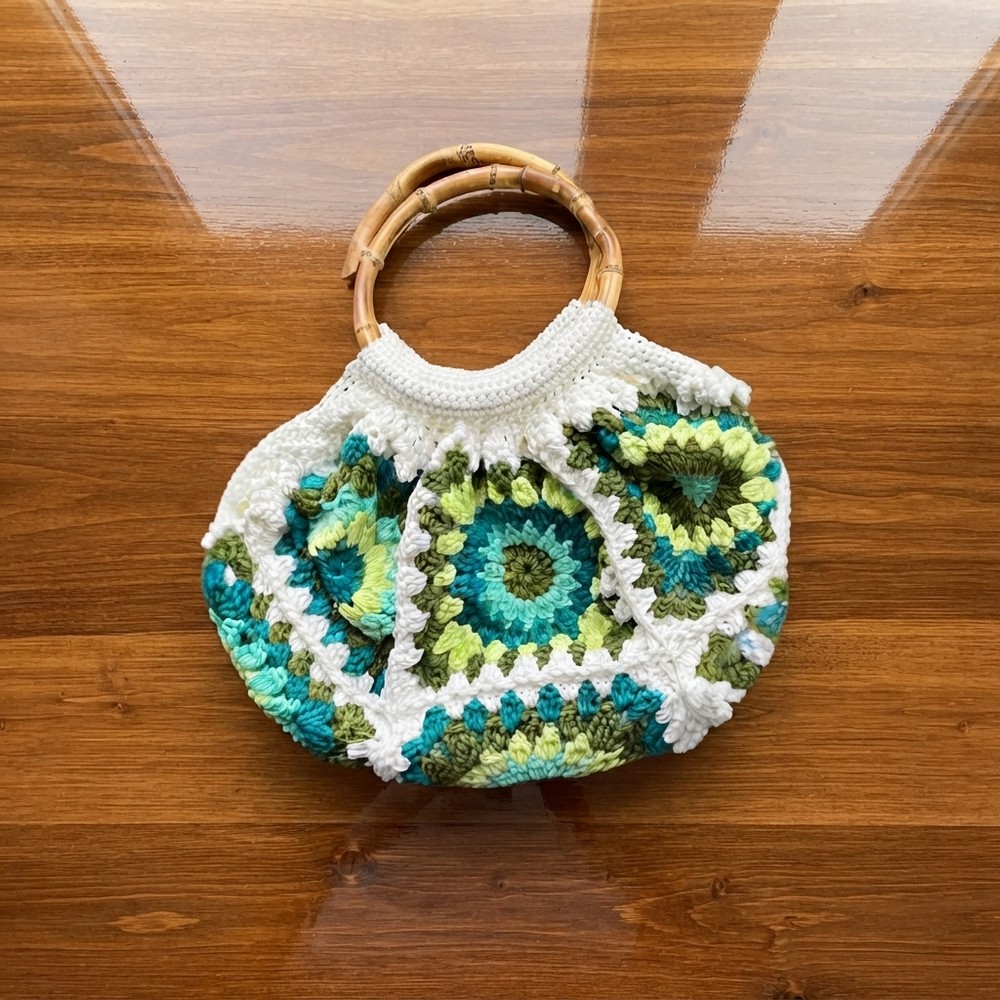
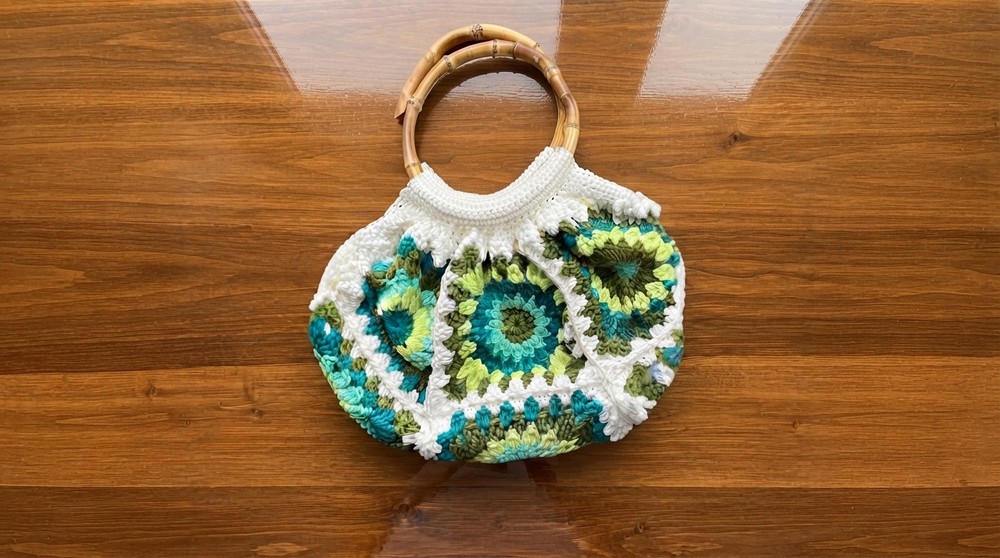
This handbag is crocheted from charming crocheted squares joined together to form a unique shape that blends both classic and modern styles. The pattern uses textured stitches like double crochets, trebles, and slip stitches for an intricate surface rich in depth and visual interest. Its distinct round handles offer a comfortable grip while adding to the bag’s standout design. Soft yet sturdy, the bag’s texture balances durability with elegance, making it suitable for carrying daily essentials in style.
Ideal for gifting, this handmade bag reflects personal care and artistic skill. Whether as a thoughtful birthday present, a special holiday gift, or a creative “just because” surprise, it is sure to delight the recipient. The size and shape make it versatile for casual outings or a chic accessory to dress up an outfit. Adding a fabric lining or pockets, as shown in the video, can enhance its functionality even further.
The free crochet round handle BAG Pattern is a rewarding project that showcases the beauty of crochet craftsmanship. It’s a stylish and practical accessory that blends form and function in a gracefully simple way, making it a must-try for anyone looking to create a unique, handmade treasure.
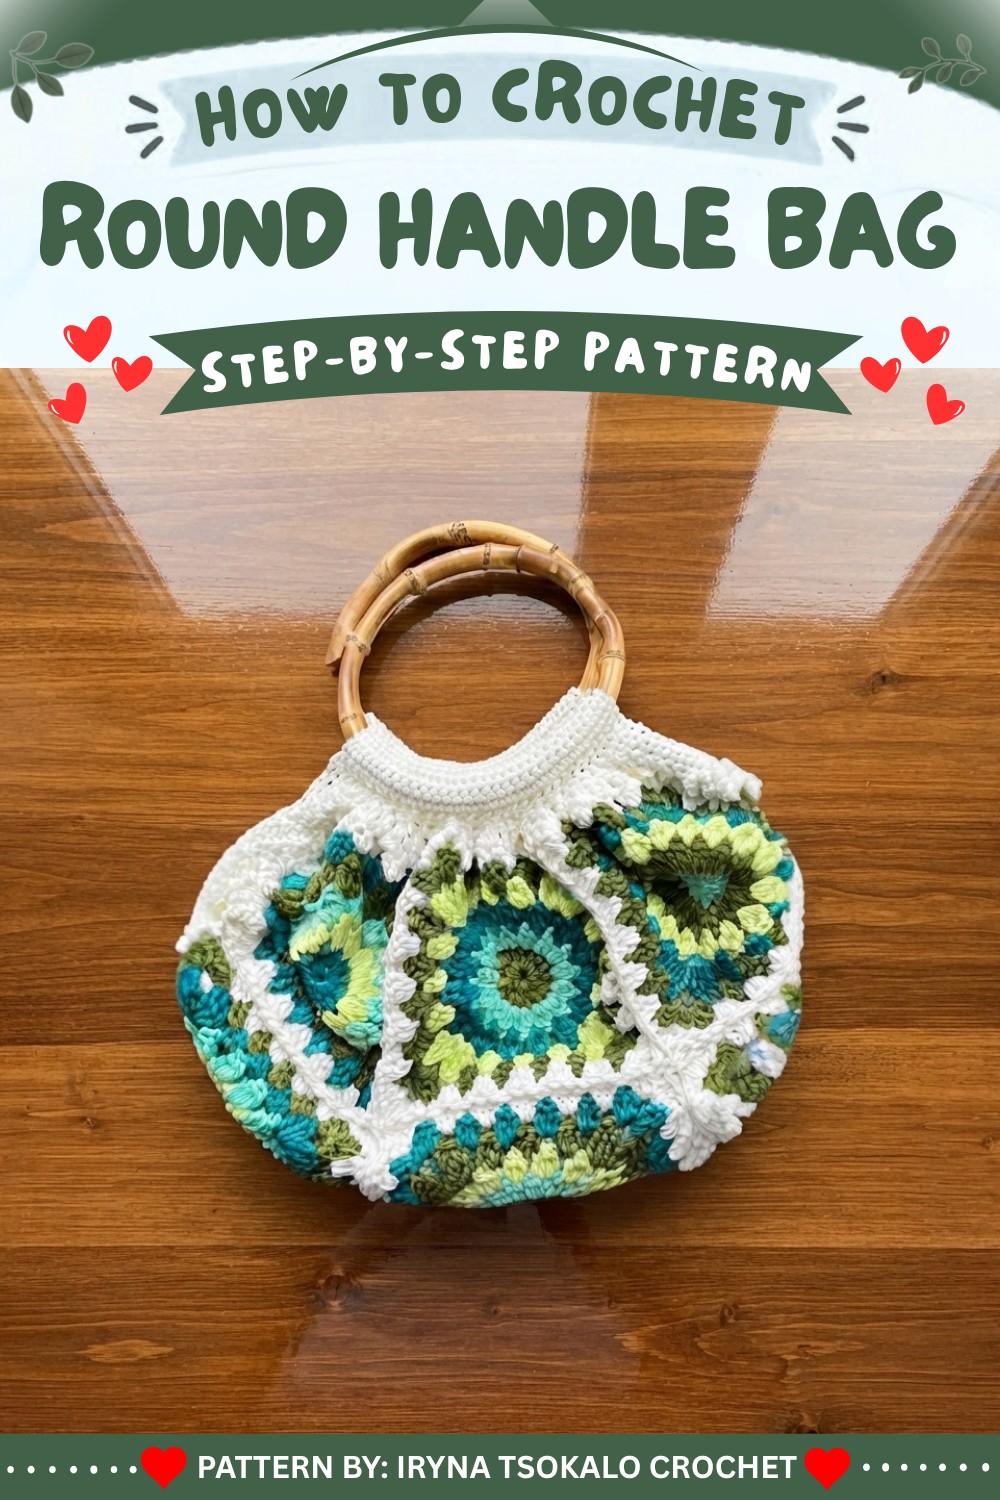
Crochet Square Bag Pattern
In this pattern, you’ll learn how to make a stunning crochet bag using one or multiple squares, following the exact process demonstrated in the video. You will master the classic square motif, learn how to join squares seamlessly, and finish the bag with tailored decreasing and neat handles. The project is explained stitch-by-stitch and round-by-round, including all provided technical instructions so nothing is left out.
Pattern Basic Points
- Modular Construction: You may work one large square or multiple smaller squares (the sample uses 9).
- Rounds in Square:
- Center ring with double crochet (dc)
- Successive rounds use 3-dc and 4-dc groups, chains, and treble crochet (tr c)
- Corners formed in a precise, repeatable pattern
- Join-As-You-Go: Squares are joined with single crochet (sc) or slip stitch (sl st) while crocheting.
- Shaping: After assembly, the sides are shaped with single crochet decreases.
- Lining & Handles: An optional lining is described, and sturdy, sewn handles complete the design.
Special Notes
- All rounds begin with a new yarn attachment, as shown in the video.
- Take care to work into correct spaces and stitches, especially during joining and decreasing.
- Handle construction is custom to your width preference.
- The bag can have additional squares and motifs, or be expanded as a granny square.
Skill Level
Intermediate:
You should be comfortable reading patterns, identifying stitches, and sewing or joining pieces.
Materials
- Yarn: Suitable for a 4mm crochet hook; preferably a classic acrylic, cotton, or a blend.
- Hook: 4mm crochet hook.
- Yarn needle (for sewing pieces and weaving ends).
- Scissors
- Lining fabric (optional), sewing needle/thread for lining.
- Bag handles of your choice.
Measurements / Sizing
- Each square is increased until the desired size (the video’s finished squares have sides of 47 cm).
- The number of squares is flexible; the video demonstrates with 9 squares in total.
- Handle width/length is optional and adjustable.
Gauge
- Gauge isn’t critical, but check your motif size after the first square to ensure you meet your desired bag dimensions.
Stitch Abbreviations
- ch: chain
- sl st: slip stitch
- sc: single crochet
- dc: double crochet
- tr c: treble crochet (triple crochet)
Special Stitches
- 3-dc together: Yarn over, draw up loop in designated stitch or space, finish 3 dc partially in the same place, leaving the last loop of each on hook, yarn over and draw through all loops on hook.
- 4-dc together: As for 3-dc, but with 4 partial dc, finishing as one.
- Join-As-You-Go: For connecting squares, use sl st or sc through both the working square and the corresponding space/corner of the joined square for a seamless look.
Pattern Instructions
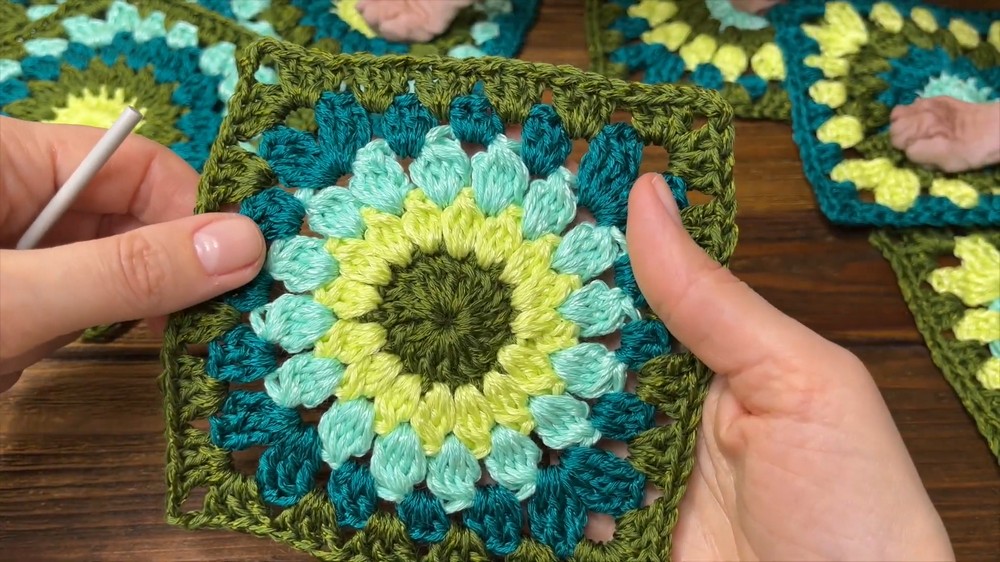
Step 1: Crochet a Square Motif
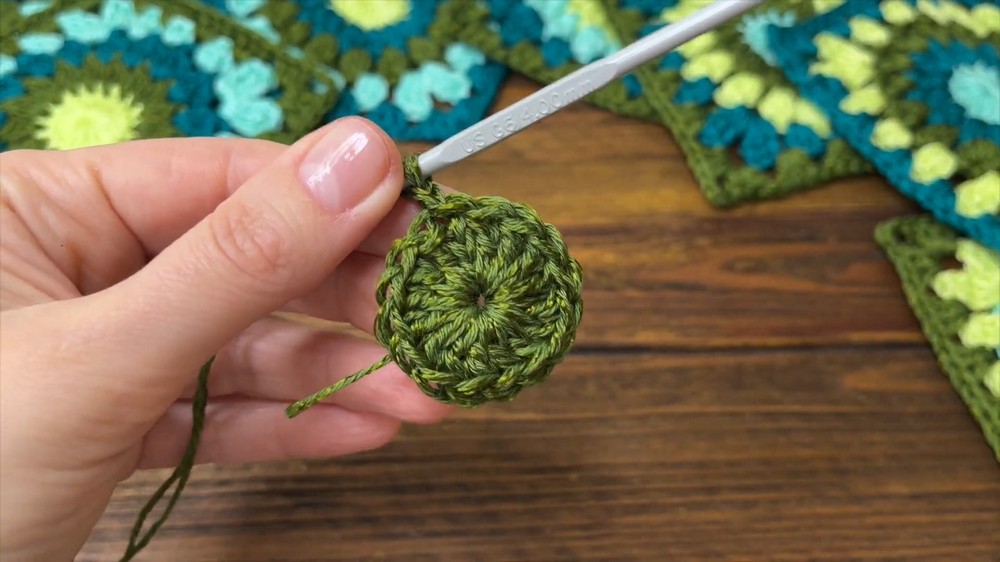
Center Ring & Row 1:
- Ch 3
- Sl st to first ch to form a ring
- Ch 3 (counts as 1st dc)
- Work 15 dc into the ring (16 dc in total, including ch-3)
- Sl st to top of ch-3
- Ch 1 and cut yarn
Row 2:
- Insert hook in any dc, join new yarn
- [3-dc together, ch 1] in each dc around:
- Yarn over, draw up a loop, work incomplete dc three times in same st, yo and pull through all 4 loops on hook (3-dc together)
- Ch 1
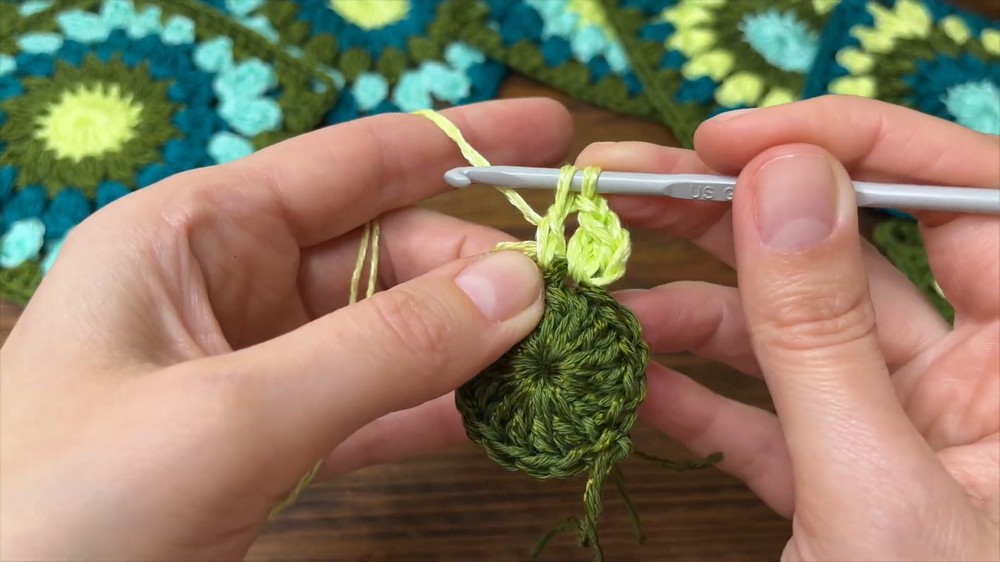
- Work this pattern into every dc around (16 clusters)
- Sl st to top of the first cluster
- Ch 1 and cut yarn
Row 3:
- Insert hook between any clusters, join new yarn
- [4-dc together, ch 2] in each space around:
- Yarn over, draw up loops, work incomplete dc four times in space, yo and pull through all 5 loops (4-dc together)
- Ch 2
- Repeat in each space between clusters
- Sl st to top of 1st 4-dc group
- Ch 1 and cut yarn
Row 4 (Squaring the Circle):
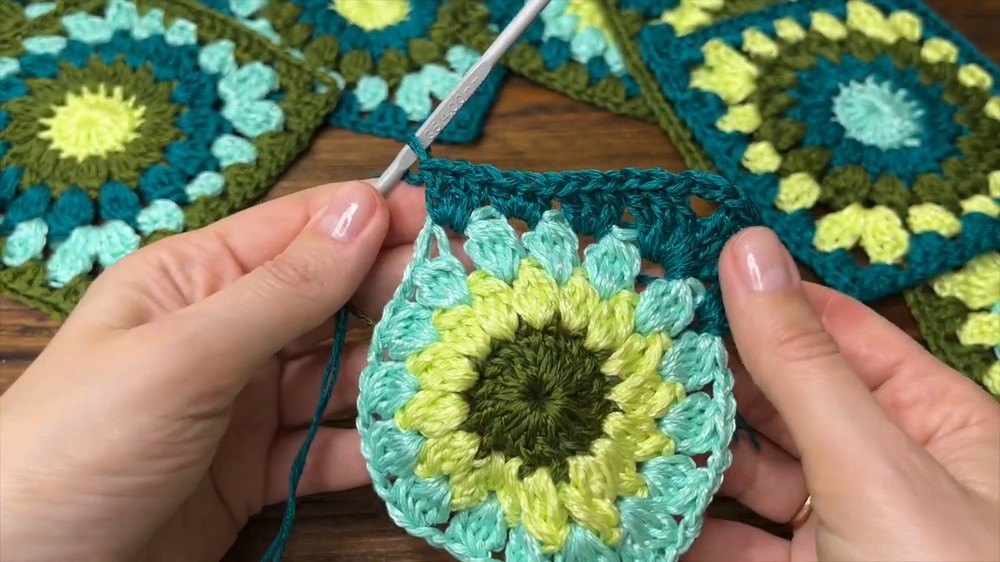
- Join new yarn in a chain space
- 3 dc in next chain space
- In the next chain space, work one corner:
- 3 tr c, ch 3, 3 tr c in same space (corner)
- Next space: 3 dc
- Next space: 3 hdc
- Next space: 3 dc
- Next chain space: 3 tr c, ch 3, 3 tr c (corner)
- 3 dc
- 3 hdc
- 3 dc
- 3 tr c, ch 3, 3 tr c (corner)
- 3 dc
- 3 hdc
- 3 dc
- 3 tr c, ch 3, 3 tr c (corner)
- Continue pattern to end (making sure there are 4 corners (tr c clusters) and 3-dc/3-hdc sides between corners)
- Sl st to starting dc, ch 1, cut yarn
Expanding the Square:
- For a larger square, add further rounds as for a classic granny square: each side pattern is 3 dc in every space, at corners work 3 dc, ch 3, 3 dc in each corner.
Step 2: Joining Squares
Join As You Crochet Additional Squares:
- Work new square as above; when reaching a side to be joined:
- Work 3 dc in every space
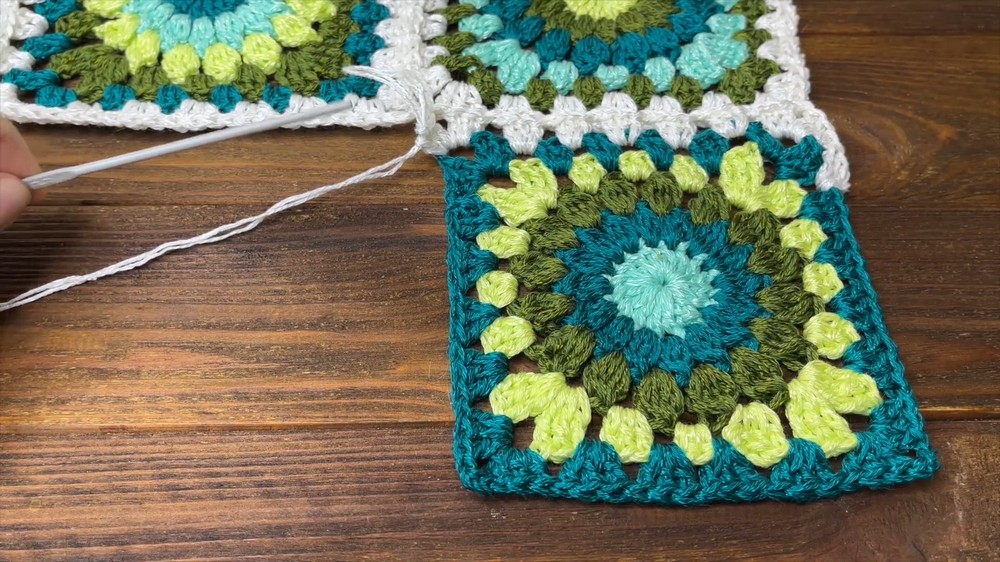
- At each corner: 3 dc, ch 1, join to other square (sl st OR sc into other square’s corner), ch 1, 3 dc
- Work 3 dc in every space
- Each corner is joined by ch 1, sc or sl st into adjacent square, ch 1 before continuing.
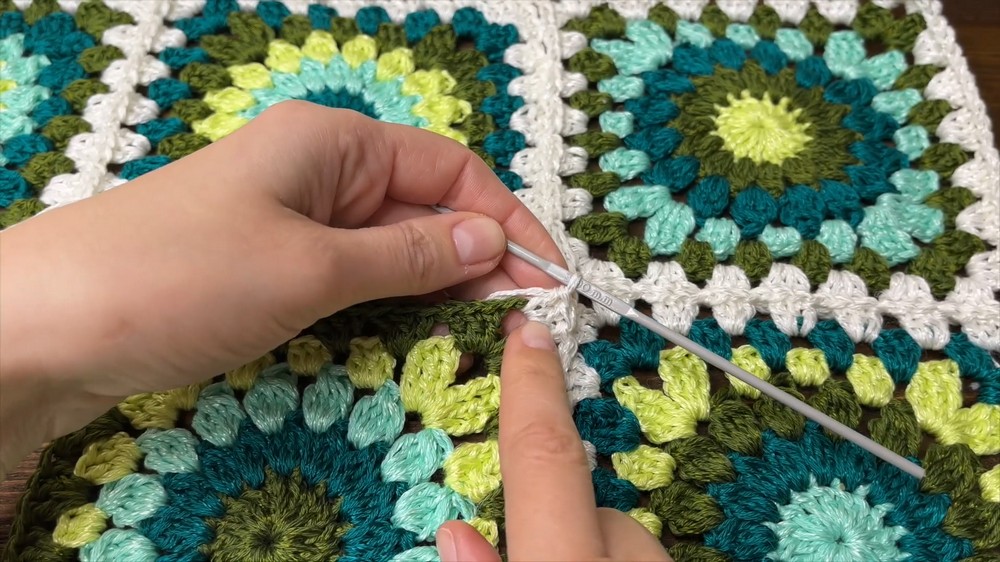
- Join additional squares in same manner, connecting at sides and corners as you go.
Step 3: Bag Assembly — Shaping and Lining
Forming the Bag Sides by Decreasing:
- Begin at any square’s corner.
- Ch 1
- Work 4 sc into first 4 sts or spaces
- Work 1 sc in every st/space along side
- When reaching final 4 sts/spaces of side, work 4 sc
- Ch 1, turn, work 1 sc in each sc across side
- Repeat to make 4 rows of sc across sides to decrease height and shape the bag
- Cut yarn, repeat decrease rows on the opposite side(s) (start and finish with 4 sc each time)
Handle Sides:
- For handle attachment edges, repeat decrease rows as above, but adjust rows based on desired handle width (the sample uses 11 rows for handle ends)
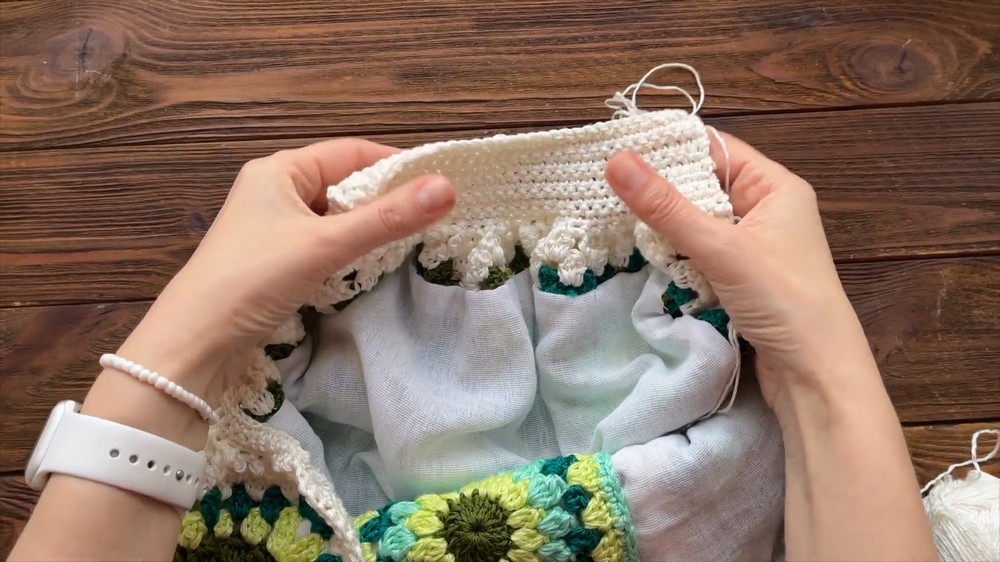
Optional Lining:
- Cut fabric to fit the bag interior (allowing for 1 cm seam)
- Attach fabric to each square, fold and sew edge with blind stitch
- Add pocket to lining if desired
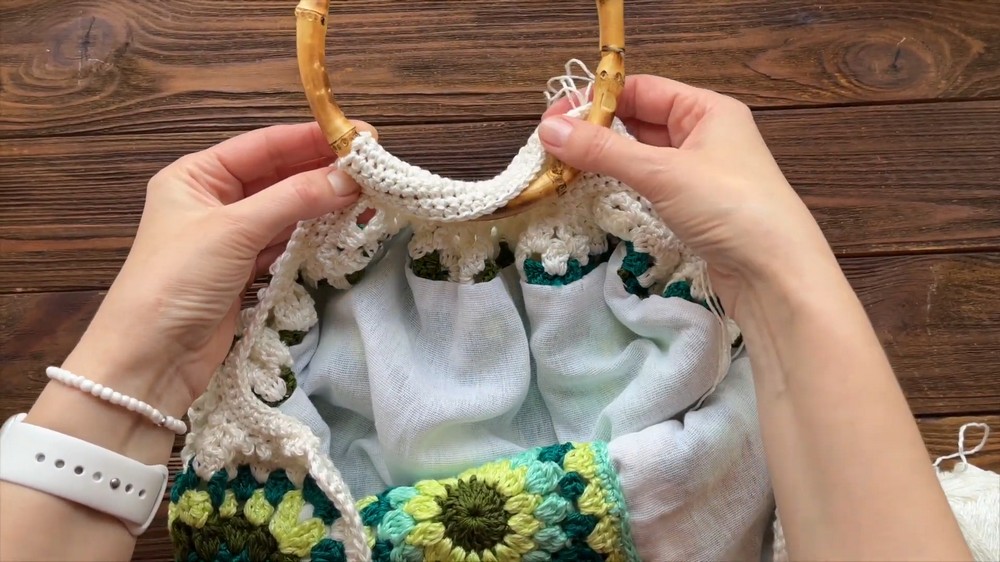
Attach Handles:
- Fold canvas around handle
- Sew securely with chosen needle and thread
Assembly & Finished Size
- Weave in all ends with yarn needle
- Attach lining neatly inside if used
- Attach handles securely
- Finished bag square sides will each measure approximately 47 cm (or your adjusted square size)
Conclusion
Your square-motif crochet bag is now complete, constructed entirely by following the video’s detailed and logical steps. With seamless join-as-you-go assembly, a clean lining, and customizable handles, this project produces a square bag both sturdy and beautiful. Enjoy using or gifting your new bag, and may your craftsmanship continue to develop with each project.