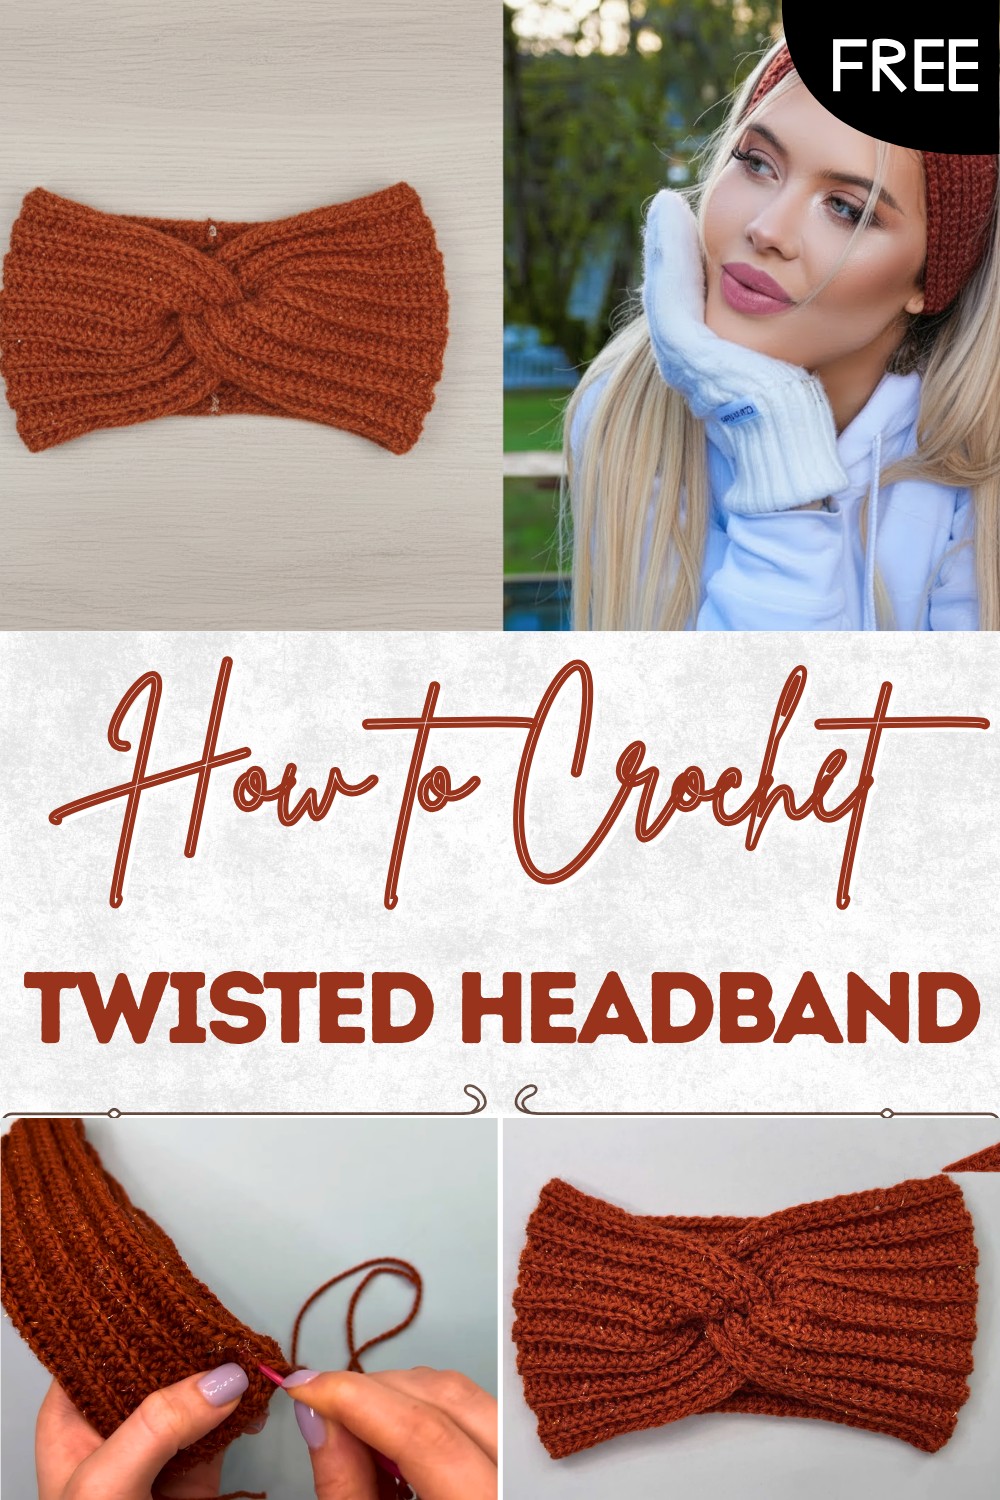
How to Crochet Twisted Headband Free Pattern for Every Season
Chic comfort awaits with this free Crochet Twisted Headband Pattern, featuring easy steps so you can enjoy a stylish and handmade accessory.
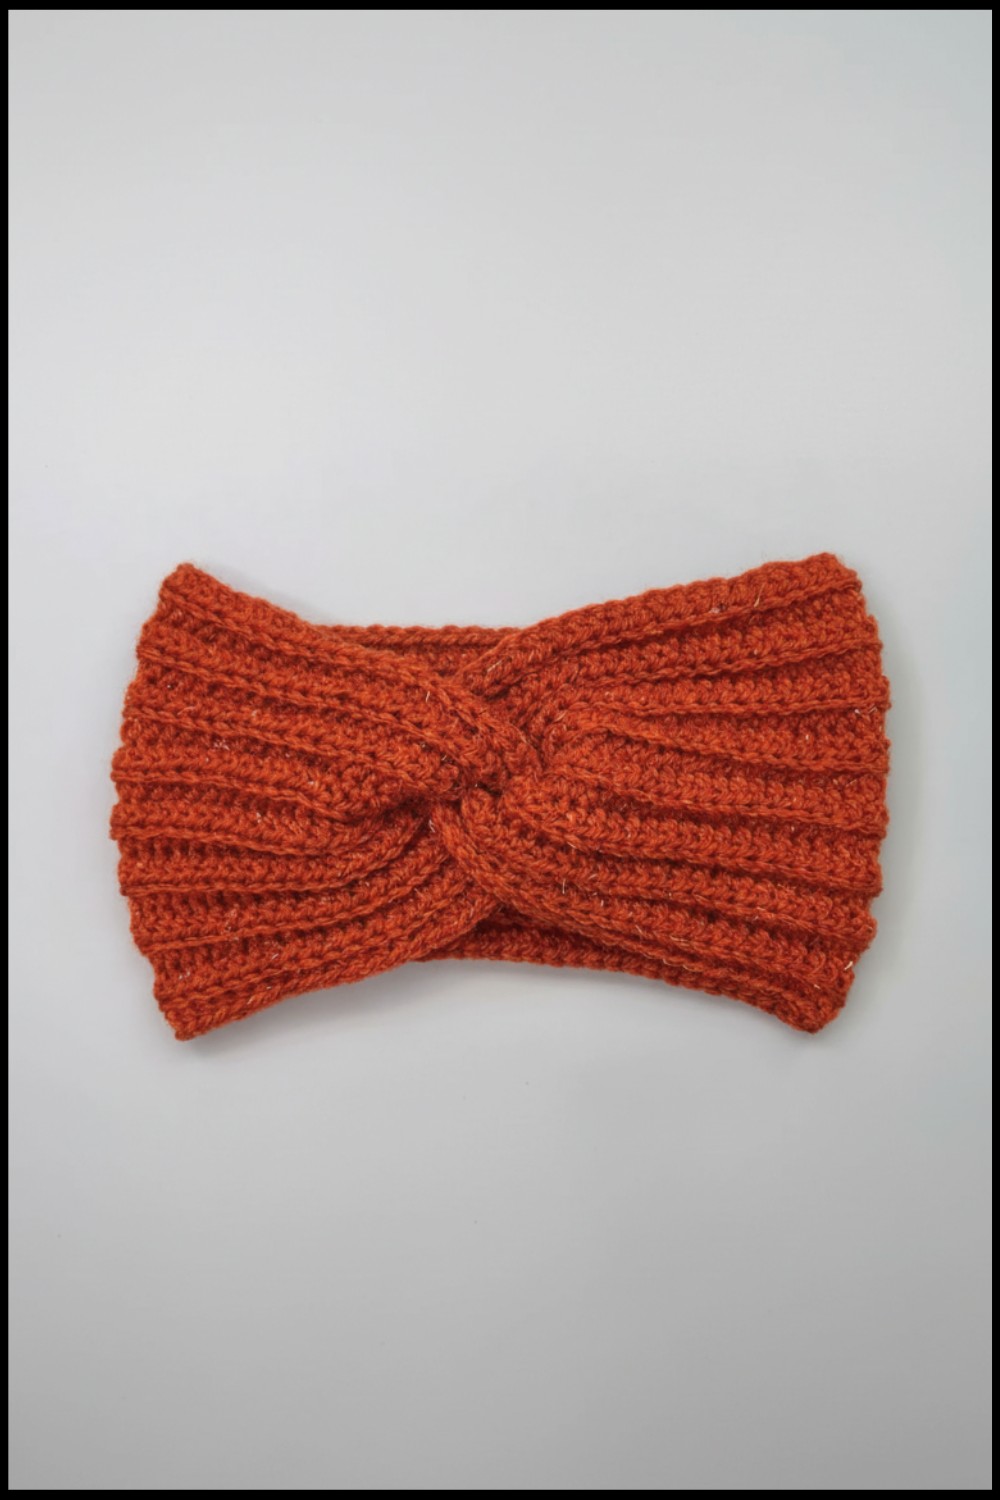
Step outside and let a twist of color frame your face, bringing both charm and warmth wherever you go. The Crochet Twisted Headband pattern puts an end to cold ears and boring accessories with its beautiful ribbed texture and eye-catching knot right at the front. Designed for comfort, this headband stretches easily, fitting any head shape without slipping or feeling tight. No worries about messy hair—this style keeps everything together while looking elegant and simple.
Free Crochet Pattern – Twisted Headband
Great for everyday wear or special occasions, it can be made in shades that match your coat, scarf, or even your mood. This headband isn’t just for personal use—it makes a thoughtful present for a friend or family member, spreading comfort and joy. The gentle twist and neat lines give any outfit a unique, cozy finish, making cold weather just another chance to show off your personal style.

Free Crochet Twisted Headband Pattern
Materials
- Yarn: Lightweight #3 yarn (or substitute with chunky/bulky yarn; see notes below)
- Hook: US Size H/5.0 mm crochet hook (adjust as needed to fit yarn and desired tension)
- Yarn Needle: For sewing and weaving in ends
- Measuring Tape: (Optional) For accurate sizing
- Stitch Marker: (Optional) For marking first stitch of each row
Key Abbreviations (US Terms)
| Abbreviation | Meaning |
|---|---|
| ch | chain |
| hdc | half double crochet |
| BLO | back loop only |
| st(s) | stitch(es) |
| sl st | slip stitch |
| rep | repeat |
Special Notes
- Pattern is worked flat and then sewn together with a twist at the seam.
- For best fit, measure your head and adjust the starting chain accordingly.
- All stitches after the foundation row are worked in the back loop only (BLO) to create a ribbed texture.
- Finish width for all sizes is approx. 11.5 cm (if using chunky yarn, measure to this width).
- Pattern is beginner-friendly.
Finished Dimensions
| Size | Head Circumference | Starting Chains | Rows (approx.) |
|---|---|---|---|
| Small | 50 cm / 19.5 in | 78 | 16 |
| Medium | 54 cm / 21.25 in | 84 | 16 |
| Large | 58 cm / 22.75 in | 90 | 16 |
- Adjust foundation chain as needed to fit your head size and yarn stretch.
- The number of rows remains the same (16) to achieve width.
Instructions
1. Foundation Chain
- Ch the number required for your size (78, 84, or 90).
- (Tip: Measure your foundation chain slightly stretched to fit comfortably around your head.)
2. Row 1 (First HDC Row)
- Hdc in 2nd ch from hook and across the entire chain.
- For a neater edge: Work into the back bump of the chain on the first row (optional, but creates a more even look).
- You should have one less stitch than your starting chains (e.g., if you ch 84, you’ll have 83 hdc).
Stitch Count: (ch count) – 1
3. Row 2 (Begin BLO HDC Rows)
- Ch 1, turn.
- Hdc in BLO of each st across.
- This gives the headband its stretchy “ribbed” texture.
- This gives the headband its stretchy “ribbed” texture.
4. Rows 3–16
- Rep Row 2: Ch 1, turn. Hdc in BLO of each st across.
- Continue until you have a total of 16 rows (or your work measures 11.5 cm / 4.5 in wide).
- Use a stitch marker to mark your first st each row if you have trouble keeping count or with stitch placement.
- Use a stitch marker to mark your first st each row if you have trouble keeping count or with stitch placement.
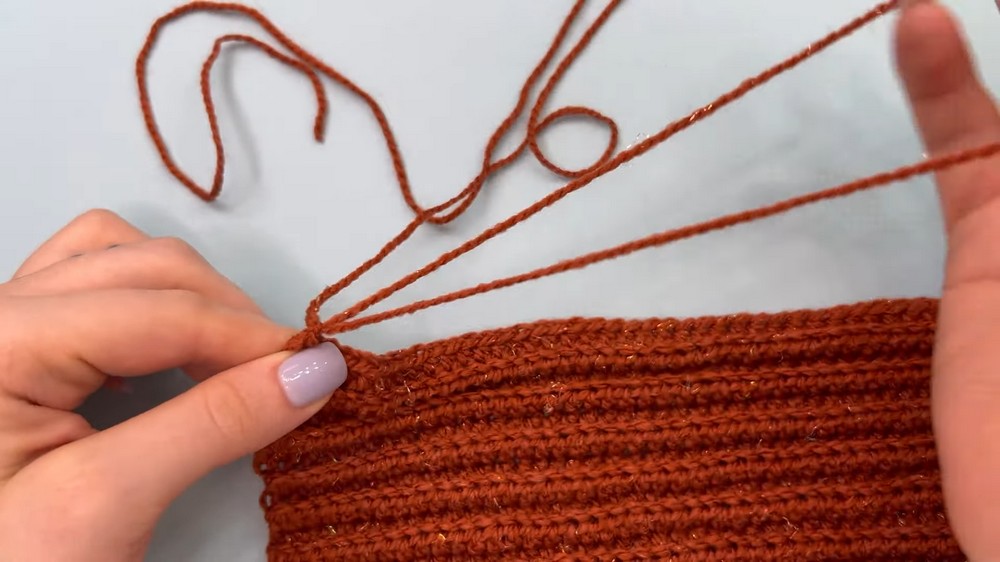
5. Fasten Off
- At the end of the final row, ch 1 and pull to tighten.
- Leave a long tail (about 15–18” or 40–45 cm) for sewing.
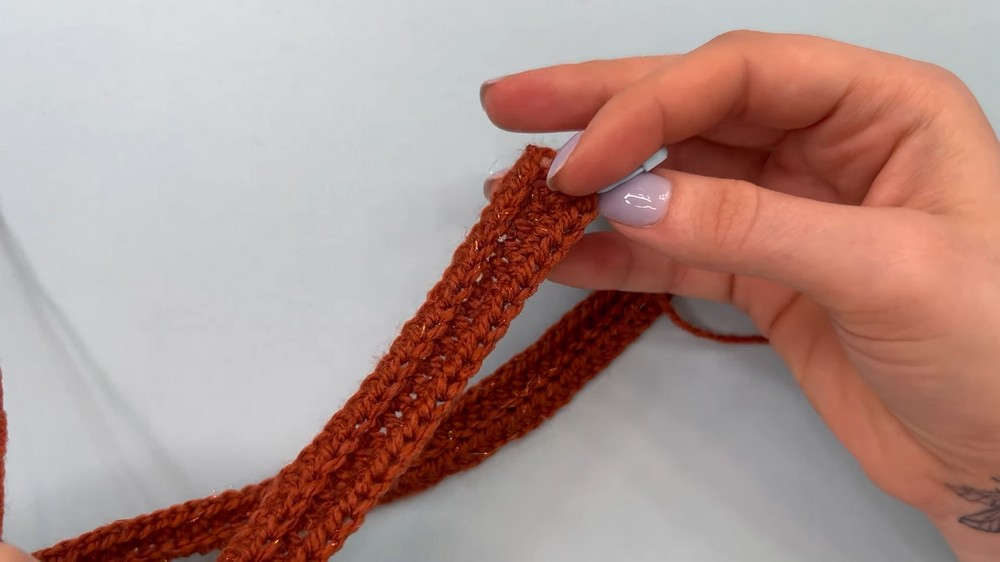
Assembly: Creating the Twist
1. Lay Flat
- Place finished rectangle flat with both edges facing you.
2. Fold Ends
- Fold each end in half, creating two “U” shapes.
- Interlock the two “U” shapes so that the two folded halves overlap – one over, one under.
3. Sew Ends Together
- Thread yarn tail onto a needle.
- Sew through all four layers (two folds from each side) using a whipstitch or your preferred seaming method.
- Ensure you catch all layers so the seam is secure.
- Ensure you catch all layers so the seam is secure.
4. Knot and Weave in Ends
- At the seam finish, tie a knot to secure.
- Use yarn needle to weave in ends discreetly along the seam.

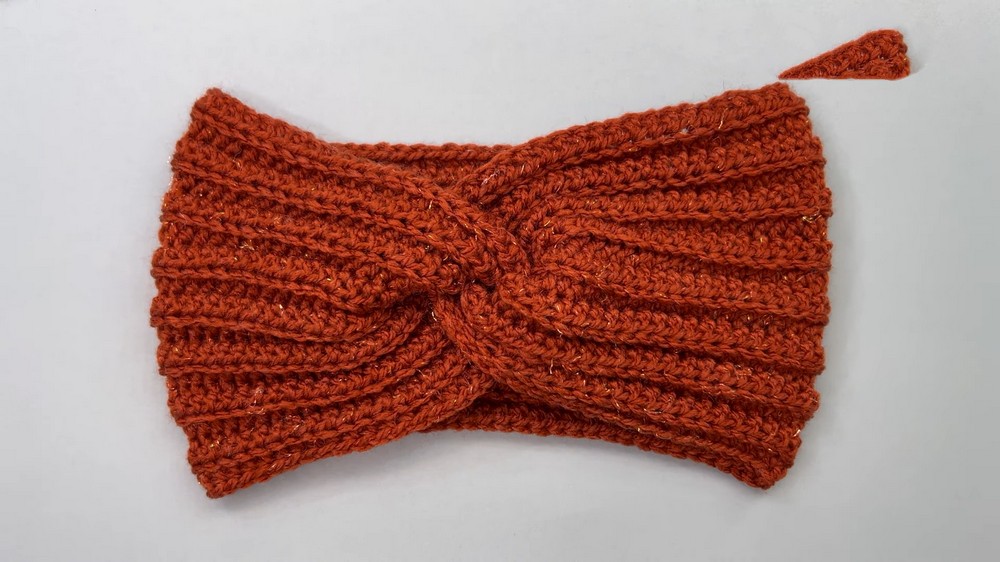
5. Turn Right Side Out
- Flip the headband so the seam is on the inside.
- The twist should now appear centered and professional on the finished ear warmer.
Pattern Correction/Notes
- Foundation chain count should always be an even number, as each row begins in 2nd ch from hook.
- Your “row count” creates width (ear coverage), so feel free to add or subtract rows for a wider/narrower band.
- If using bulkier yarn: Crochet fewer starting chains. Measure your “headband” against your head as you go.
- For maximum stretch and comfort, do not chain or crochet too tightly.
Pattern Tips
- Measuring: Try the headband around your head before seaming for a custom fit.
- Finishing: When weaving in ends, avoid pulling too tight at the seam so there’s stretch at the join.
- Customization: Add embellishments (buttons, appliqués), or adjust width by adding/removing rows.
Conclusion
This twisted ear warmer is a cozy, quick project that makes a great last-minute gift or a cold-weather accessory in any color. With a simple ribbed texture and stylish twist, it’s perfect for beginners or seasoned crocheters looking for a relaxing make.