Cute Crochet BABY CHRISTMAS Free Pattern | Easy Tutorial

Make this holiday season special with this Free Crochet Baby Christmas Pattern that adds warmth and charm to your festive creations with simple and adorable designs.
Nothing says holiday magic like adding a special, homemade touch to your festive decorations. Searching for a Free crochet BABY CHRISTMAS Pattern is the best way to bring extra joy into your home, whether you want a cute ornament for your tree or a sweet, squishy friend to sit on your shelf. These little figures make amazing gifts that feel personal and thoughtful, plus they look absolutely adorable in a holiday basket or as part of your table display.
Free Crochet Baby Christmas Pattern for Holiday Joy
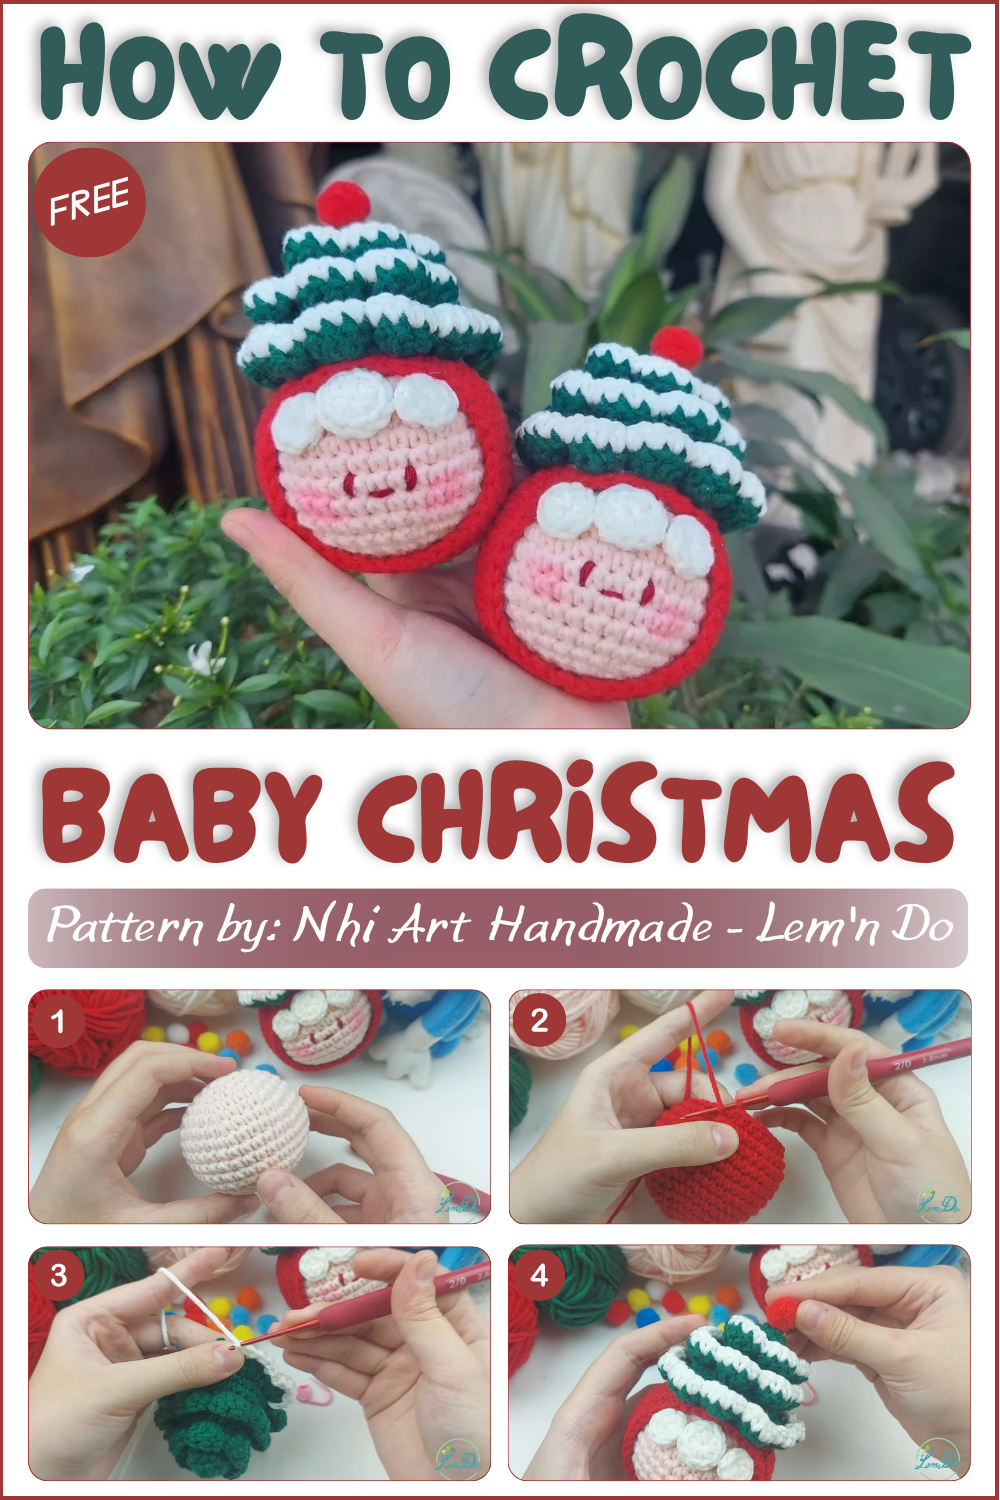
The wonderful project comes to life thanks to the “Nhi Art Handmade – Lem’n Do” YouTube channel. Their video feels just like hanging out with a talented friend who is happy to show you exactly how to get started. You will love how easy they make the steps feel, even if you are just learning.
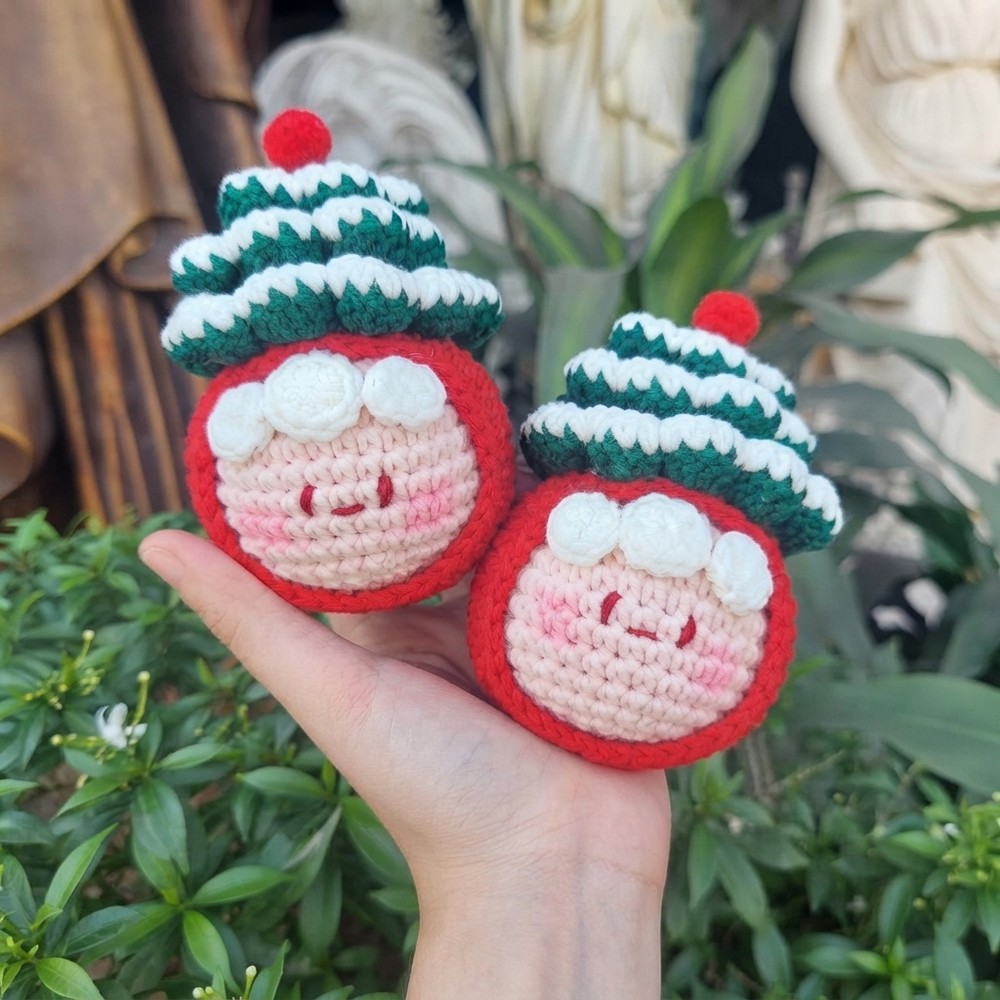
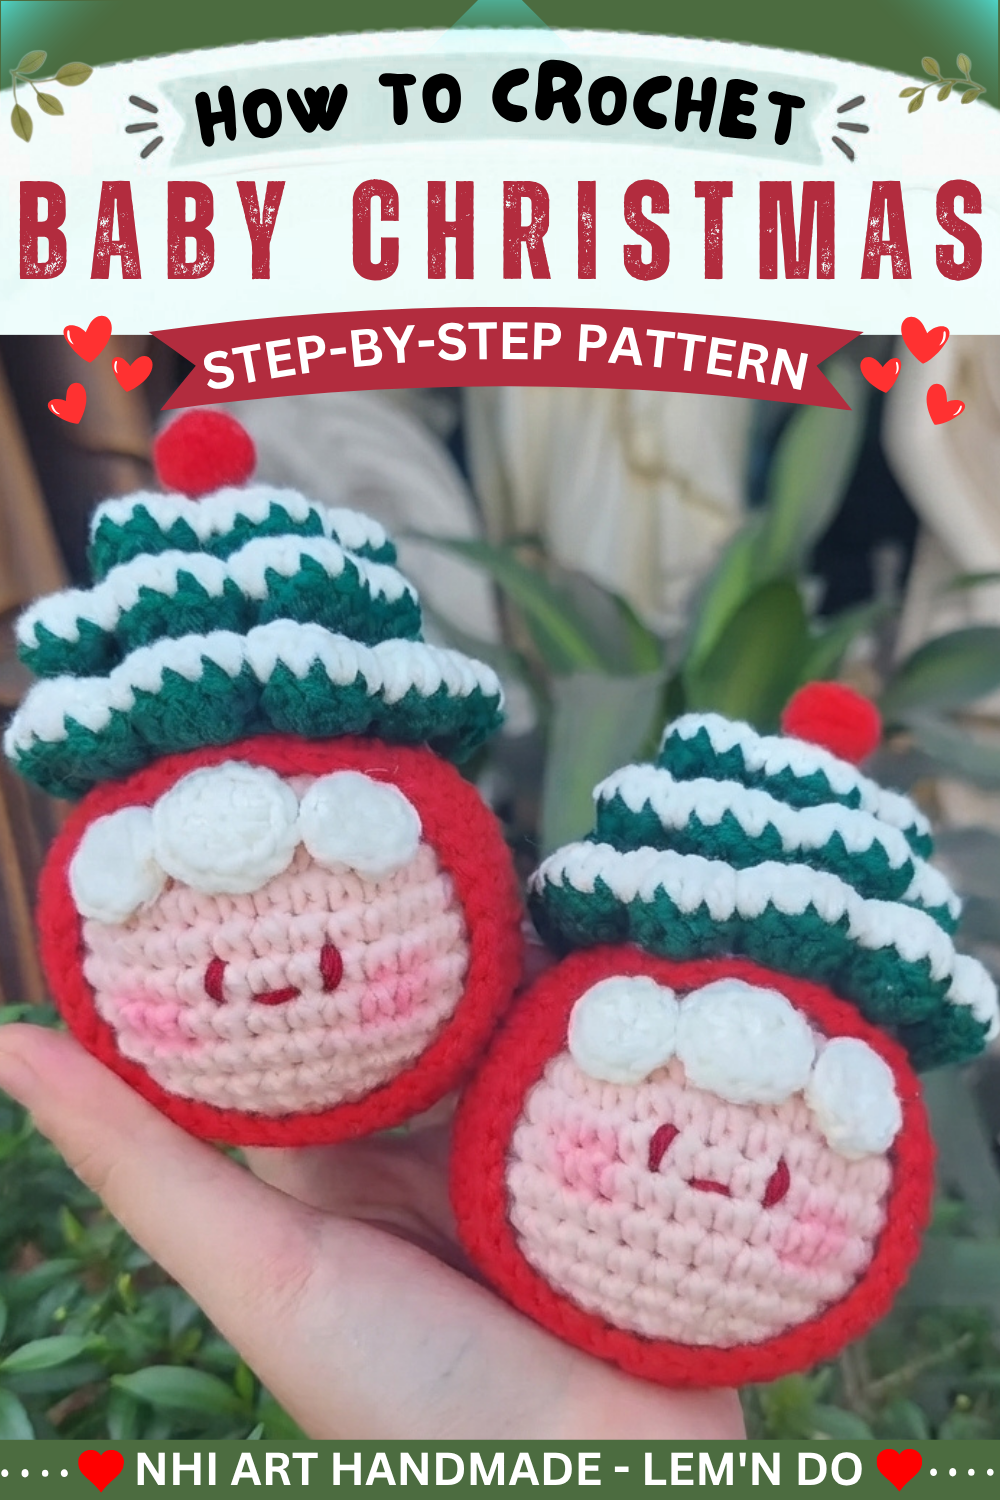
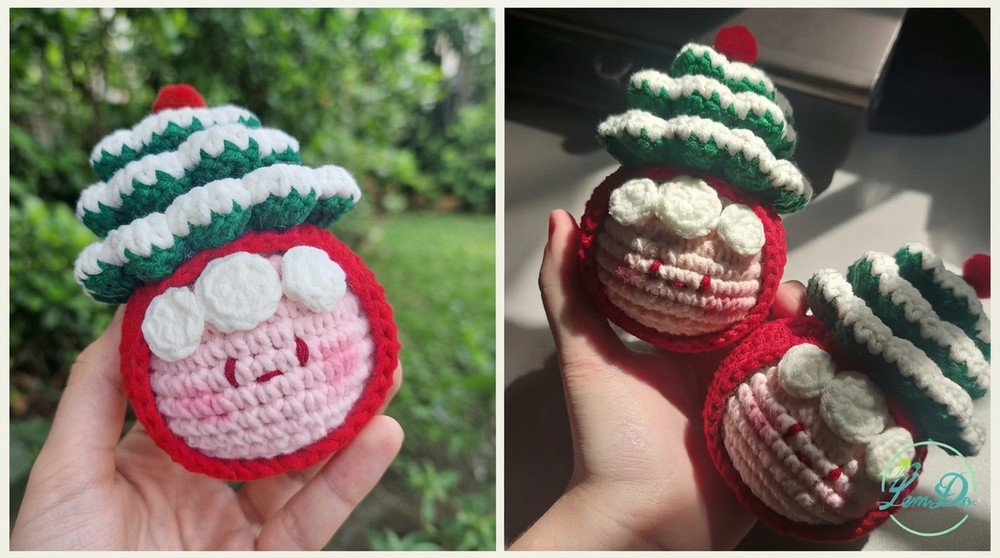
These figures are truly beautiful to look at. They have a round, chubby shape that makes them feel so soft and nice to hold. The design features a baby tucked inside a bright, festive hat, mixing fun holiday colors that pop. The texture is smooth and neat, showing off tight stitches that give the piece a clean look. With their happy faces and rosy cheeks, they brighten up any room they are in.
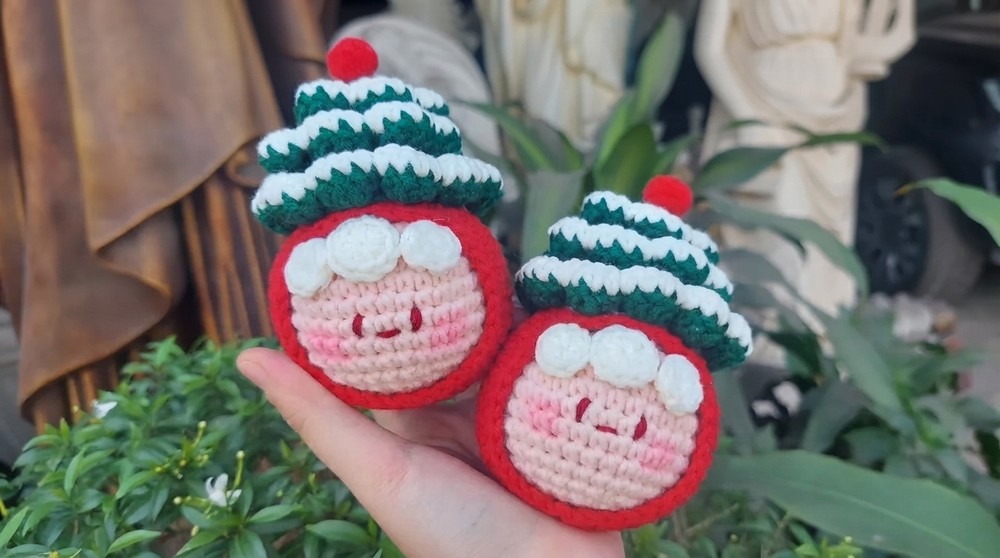
If you want to add something unique to your seasonal collection, this project is a perfect choice. It is simple enough for many people to pick up, and you will feel so proud to have something this festive and fun to display every single year. It is a lovely way to spend some quiet time while making something special for the holidays.
Baby Christmas Decoration Crochet Pattern
This pattern will guide you, step by step, to create an adorable Baby Christmas decoration just as shown in the referenced tutorial. You’ll find all the detailed stitch counts and shaping for the head, body, hat (foliage), and snow trim.
Quick Overview Of Pattern
- Crochet in rounds (amigurumi style) for a seamless finish.
- Elements: Head, Body, Hat (foliage/top), and snow (white trimming).
- Increasing and decreasing rounds shape the head and body.
- Hat (foliage/top) worked with cluster increases.
- Easy decorative border for festive effect.
- Customizable and perfect for ornaments or small gifts.
Notes
- Pattern uses standard US crochet terms.
- Work in continuous spirals; use a stitch marker to identify the beginning of each round.
- When stuffing, fill pieces as you go for best results.
- Gauge is not crucial, but ensure stitches are tight enough to hold stuffing.
- Fasten off invisibly for neat finishes.
Skill Level
Advanced Beginner / Intermediate
Requires proficiency with magic ring, increases, decreases, and basic shaping in rounds.
Materials
- DK or light worsted weight yarn in the following colors:
- Skin tone (head)
- Red or festive color (body)
- Green (hat/foliage)
- White (hat trim)
- Crochet hook: 2.0–2.5 mm (or size for firm fabric)
- Polyester fiberfill
- Yarn or tapestry needle
- Stitch marker
- Scissors
- Optional: keychain ring or ornament hanging thread
Measurements / Sizing
- Approximate finished height: 9–11cm (3.5–4.5″)
- Sizing may vary slightly by yarn/hook choice and personal tension.
Gauge & Stitch Pattern
- Stitches should be tight and stuffing not visible through fabric.
- Make a 2” swatch in single crochet; adjust hook for preferred tightness.
Stitch Abbreviations
| Abbr | Stitch |
|---|---|
| MR | Magic Ring |
| sc | single crochet |
| inc | increase (2 sc in 1 st) |
| dec | invisibile decrease |
| st(s) | stitch(es) |
| sl st | slip stitch |
| ch | chain |
| dc | double crochet |
| rep | repeat |
Special Stitches
- Magic Ring (MR): Use for a tight, seamless starting point.
- Invisible Decrease (dec): Decrease method for amigurumi (insert into front loops of next two stitches, yarn over, pull through, yarn over, pull through both loops).
- Foliage Border: Decorative border with combination of sc and 4 dc in a single stitch to form a leaf/petal.
- Snow Trim: Slip stitch, ch 1, then multiple single crochets as decorative edging.
The Crochet Pattern
Head
- Row 1: MR, 6 sc into ring. [6]
- Row 2: 2 sc in each st around. [12]
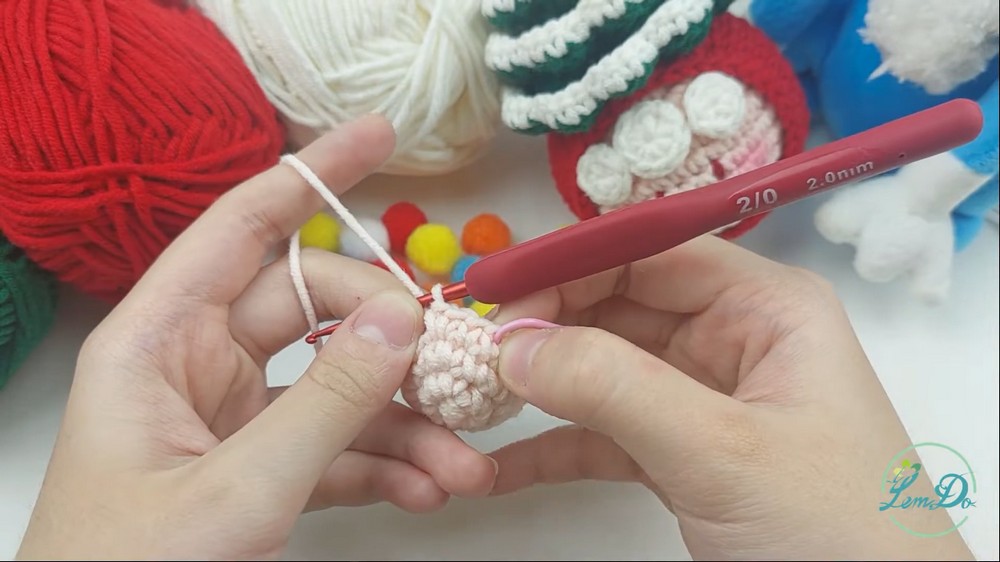
- Row 3: (1 sc, 1 inc) rep 6 times. [18]
- Row 4: (2 sc, 1 inc) rep 6 times. [24]
- Row 5: (3 sc, 1 inc) rep 6 times. [30]
- Row 6: (4 sc, 1 inc) rep 6 times. [36]
- Rows 7–11: Sc in each st around. [36]
- Row 12: (4 sc, 1 dec) rep 6 times. [30]
- Row 13: (3 sc, 1 dec) rep 6 times. [24]
- Row 14: (2 sc, 1 dec) rep 6 times. [18]
- Row 15: (1 sc, 1 dec) rep 6 times. [12]
- Row 16: 6 dec. [6]
- Fasten off, close hole, weave in end.
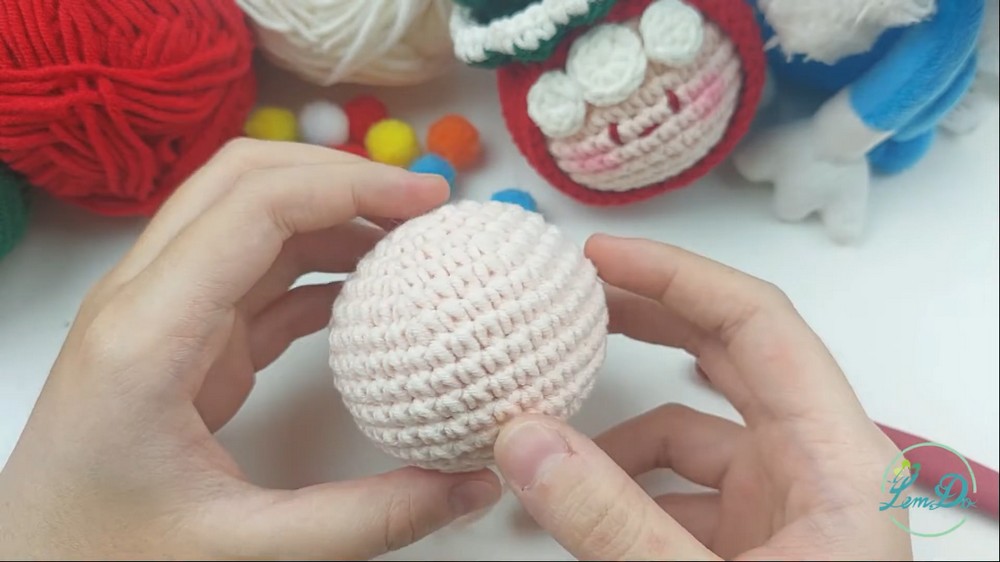
- Fasten off, close hole, weave in end.
Body
- Row 1: MR, 6 sc into ring. [6]
- Row 2: 2 sc in each st around. [12]
- Row 3: (1 sc, 1 inc) rep 6 times. [18]
- Row 4: (2 sc, 1 inc) rep 6 times. [24]
- Row 5: (3 sc, 1 inc) rep 6 times. [30]
- Row 6: (4 sc, 1 inc) rep 6 times. [36]
- Row 7: (5 sc, 1 inc) rep 6 times. [42]
- Rows 8–13: Sc in each st around. [42]
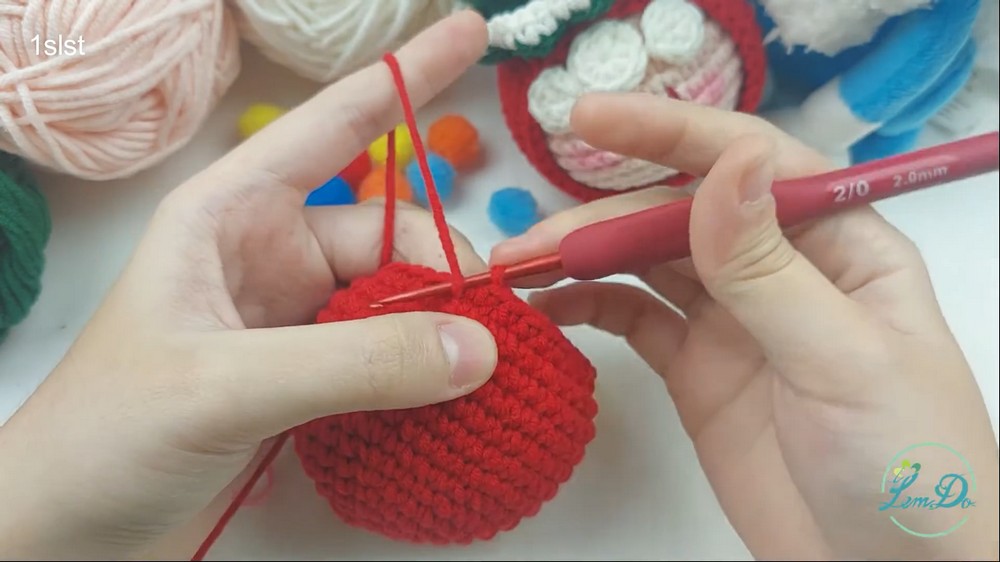
- Row 14: (5 sc, 1 dec) rep 6 times. [36]
- Fasten off, leave long tail for sewing.
Hair
- MR6 for small hair.
- MR9 for Larg hair.
Hat (Foliage/Top)
- Row 1: MR, 6 sc into ring. [6]
- Row 2: (1 sc, 1 inc) rep 3 times. [9]
- Row 3: (2 sc, 1 inc) rep 3 times. [12]
- Row 4: (3 sc, 1 inc) rep 3 times. [15]
- Row 5: (4 sc, 1 inc) rep 3 times. [18]
- Row 6: (5 sc, 1 inc) rep 3 times. [21]
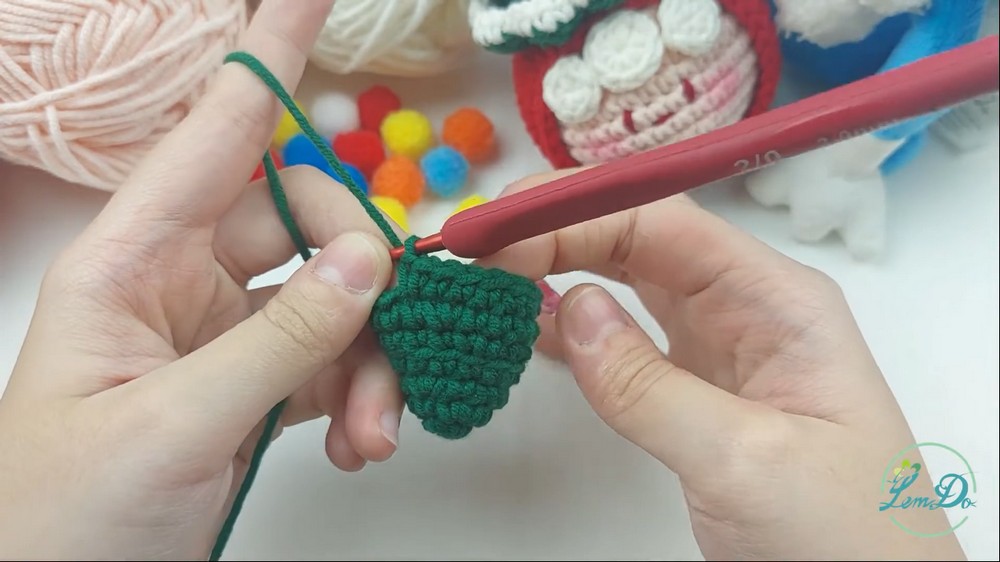
- Row 7: (6 sc, 1 inc) rep 3 times. [24]
- Row 8: (7 sc, 1 inc) rep 3 times. [27]
- Row 9: (8 sc, 1 inc) rep 3 times. [30]
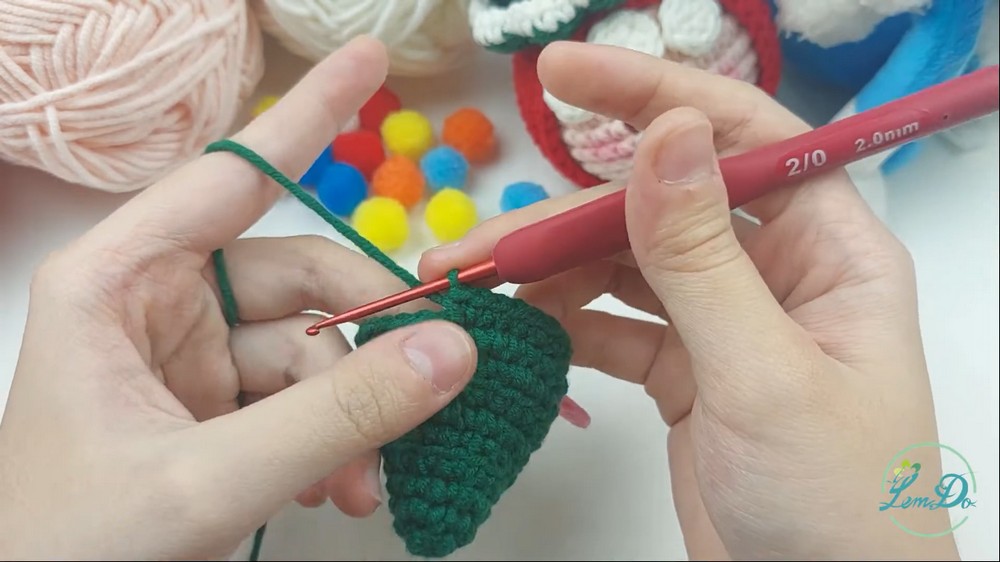
- Row 10: (9 sc, 1 inc) rep 3 times. [33]
Foliage Border (Leafy Topper)
- (1sc – 4F – 1sc _ 4F _ 1sc- 3F – 1sc…) in next st around. Repeat in each stitch around for a ruffled foliage effect.
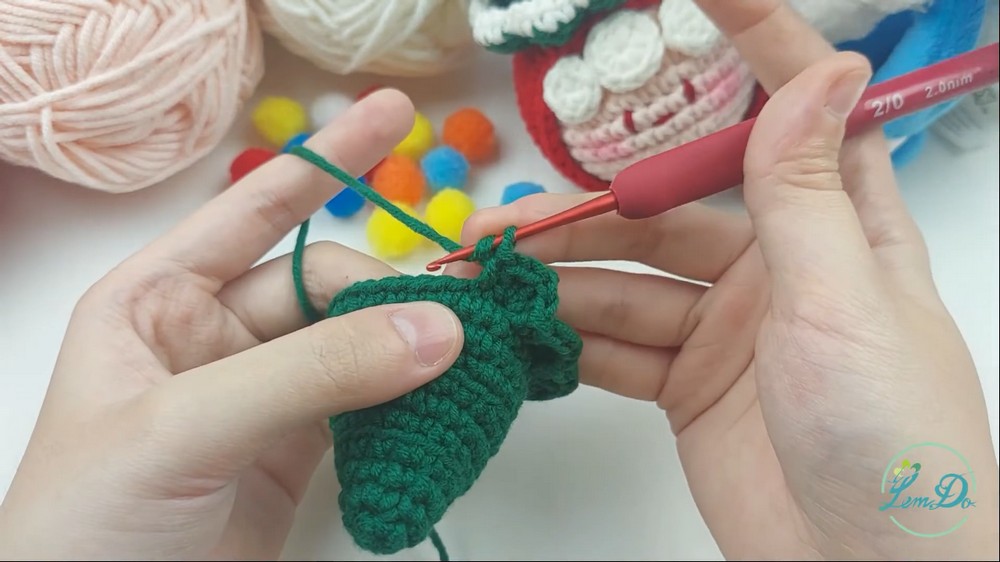
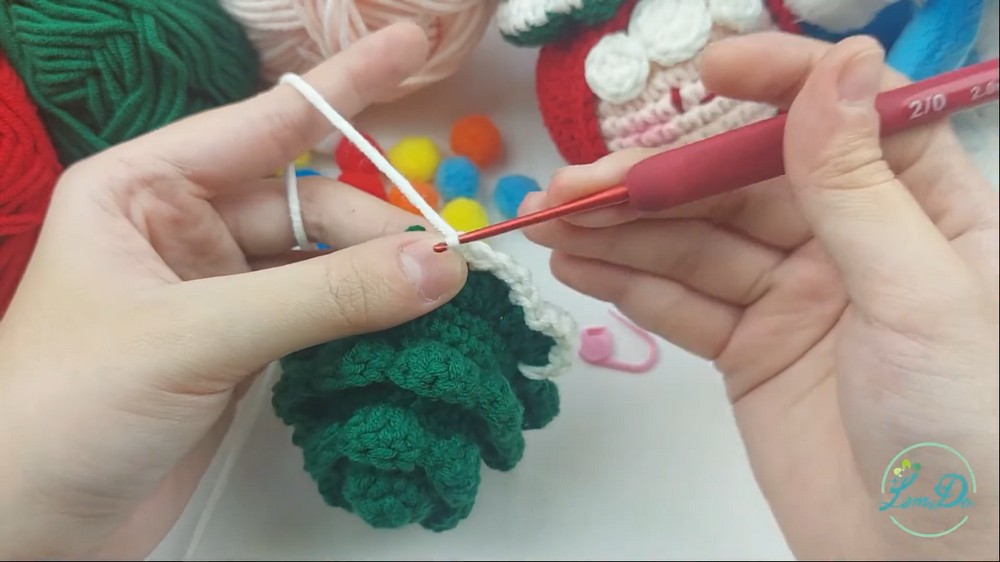
Snow (White Trimming on Hat)
- Join white yarn to the edge. (sl st, ch 1, 4 sc in border stitch); repeat as needed around to make a snowy trim.
Assembly & Finished Size
- Stuff the head and body firmly. Sew head to body.
- Attach hat: Position foliage hat on the head, sew neatly.
- Add border: Work the green foliage border as specified. Then add white “snow” trimming around the hat.
- Embellish: Optionally embroider a face, add a keychain ring or thread for hanging as an ornament.
- Pom-Pom: Attach the pom-pom if you want.
- Finished Size: Approx. 9–11 cm tall, depending on yarn and hook.
Conclusion and Ending Words
Congratulations, your Baby Christmas decoration is finished! This adorable amigurumi makes a perfect ornament, unique gift, or festive holiday accent. Share your creations with friends, use different colors to personalize, and revisit the pattern as inspiration for your handmade decor.