EASY Crochet Plush Sea Turtle Free Pattern & Tutorial

Stitch your own ocean buddy with this free crochet plush sea turtle pattern and create a charming, soft design perfect for any crochet enthusiast.
Holding a small, soft sea turtle that feels as gentle as the ocean breeze brings a special kind of joy. This crochet turtle is a beautiful and cozy creation that captures the charm of marine life. Made with care, it quickly becomes a delightful companion, adding a touch of nature to any space.
Free Crochet Plush Sea Turtle Pattern for Home Decor
Loopa Crochets, the talented creator of this pattern, offers clear and calming tutorials that make every step easy to follow. Her channel helps crocheters of all levels feel confident and enjoy making adorable animals. Through her warm and encouraging style, Loopa Crochets turns simple yarn into charming works of art.
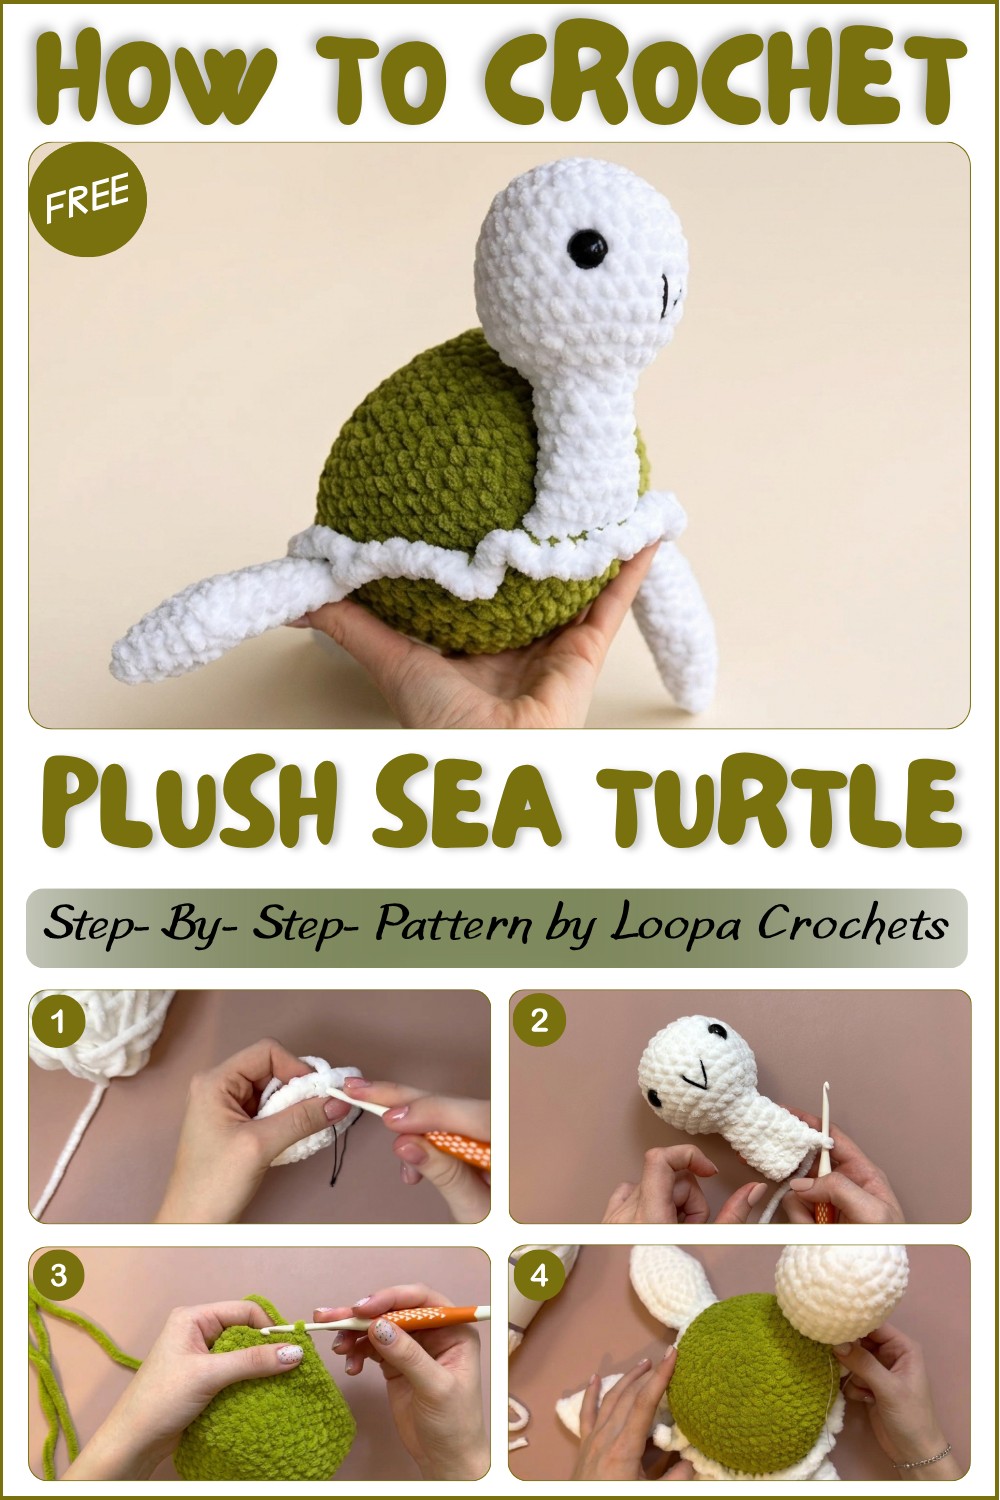
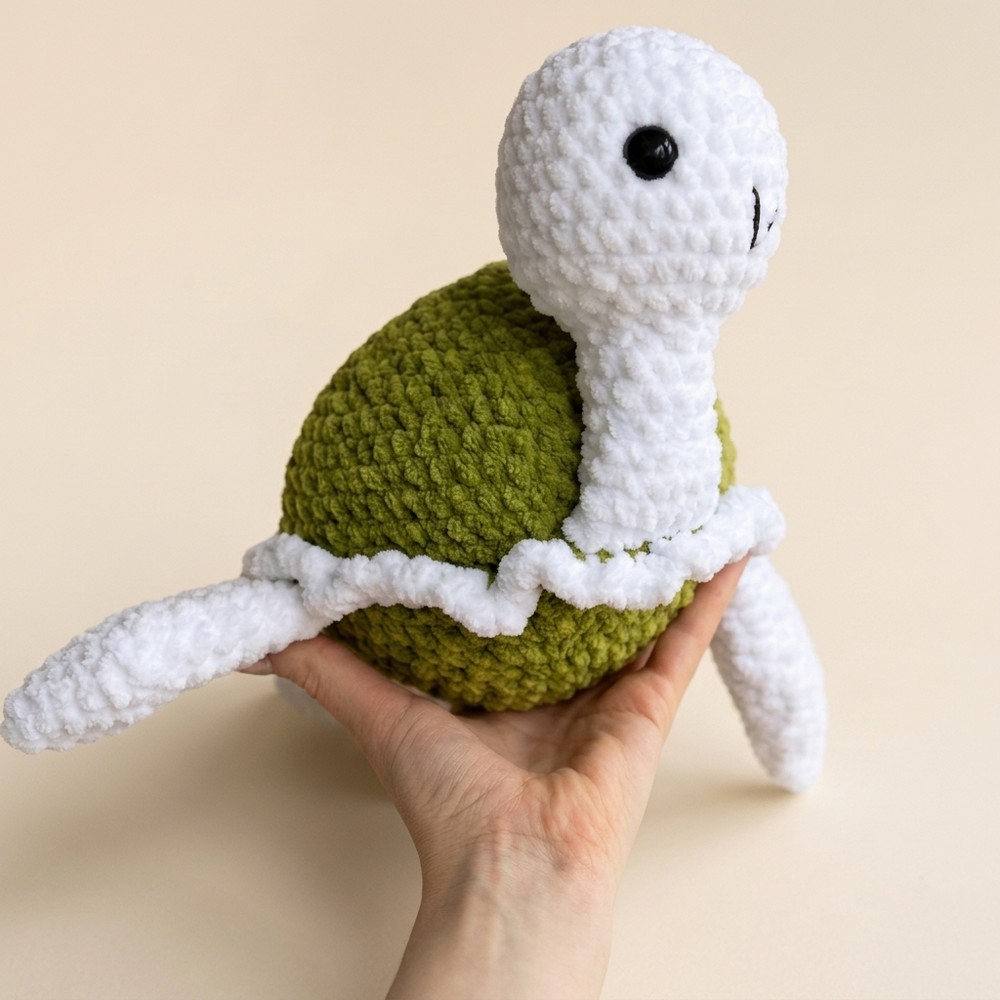
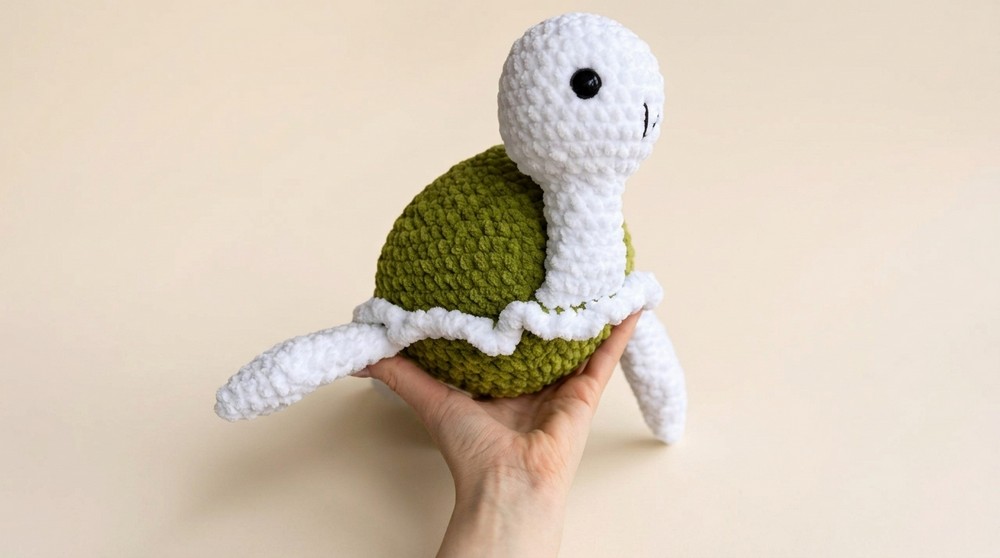
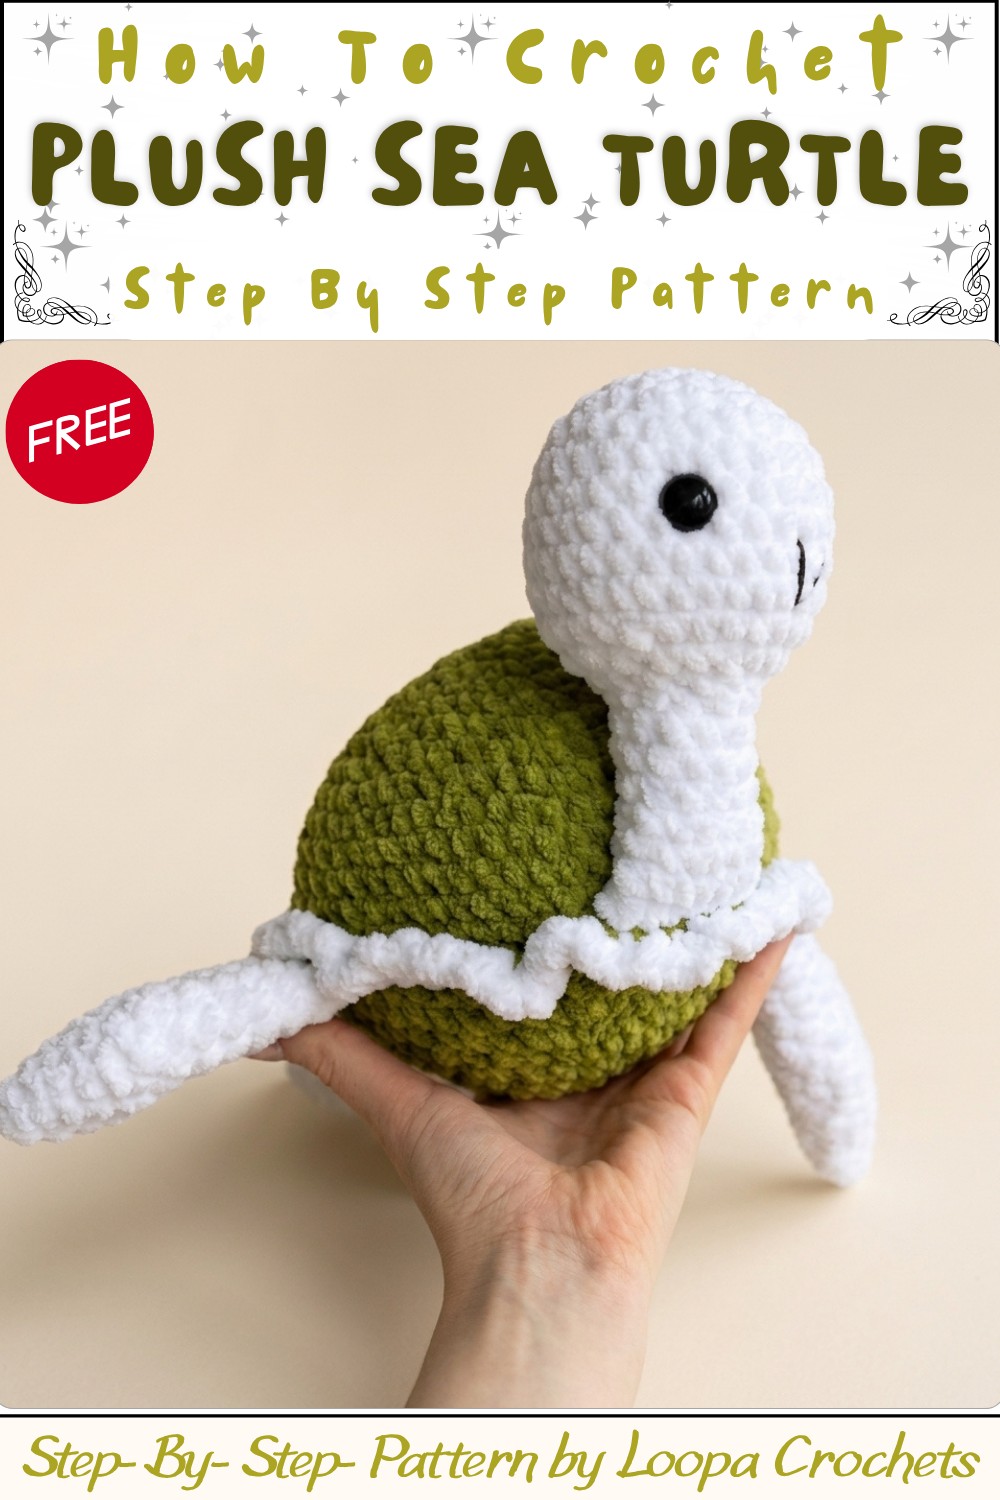
The turtle’s most eye-catching feature is its detailed shell, crocheted with green yarn that creates neat, round stitches. This gives it a smooth yet slightly textured look, much like a real turtle’s shell. Its fins and tail use soft white yarn for a lovely contrast and extra softness. The head is round and friendly, with shiny safety eyes that bring it to life. Small touches like an embroidered smile add warmth and personality, making the turtle look inviting and full of character.
This little plush is perfect for decorating your home or workspace. It can also be a thoughtful gift for friends who love handmade crochets or sea animals. Because it is lightweight and soft, you can easily use it as a cute keychain or a bag charm, showing off your love for the ocean wherever you go.
Plush Sea Turtle Crochet Pattern
Soft and squishy, this plush sea turtle is designed for tactile comfort, cuddling, and playful decor. Sturdy yet gentle in form, the pattern uses plush chenille yarn and beginner-friendly techniques to produce a large, lovable ocean friend. Classic amigurumi methods combine with strategic shaping for gentle curves, chunky flippers, and an expressive face. The result is a delightful, huggable creature ideal as a gift or keepsake.
Pattern Important Tips
- Use consistent tension and a firmly packed stuffing for a plump, smooth shape.
- Seamlessly join the shell top and bottom: insert and attach all appendages (head, fins, tail) as you close.
- Fold fins and the head as directed for a classic sea turtle silhouette.
- Use larger safety eyes for a sweet, expressive look.
- For best results, sew securely—plush yarn stretches and can hide stitches, making neat assembly essential.
Special Notes
- Work continuously in spirals without joining rounds—use a stitch marker to mark the start of each round.
- Ensure all parts (especially safety eyes) are firmly attached, as plush toys are often handled by children.
- Adjust eye placement for unique turtle expressions: closer for a cuter look, wider for a classic turtle.
- Use a needle with a large eye for sewing through plush yarn.
Skill Level
Beginner
Simple increases/decreases, folding techniques, and basic sewing are all that’s required. The chunky yarn enhances stitch visibility and assembly ease, making this project accessible for new crocheters.
Materials
- Yarn: Alize Velutto or other plush/chenille yarn:
- Green (shell, head)
- White or light accent (fins, optionally shell bands)
- Hook: 4.5 mm
- Safety Eyes: 10–12 mm black or brown
- Stuffing: Polyester fiberfill
- Needle: Yarn needle for plush
- Black Thread/Yarn: For mouth/eyelid embroidery
- Scissors
Measurements / Sizing
- Finished length: Approx. 30–34 cm (12–13.5 in) from head to tail, depending on yarn and tension.
- Shell diameter: Around 18–20 cm (7–8 in)
- Proportionally large head and fins knitted for extra cuddliness.
Gauge (and Stitch Pattern)
- No strict gauge; key is dense, plush fabric so stuffing does not show.
- Main stitch: Single crochet (sc) in spiral rounds.
Stitch Abbreviations
- sc: single crochet
- inc: increase (2 sc in 1 st)
- dec: decrease (sc2tog)
- ch: chain
- sl st: slip stitch
- st(s): stitch(es)
- mr: magic ring
Special Stitches
- Magic Ring: Create an adjustable loop to begin amigurumi shapes.
- Fold-and-join: For fins and closed neck, fold fabric and crochet through BOTH layers to flatten.
- Invisible Decrease: Recommended for neat decreases in plush yarn—insert hook in front loops of next 2 sts, yarn over, pull through, finish as a single sc.
Detailed Pattern
Fins (Make 4)
- Rnd 1: With white: mr, 6 sc into ring (6)
- Rnd 2: 6 inc (12)
- Rnd 3: (1 sc, 1 inc) x6 (18)
- Rnd 4: (2 sc, 1 inc) x6 (24)
- Rnd 5: (3 sc, 1 inc) x6 (30)
- Rnd 6: (4 sc, 1 inc) x6 (36)
- Rnd 7: (5 sc, 1 inc) x6 (42)
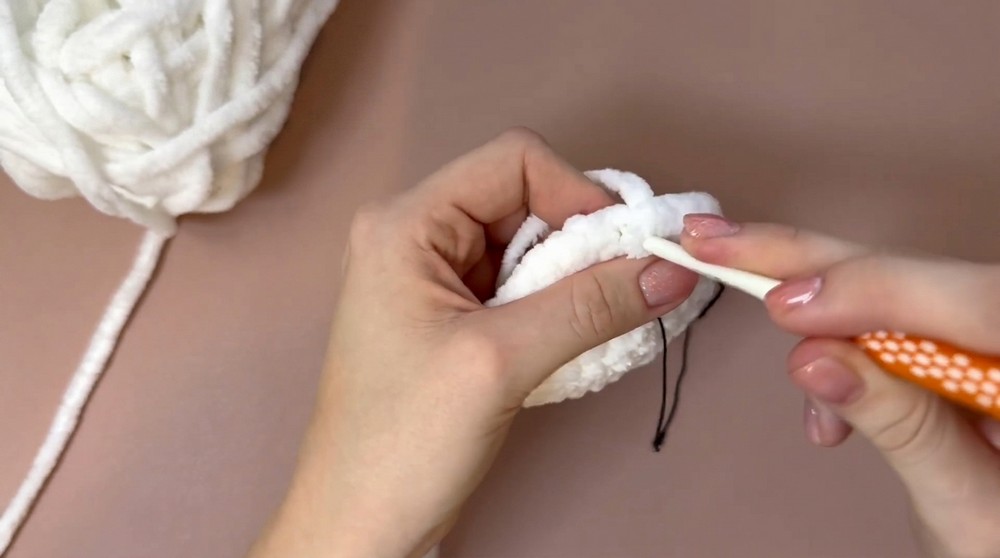
- Finishing: Fold the round piece flat. Working through both layers, sc across edge (21 sc total) to close and flatten the fin. Fasten off, leaving a long tail for sewing.
Tail
- Ch 5, start in second ch from hook:
- Row 1: 1 sc in next 4 ch (4)
- Fasten off, leaving a long tail for sewing.
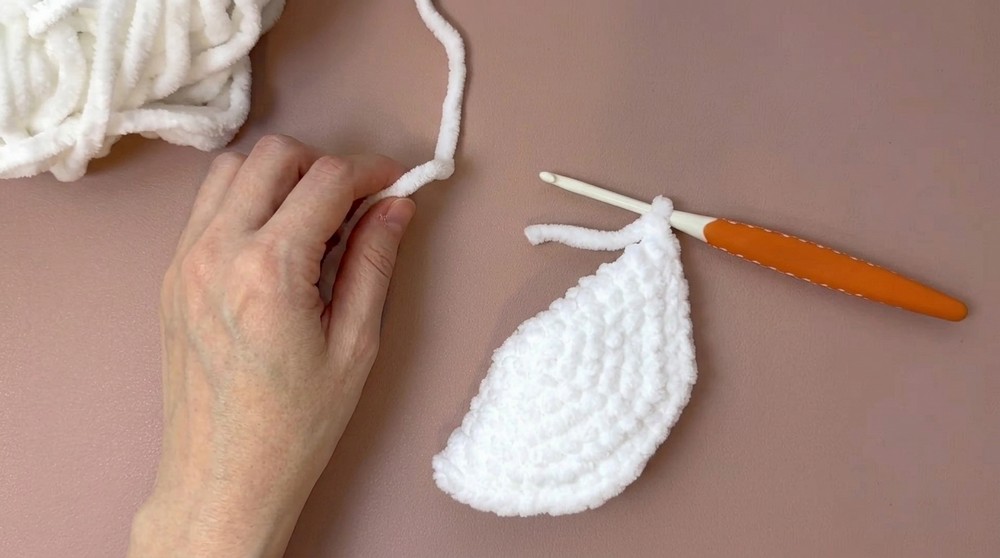
Head
- Rnd 1: With green: mr, 6 sc (6)
- Rnd 2: 6 inc (12)
- Rnd 3: (1 sc, 1 inc) x6 (18)
- Rnd 4: (2 sc, 1 inc) x6 (24)
- Rnd 5: (3 sc, 1 inc) x6 (30)
- Rnd 6–10: Sc in each st (30 per round) [5 rounds]
- Rnd 11: (3 sc, 1 dec) x6 (24)
- Eye Placement: Insert safety eyes between Rnd 7 & 8, spaced evenly.
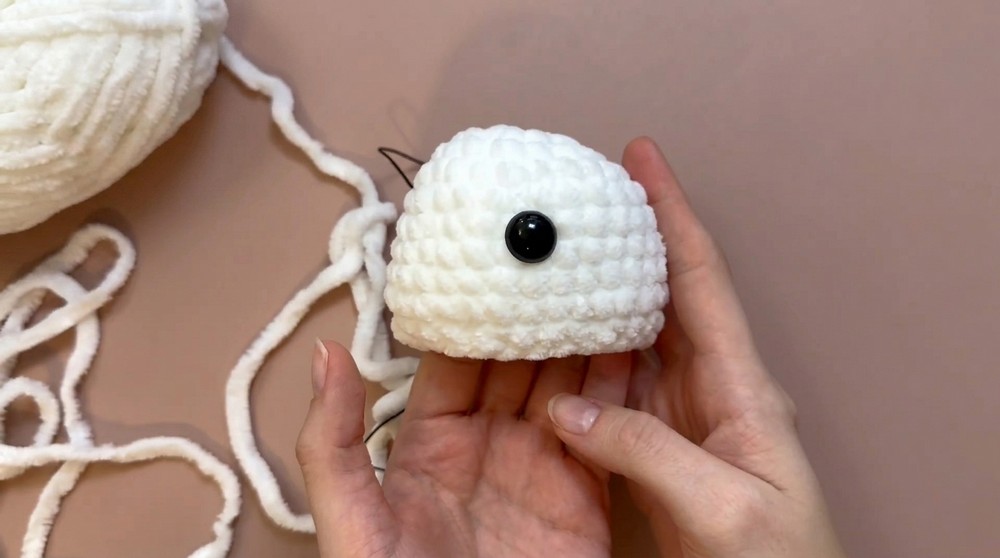
- Rnd 12: (2 sc, 1 dec) x6 (18)
- Rnd 13: (1 sc, 1 dec) x6 (12)
- Rnd 14–20: Sc in each st (12 per round) [7 rounds]
- Stuff head firmly.
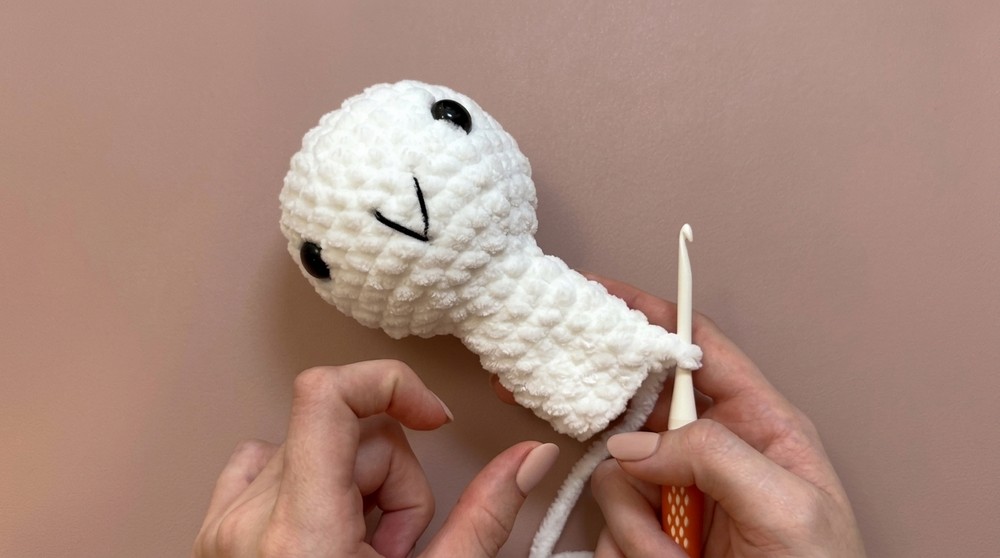
- Closure: Fold neck flat, sc through both layers to close (6 sc). Fasten off, leaving long tail for sewing.
Shell (Make 2: Top & Bottom)
Bottom Shell:
- Rnd 1: With green: mr, 6 sc (6)
- Rnd 2: 6 inc (12)
- Rnd 3: (1 sc, 1 inc) x6 (18)
- Rnd 4: (2 sc, 1 inc) x6 (24)
- Rnd 5: (3 sc, 1 inc) x6 (30)
- Rnd 6: (4 sc, 1 inc) x6 (36)
- Rnd 7: (5 sc, 1 inc) x6 (42)
- Rnd 8: (6 sc, 1 inc) x6 (48)
- Rnd 9: (7 sc, 1 inc) x6 (54)
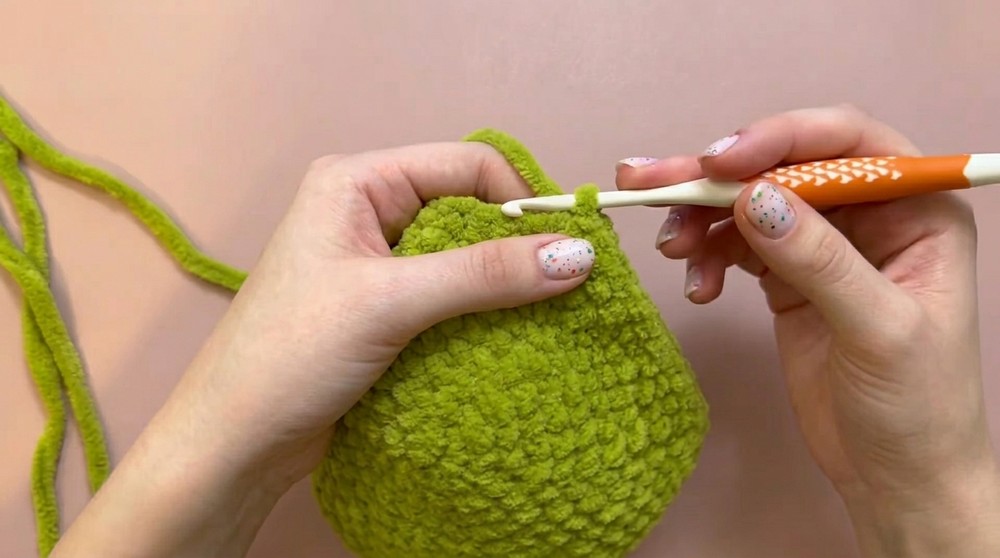
- Rnd 10: (8 sc, 1 inc) x6 (60)
- Fasten off, leave long tail (or attach new yarn for joining).
Top Shell: Work as bottom shell through Rnd 10.
Continue:
- Rnd 11–16: Sc in each st (60 per round) [6 rounds]
- Fasten off, leaving extra long tail for assembly.
Assembly
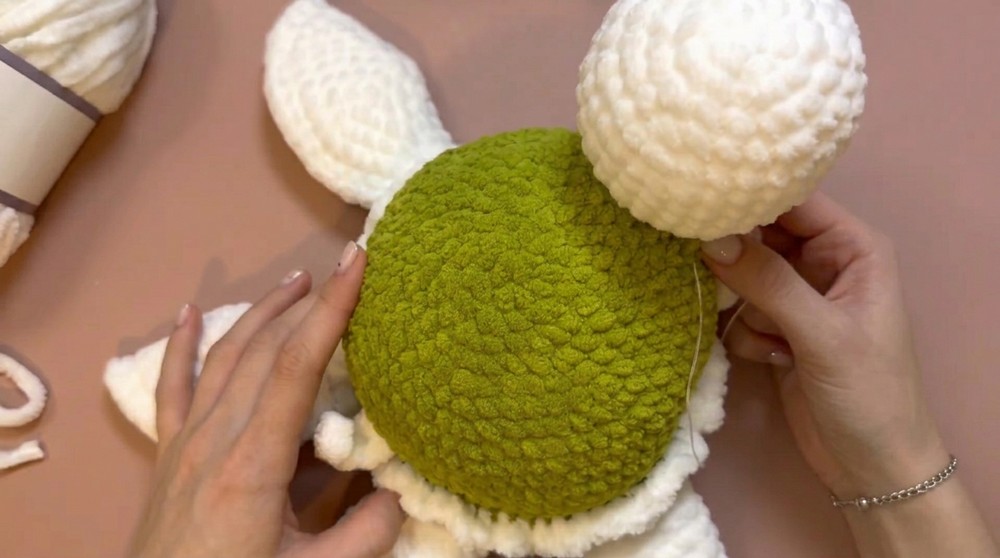
- Join Shells:
- Place top and bottom shell pieces together, aligning stitches.
- Begin joining with sc around edge.
- Insert Pieces as You Go:
- When one-quarter joined, insert and sew head securely at front.
- Attach each fin evenly spaced around the shell sides as you progress (insert each between the shell layers and join as you close with sc).
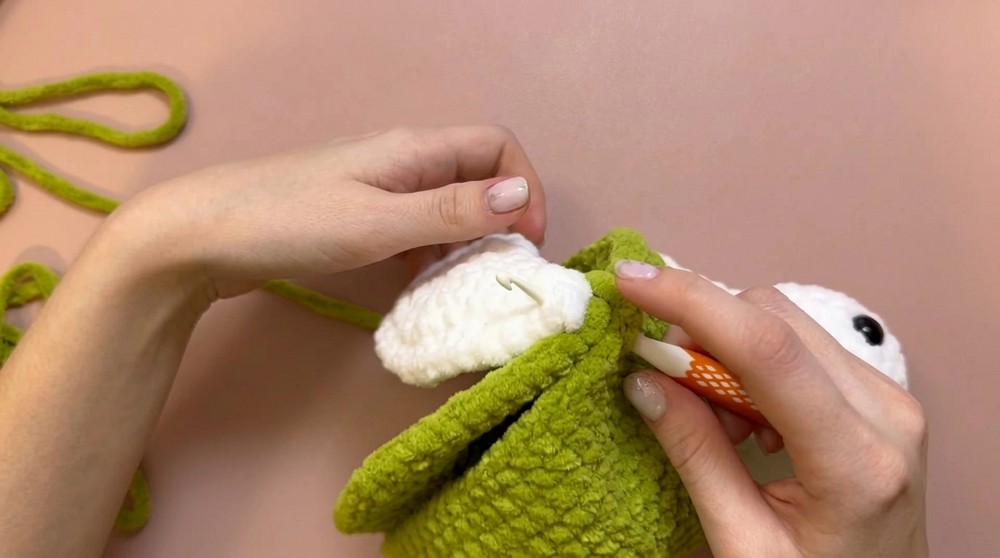
- Insert the tail at the rear, securing with several stitches for a snug fit.
- Stuffing:
- As you near the end, leave an opening large enough to stuff firmly with fiberfill for plumpness and good form.
- Close the final gap with sc when finished stuffing.
- Finishing Touches:
- Use black yarn to embroider a gentle mouth if desired.
- Double check all elements are firmly secured and weave in all yarn ends.
Conclusion
This sea turtle design uses plush yarns and beginner-friendly shapes to craft a soft, appealing friend with charming proportions. The assembly method allows for sturdy attachment of all limbs, creating a seamless, professional look. Personalize with different colors or expressive embroidery, and enjoy the tactile comfort and visual delight this plush turtle brings to any space or collection.