Free Crochet Loop Stitch Pattern + Tutorial for Cozy Projects

Learn how to master texture with this free crochet loop stitch pattern and create stunning, unique designs that add charm to your projects.
Sometimes, learning a new crochet stitch can feel tricky, especially when loops start to loosen or your work doesn’t hold together well. That was my experience until I found a wonderful tutorial by CBH Academy, where the loop stitch was explained in a clear and careful way that made all the difference. Using chunky velvet yarn, the instructor shared helpful tips on how to keep loops firm and even, making the stitch both beautiful and sturdy.
Free Crochet Loop Stitch Pattern for Fluffy Scarves
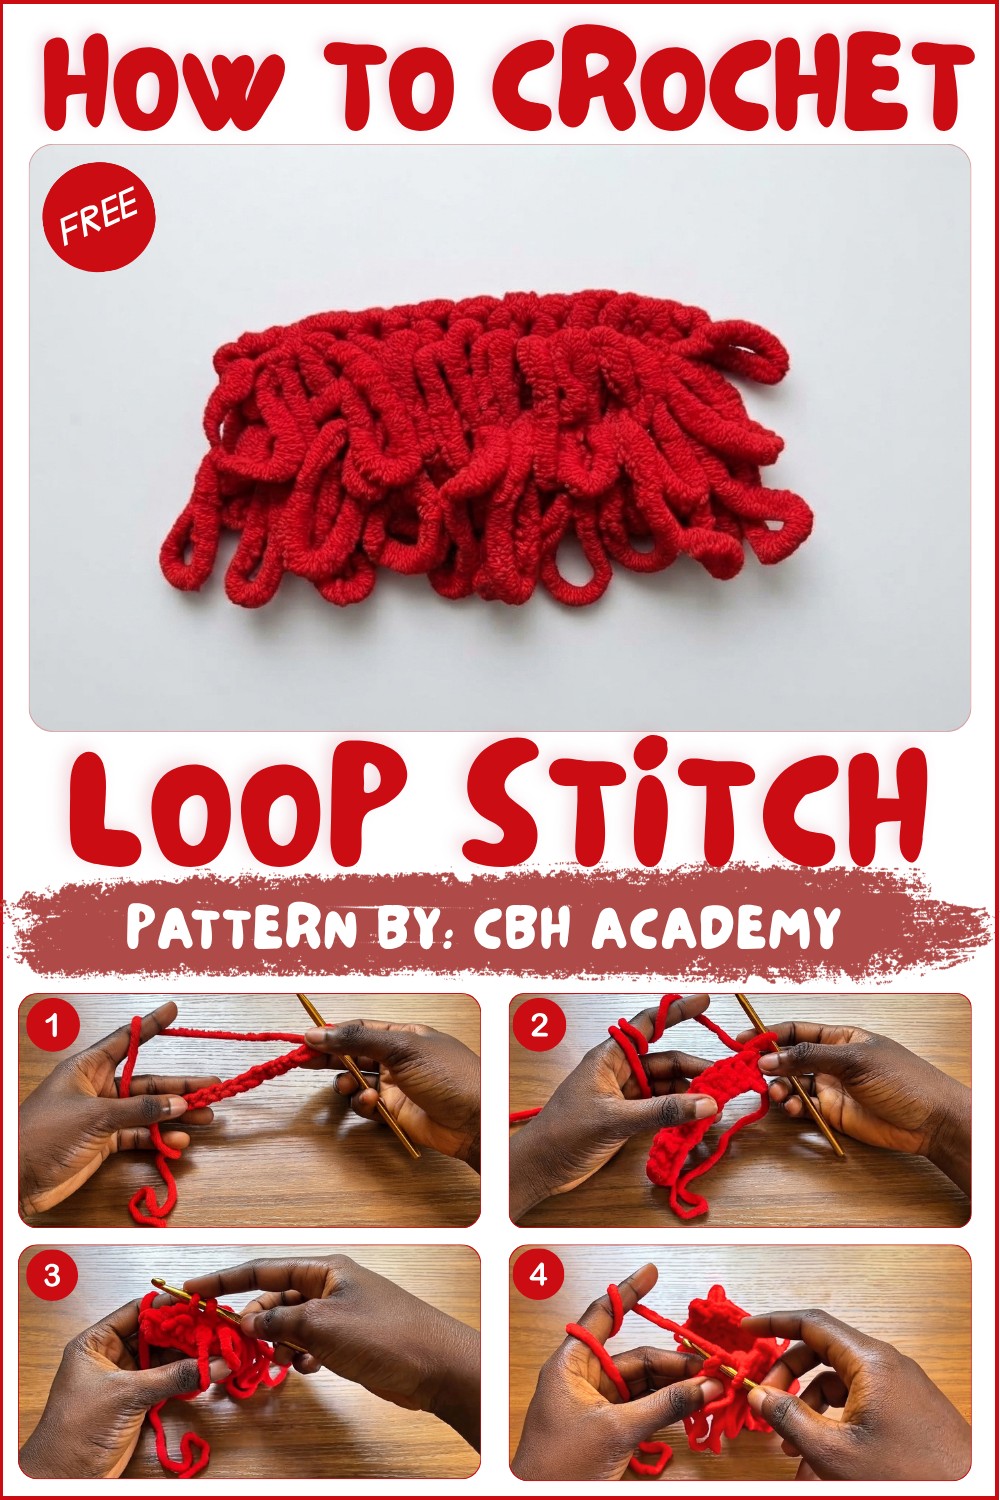
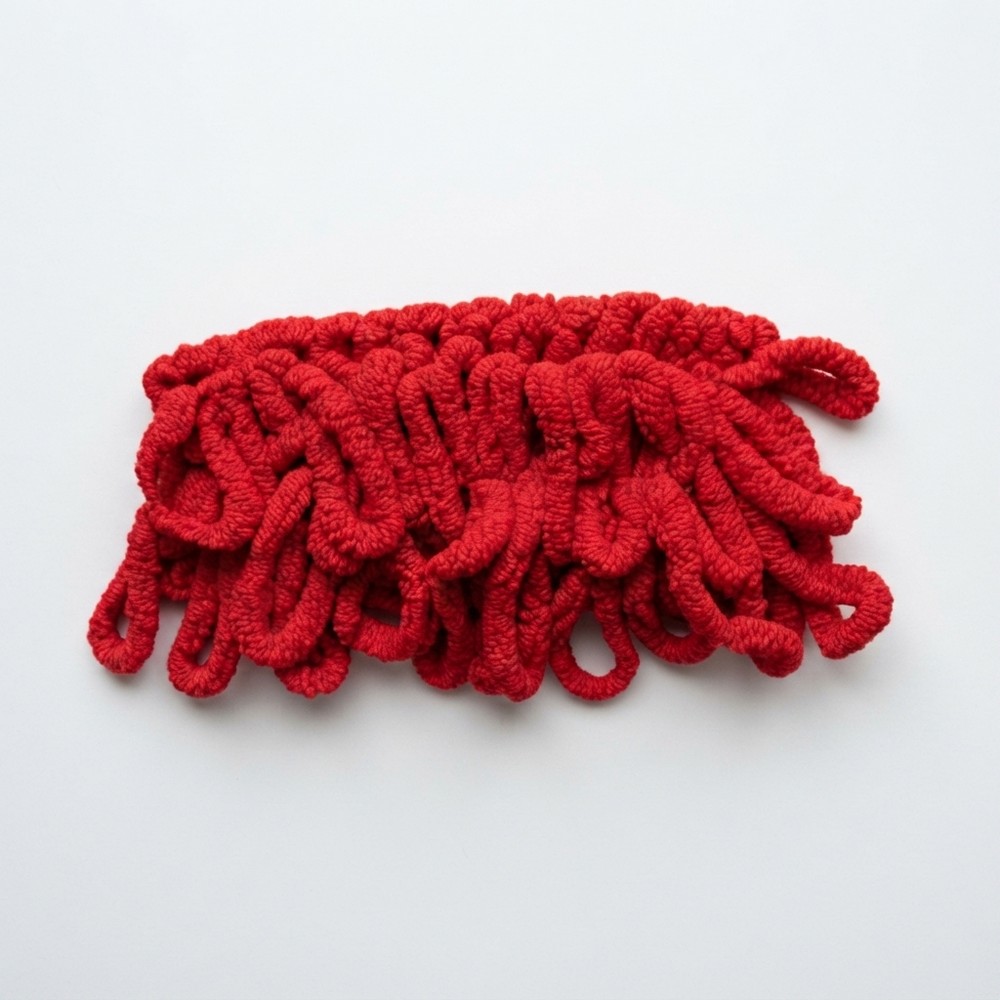
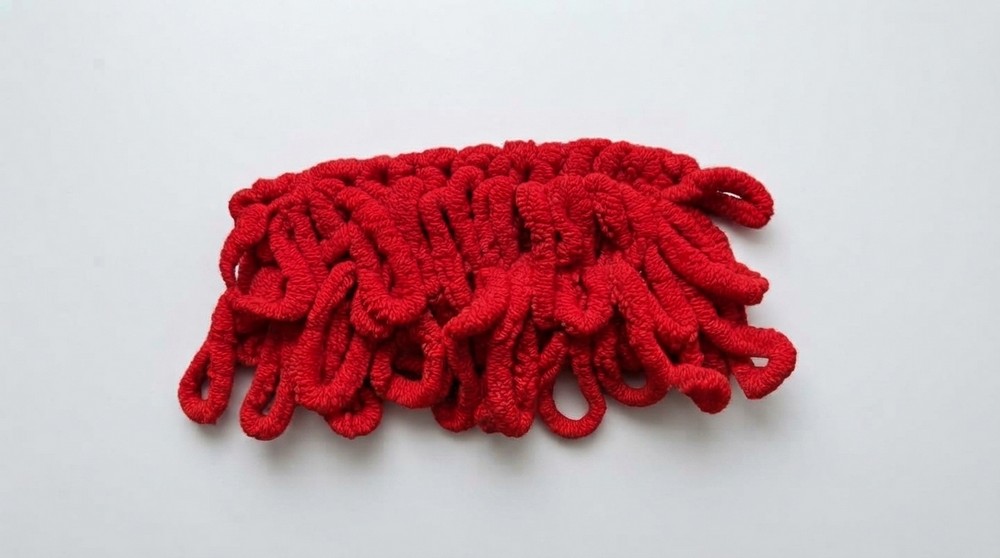
This stitch stands out because of its unique textured loops that create a lovely raised pattern on your fabric. These loops add an eye-catching 3D effect, turning simple crochet into something playful and interesting. The charming loops can vary in length to create different looks, from tight and neat to long and fluttery, giving you creative freedom with each project.
Working this stitch requires attention and patience since it’s not a quick or mindless pattern. The technique uses your thumb to pull yarn loops carefully before crocheting into the stitch, which helps maintain tension and prevents the loops from becoming loose. Because of this, the stitch has a durable, almost velvety feel, making it perfect for cozy items like jackets, blouses, or even decorative pieces like pillow covers.
Loop Stitch Crochet Swatch Pattern
About the Pattern
This loop stitch crochet creates a textured, plush fabric perfect for statement accessories, cozy home decor, or bold garments. Formed by alternating rows of loop stitch and regular single crochet, it produces a series of raised loops on one side, offering both visual and tactile appeal. Control of yarn tension is essential for uniform loops, which also gives the project its distinctive look.
Pattern Important Tips
Loop Stitch Technique
- Practice loop formation with your thumb to ensure even size and height.
- Work behind the yarn strand; secure each loop with a single crochet for consistent loops.
Alternating Rows for Structure
- Alternate loop rows with single crochet rows to stabilize fabric and maintain shape.
- Single crochet rows help define the “right side” and improve durability.
Tension Consistency
- Use even hand tension when pulling yarn down for loops; consistent tension is crucial for a uniform finish.
- Repeat loop rows carefully, matching loop heights to previous rows.
Project Adaptability
- Customize project dimensions by adjusting starting chain and row repeats.
- Works well with chunky yarn for dramatic effect, and suitable for scarves, pillows, or accent trims.
Skill Level
Beginner to Intermediate
This pattern suits confident beginners who can manage basic stitches and want to practice loop stitch technique. Prior experience with single crochet and tension control is recommended.
Materials
- Chunky velvet yarn (sample color: pepper red)
- 6.0 mm crochet hook
- Scissors
Gauge and Stitch Pattern
- Swatch gauge is variable; recommend practicing with 12 stitches over several rows to adjust loop height as desired.
- Stitch pattern: Alternating Loop Stitch Row and Single Crochet Row.
Stitch Abbreviations
- ch: chain
- sc: single crochet
- sl st: slip stitch
- st(s): stitch(es)
Special Stitches
Loop Stitch (ls):
- Use thumb to pull working yarn downward into a loop at the front of the fabric; insert hook behind the strand into the next stitch, then work a single crochet to hold the loop in place.
Notes for Starting the Pattern
- Familiarize yourself with single crochet and loop stitch technique.
- Adjust loop height by practicing with thumb placement and yarn tension.
- Swatch the pattern for several rows before starting a larger project.
Detailed Pattern
Foundation
- Using 6.0 mm hook and chunky velvet yarn, create a slip knot.
- Ch 12 for sample swatch.
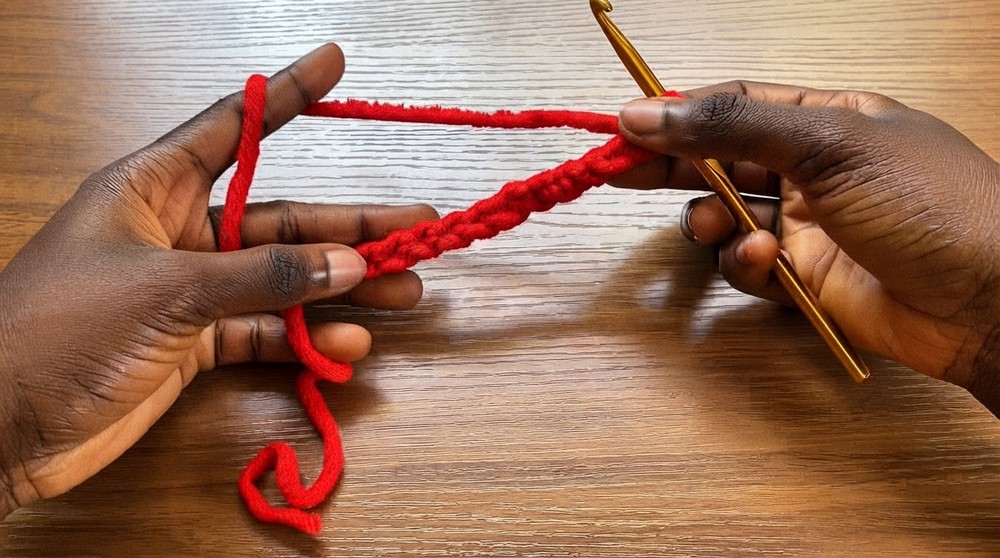
Row 1: Single Crochet Foundation
- Ch 1 extra for turning.
- Work sc in the back bump of each of the 12 chains.
- Turn.
Row 2: Loop Stitch Row
- Ch 1, turn.
- For each stitch across:
- Place thumb in front of working yarn, pull the yarn downward to form a loop (loop should hang at the front).
- Insert hook into the next stitch behind the yarn strand (ensuring loop is at the front).
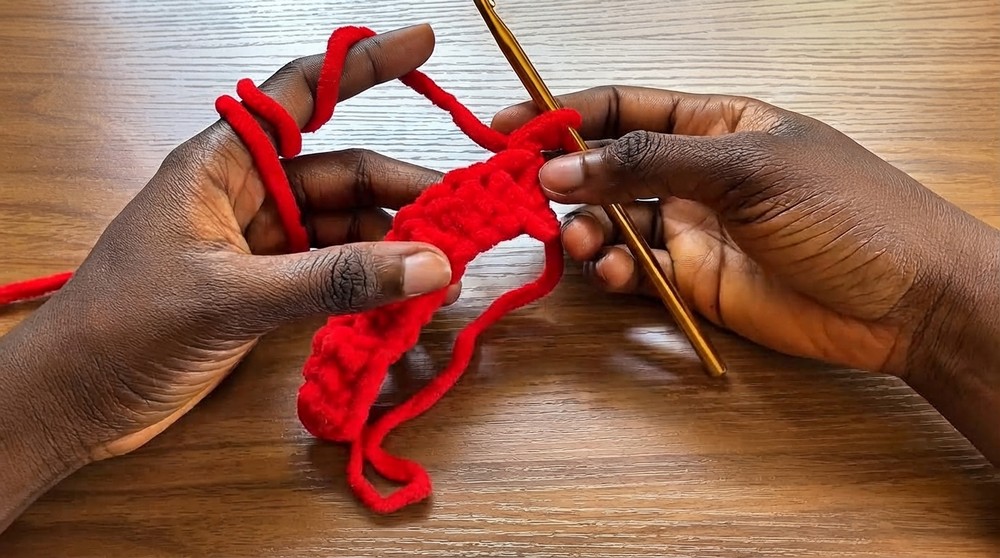
- Yarn over, pull up a loop, yarn over, pull through both loops as for a regular sc—this secures the loop.
- Maintain consistent loop height throughout the row.
- Repeat for all 12 stitches.
- Turn.
Row 3: Stabilizing Single Crochet Row
- Ch 1, turn.
- Work 1 sc in each stitch across.
- This row helps keep loops in place and defines the working fabric’s “right side.”
- Turn.
Row 4: Repeat Loop Stitch Row
- Ch 1, turn.
- Repeat loop stitch sequence, forming new loops in every stitch across. Match each new loop’s height with those in prior loop rows.
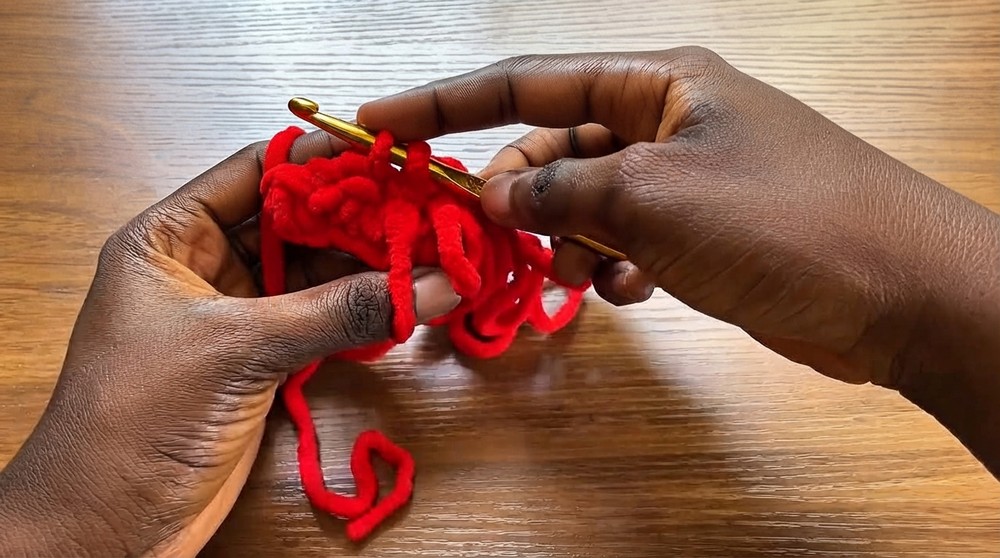
- Be mindful of loops to avoid pulling too high or too low relative to the previous row.
- Turn.
Repeat Pattern
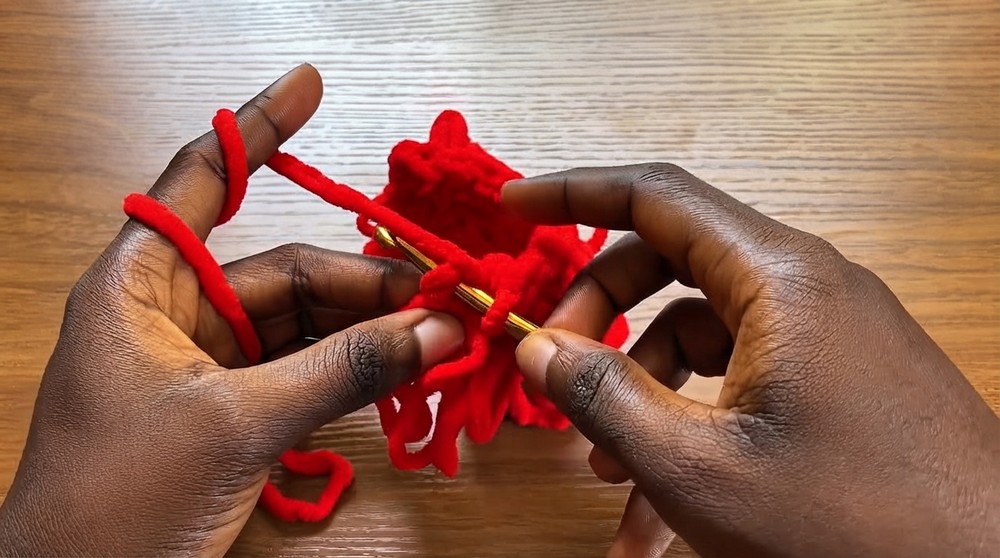
- Alternate between Loop Stitch Rows and Single Crochet Rows.
- Continue working until the project reaches desired size. Each repeat adds texture and structure.
Assembly and Sizing
- When the swatch reaches preferred length, finish with a final single crochet row for stability.
- Fasten off yarn, weave in all ends securely.
- If creating a specific item (e.g., scarf), adjust starting chain and row count to fit measurements; repeat alternating rows to build required dimensions.
- Block gently if needed (velvet yarn may stretch).
Conclusion
Loop stitch crochet offers a playful and tactile texture suitable for a variety of creative projects. With careful tension and alternating row structure, this technique produces stable and visually striking fabric. Its adaptability in size and application provides crafters with ample opportunity for personalization, making it suitable for fashion, home, and accessories. The sequence encourages beginners and intermediates alike to explore new crochet textures and build confidence in hand tension and stitch technique.