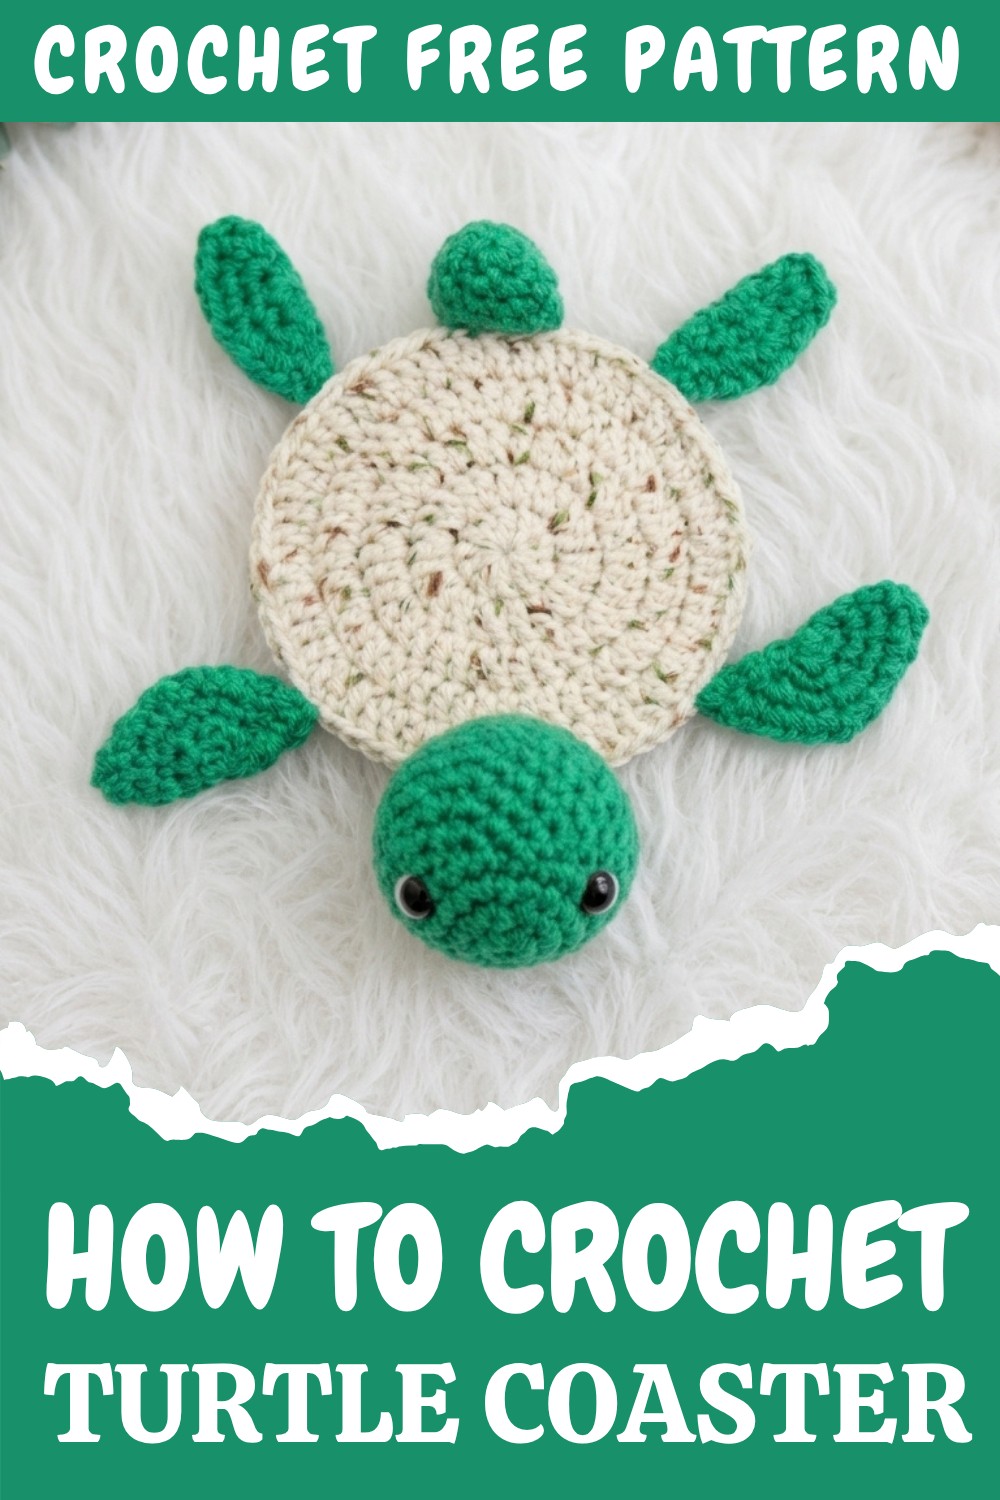
Crochet Turtle Coaster Free Pattern for Kitchen Decor
Protect your surfaces with this Free Crochet Turtle Coaster Pattern that lets you craft fun and functional decor adding charm and personality to your space.
Creating something cute and functional like the Free Crochet Turtle Coaster pattern is always a joy. This adorable coaster captures the charm of a turtle with its rounded shell shape and textured stitches that beautifully mimic the natural pattern of a turtle’s shell. The combination of soft yet sturdy texture makes it a practical piece for protecting surfaces while adding a playful touch to your home.
Free Crochet Turtle Coaster Pattern for Fun Table Settings
This project suits crocheters of all skill levels, especially those who enjoy quick, small-scale projects. The pattern offers flexibility with sizes, allowing you to customize coasters for coffee mugs, teacups, or even small plant pots—great for personal use or thoughtful handmade gifts. The construction primarily involves crocheting in rounds using simple stitches like single crochet and half-double crochet to create the detailed shell texture.
The design draws inspiration from the gentle and calming nature of turtles, with stitch choices that create a satisfying tactile feel. Using cotton yarn enhances the texture’s definition, providing durability and making the coasters easy to care for—perfect qualities for everyday use.
Whether you’re making these coasters for your own kitchen or as charming gifts for birthdays and housewarmings, there’s plenty of room to experiment with colors and sizes. This project invites creativity and offers a fun way to add a bit of handmade magic to everyday life.
Turtle Coaster Crochet Pattern
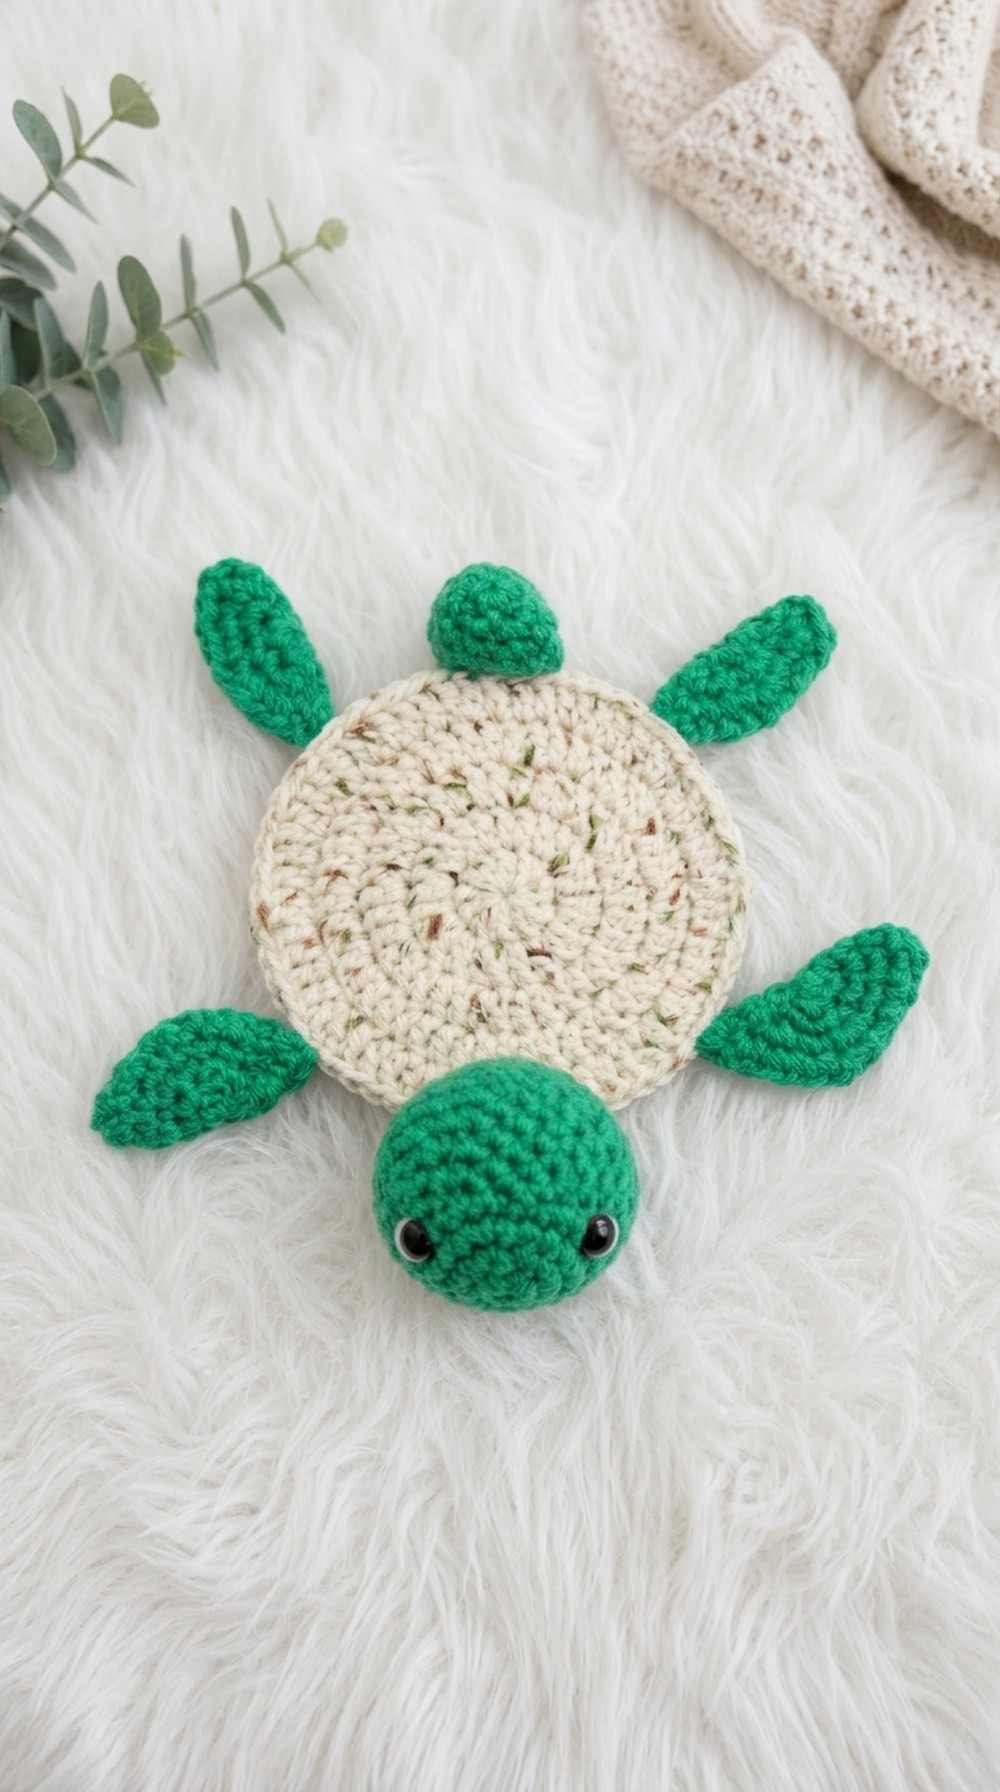
This charming Turtle Coaster combines classic circular increases with simple amigurumi-style shaping for the turtle’s head, feet, and tail. The project is both fun and beginner-friendly, yet visually striking when laid out on any table.
Pattern Notes
- The shell is worked in joined rounds using double crochet.
- All smaller pieces (head, feet, tail) are worked in continuous (spiral) rounds.
- Use a stitch marker for every first stitch of a round in continuous rounds.
- 100% cotton yarn is recommended for durability and absorbency.
- Eyes can be safety eyes or simply stitched with black yarn/thread.
- All joins are sewn on with a yarn needle using the tail left after finishing each piece.
- Pattern uses US crochet terms.
Skill Level
Advanced Beginner:
Requires knowledge of magic ring, increases, decreases, working in the round, and basic joining techniques.
Materials
- 100% cotton yarn in:
- Shell Color (“Woods”)
- Head/Feet/Tail Color (“Bright Green” or desired turtle shade)
- 4 mm (G or size for yarn) crochet hook
- Stitch marker
- Darning/yarn needle
- Scissors
- Safety eyes or black yarn/thread for embroidery (for eyes)
Measurements / Sizing
- Finished coaster: Approx. 5.5–6 inches (14–15 cm) in diameter (shell)
- Head: 2–2.5 inches wide after flattening
- Feet: Approx. 1.5–2 inches across after flattening
- Tail: Approx. 1 inch long
Gauge
Not crucial. Shell should measure about 5.5–6 inches (14–15 cm) after last round. Adjust hook as needed for best coaster firmness.
Stitch Abbreviations (US Terms)
- ch = chain
- sl st = slip stitch
- sc = single crochet
- dc = double crochet
- inc = increase (work two in one stitch)
- dec = decrease (single crochet two stitches together)
- st, sts = stitch, stitches
Special Stitches
Invisible Decrease
Insert hook into front loop of each of next two sts, yarn over and pull through both loops, yarn over and pull through two loops to complete.
The Crochet Pattern
The pattern’s main stitch is the double crochet (dc), which creates a sturdy shell, while the turtle’s appendages are worked using single crochet (sc) in the round for a solid shape. This is a great way to practice your increases and decreases, makes a perfect housewarming gift, and is sure to bring a smile to any home.
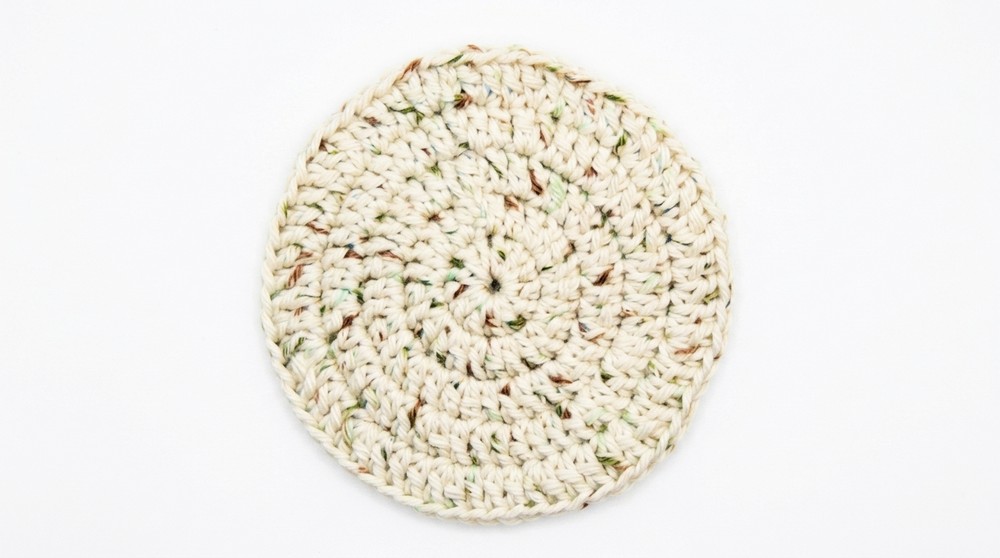
Turtle Shell
With shell color:
- Magic circle (or ch 4 and sl st to make ring), ch 2 (does not count as st).
- Rnd 1: 12 dc into circle. Pull closed. Sl st to first dc to join. (12 dc)
- Rnd 2: Ch 2. 2 dc in each st around. Sl st to join. (24 dc)
- Rnd 3: Ch 2. 2 dc in next st, 1 dc in next st—repeat around. Sl st to join. (36 dc)
- Rnd 4: Ch 2. 1 dc in each of next 2 sts, 2 dc in next st—repeat around. Sl st to join. (48 dc)
- Rnd 5: Ch 2. 1 dc in each of next 3 sts, 2 dc in next st—repeat around. Sl st to join. (60 dc)
- Rnd 6: Ch 2. 1 dc in each of next 4 sts, 2 dc in next st—repeat around. Sl st to join. (72 dc)
- Fasten off and weave in shell color ends.
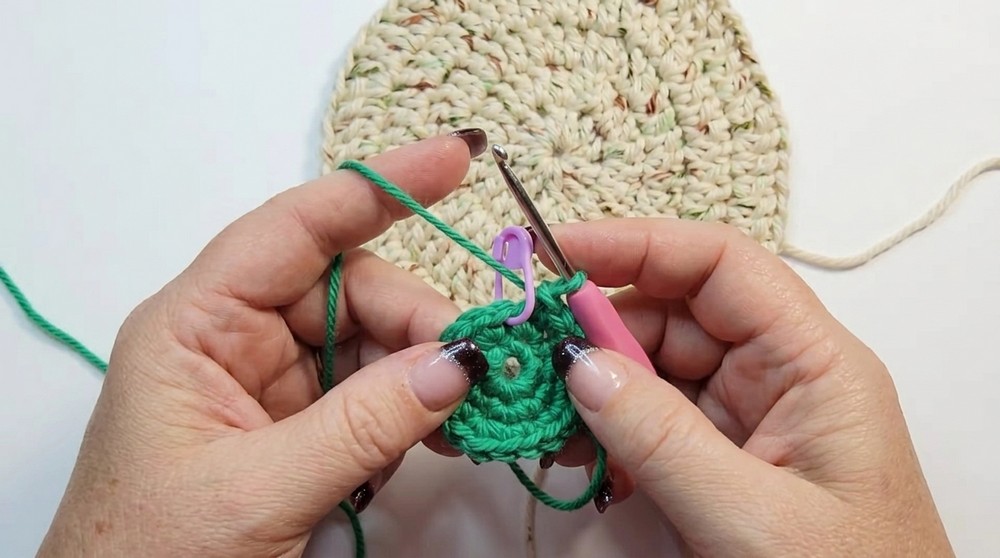
Turtle Head
With green (or head color): work in spiral rounds.
- Magic ring, 6 sc in ring. (6)
- Inc in each st around. (12)
- 1 sc, inc around. (18)
- 1 sc in next 2 sts, inc around. (24)
- 1 sc in next 3 sts, inc around. (30)
- Work even (sc in each st) for 5 rounds (30 sc per round).
- 1 sc in next 3 sts, dec around. (24)
- 1 sc, dec around. (16)
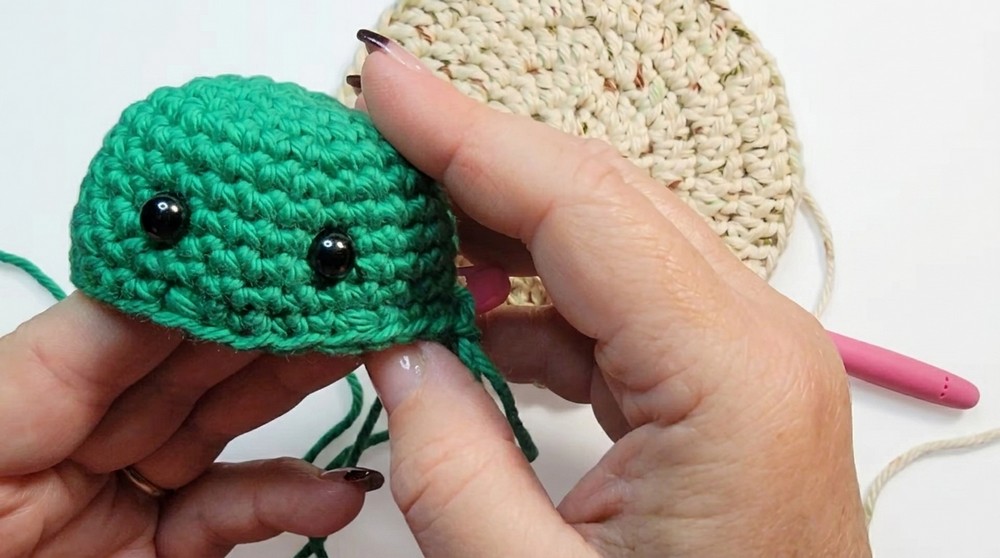
- sc, dec to close (as head becomes shallower). Continue decreasing and stuff lightly just before fully closing.
- Fasten off, leave a long tail for sewing.
Turtle Feet
Make 2 large (front), 2 small (back).
Front Feet (large):
- Magic ring, 6 sc in ring. (6)
- Inc in each st around. (12)
- 1 sc, inc around. (18)
- 1 sc in next 2 sts, inc around. (24)
- Fasten off, leave tail for sewing.
- Fold in half (crescent) and whipstitch edges closed.
Back Feet (small):
- Magic ring, 6 sc in ring. (6)
- Inc in each st around. (12)
- 1 sc, inc around. (18)
- Fasten off, leave tail for sewing.
- Fold in half and sew closed as above.
Turtle Tail
- Magic ring, 5 sc in ring. (5)
- Inc in each st around. (10)
- Work 2 rounds even (sc in each st). (10 per round)
- Fasten off, leave tail for sewing.
- Fold in half and sew into crescent.
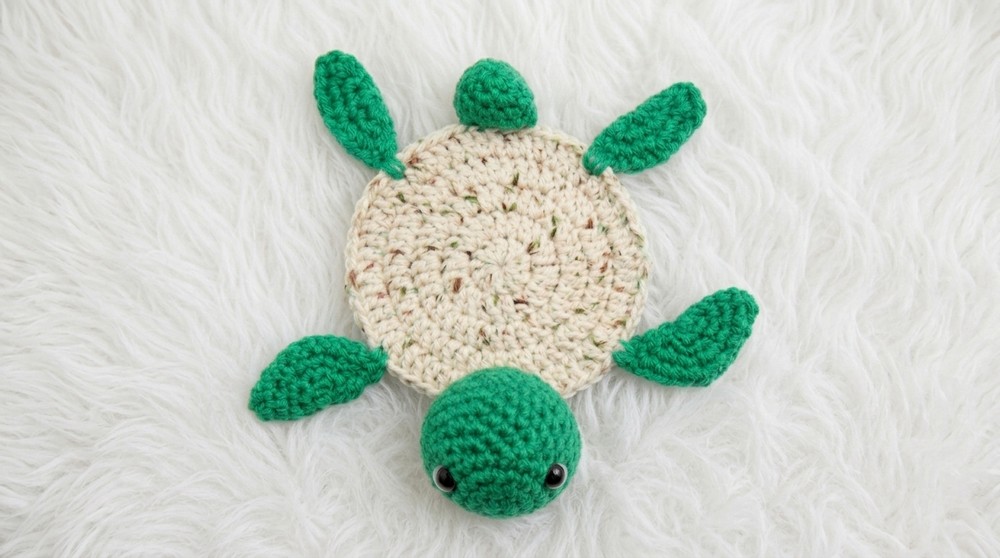
Assembly & Finished Size
- Position and sew the turtle head slightly under the edge of the shell (front and center, flattening head for best shape).
- Attach safety eyes or embroider with black thread.
- Sew tail slightly elevated at the center of the opposite shell edge.
- Sew front feet (large) to left and right of head at front; back feet (small) at the far left and right of back.
- Weave in all ends securely.
- Finished coaster approx. 5.5–6 in (14–15 cm) diameter.
Quick Beginner Overview
- Shell: Classic flat circle of double crochet, increasing every round, fastened off flat.
- Head: Started in a magic ring, increased, worked even, then decreased and lightly stuffed. Flatten and sew to shell.
- Feet and Tail: Each made as basic flat circles, folded into half moons and sewn shut, then attached to shell at designated spots.
- Eyes: Use safety eyes or embroider before final head closure.
- Sew all pieces so they slightly tuck under the edge of the shell for a tidy finish.
Tips for Success
- Use a stitch marker when working in spirals for head, feet, tail.
- Adjust placement of all limbs before sewing for symmetrical appearance.
- Stuff parts lightly—this is meant to be flat and functional as a coaster.
- Use cotton yarn for water-absorbent durability.
- Make the shell in a solid or patterned color for visual interest—feel free to add shell “ridge” details with surface crochet.