Simple Crochet Rudraksha Rakhi Pattern – Free & Easy Tutorial

Honor the bond of Raksha Bandhan with this free crochet Rudraksha Rakhi pattern, adding a meaningful and traditional touch to your festive moments.
Celebrating the special connection of Raksha Bandhan felt even more meaningful when I came across a charming Free crochet Rudraksha Rakhi pattern. Designed to blend tradition with a unique handmade touch, this rakhi is a beautiful way to honor the festival with something thoughtful and distinctive. I found this inspiring pattern thanks to the creative insights shared by “Tukitaki“, whose tutorials always bring fresh ideas to life.
Free Crochet Rudraksha Rakhi Pattern for Traditional Decor
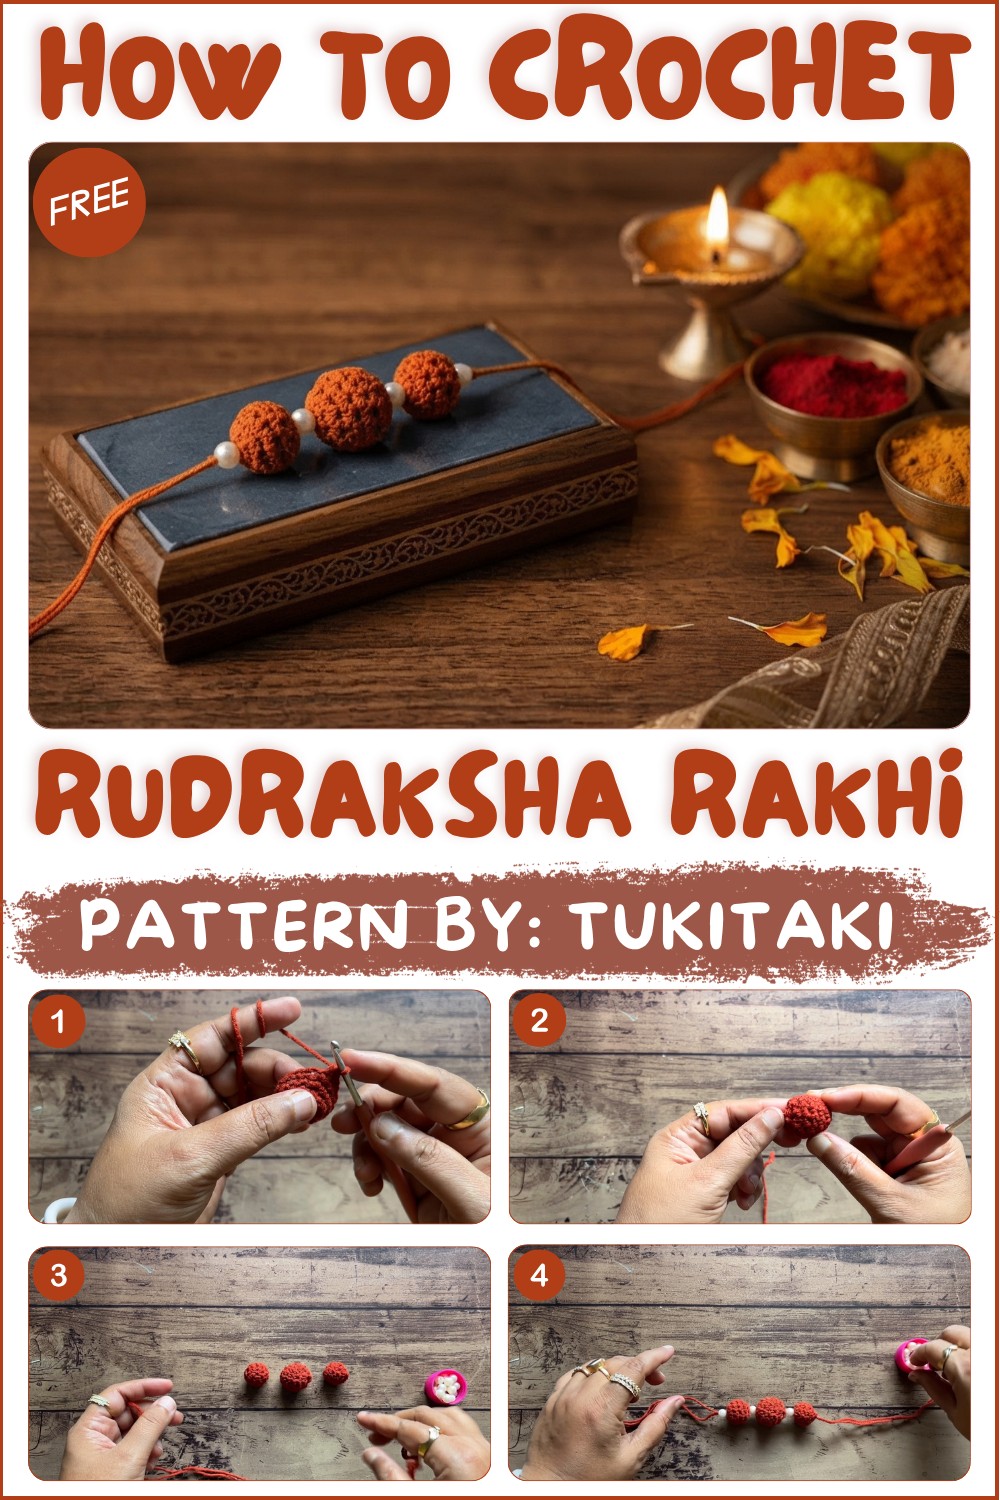
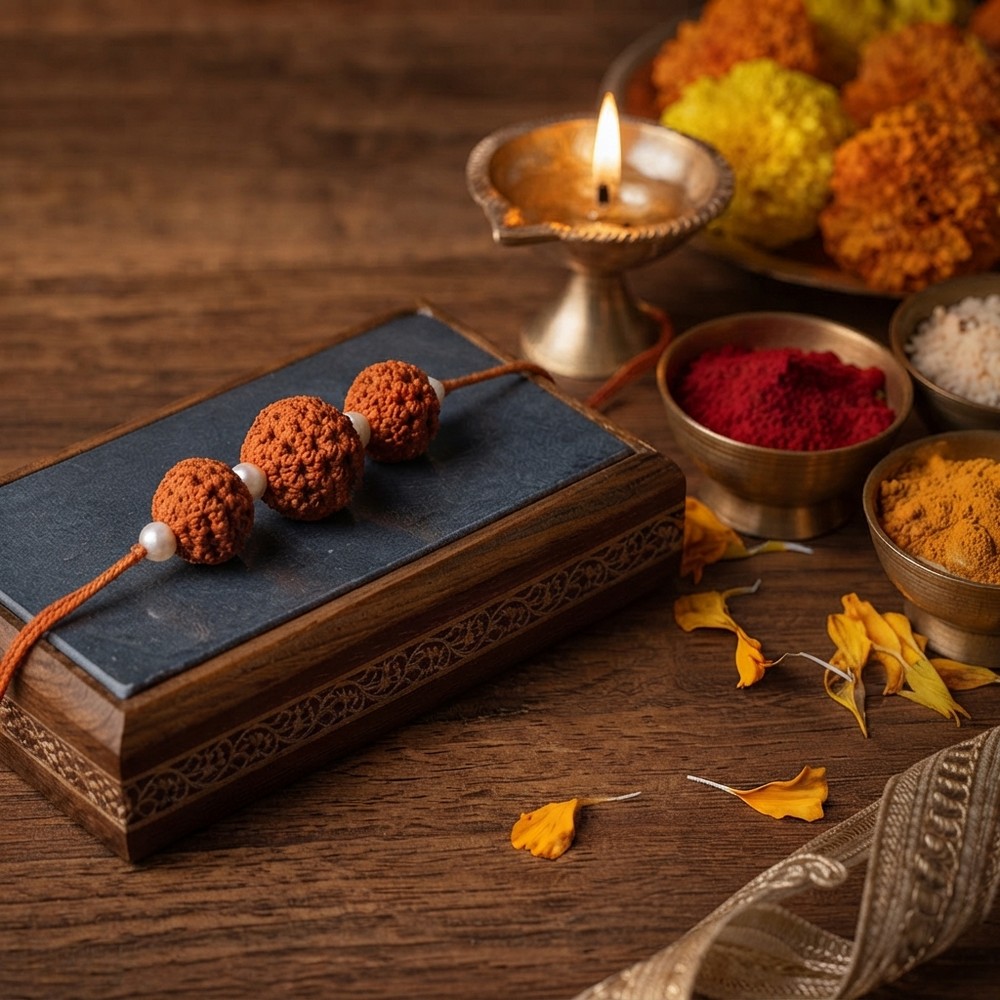
This rakhi stands out as more than just a festive accessory, it’s a small piece of art symbolizing protection and love. The design cleverly mimics the look of Rudraksha beads, which hold spiritual significance, while showcasing the delicate craftsmanship of crochet. Its circular shape frames the bead-inspired centerpiece perfectly, giving the rakhi a classic yet cozy feel.
What makes this pattern truly special is its elegant simplicity paired with cultural charm. The texture is soft but structured enough to highlight the intricate detailing, making it ideal not only for wearing during the celebrations but also as a keepsake. Whether you want to gift it to your brother or a dear friend, it carries a warmth and personal touch that store-bought options often lack.
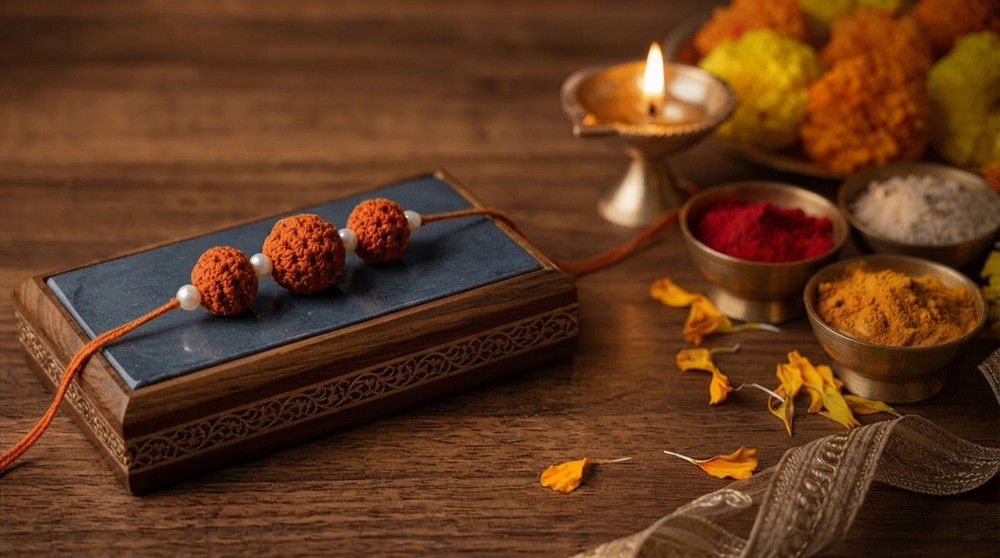
Besides its meaningful symbolism, the rakhi’s versatile style allows it to complement many traditional outfits, adding a unique handmade flair to the occasion. I loved how quick and enjoyable it was to bring this project to life, and it made my Raksha Bandhan gifts feel even more heartfelt.
If you’re seeking a creative and soulful way to celebrate, I warmly invite you to check out this Free crochet Rudraksha Rakhi pattern Video (Link is below). It’s a wonderful blend of tradition, beauty, and handmade love all woven into one special piece.
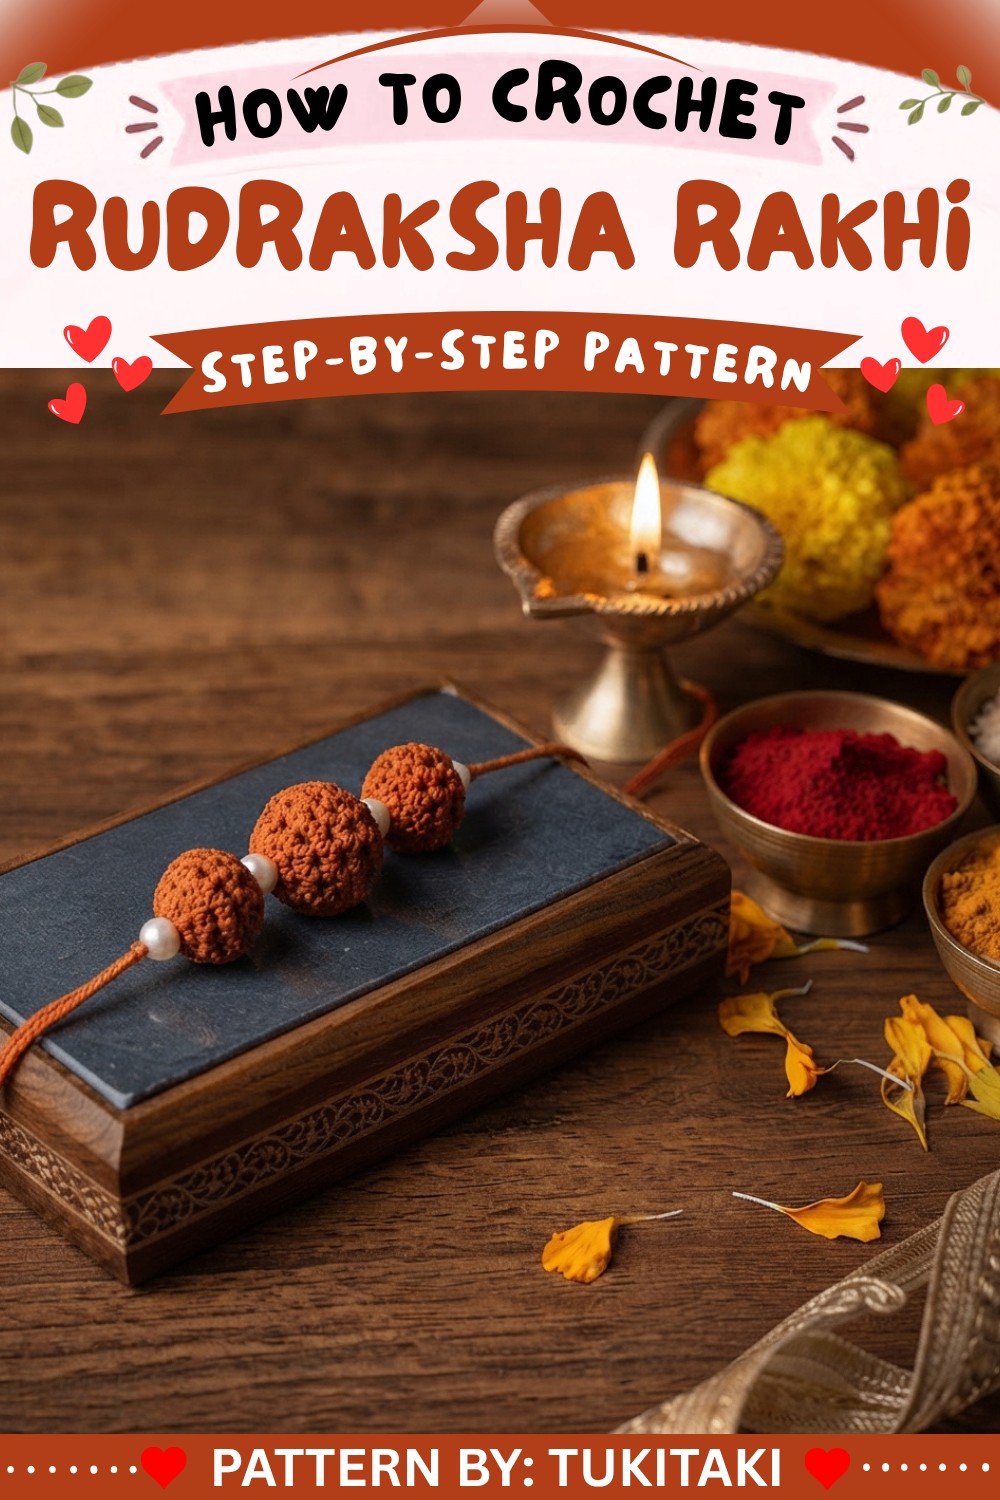
Crochet Rudraksha Rakhi Pattern
This pattern guides you through crocheting a traditional Rudraksha Rakhi, inspired by the sacred bead often used in Indian rituals and jewelry. Using simple amigurumi crochet techniques and stepwise instructions, you’ll create a central large bead and two smaller side beads—each worked seamlessly in the round and assembled onto a string suitable for tying on the wrist.
The following directions provide exact stitches and rounds for each bead, ensuring your Rakhi maintains the authentic look and structure of a classic Rudraksha with modern crocheted durability and charm. This project is ideal for beginners and intermediate crafters who want to celebrate Raksha Bandhan with a meaningful, handmade token of love and protection.
Pattern Basics
- Large centerpiece bead and two smaller beads worked in the round
- Seamless amigurumi construction with single crochet, increases, and decreases
- Firm stuffing and invisible bead closure
- Easy threading and knotting for sturdy assembly
Notes
- Work tightly so stuffing remains hidden inside beads.
- Stuff beads before final closure.
- Use a yarn needle for weaving-in and threading.
- Adjust Rakhi string length to desired wrist size.
Skill Level
Beginner to Intermediate – Basic skills with magic ring, single crochet in rounds, and decreases.
Materials
- DK or sport weight yarn in brown and accent color as preferred
- 2.5 mm crochet hook (or to achieve firm fabric)
- Fiberfill
- Yarn (tapestry) needle
- Scissors
- Rakhi string or thread (approx. 20–25 cm)
Measurements / Sizing
- Large bead: ~1.5–2 cm in diameter
- Small beads: ~1 cm in diameter each
- Beaded centerpiece: ~4 cm
- String: as desired for tying
Gauge
Not crucial; ensure single crochet stitches are dense enough to hold stuffing.
Stitch Abbreviations
- ch: chain
- sc: single crochet
- sl st: slip stitch
- inc: increase (2 sc in same stitch)
- dec: decrease (sc 2 together)
- magic ring: adjustable loop for working in the round
Special Stitches
- Magic ring: Wrap yarn into ring, insert hook, yarn over, pull up loop, work sc as needed into the ring, pull tail to close ring.
- sc2tog (decrease): Insert hook into next stitch, yarn over, pull up loop, repeat in following stitch, yarn over, pull through all 3 loops.
- sc3tog: Insert hook into next stitch, yarn over, pull up loop; repeat for 2 more stitches (3 in total), yarn over, pull through all loops.
Pattern Instructions
I. Large Rudraksha Bead
Round 1
- Create a magic ring.
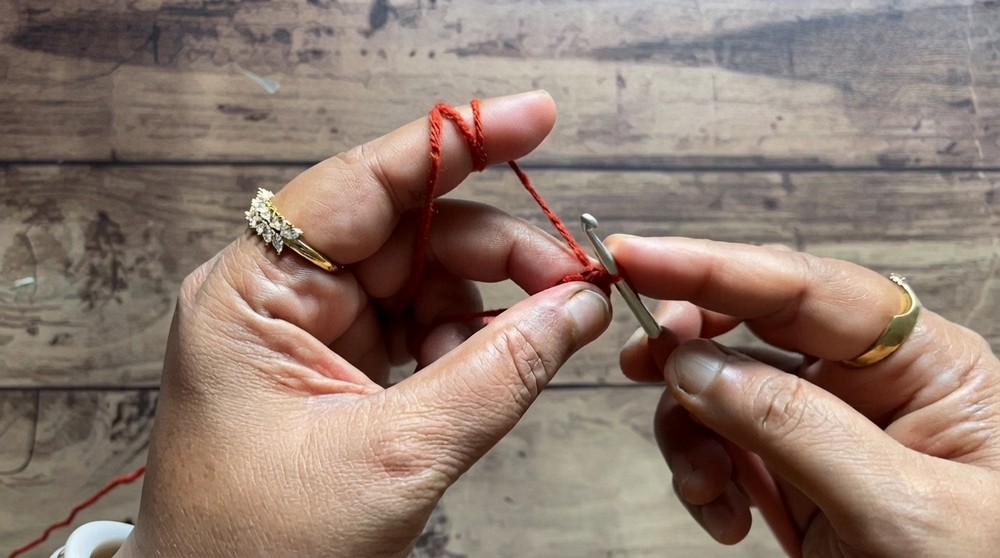
- Ch 1.
- Work 6 sc into the ring.
- Pull ring tight.
- Join with sl st to first sc.
Round 2
- Ch 1.
- Work 2 sc in each stitch around (inc in every stitch).
- (Total: 12 sc)
- Do not join; continue working in a spiral.
Round 3
- 1 sc in next 5 stitches.
- Inc (2 sc in next stitch).
- 1 sc in next 5 stitches.
- Inc (2 sc in next stitch).
- (Total: 14 sc)
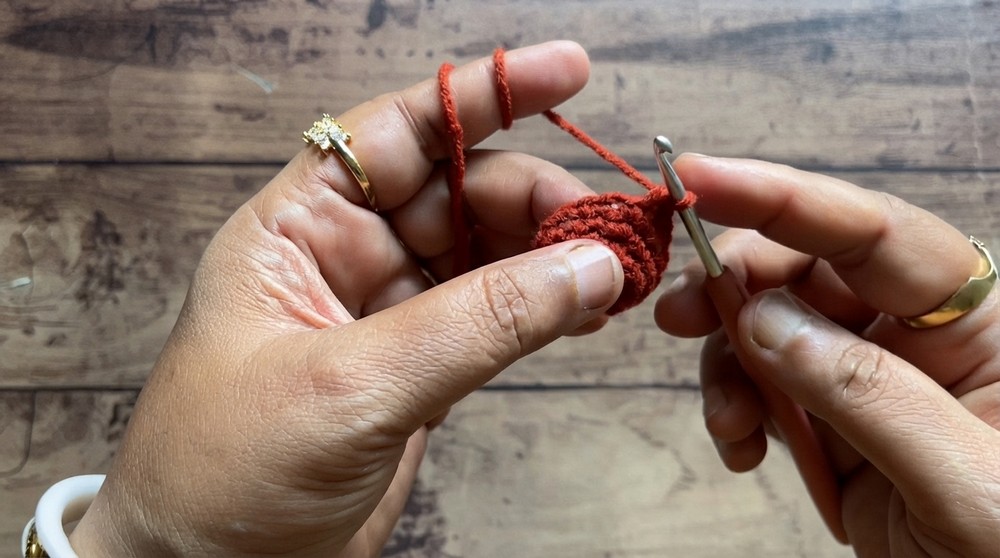
Round 4–5
(Repeat for two rounds)
- 1 sc in each stitch around.
- (Total: 14 sc per round)
Round 6
- 1 sc in next 5 stitches.
- Dec (sc2tog over next 2 stitches).
- 1 sc in next 5 stitches.
- Dec (sc2tog over next 2 stitches).
- (Total: 12 sc)
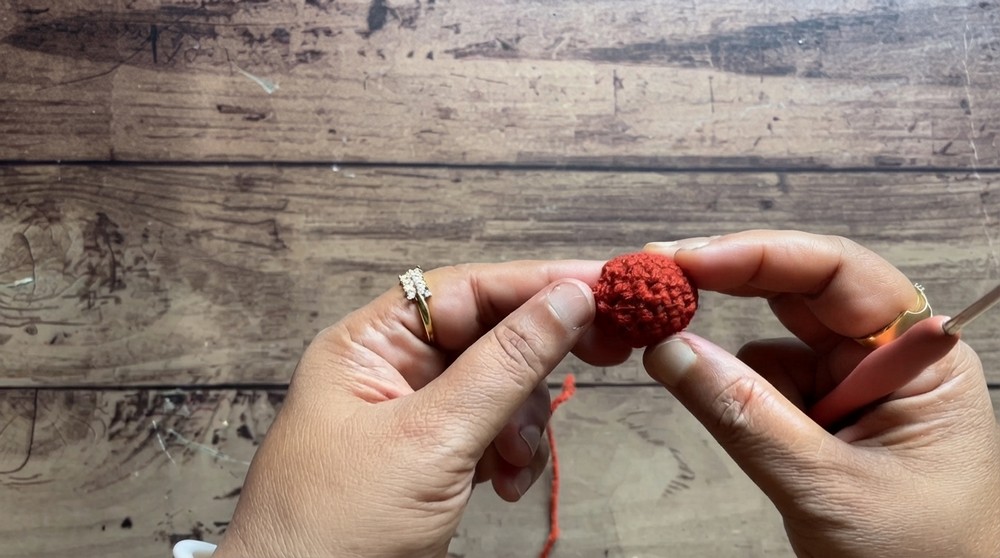
Round 7
- Dec (sc2tog) over next 2 stitches – repeat a total of 6 times.
- (Total: 6 sc remain; opening almost closed)
Finishing
- Gently stuff bead with fiberfill.
- Using a yarn needle, weave through each of the remaining 6 sc.
- Pull yarn tight to close up the bead.
- Fasten off and weave in end securely.
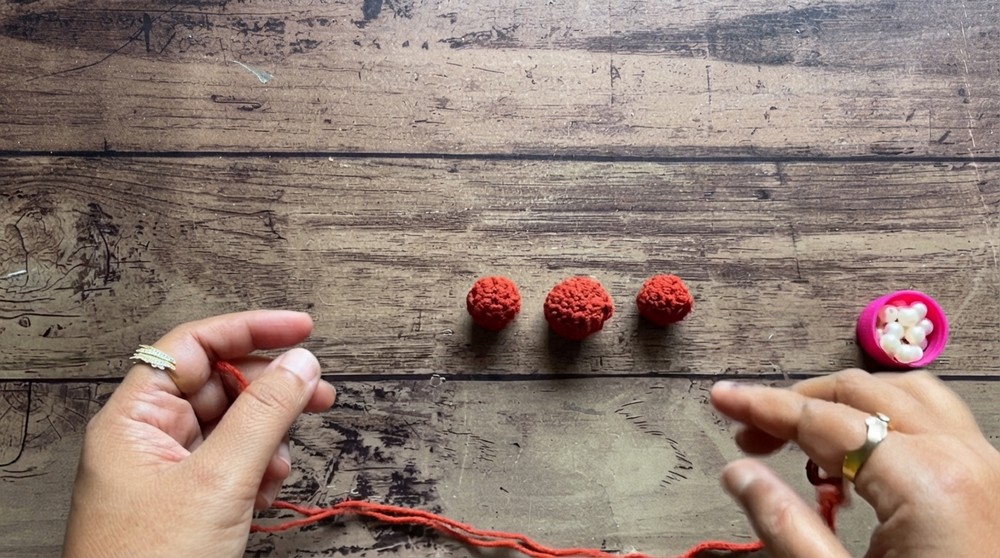
II. Small Rudraksha Beads
(Make two beads)
Round 1
- Create a magic ring.
- Ch 1.
- Work 6 sc into the ring.
- Pull ring tight.
Round 2
- Work 2 sc in each stitch around (inc in every stitch).
- (Total: 12 sc)
Rounds 3–5
(Repeat for three rounds)
- 1 sc in each stitch around.
- (Total: 12 sc per round)
Stuffing
- Stuff bead with a small amount of fiberfill before closing.
Closing
- Work sc3tog (crochet 3 stitches together) – repeat this 4 times around.
- (The bead will close almost completely.)
- Fasten off and weave in end.
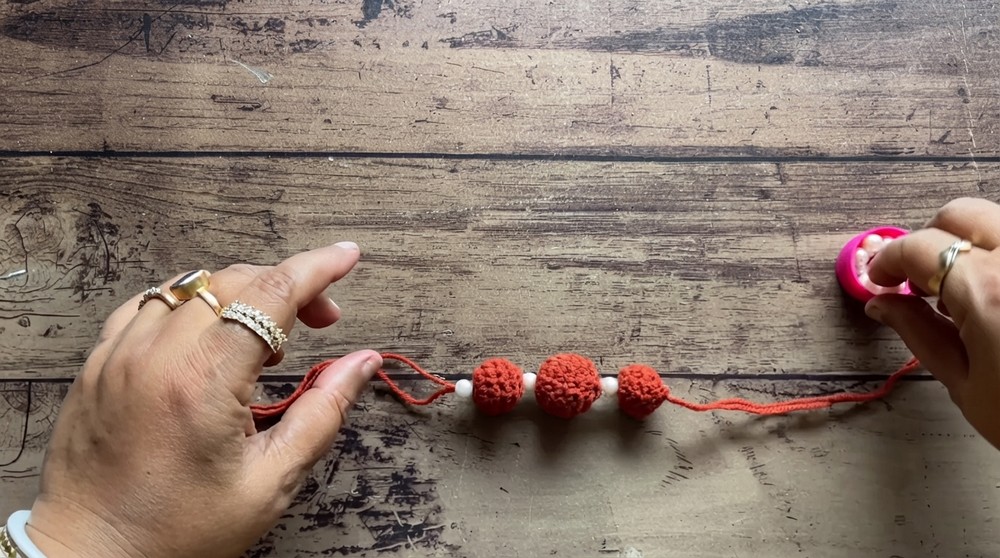
III. Assembly
- Cut a piece of Rakhi string or thread (about 20–25 cm or as needed).
- Thread one small bead onto the string.
- Thread the large bead onto the string.
- Thread the second small bead onto the string.
- Center all beads on the string.
- Tie a knot on each side of the beaded section to secure beads in place.
- Trim ends if necessary.
Assembly & Finished Size
- Beads remain centered and secure between the two knots.
- Total length of Rakhi: length of string plus ~4 cm beaded section.
- Beads should feel firm and well-shaped.
Conclusion
By carefully following these outlined instructions, with all stitches emphasized and each round shown as clear bullet points, you will create a Kumkum Rudraksha Rakhi that beautifully balances tradition and craftsmanship. This pattern emphasizes clarity for every level of maker, keeping construction easy and elegant.