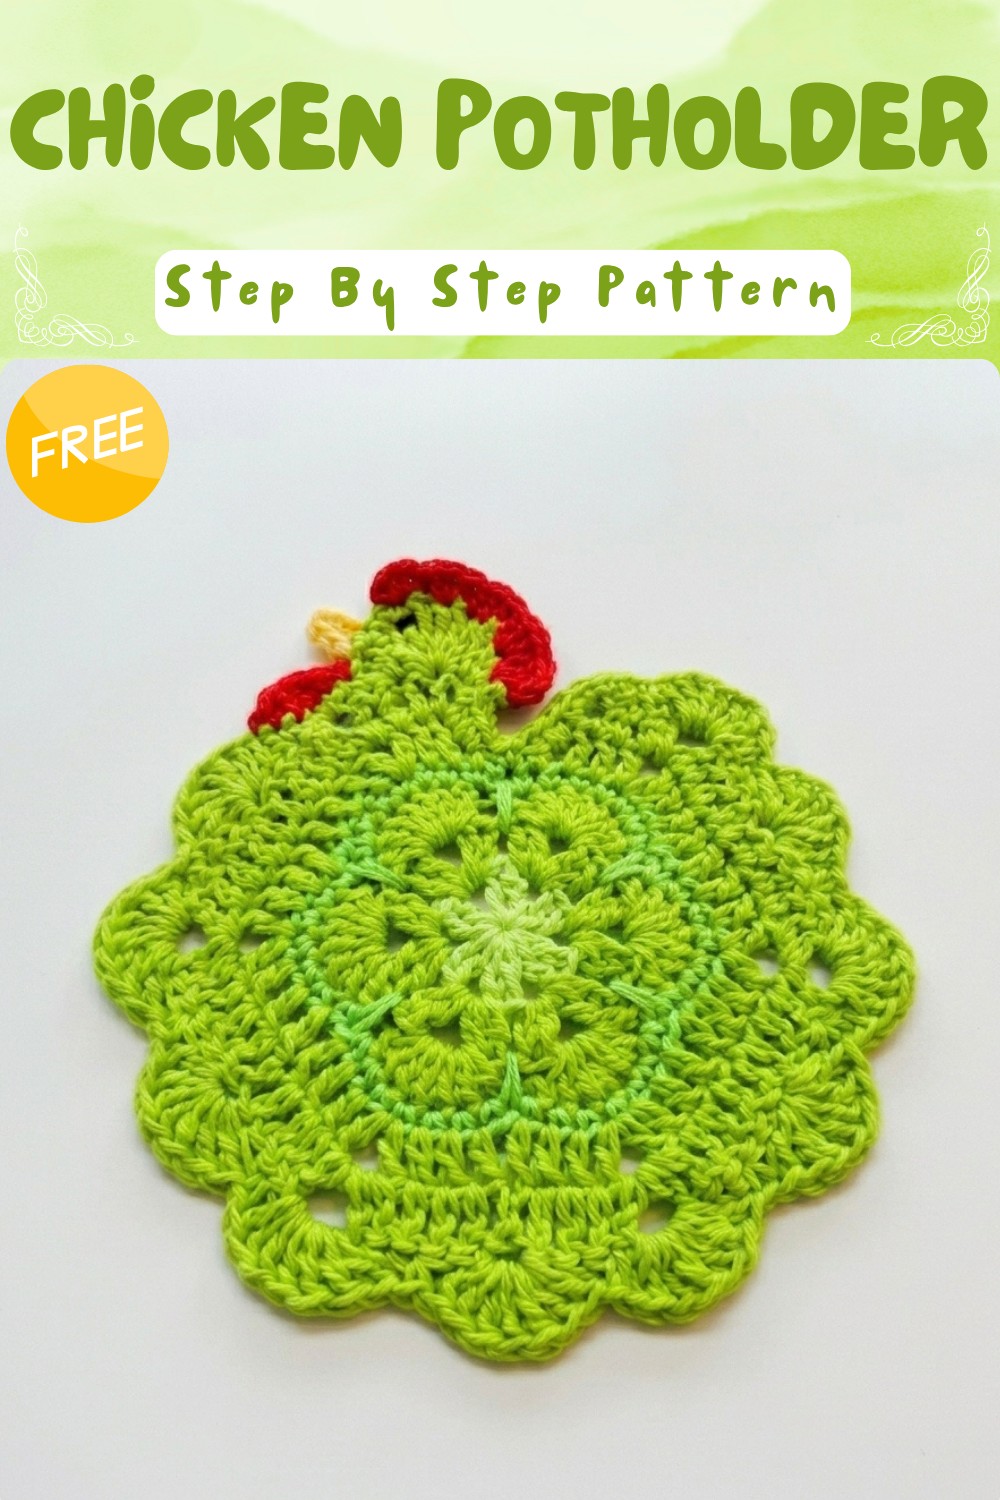
Free Crochet Chicken Pot holder Pattern For Seasonal Gifts
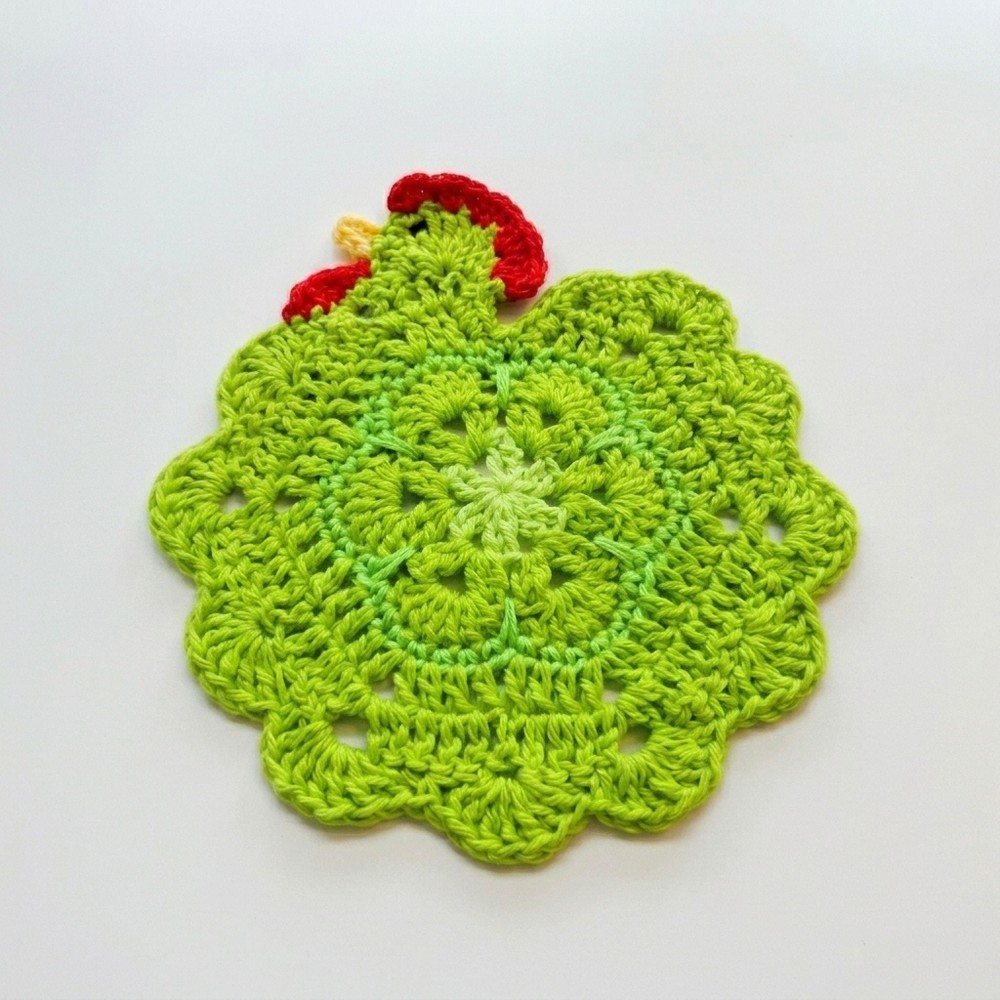
If you enjoy cooking and love cute kitchen things, this project is just right for you! The Free Crochet Chicken Pot holder Pattern helps you make a bright and fun potholder shaped like a chicken. It’s a handy kitchen tool that keeps your hands safe from hot pots and pans. Plus, you can change the colors or size to make it your own. With small changes, you can also create a chicken coaster, a kitchen decoration, or even a playful toy from this pattern.
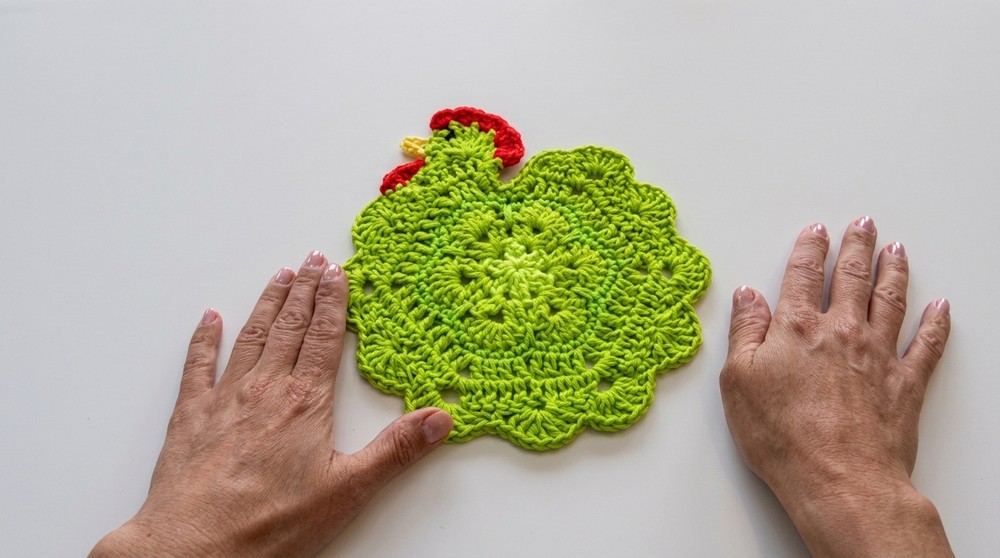
This potholder looks wonderful with its round shape and colorful details like the red comb and bright yellow beak. The soft yarn makes it easy to hold and helps protect your hands from heat. You can choose your favorite colors to match your kitchen or create fun gifts for family and friends. It’s the perfect size to fit comfortably in your hand but can be made larger or smaller depending on your needs.
Crochet Chicken Pot holder Free Pattern

The main stitch used in this pattern is the single crochet stitch, which is simple and great for people who are just starting to learn crochet. This stitch makes the potholder thick and strong, so it does its job well. The pattern also shows how to make little shapes like the chicken’s comb and beak, making the project even more fun and creative.
This chicken potholder is not just useful but also a cute addition to your kitchen. It makes a great gift and can brighten up any cooking space. Whether you want to add a splash of color to your kitchen or try a new crochet project, this pattern is easy and enjoyable to make.
Crochet Chicken Pot Holder Pattern
Before You Start
- Review the pattern to understand color changes and construction steps before beginning.
- Familiarize yourself with crocheting in the round, joining new yarn colors, and shell stitches.
- Use 100% cotton yarn for heat-resistance if planning to use as an actual pot holder.
- Gather all required yarn colors and tools before you start for smooth workflow.
Pattern Notes
- This pot holder is worked from the flower hexagon center outward.
- Color changes are made at the beginnings of new rounds.
- The body is worked in joined rounds; don’t forget to slip stitch to join unless otherwise noted.
- The shells, head, comb, wattle, beak, and eye are all worked directly onto the main motif.
- Keep your stitches consistent to maintain the correct hexagonal shape.
How I Made the Crochet Pattern
- Began with a flower hexagon and added rounds for desired size.
- Crafted decorative shell edging, a head using various heights of stitches, and facial features.
- Finished with careful weaving of ends for a neat finish.
Skill Level
Confident Beginner/Intermediate
Requires knowledge of rounds, color changes, basic and advanced stitches (sc, hdc, dc, tr), and simple embroidery for the eye.
Finished Size
- Width: ~8 inches (20 cm)
- With Head: ~9 inches (23 cm)
Materials
- 100% Cotton Worsted (Medium/4 weight) Yarn in a variety of colors (body, edge, comb, wattle, beak, eye)
- Red and black yarn (acrylic is okay for facial details)
- 4 mm crochet hook (use 5 mm for a larger pot holder)
- Scissors
- Tapestry/yarn needle
Measurements / Sizing
- Main round motif: ~8″ across
- With head and shell: ~9″ x 9″
- Individual shell: about 1″ wide
Gauge
Not crucial, but for reference:
5 rounds of dc hexagon motif ≈ 4.5” (11.5 cm) across.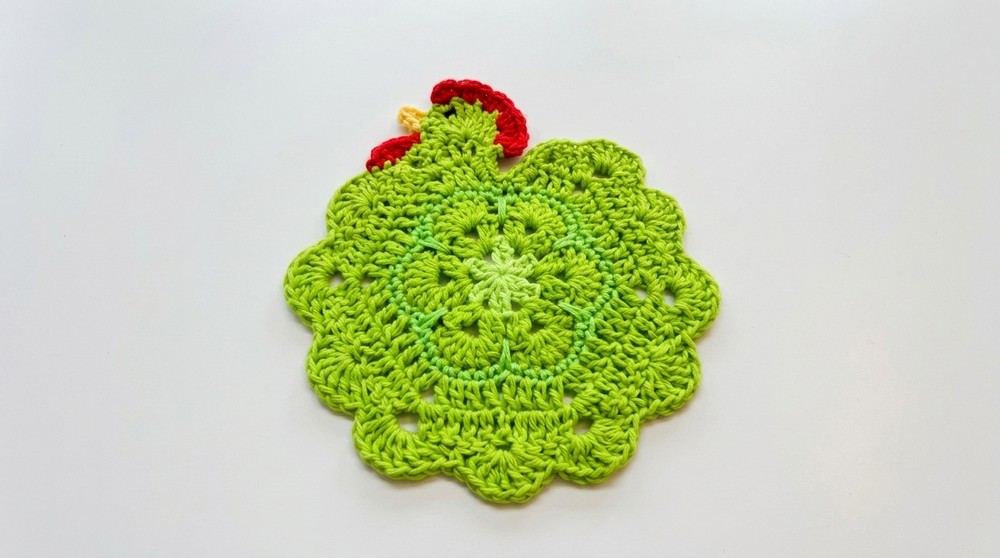
Stitch Abbreviations
| Abbreviation | Meaning |
|---|---|
| ch | chain |
| sc | single crochet |
| hdc | half double crochet |
| dc | double crochet |
| tr | treble crochet |
| sl st | slip stitch |
| st, sts | stitch, stitches |
| sp | space |
Special Stitches
- Long Single Crochet: Insert hook into second round, pull long loop up, yarn over, pull through both loops. Used to create visual interest between hex rounds.
- Shell: 7 dc in same stitch or space.
- Magic Ring (if preferred): Use instead of ch-4 ring for tighter center.
The Pattern!
Hexagon Flower Center
Round 1:
- Ch 4, sl st to first ch to form a ring.
- Ch 3 (counts as dc), dc in ring, ch 2;
- (2 dc in ring, ch 2) 5 times;
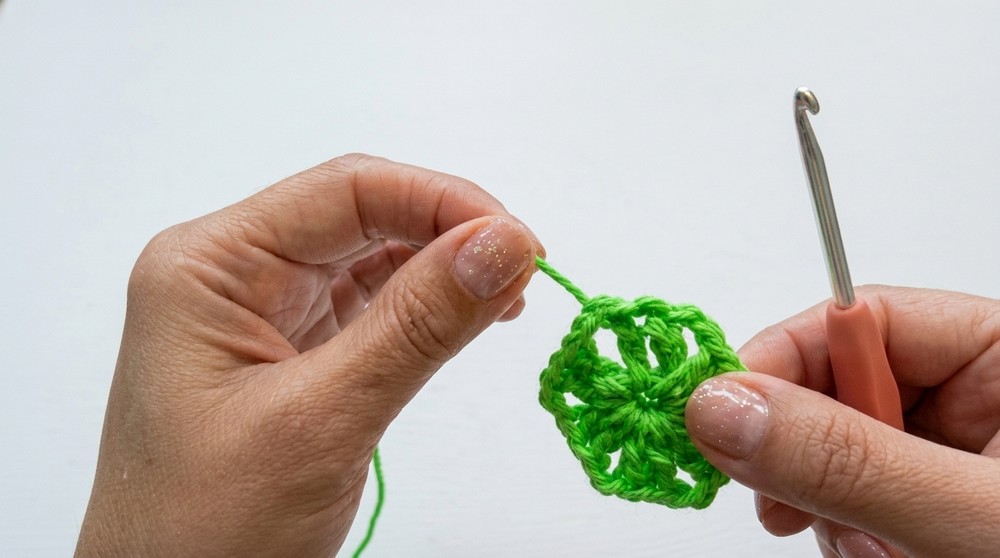
- Sl st to 3rd ch of beg ch-3 to join. (6 “petals”: 2 dc, separated by ch-2 corners)
At the end of this round, you should have 6 sets of 2 dc, with ch-2 spaces between each.
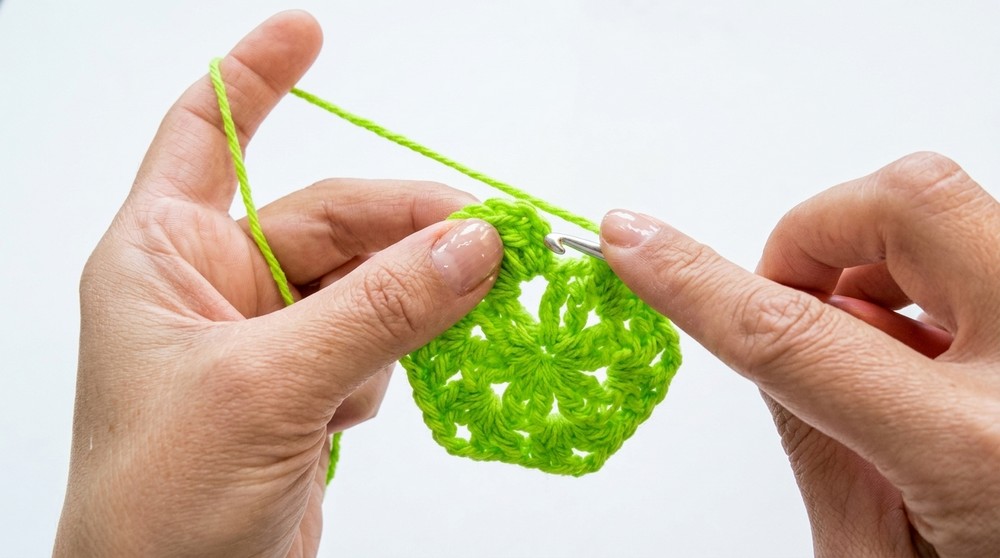
Round 2:
- Join new color in any ch-2 sp.
- Ch 3 (counts as dc), dc in same sp, ch 2, 2 dc in same sp;
- In each ch-2 sp around: 2 dc, ch 2, 2 dc.
- Join with sl st to beg ch-3.
You now have a fuller hexagon with distinct petals, setting up the motif for the next round.
Round 3:
- Sl st to next ch-2 sp.
- Ch 3 (counts as dc), 6 dc in same sp (7 dc total in ch-2 sp);
- In next ch-2 sp: 7 dc;
- Repeat 7 dc in each ch-2 sp around (6 places total).
- Join with sl st to top of beg ch-3.
Petals are now fatter, giving a flower effect. Fasten off if changing color for the next round.
Round 4:
- Join new color in any st after a petal.
- Ch 1, sc in same st and in next 6 sts (sc across petal/7 sts).
- Long sc (insert hook between 2-dc of Rnd 2 below, pull up long loop, complete sc).
- Repeat from * across: 7 sc on next petal, 1 long sc between petals.
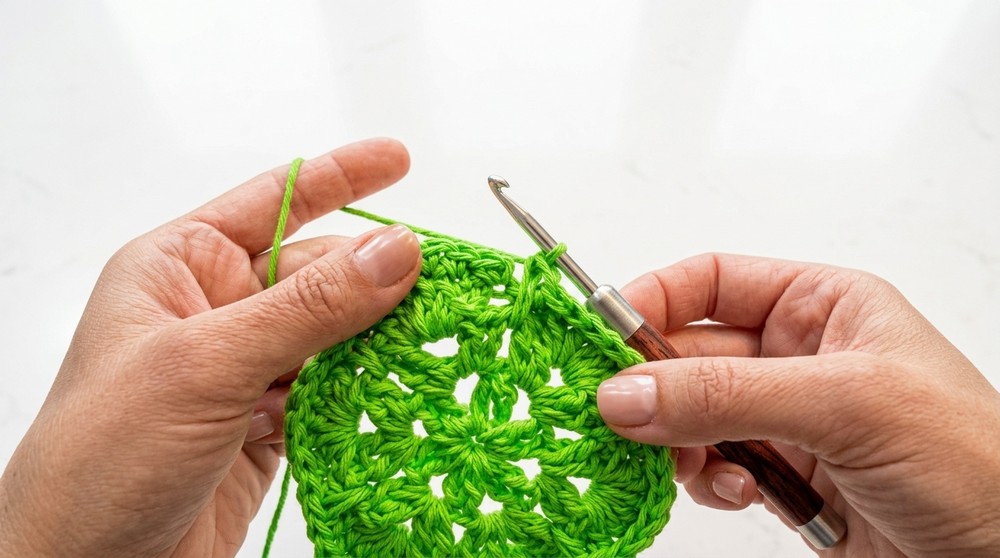
- Continue around, end with final long sc, sl st to first sc to join.
- Fasten off if changing color.
This round levels the flower with regular and long single crochets for a flat, even motif.
Round 5:
- Join new color in sc after a long sc.
- Ch 3 (counts as dc), dc in next 2 sts
- [Dc, ch 2, dc] in next st (corner),
- Dc in next 3 sts.
- Skip long sc from previous round; repeat from * around.
- After last set, do not sl st. Move on to next round.
You are now creating the sides and points for a defined hexagon shape.
Round 6:
- Ch 3 (counts as dc), turn.
- Dc in next 3 sts.
- In ch-2 corner: [Dc, ch 2, dc]
- Dc in next 8 sts.
- Repeat: [Dc, ch 2, dc] in next corner, dc in next 8 sts; continue around hexagon to last corner.
- End with dc in last 4 sts (including top of beg ch-3).
- Do not fasten off yet; continue to head.
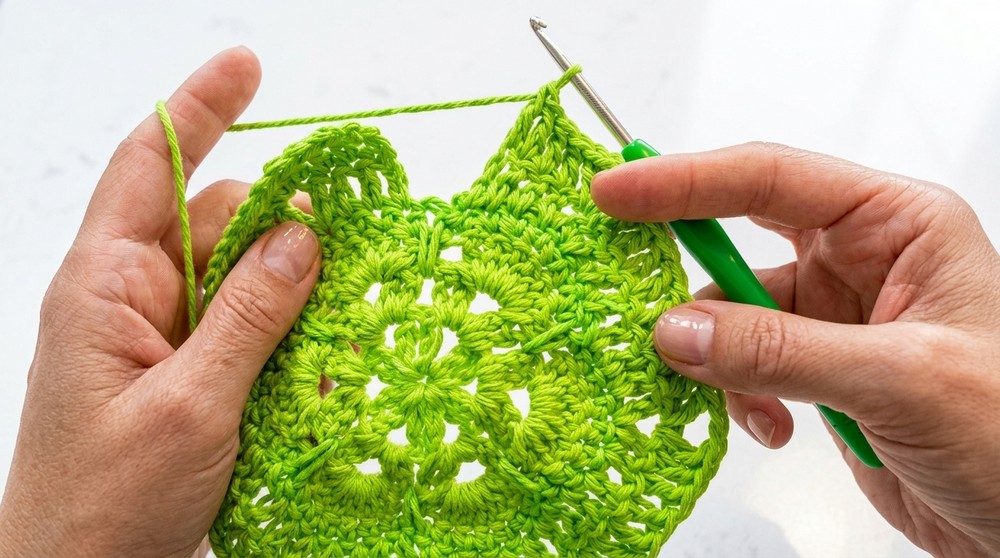
Rounds completed: Your hex is now about 8–9 inches across and ready for embellishments.
Chicken Head
- Ch 1, turn.
- In first st: sc, hdc, dc all in same st.
- In next st: 8 tr (treble crochets) all in same st.
- In next st: dc, hdc, sc all in same st.
This cluster forms the chicken’s head—tall and round with a gradual curve.
Chicken Shells (Body Edge)
- Sc in next 5 sts (for neck).
- Skip 2 sts, in next st: 7 dc (shell), skip 2 sts, sc in next st.
- Repeat shells and sc all around hex edge, working shells into ch-2 sps or spaced out as needed.
- At end, fill in any gaps with sc or extra dc for even spacing.
Edge completed! The shells give the effect of decorative chicken feathers.
Comb (Red, on Head)
- Join red yarn at start of head.
- (sc, hdc, dc) in same st, skip next st, repeat 5 times along top of head.
- Sl st to final st, fasten off.
Wattle (Red, under Head)
- Join red yarn in sc at lower curve of head.
- Ch 1, sc in same st, hdc in next, dc in next, sc in next, sl st in next to finish. Fasten off.
Beak (Yellow)
- Join yellow in st at beak position (usually after last comb “bump”).
- Ch 3. Sc in 2nd ch from hook, sc in next ch.
- Sl st in next st on head to anchor. Fasten off.
Eye (Black or Embroidery Floss)
- With black yarn, sew small knot or several stitches in position adjacent to the beak in the head area.
Assembly & Finishing
- Weave in all yarn ends carefully using a tapestry needle.
- Pull all color change and feature ends to back.
- Block lightly if desired for crisp edges and flat finish.
Solution of Common Problems
- Motif curls: Use a slightly larger hook or block firmly with steam.
- Unclear head border: Use fabric stiffening spray or sew a few tiny stitches at the “chin” if the head flops.
- Uneven shells: Use counting pins or markers to space shells evenly if your tension varies.
What You Can Make By Using These Stitches
- Trivets, doilies, or oversized coasters
- Variety of animal-themed pot holders (add ears, tails, etc.)
- Motif-based bags or display bunting
- Appliqué for placemats or pillows
Summary
To create this charming crochet chicken pot holder, begin with a hexagonal flower motif, enlarging it through rounds to your desired size. Use shells for the decorative tail edge and sculpt the head directly onto the motif with graduated stitch heights. Add a red comb, red wattle, yellow beak, and black eye for recognizable chicken features. The pattern uses primarily double crochets and shells, with some more advanced stitches (treble, long sc, basic embroidery) to add character. Finish all ends neatly and block for best appearance. This project is perfect for both function and whimsy, sure to delight and protect in any kitchen.