Free Crochet Pumpkin Keychain Pattern with Detailed Instructions

Add a touch of fall fun to your accessories with this free crochet pumpkin keychain pattern, an easy way to keep autumn vibes with you everywhere.
Last fall, inspired by the cozy vibes of the season, I decided to try a small crochet project that could add a touch of handmade charm to my keys and bags. That’s when I stumbled upon an excellent tutorial by Goga Hook, and soon I was hooked on creating a delightful free crochet Pumpkin keychain pattern. This adorable pumpkin is not just a cute accessory, it’s a wonderfully simple project that’s perfect for beginners and seasoned crocheters alike.
Quick Free Crochet Pumpkin Keychain Pattern for Halloween
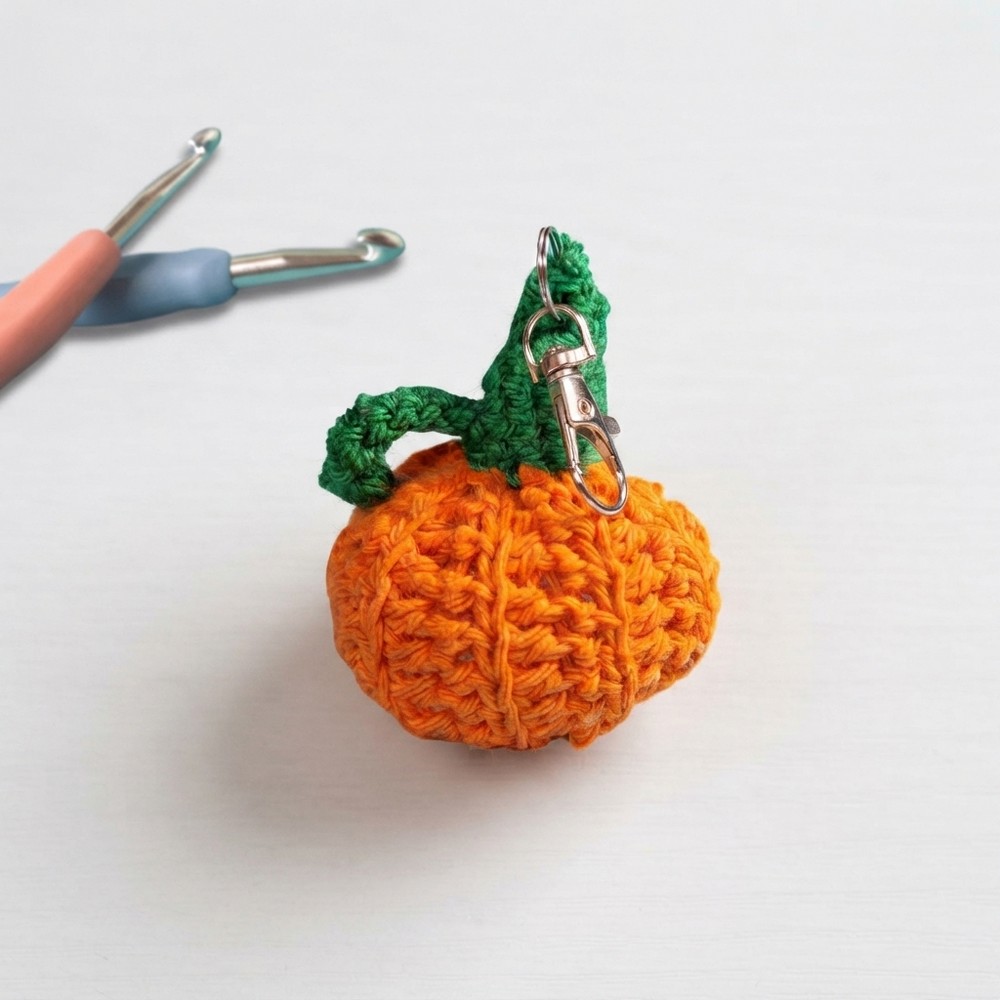
The pumpkin keychain is a compact, soft item, roughly 7 cm wide and 8 cm long, making it the perfect size to carry around or gift to a friend. Thanks to the detailed guidance in video (link below), crafting this pumpkin becomes an enjoyable experience. It begins with making the base using rows of half double crochets worked in the back loops, forming a unique ribbed texture that beautifully mimics the natural grooves of a real pumpkin. The shape is rounded and plush, filled with stuffing to give it a satisfying squishiness.
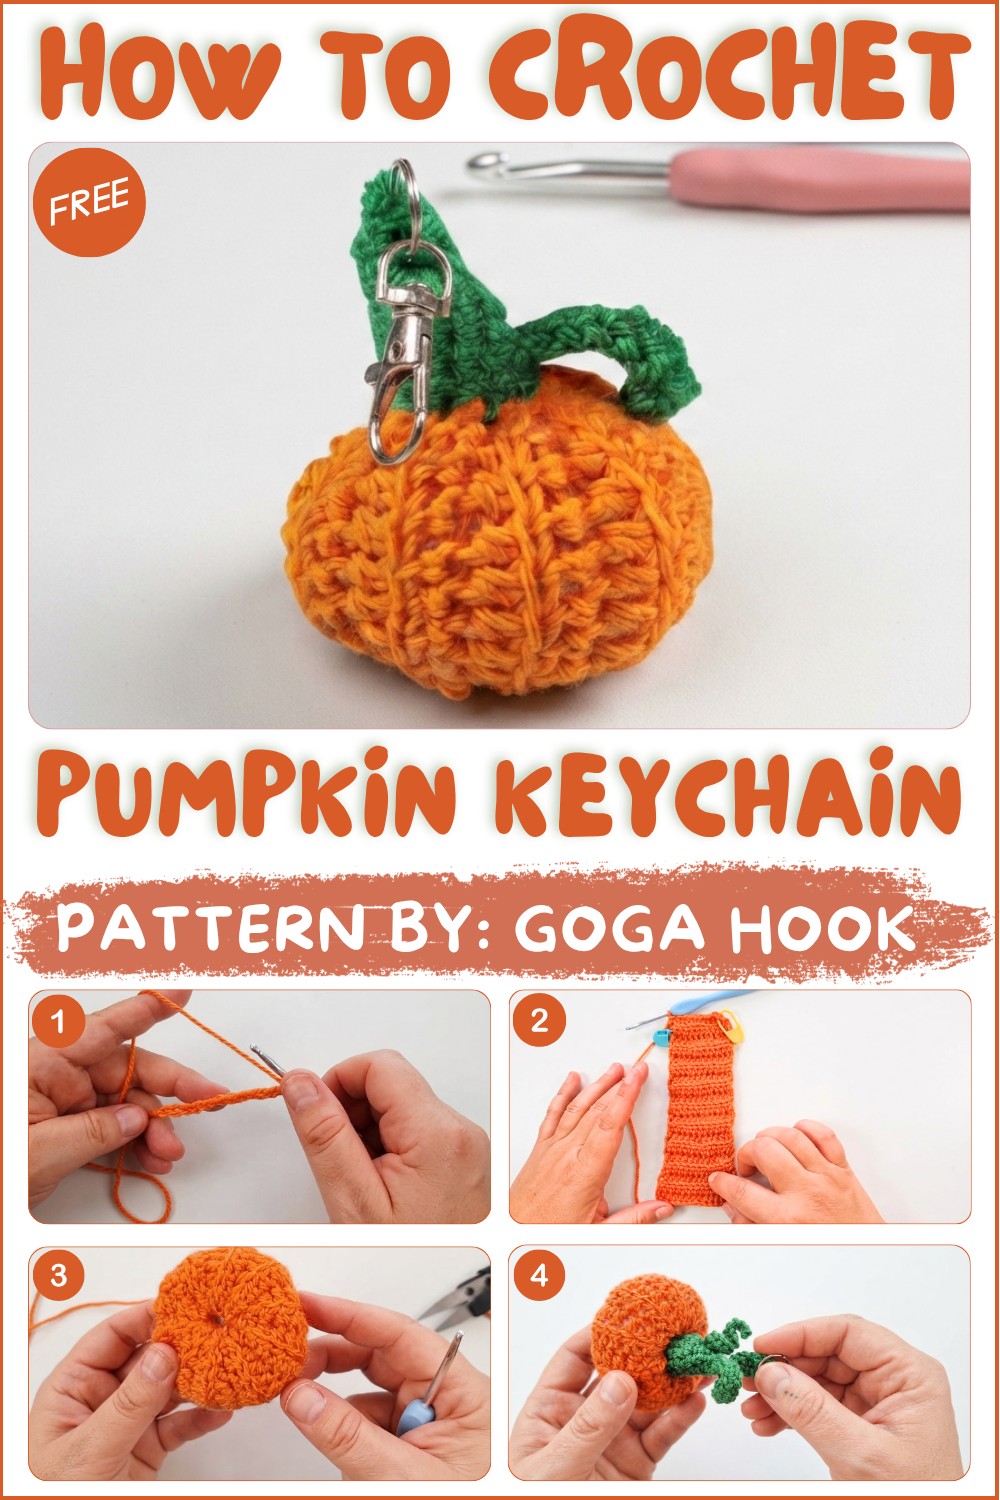
One of this pattern’s standout features is its little green stem and leaf, created separately and then attached on top, adding a realistic and charming detail. The stem’s slightly tapered shape and the leaf’s delicate crochet stitches are lovely finishing touches that enhance the overall appeal.
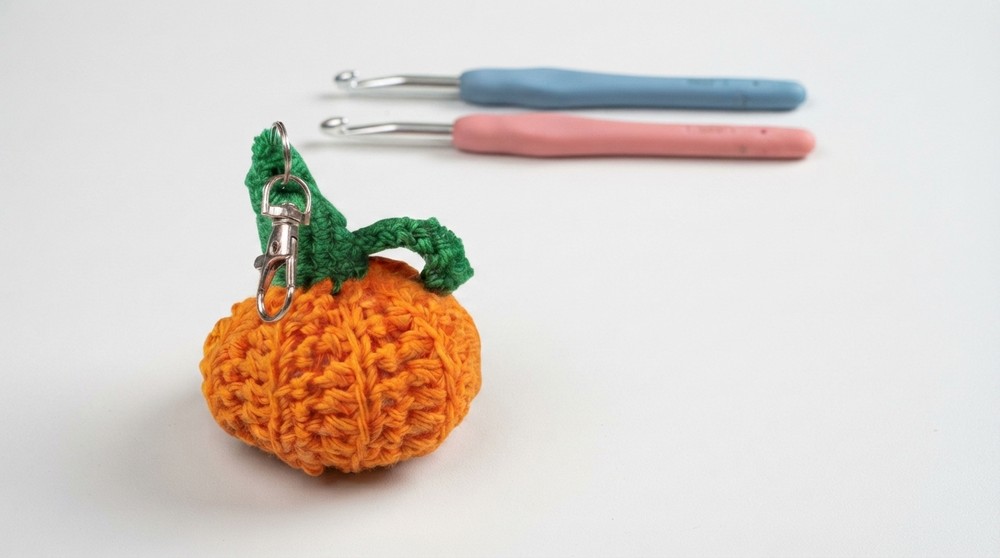
Beyond being a fun project, this keychain is a thoughtful gift idea for anyone who loves handmade crafts or seasonal decorations. It effortlessly brightens up everyday items like keys, backpacks, or purse zippers with its autumnal spirit. Plus, the pattern’s simplicity means it can be whipped up quickly, perfect for last-minute gifting or personal use.
Thanks to Goga Hook’s clear step-by-step instructions and helpful tips, this free crochet Pumpkin keychain pattern is a delightful way to celebrate fall with cozy creativity.
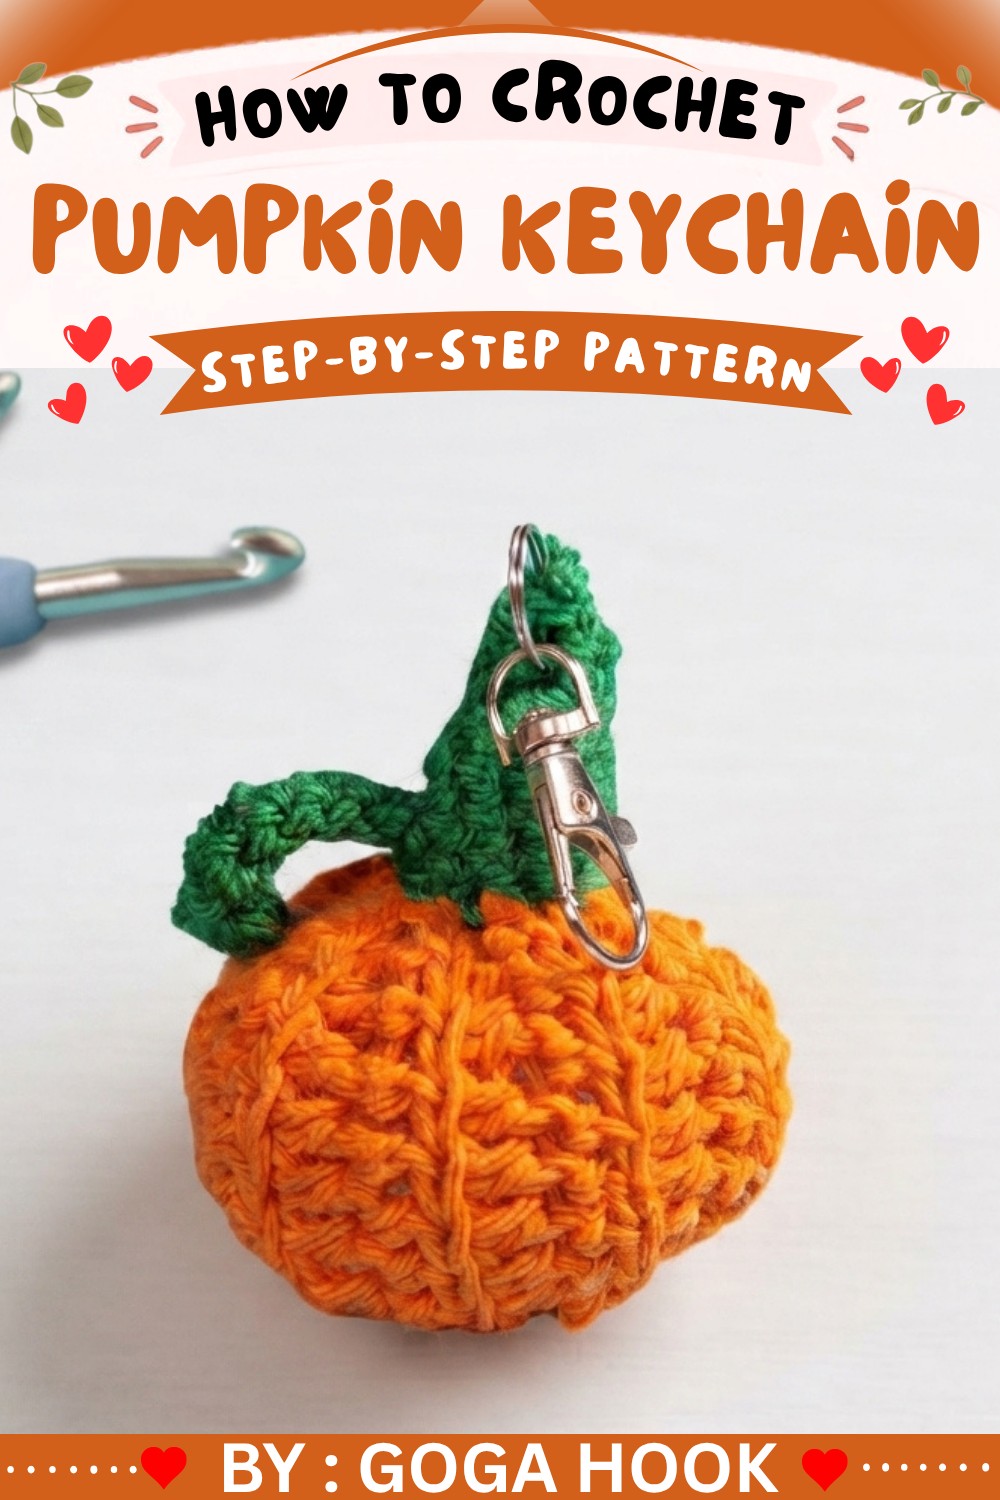
Crochet Pumpkin Keychain Pattern
In this step-by-step pattern derived strictly from the referenced video tutorial, you will create an adorable pumpkin keychain using basic stitches and accessible techniques. The project begins with flat rows that become a textured pumpkin base. Careful shaping and simple amigurumi assembly yield a plump form. The design is completed with a crocheted stem and leaf built using a magic circle, shaping rounds, and decorative finishing. This pattern is perfect for seasonal accessories, gifts, or even fall-themed decor.
Simple Pattern Guide
Pumpkin Body Construction
- Flat rectangle made in rows using only half double crochet (HDC)
- Back loop only technique supplies natural pumpkin ribbing
- Straightforward row counting—no increases or decreases
Amigurumi Shaping
- Rectangle folded and sewn into a tube shape
- Top and bottom gathered to produce a 3D pumpkin
- Yarn wrapped through center forms classic pumpkin segmentations
Stem & Leaf Details
- Magic circle start for a neat, closed stem base
- Gradual increases for a realistic stem
- Simple chain for leaf—easy yet effective
Simple Finishing
- All elements assembled by hand sewing
- Keyring easily attached for functionality
Notes
- Maintain consistent tension to achieve even pumpkin ribs and neat edges.
- The pumpkin’s “segments” are formed by pulling the yarn through the stuffed center; adjust the number of wraps for preference.
- Sew firmly for durability if using as a keychain, bag charm, or zipper pull.
- Choose a strongly contrasting green for the stem/leaf so they stand out against the orange body.
- The pumpkin body rectangle is constructed entirely flat and only takes shape during assembly.
- Light stuffing ensures the keychain stays lightweight and comfortably small.
- Take care not to overstuff, which could strain the seam.
Skill Level
Advanced Beginner
Familiarity with the following is recommended:
- Working basic crochet stitches (chain, single crochet, half double crochet)
- Crocheting in rows and rounds
- Making and closing a magic circle
- Sewing crochet pieces together
- Basic amigurumi assembly (stuffing, shaping)
Materials
- Yarn: Worsted or DK weight in pumpkin orange and leaf green
- Crochet Hook: 3.5 mm
- Tapestry (yarn) needle: For sewing and attaching parts
- Scissors
- Fiberfill stuffing
- Keychain ring or keyring clasp
Measurements / Sizing
- Finished pumpkin: Approx. 4–5 cm (1.5–2 inches) in diameter
- Stem and leaf: Stem ~1.5 cm (0.5 inches), leaf extends ~2–3 cm
- Rectangle before assembly: Approx. 6 cm x 12 cm
Schematic:
Flat rectangle (base): 12 cm x 6 cm
Final: Spherical, 4–5 cm diameter
Gauge
Gauge is not critical but should produce a fabric tight enough so stuffing does not show through.
Test: 18 HDC x 12 rows = 10 cm x 10 cm (approximate for DK yarn and 3.5mm hook)
Stitch Abbreviations
- ch: chain
- sl st: slip stitch
- sc: single crochet
- hdc: half double crochet
- blo: back loop only
- inc: increase (2 sc in same stitch)
- st(s): stitch(es)
Special Stitches
- Magic Circle: Form a loop, hold tail, insert hook, pull up loop, crochet required stitches into ring, tighten by pulling tail.
- Back Loop Only (blo): Insert hook into the back loop (furthest from you) only, not under both loops.
Pattern Instructions
Pumpkin Base (Rectangle)
- Foundation:
- Make a slip knot and place on hook.
- Chain 13.
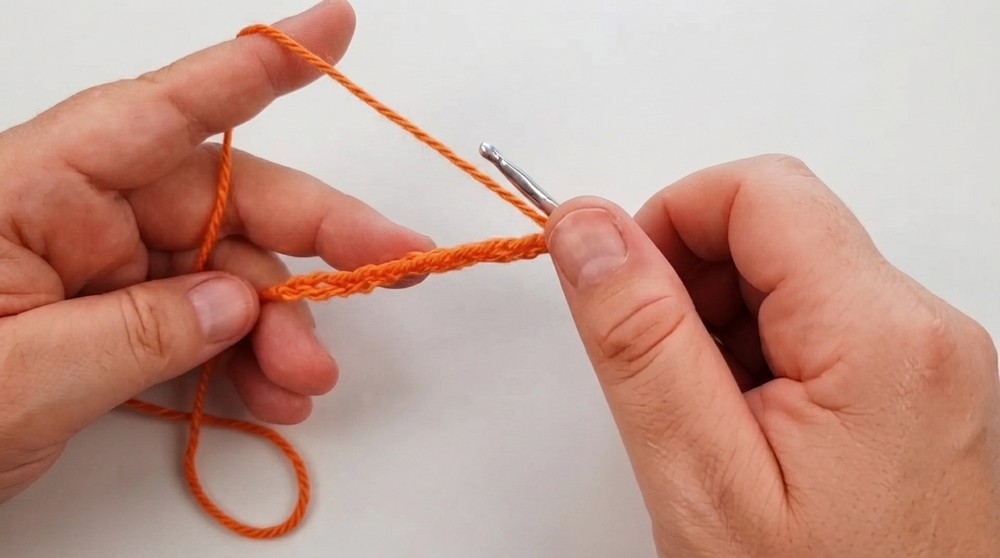
- Row 1:
- HDC in the 2nd chain from the hook and in each across.
- 12 stitches total.
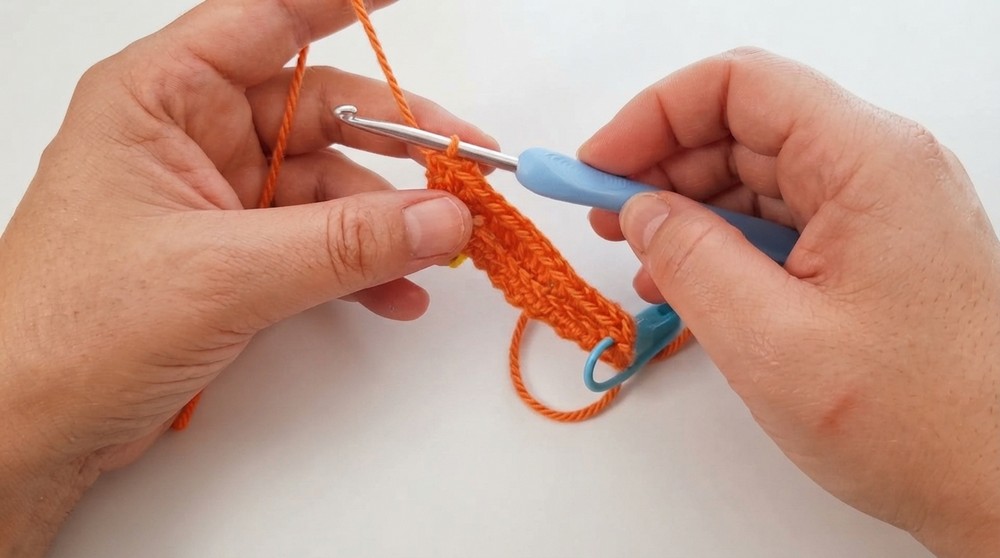
- Rows 2–20:
- Ch 1, turn.
- Work HDC in the back loops only across all 12 stitches.
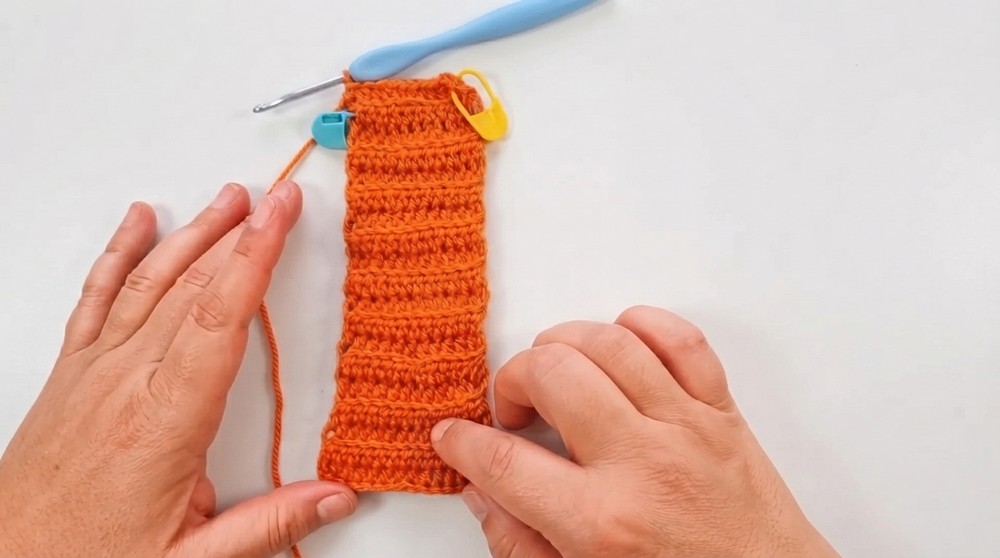
- Repeat this row until you have 20 rows in total.
- Securing:
- Ch 1, leave a long yarn tail (for sewing).
- Pull yarn through loop to fasten off.
Assembly (Pumpkin Shaping)
- Sewing the Sides:
- Fold the completed rectangle in half so the short ends meet.
- Using the long yarn tail and a tapestry needle, sew the short sides together by joining the front and back loops of each edge stitch across.
- Secure and fasten with a knot, but do not cut yarn.
- Shaping the Pumpkin:
- With the seam centered, work a running stitch around one opening’s edge.
- Pull yarn tight to close (gather) the top and secure firmly.
- Turn work right-side out so seam is hidden inside.
- Work around the remaining open edge with a running stitch, stuff with a small amount of fiberfill for firmness, then pull tight and close this side as well.
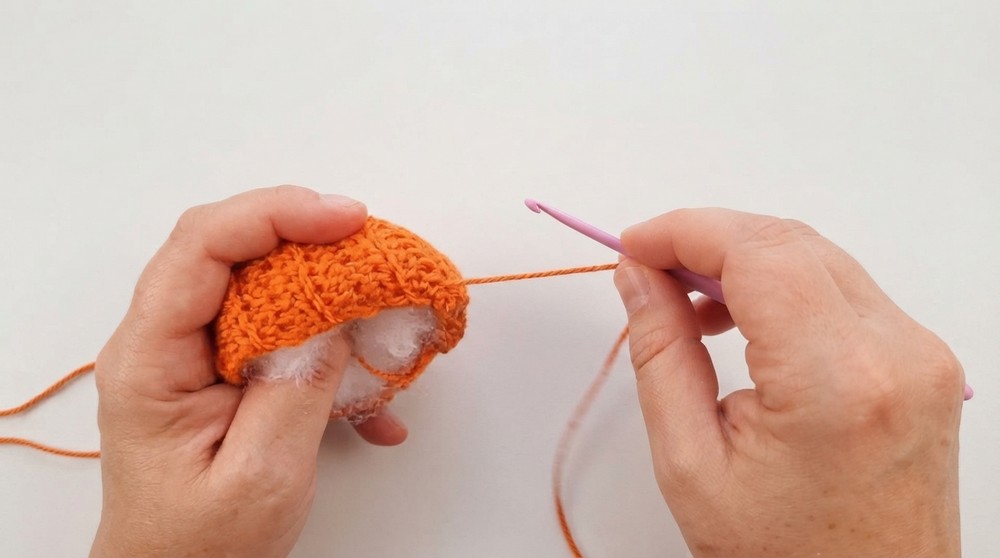
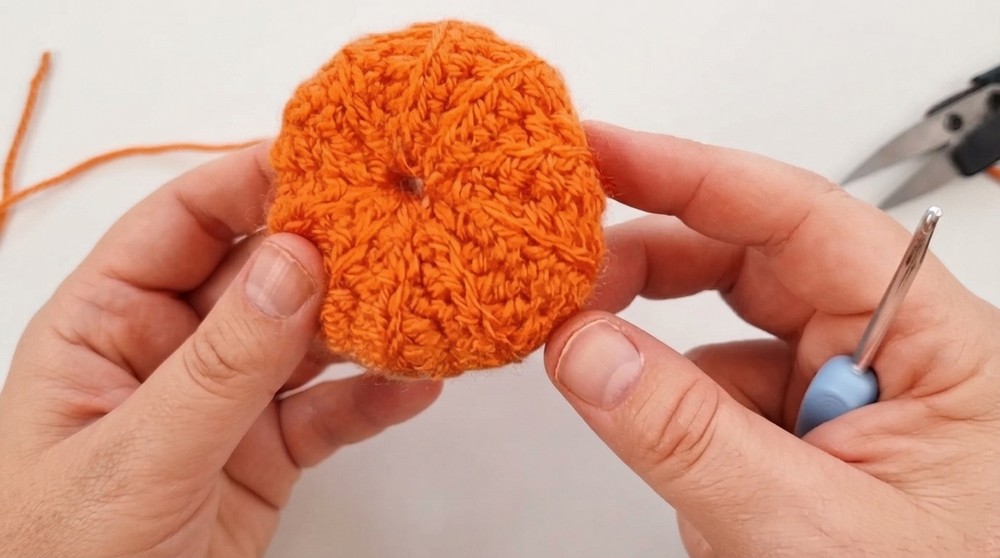
- Thread the remaining yarn through the pumpkin’s center (top to bottom, then bottom to top) several times, pulling gently but firmly to form the classic pumpkin “segments.”
- Secure the end with a discreet knot and weave in.
Stem and Leaf
Stem
- Magic Circle:
- Make a magic circle, ch 1.
- Row 1:
- 4 sc in the loop. Pull ring tight.
- Row 2:
- 4 sc (work 1 sc in each stitch around).
- Row 3:
- Increase: 2 sc in each stitch around (8 sc total).
- Row 4:
- 1 sc in each stitch around (8 sc).
- Rows 5–6:
- Alternate rows with increases: For Row 5: (2 sc in next stitch, 1 sc in next) around (12 sc total).
- For Row 6: 1 sc in each stitch around (12 sc).
- Row 7:
- 1 sc in each stitch to finish shaping.
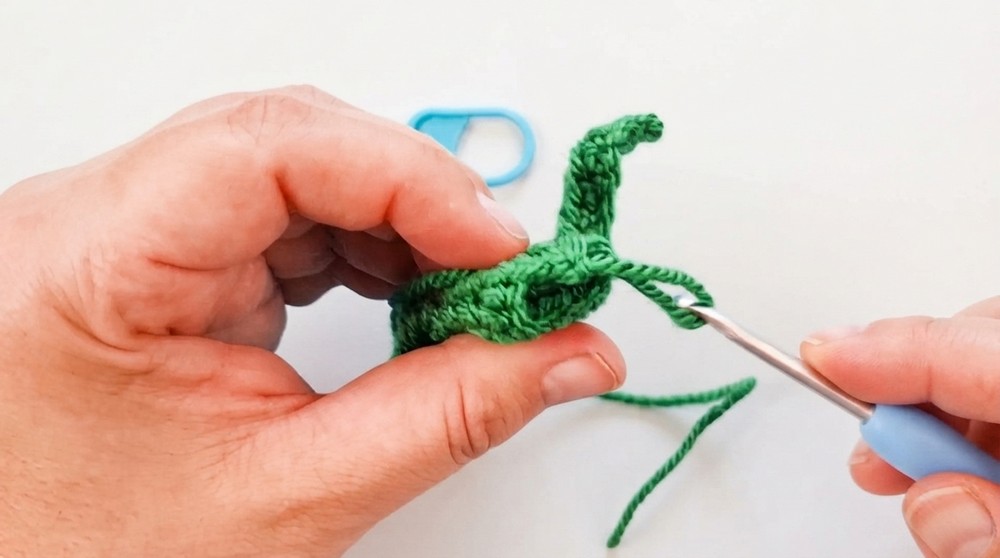
- 1 sc in each stitch to finish shaping.
Leaf
- Form Base:
- From the stem, chain 10.
- Work Back:
- Sc in each chain back toward the base of the stem.
- Finish:
- Make a slip stitch at the base. Leaving a tail, fasten off.
Assembly & Finished Size
- Attach Stem and Leaf:
- Use tapestry needle and long tail to sew the base of the stem, with leaf, securely to the closed top center of the pumpkin.
- Secure with a knot, then weave in all loose ends.
- Add Keychain:
- Slip a keyring through the stitches near the stem or stitch a jump ring in place.
- Finished Size:
- Pumpkin will measure about 4–5 cm-wide, plush and round, with a securely attached stem and curled leaf.
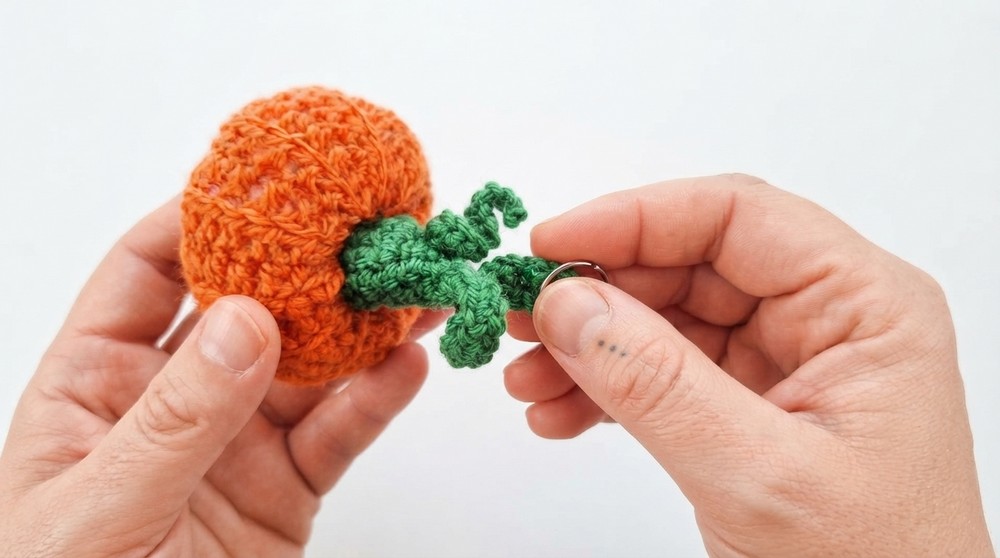
- Pumpkin will measure about 4–5 cm-wide, plush and round, with a securely attached stem and curled leaf.
Conclusion
By following this detailed, video-derived pattern for a pumpkin keychain, you will create a robust and charming accessory perfect for seasonal accents or everyday use. The pattern’s logical row construction and clear assembly steps ensure a reliable, plush result, while the subtle segmenting and neatly crocheted stem and leaf offer an authentic, whimsical touch.
Take pride in your completed pumpkin keychain, whether you use it to adorn bags and keys, share as a festive gift, or showcase your growing crochet proficiency. Your meticulous craftsmanship and attention to stepwise detail will result in a delightful keepsake that celebrates autumn and handmade artistry.

![How to Crochet Eleven (Stranger Things) Amigurumi Tutorial [EN, ES, DE Sub] 13](https://claireabellemakes.com/wp-content/uploads/2026/07/How-to-Crochet-Eleven-Stranger-Things-Amigurumi-Tutorial-EN-ES-DE-Sub-13-768x768.jpg)