Crochet Chicken in Shell Amigurumi Pattern Step-by-Step Free Tutorial

Experience the fun of making a chicken amigurumi in its shell with a free crochet pattern that’s perfect for holiday gifts or charming home accents.
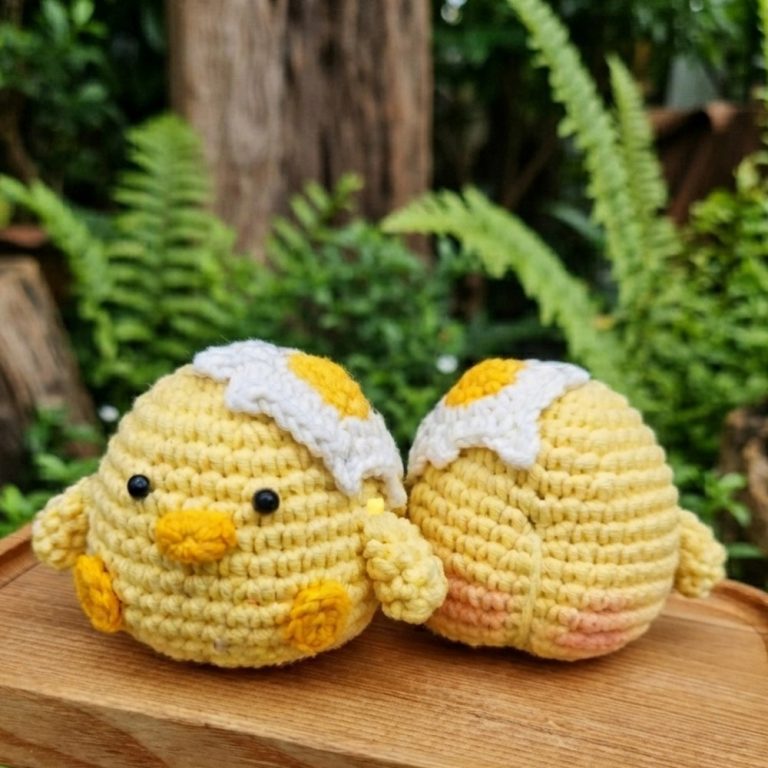
The adorable chicken-in-a-shell design shared on the Crochetki 88 channel is a delightful option for creating something both cute and meaningful. This pattern is explained in a step-by-step style, making it simple for anyone to follow and complete. The chicken, tucked inside its little egg shell, is not only visually charming but also perfect as a decoration, toy, or even a keychain. Its playful design makes it ideal for children’s rooms, Easter-themed gifts, or as a fun and unique addition to your collection.
Free Crochet Chicken in Shell Amigurumi Pattern for Festive Decorations
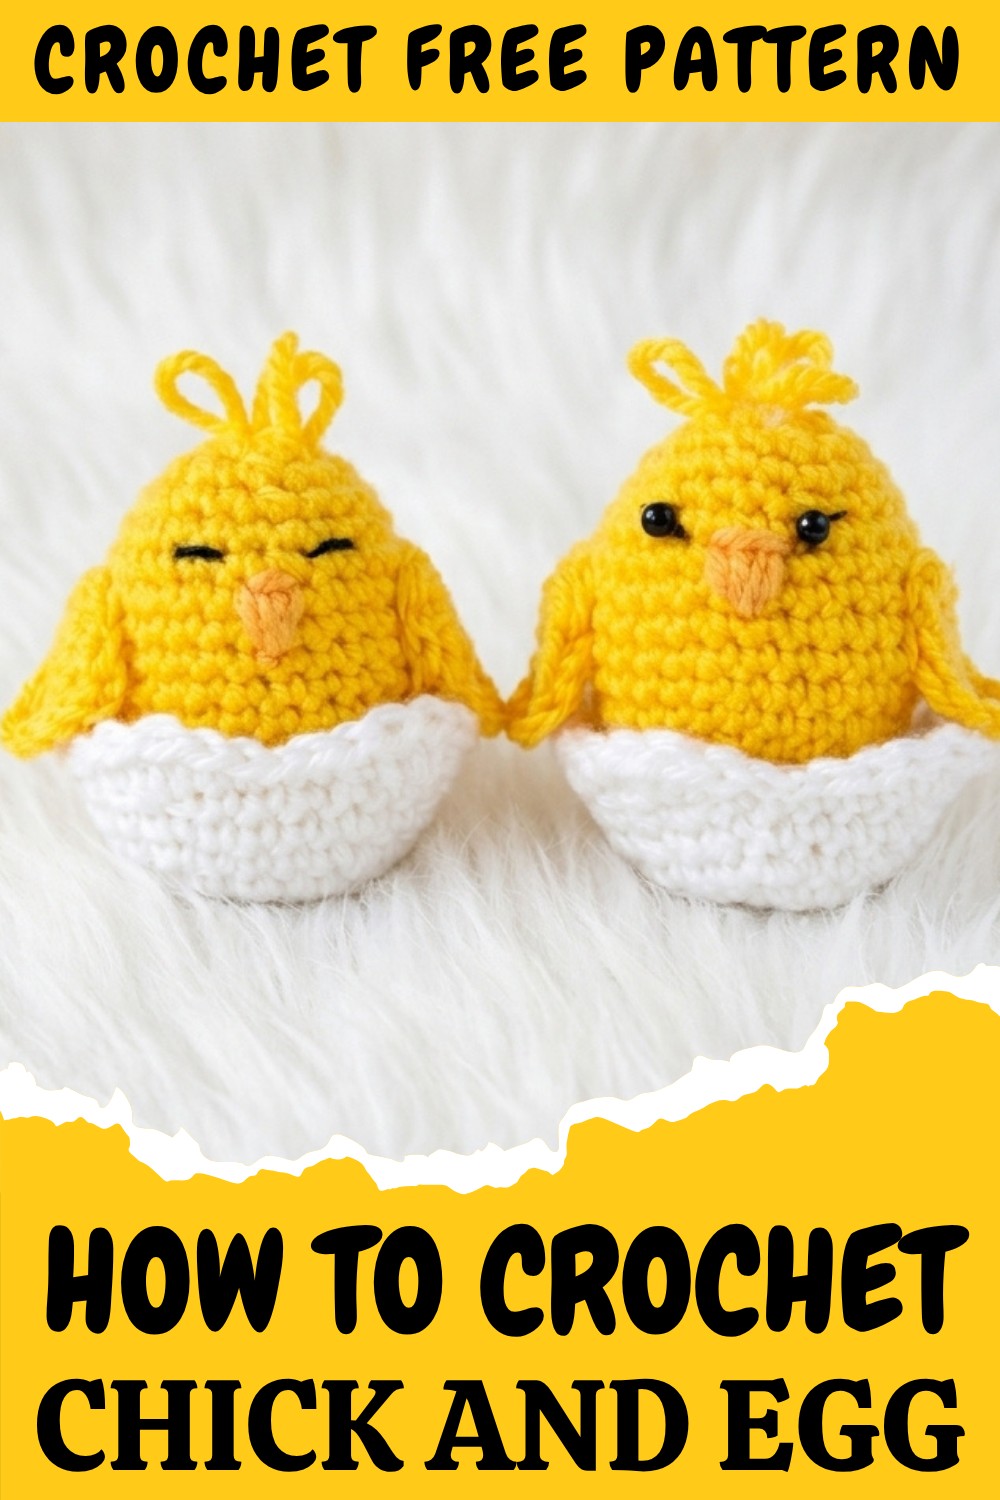
The process of making this chicken is straightforward, as it is built in small sections like the body, tiny wings, and eggshell, which all come together seamlessly. This approach keeps the work manageable while allowing you to focus on the little details that bring the chicken to life. The interactive concept of the chicken sitting snugly inside the shell adds extra character, making it both adorable and functional.
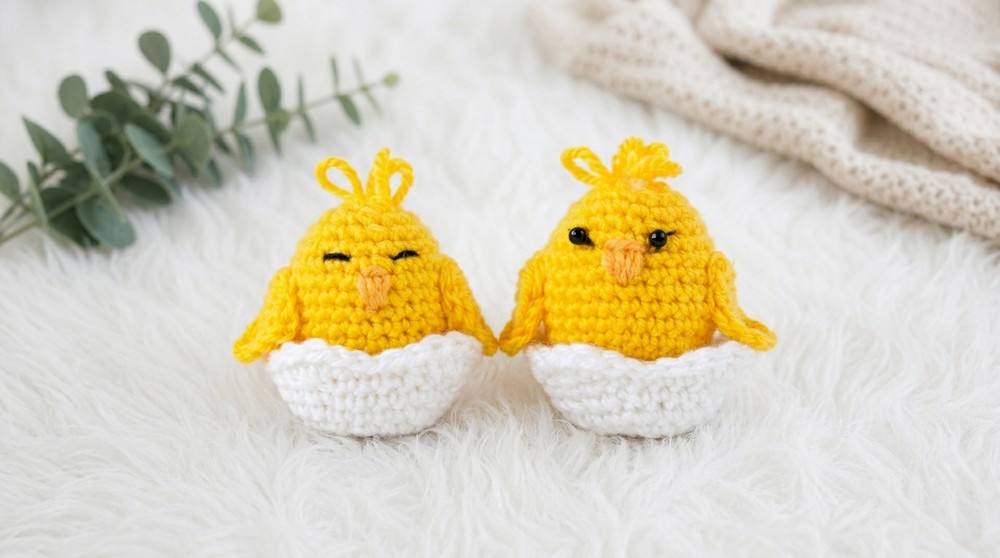
What makes this pattern truly stand out is its irresistible design. The bright, round appearance of the chicken, its tiny beak, and its removable cracked shell are eye-catching and fun. The size is perfect for carrying, gifting, or even using as seasonal décor.
Crocheted Chick in an Eggshell Pattern
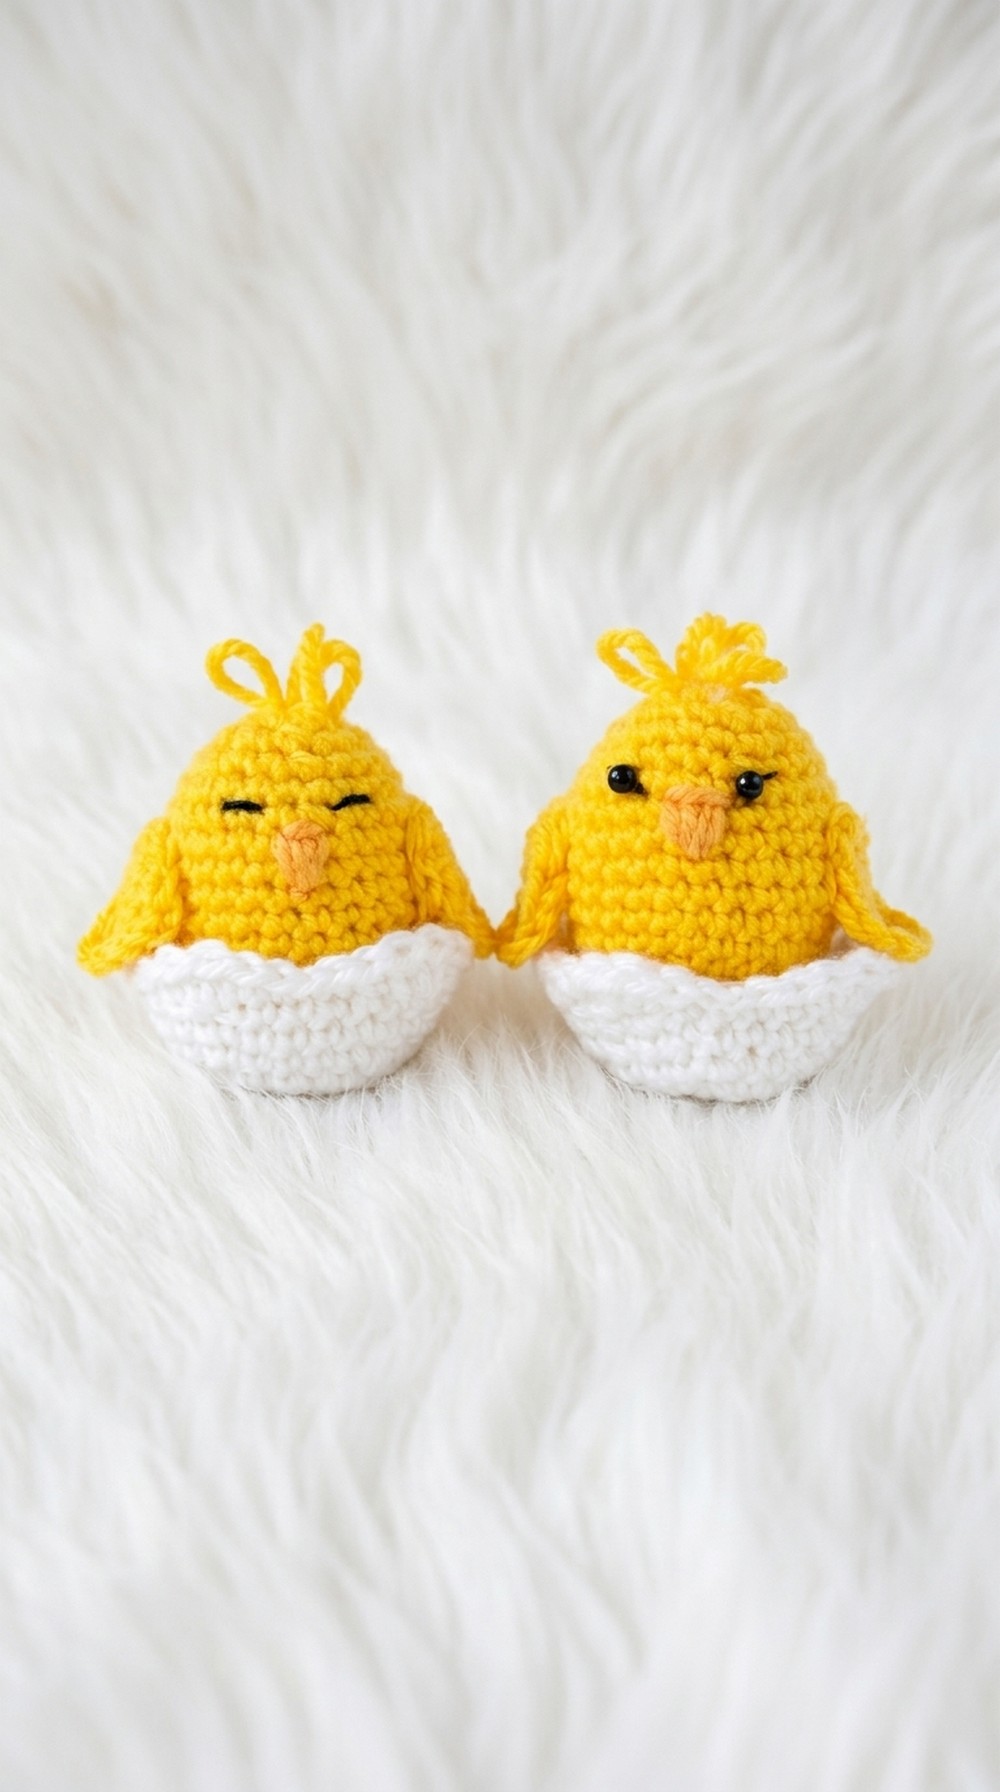
This crocheted chick in an eggshell pattern offers a delightful and versatile project that results in a fun and visually appealing creation. The design features an adorable chick snugly tucked inside a cracked eggshell. It is perfect for spring decor, Easter celebrations, or as a thoughtful handmade gift. This pattern is quick to create and provides an excellent opportunity to practice crocheting in the round, shaping with increases and decreases, and adding cute details.
Skill Level
This pattern is designed for intermediate crocheters. It involves working small details, shaping through increases and decreases, and finishing with decorative embroidery and assembly.
Materials
To complete this project, you will need the following materials:
- Yarn:
- White yarn for the eggshell.
- Yellow yarn for the chick.
- Orange yarn for the beak.
- Black yarn for embroidered eyes or small beads (optional).
- Polyester Fiberfill: For stuffing the chick.
- Hook Sizes:
- 3.5 mm crochet hook for the chick.
- 4 mm crochet hook for the eggshell.
- Needle and Scissors: For embroidery, sewing small parts, and trimming yarn.
- Optional: Small beads as an alternative to embroidered eyes.
Special Stitches
- Magic Ring (MR): A starting technique to crochet in the round, allowing the center to be tightened to eliminate gaps.
- Single Crochet (sc): Insert the hook into the stitch, yarn over, pull up a loop, yarn over again, and pull through both loops on the hook.
- Half Double Crochet (hdc): Yarn over, insert the hook into the stitch, yarn over and pull up a loop, yarn over again, and pull through all three loops on the hook.
- Double Crochet (dc): Yarn over, insert the hook into the stitch, yarn over again, pull up a loop, yarn over, and pull through two loops; yarn over and pull through the remaining two loops.
- Slip Stitch (sl st): Insert the hook into the stitch, yarn over, pull up a loop, and pull it through the loop on the hook.
- Decrease: Crochet two stitches together by inserting the hook into the first stitch, pulling up a loop, inserting the hook into the next stitch, pulling up another loop, and completing a single crochet.
Stitch Abbreviations
- MR: Magic Ring
- ch: Chain
- sc: Single Crochet
- hdc: Half Double Crochet
- dc: Double Crochet
- sl st: Slip Stitch
- dec: Decrease
Useful Tips
- Tight Amigurumi Stitches: Keep all stitches tight and uniform, especially for the chick, to prevent stuffing from showing between stitches.
- Stuff Gradually: Add fiberfill slowly as you work to help shape the chick correctly before closing its body.
- Mark the Beginning of Rounds: Use a stitch marker or a contrasting piece of yarn to track the first stitch of each round when crocheting in continuous rounds.
- Adjust Sizing: If you want a larger chick or shell, use thicker yarn and bigger hooks. Ensure the hook size corresponds to the type of yarn used to maintain a firm structure.
Pattern Instructions
Chick (Using 3.5 mm Hook)
Body
- Rnd 1: Create a MR and work 10 sc into the ring (10 sc).
- Rnd 2: Work 2 sc in each stitch around (20 sc).
- Rnd 3: Alternate [2 sc in next stitch, 1 sc in the next 2 stitches] around (20 sc).
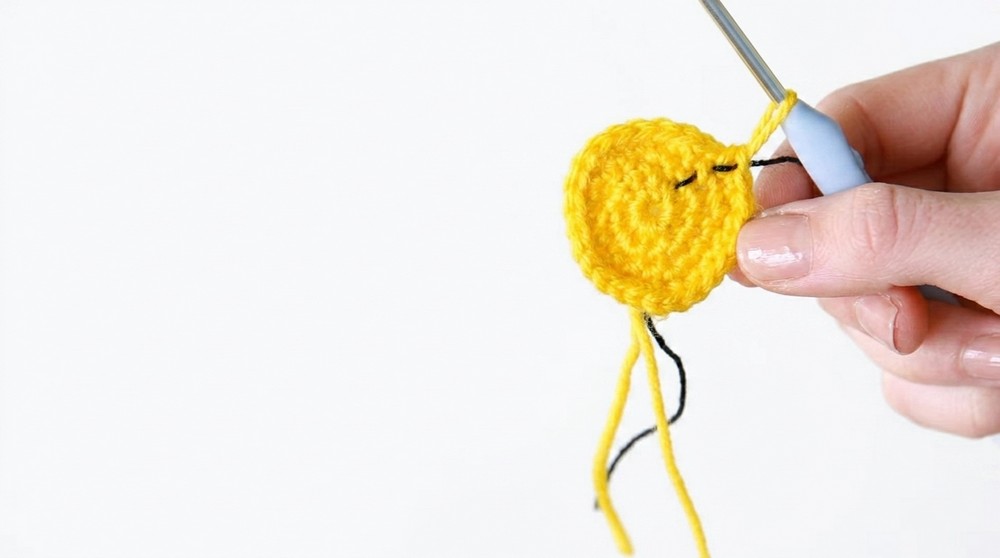
- Rnd 4: Alternate [2 sc in next stitch, 1 sc in the next 3 stitches] around (25 sc).
- Rnds 5-11: Work 1 sc in each stitch around for 7 rounds (25 sc each round).
- Rnd 12: Alternate [dec, 1 sc in the next 3 stitches] around (20 sc).
- Rnd 13: Work 1 sc in each stitch around (20 sc).
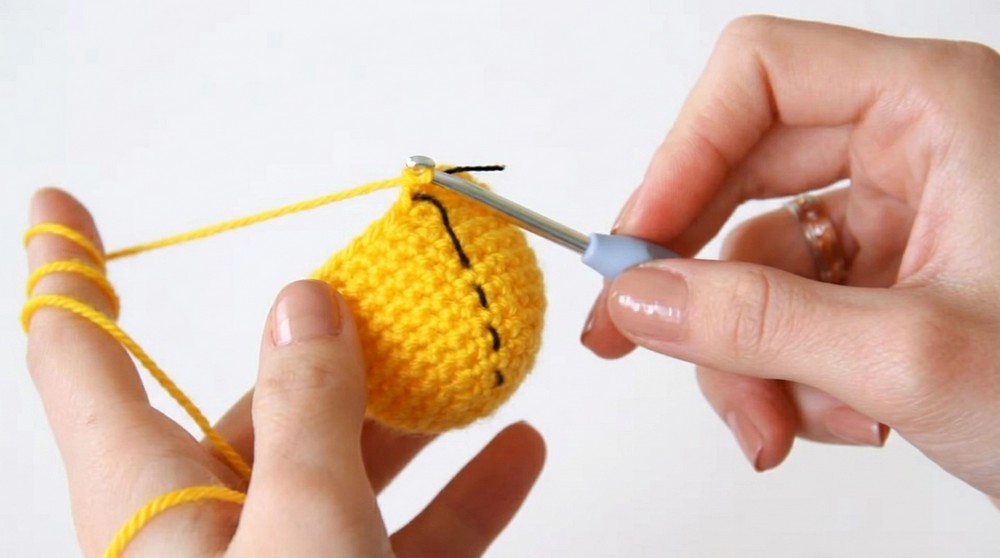
- Rnd 14: Alternate [dec, 1 sc in the next 2 stitches] around (15 sc).
- Rnd 15: Perform dec around to close (6 sc). Stuff the body firmly before closing completely. Fasten off securely.
Details
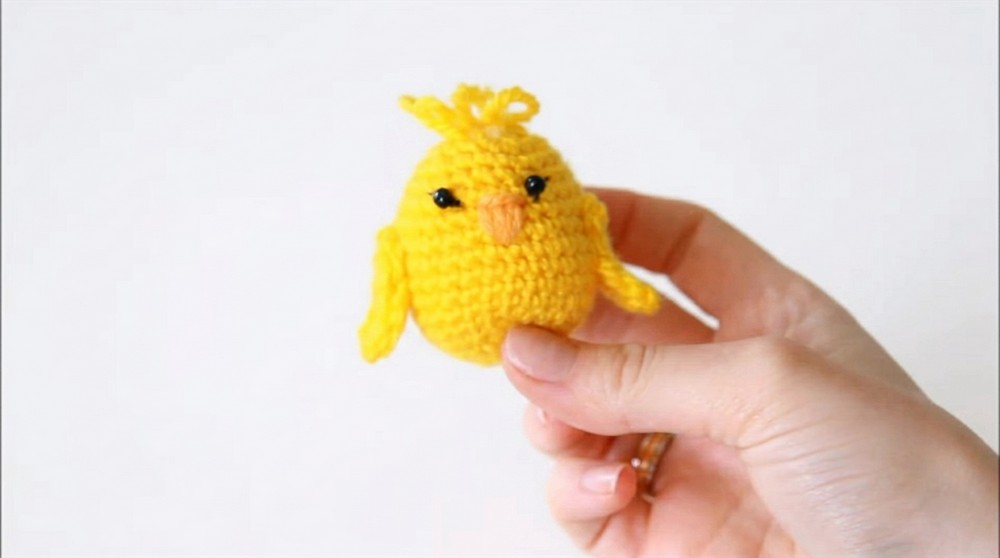
- Top Hair Loops: Create three to four loops on top of the head using a needle and yellow yarn, stitching in a random tufted pattern.
- Eyes: Use black yarn to embroider small eyes, or sew on bead eyes for a more defined look. Position them symmetrically on the face.
- Beak: Use orange yarn to embroider a small triangle shape for the beak centered below the eyes.
Wings
- Chain 4: In the 2nd ch from the hook, work:
- 1 hdc, 2 dc in the next chain, 1 hdc, chain 1, then complete 1 sc in the same stitch.
- Continue with sc stitches to form an angelic triangular wing shape.
- Repeat the above steps to create the second wing. Sew the wings securely to both sides of the chick’s upper body.
Eggshell (Using 4 mm Hook)
Base
- Rnd 1: Create a MR and work 10 sc into the ring (10 sc).
- Rnd 2: Alternate [2 sc in the next stitch, 1 sc] around (15 sc).
- Rnd 3: Alternate [2 sc in the next stitch, 1 sc in the next 2 stitches] around (20 sc).
- Rnd 4: Alternate [2 sc in the next stitch, 1 sc in the next 4 stitches] around (24 sc).
- Rnds 5-6: Work 1 sc in each stitch around for 2 rounds (24 sc each round).
Edge Detail
- Rnd 7: To create the cracked-edge look for the shell, repeat the following sequence:
- [sl st, 1 sc, hdc, 3 dc in the next stitch, hdc, 1 sc, sl st]
- Work this jagged pattern around the edge. Fasten off and weave in the ends.
Assembly and Sizing
- Place the Chick in the Eggshell: Sit the completed chick inside the eggshell. Adjust the fiberfill stuffing, if necessary, to ensure the chick fits snugly.
- Optional Accessories: Add a small bow or embellishment to the eggshell or chick for added charm.
- Finished Size: The completed project should measure approximately 10–12 cm tall (including the shell and chick).
Conclusion
This crocheted chick in an eggshell pattern allows you to create a festive and adorable decoration or gift that is perfect for various occasions, especially during springtime. The combination of simple stitches, creative shaping, and the textured shell edge ensures a visually striking and functional project. Use this design to make multiple pieces in different colors, creating a delightful collection!