How to Crochet a Mini Santa Claus – Free Pattern for Beginners

Celebrate the holidays with a cute crochet mini Santa Claus made easy with this free pattern perfect for festive decorations and gift giving.
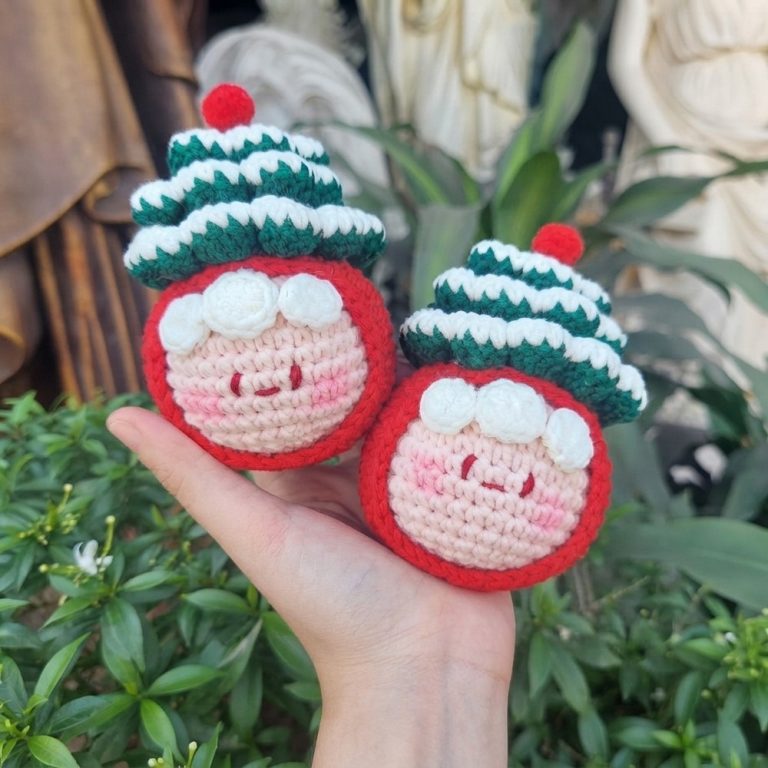
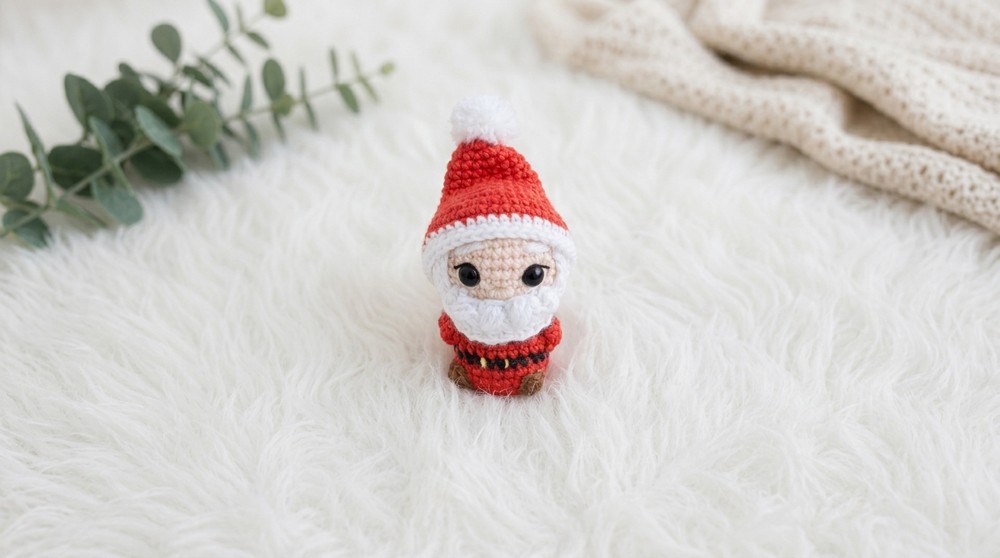
Delight your loved ones this holiday season with a charming festive decoration! The Free crochet Mini Santa Claus Pattern, shared by piligurumis creaciones on YouTube, is an excellent guide for creating a lovable figure that embodies the holiday spirit. This mini Santa is not only a heartwarming gift for friends and family but also a delightful addition to your Christmas decor, perfect for bringing a festive touch to any corner of your home.
Adorable Mini Santa Claus: Free Crochet Pattern for the Holidays
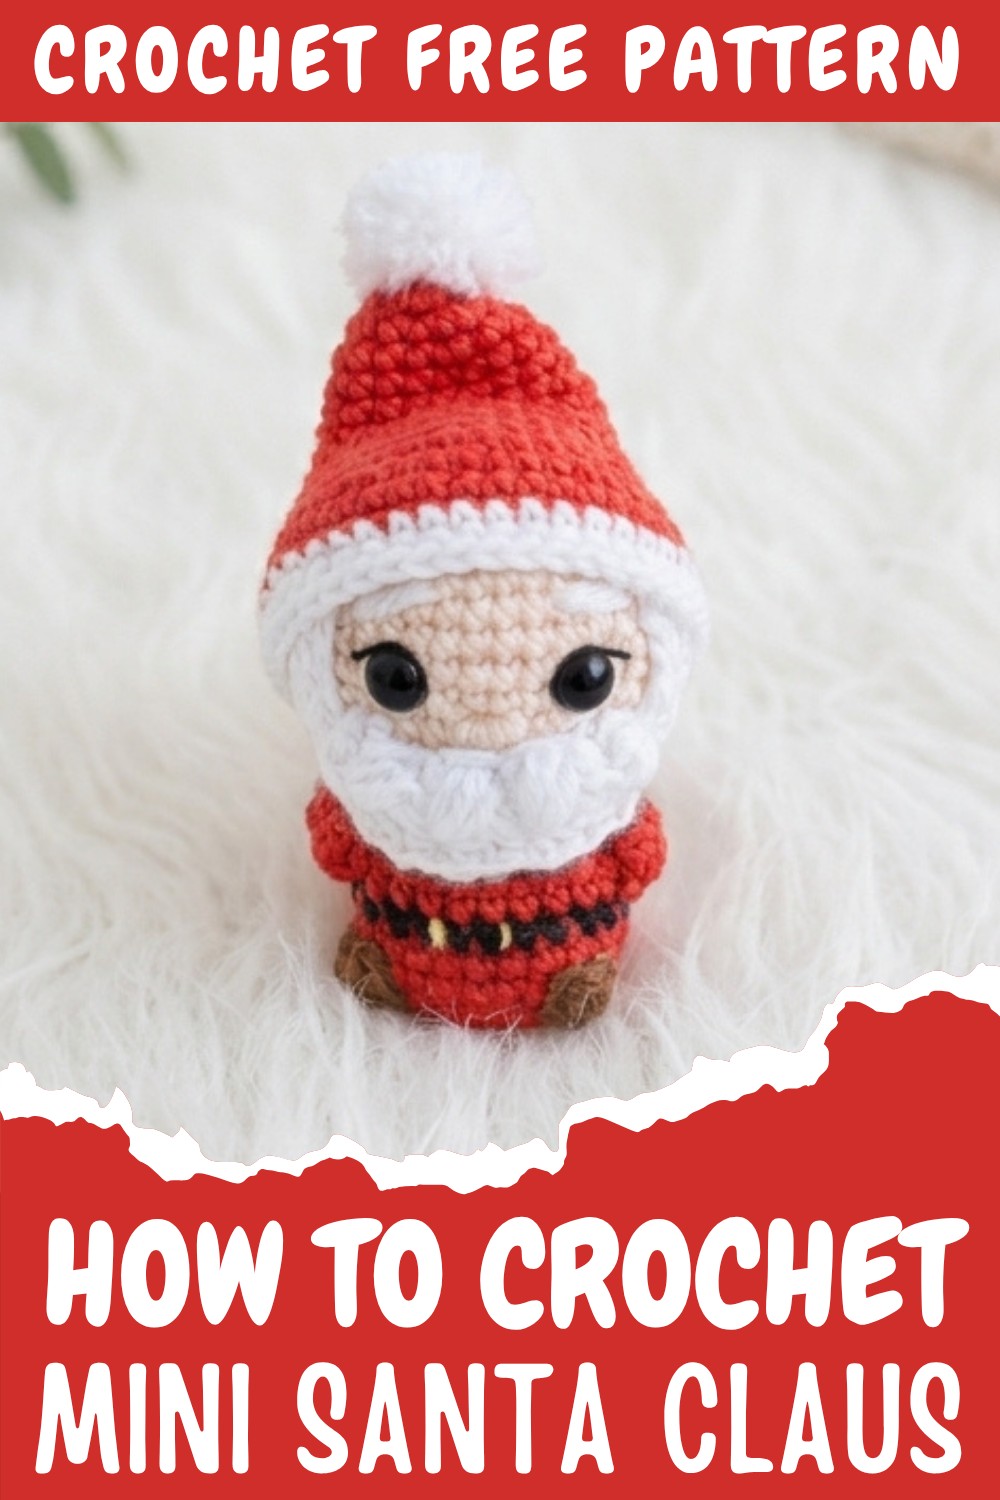
With its enchanting design, this project features a tiny yet iconic Santa Claus complete with a cheerful red hat, fluffy white trim, and a cute round belly. The detailed features, such as a tiny beard, rosy cheeks, and his signature outfit, make this piece truly stand out. Its compact size adds to its charm, making it perfect for decorating small spaces, adding to a Christmas tree, or even as part of a festive centerpiece.
The Mini Santa Claus is incredibly versatile in its uses, it can be a thoughtful stocking stuffer, a personalized ornament, or even a keepsake to treasure year after year. The pattern provides opportunities for customization, allowing you to add your unique touch. With its soft and cozy texture, this little Santa is bound to warm hearts and spread joy during the holiday season. Spend quality time creating something special and memorable with this beautiful festive project.
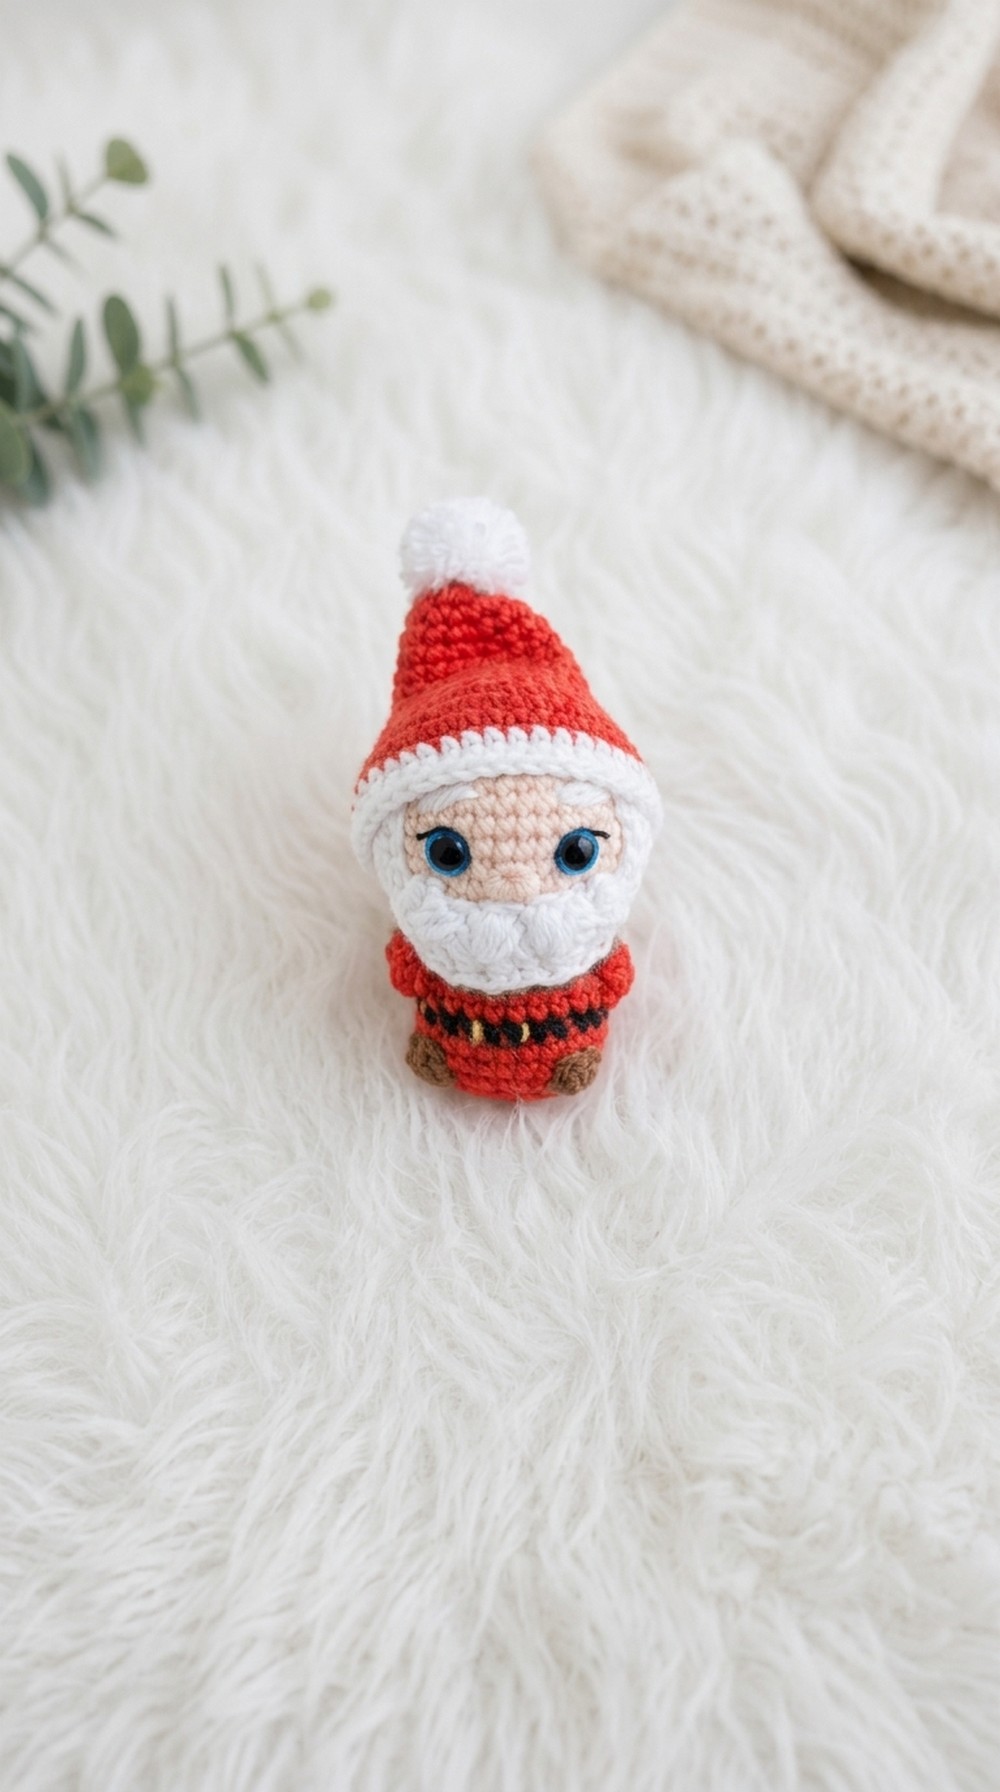
Mini Santa Amigurumi Crochet Pattern
Create a festive Mini Santa Amigurumi with a finished height of approximately 8 cm (3 inches). This pattern is designed to guide you through crafting Santa’s body, head, arms, beard, and hat with fine details such as boots and layered beard strands.
Skill Level
This pattern is appropriate for intermediate crocheters. While the stitches themselves are simple, techniques like shaping, color changes, and layering special stitches for detail may pose a challenge for beginners.
Materials
- Crochet Hook: 2.0 mm
- Yarn: 1 mm cotton yarn in the following colors:
- Red
- White
- Nude (skin tone)
- Black
- Brown
- Safety Eyes: Two 7 mm safety eyes
- Embroidery Thread: Black, for the facial features
- Other Supplies:
- Synthetic stuffing (polyfill)
- Tapestry needle
- Scissors
- Stitch marker
Special Stitches
- Magic Ring: This technique creates an adjustable ring of yarn to eliminate gaps at the center of the initial round.
- Back Loop Only (BLO): Insert hook into the back loop of the stitch only, leaving the front loop unworked, creating a textured edge.
- Unfinished Stitches: A method of combining stitches by leaving partial loops on the hook and then completing them together (e.g., 5 unfinished double crochets or 3 unfinished half double crochets).
- Color Changes: To switch between yarn colors, complete the last pull-through of the stitch with the new color and ensure ends are securely woven in.
Stitch Abbreviations
- ch: chain
- sc: single crochet (USA terms)
- st: stitch
- inc: increase (work 2 sc in the same stitch)
- dec: decrease (crochet 2 stitches together)
- BLO: back loop only
- HDC2tog: half-double crochet 2 together
- sl st: slip stitch
Useful Tips
- Use a stitch marker to mark the first stitch of each round and stay on track.
- Maintain a consistent crochet tension to ensure uniform stitches throughout.
- Change colors neatly by pulling up the new yarn color through the loops on the hook in the last yarn-over.
- Stuff the body and head as you work instead of leaving it for the end, to help maintain the shape.
Pattern Instructions
Body and Head
- R1: Create a magic ring and work 6 sc into the center.
- R2: Work 1 inc in each st around (12 sc).
- R3: 1 sc, 1 inc; repeat 6 times around (18 sc).
- R4: 2 sc, 1 inc; repeat 6 times around (24 sc).
- R5: Work 8 sc, make 1 boot stitch (5 unfinished double crochets closed into 1 single stitch), work 6 sc, make 1 boot stitch, and finish 8 sc (24 st).
- R6: Work 24 sc.
- R7: Change to black yarn. Work in BLO for the first stitch of this round, then continue with 24 sc normally.
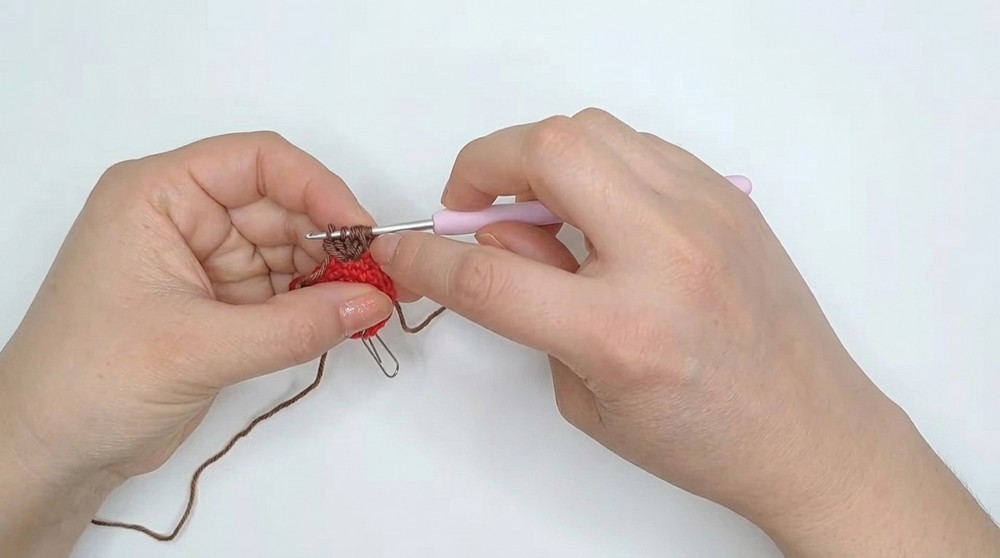
- R8: Change to red yarn and work 24 sc.
- R9: 6 sc, 1 arm stitch (5 unfinished double crochets closed into 1 single stitch), 10 sc, 1 arm stitch, 6 sc.
- R10: Work 24 sc.
- R11: 1 sc, 1 dec; repeat 8 times around (16 sc).
- R12: Change to nude yarn (skin tone) and work in BLO: 1 sc, 1 inc; repeat 8 times around (24 sc).
- R13: 2 sc, 1 inc; repeat 8 times around (32 sc).
- R14–R21: Work 32 sc in each round to shape the head.
- R22: 2 sc, 1 dec; repeat 8 times around (24 sc).
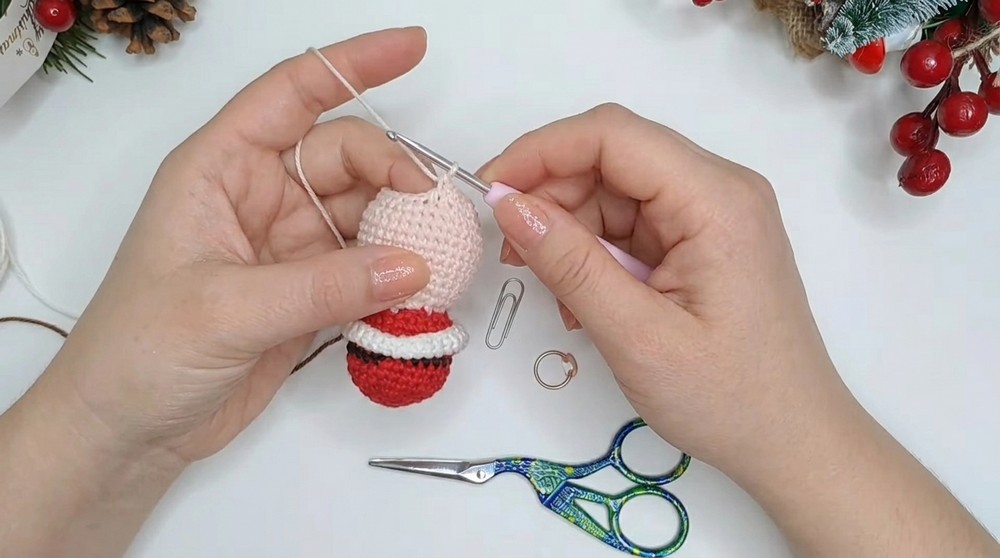
- R23: 1 sc, 1 dec; repeat 8 times around (16 sc).
- R24: Work 8 dec to close the top (8 sc). Leave a long tail, sew the opening securely, and hide loose ends inside.
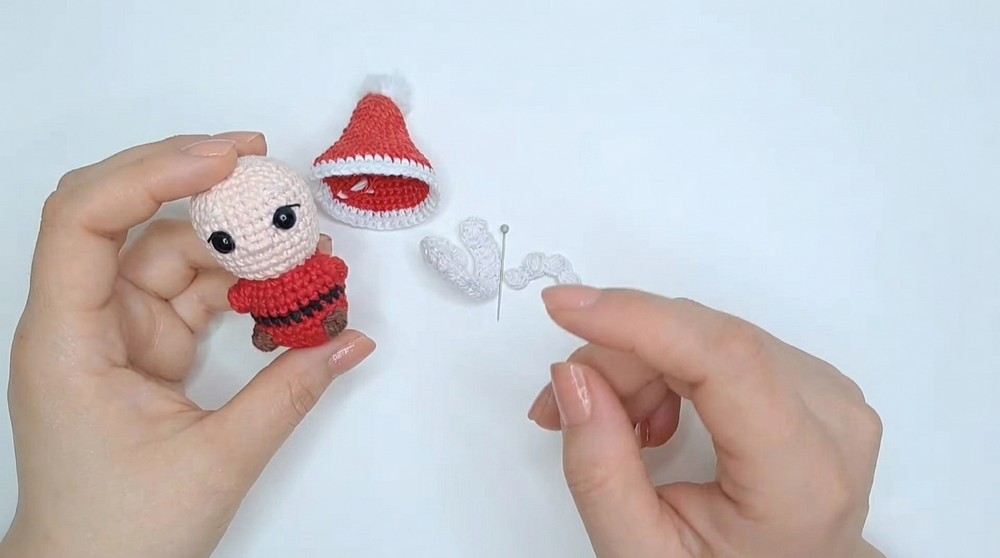
Hat
- R1: Create a magic ring and work 8 sc into the center.
- R2: 1 sc, 1 inc; repeat 4 times around (12 sc).
- R3: Work 12 sc.
- R4: 2 sc, 1 inc; repeat 4 times around (16 sc).
- R5: Work 16 sc.
- R6: 3 sc, 1 inc; repeat 4 times around (20 sc).
- R7: Work 20 sc.
- R8: 2 sc, 1 inc, [4 sc, 1 inc] x3, 2 sc (24 sc).
- R9: Work 24 sc.
- R10: 5 sc, 1 inc; repeat 4 times around (28 sc).
- R11: 3 sc, 1 inc, [6 sc, 1 inc] x3, 3 sc (32 sc).
- R12: 7 sc, 1 inc; repeat 4 times around (36 sc).
- R13: 4 sc, 1 inc, [8 sc, 1 inc] x3, 4 sc (40 sc).
- R14: Work 40 sc.
- R15–R16: Switch to white yarn and work 40 sc in each round.
Beard
- Long Beard Strand: Work 19 ch. Starting in the second ch from the hook, 2 HDC2tog, ch 1 in each stitch.
- Short Beard Strand: Work 9 ch. Starting in the second ch from the hook, 3 HDC2tog, ch 1, sl st into the next ch.
You can make multiple strands of each to create a layered and textured beard for Santa’s face.
Assembly and Final Touches
- Stuffing and Shaping: Stuff the body and head evenly to maintain a firm, round shape. Ensure the stuffing fills all the gaps, but don’t overstuff as this could distort your stitches.
- Safety Eyes: Insert the 7 mm safety eyes between Rounds 19 and 20 of the head. Ensure they are aligned with approximately 6 stitches apart. Secure them in place with the washers.
- Beard and Face Details:
- Attach the long and short beard strands on the lower part of the face in layers. This will create depth and texture for Santa’s iconic look.
- Use black embroidery thread to stitch a small smile just under the beard.
- Hat Placement: Align Santa’s hat on top of his head. You can choose to sew the hat in a slightly tilted or straight position, depending on your design preference. Secure it firmly with stitches.
Conclusion
This Mini Santa Amigurumi pattern blends classic crochet techniques with playful holiday elements, resulting in a charming decoration or gift item. From Santa’s boots to his festive white-trimmed hat and iconic beard, this project has uplifting holiday vibes while offering an engaging and enjoyable crochet experience for intermediate-level crafters. Whether for personal use or gifting, this Santa brings a bit of festive charm to any home.