Free Crochet Lunar Lantern Pattern – Perfect for Any Celebration

Light up your crochet time with this free lunar lantern pattern that’s simple to follow and makes a stunning decoration or gift.
The Lunar Lantern is a beautiful decorative piece, filled with charm and cultural significance. It offers more than just decoration, it brings a sense of warmth and elegance to any space. What makes this particular design even more exciting is that you can create it with a free step-by-step guide shared on Crochet with Linh, a channel dedicated to helping everyone make stunning creations with ease.
Elegant Free Crochet Lunar Lantern Design – Easy Tutorial
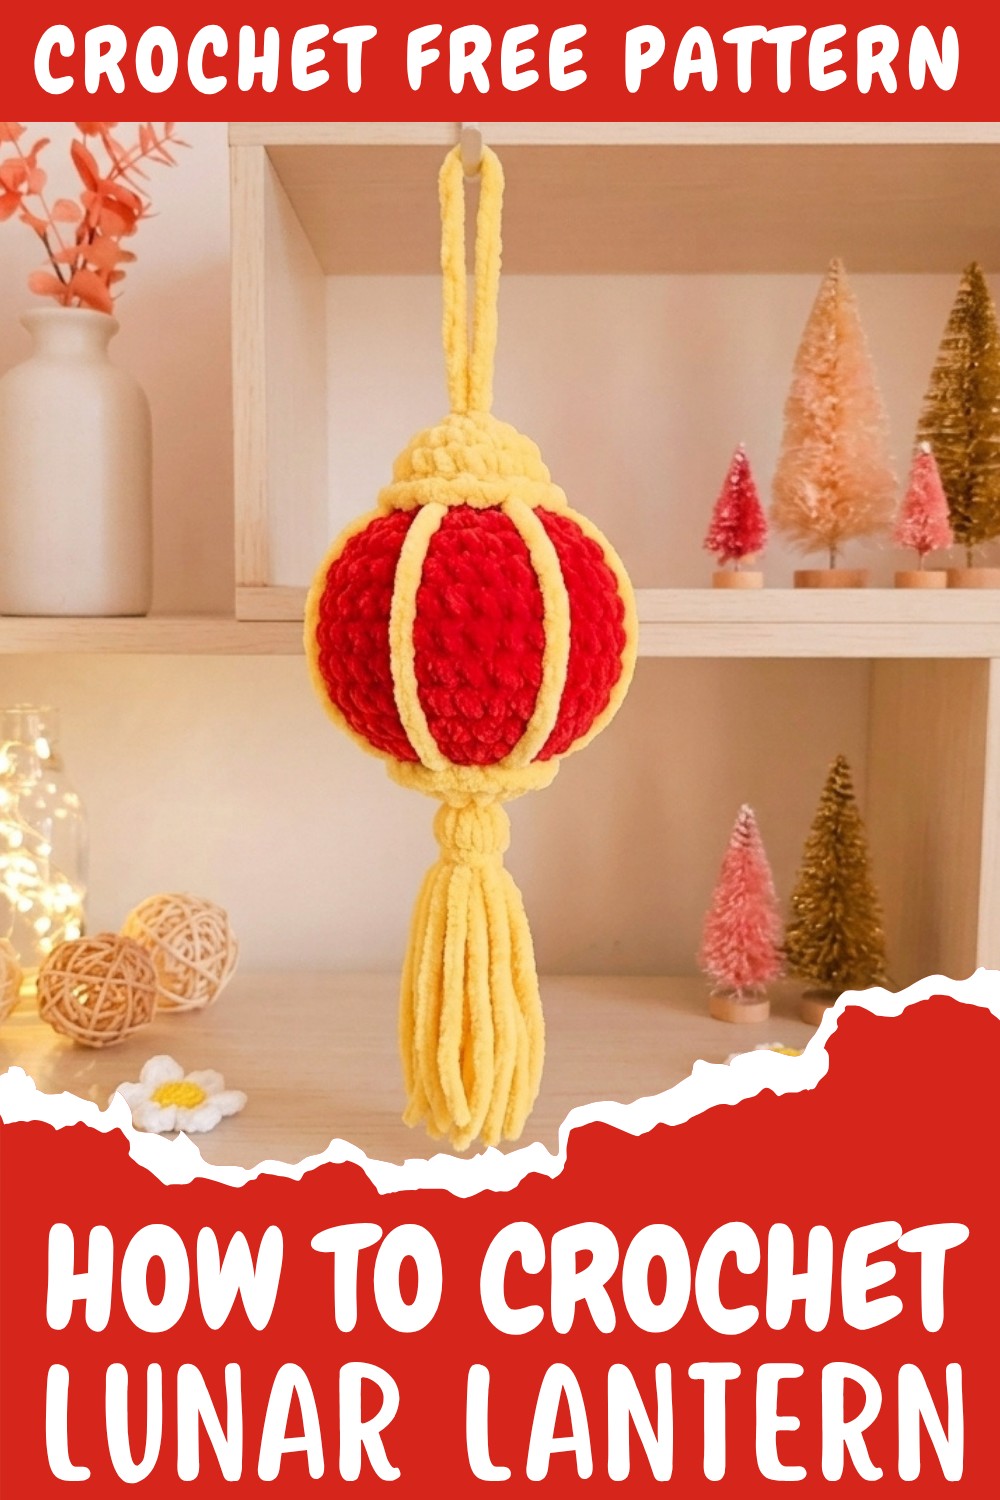
This lantern design is inspired by the graceful shapes of traditional lanterns, and its most striking feature is its rounded structure and intricate patterns. Each stitch is thoughtfully placed to create delicate details that mimic the flow of light, making the lantern look almost magical. The finished piece has a unique ability to glow softly when placed near lights, creating an enchanting atmosphere in your home. Its versatility makes it suitable for festive occasions, celebrations, or simply adding style to your living space.
What sets this lantern apart is how straightforward the process is. With the clear instructions provided, even beginners can follow along and create their own masterpiece. The design is built step by step, making it easy to understand and replicate without confusion. It’s perfect for anyone looking for a fun and rewarding activity, especially those who want to make something for their family or friends.
Crochet Lantern Pattern
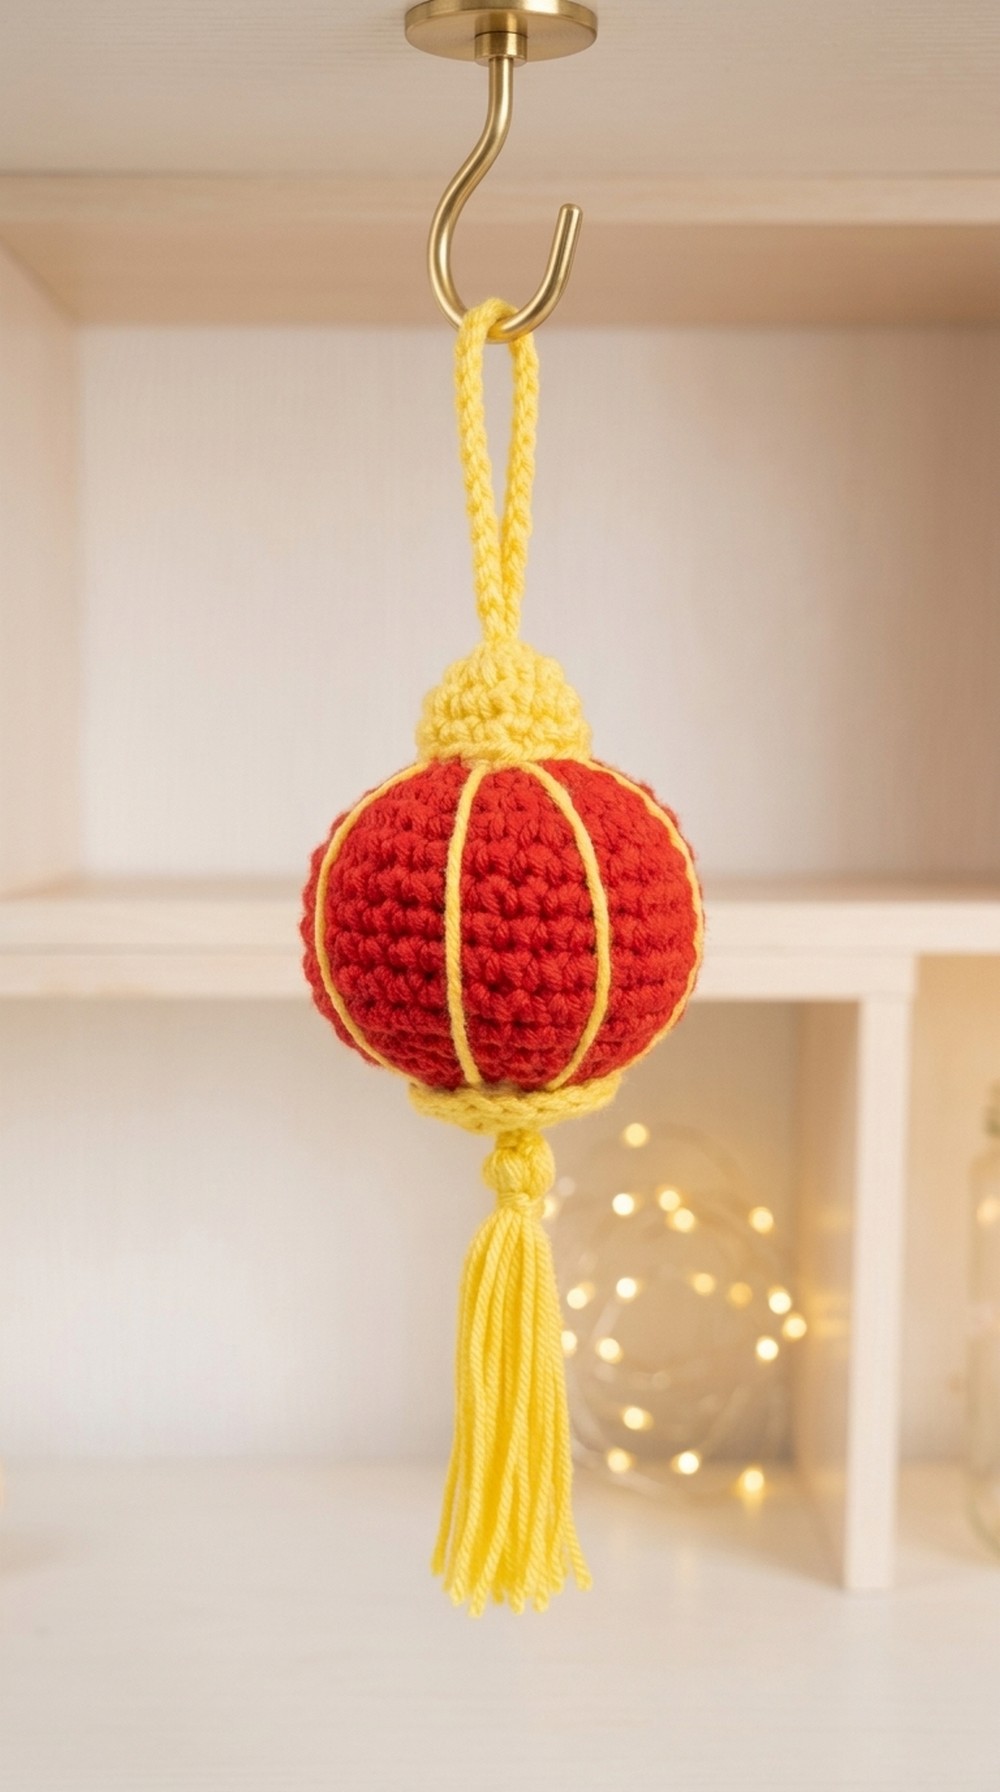
This crochet lantern is a beautiful and festive decorative piece inspired by traditional lanterns. The pattern combines basic crochet techniques with creative finishing touches, such as tassels and a hanging loop, to create a charming ornament. Perfect for seasonal festivities or as a display item, the lantern showcases a vibrant design with thoughtful details.
Skill Level
Beginner
This pattern is suitable for beginner crocheters who are comfortable with working in rounds, basic increases, decreases, and creating simple tassels.
Materials
To crochet this lantern, you will need the following:
- Yarn:
- Red yarn (medium-weight, worsted yarn) for the body of the lantern.
- Yellow yarn (medium-weight, worsted yarn) for the base, top, tassel, and hanging loop.
- Hook:
- 3.5 mm crochet hook or size suitable for your yarn type.
- Stuffing:
- Fiberfill stuffing to give the lantern its shape.
- Tools:
- Hot glue gun for assembling parts.
- Tapestry needle for sewing components and weaving in ends.
- Scissors to cut yarn.
Special Stitches Used
- Magic Ring:
A technique to start projects in the round by creating an adjustable circle for a seamless center. - Single Crochet Decrease (sc2tog):
Decreases are created by single crocheting two stitches together:- Insert hook into the first stitch, yarn over, and pull up a loop.
- Insert hook into the next stitch, yarn over, and pull up another loop.
- Yarn over and pull through all three loops on your hook.
Stitch Abbreviations
- ch: Chain
- sc: Single crochet
- inc: Increase (2 single crochets in the same stitch)
- dec: Decrease (sc2tog)
- sl st: Slip stitch
Useful Tips
- Tight Stitches for Structure: To maintain the shape of the lantern, use tight stitches or reduce your hook size if your tension is loose.
- Stuff Gradually: Add stuffing as you work to avoid over-stuffing and distortion.
- Work Neatly in Rounds: Use a stitch marker to track the beginning of each round for accuracy.
- Securing the Tassel and Loop: When attaching the tassel and hanging loop, ensure they are firmly fastened, especially if the lantern will be used as a hanging decoration.
Crochet Pattern
Lantern Body (Red Yarn)
The body of the lantern is worked in the round, starting with a magic ring and gradually increasing to create its rounded shape.
- R1: Create a magic ring, work 6 single crochets (sc) into the ring. Tighten the ring and join with a slip stitch (sl st).
- R2: Work 6 increases (inc) (2 sc in each stitch) around – 12 sts.
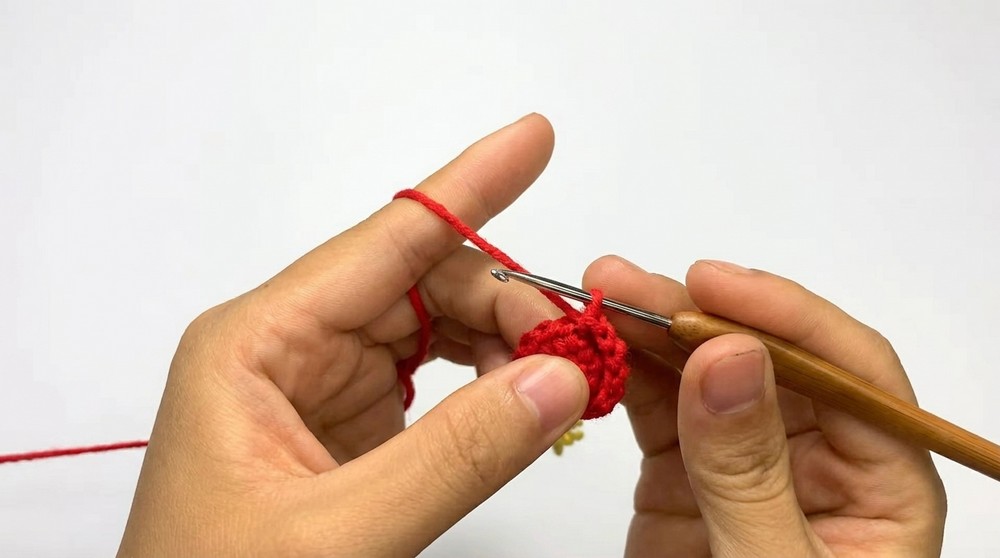
- R3: Work (1 sc, 1 inc) 6 times – 18 sts.
- R4: Work (1 sc, 1 inc, 1 sc) 6 times – 24 sts.
- R5: Work (3 sc, 1 inc) 6 times – 30 sts.
- R6: Work (2 sc, 1 inc, 2 sc) 6 times – 36 sts.
- R7–R12: Work 36 sc in each row. Repeat for 6 rows to create the body length.
- R13: Work (2 sc, 1 dec, 2 sc) 6 times – 30 sts.
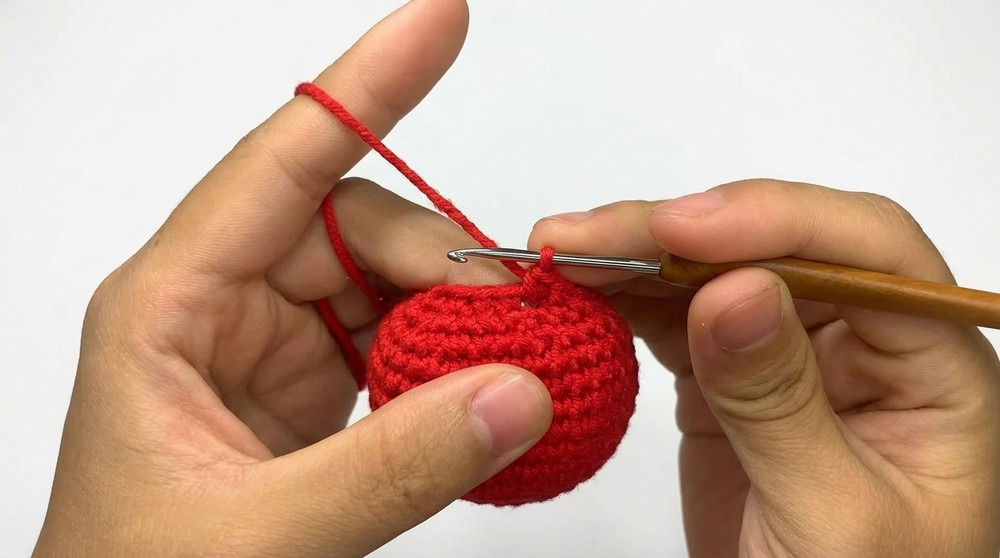
- R14: Work (3 sc, 1 dec) 6 times – 24 sts.
- R15: Work (1 sc, 1 dec, 1 sc) 6 times – 18 sts.
At this point, stuff the body with Fiberfill stuffing. Ensure it is evenly distributed to enhance the lantern’s rounded shape.
- R16: Work (1 sc, 1 dec) 6 times – 12 sts. Stuff more if needed as you continue to close.
- Sew the hole closed by weaving the yarn tail through the remaining stitches and pulling it tight. Fasten off, and weave in the end securely.
Lantern Base (Yellow Yarn)
The base is a small circle to support the bottom of the lantern and is created similarly to the start of the body.
- R1: Create a magic ring, work 6 single crochets (sc) into the ring. Tighten and join with a slip stitch (sl st).
- R2: Work 6 increases (inc) around – 12 sts.
- R3: Work (1 sc, 1 inc) 6 times – 18 sts.
Fasten off, leaving a long tail for sewing. This piece will be attached to the bottom of the lantern during assembly.
Lantern Top (Yellow Yarn)
The top is a slightly smaller dome to mimic the look of traditional lantern tops.
- R1: Create a magic ring, work 6 single crochets (sc) into the ring. Tighten and join with a slip stitch (sl st).
- R2: Work 6 increases (inc) around – 12 sts.
- R3–R4: Work 12 single crochets (sc) in each row.
Fasten off, leaving a long tail for sewing. This piece will be attached to the top of the lantern during assembly.
Finishing
- Tassel:
- Cut several strands of yellow yarn, each about 6 inches long.
- Fold them in half and tie at the midpoint to form a tassel.
- Trim the ends evenly and set the tassel aside for later attachment.
- Hanging Loop:
- Using yellow yarn, create a long chain of 50 stitches.
- Fasten off and set aside.
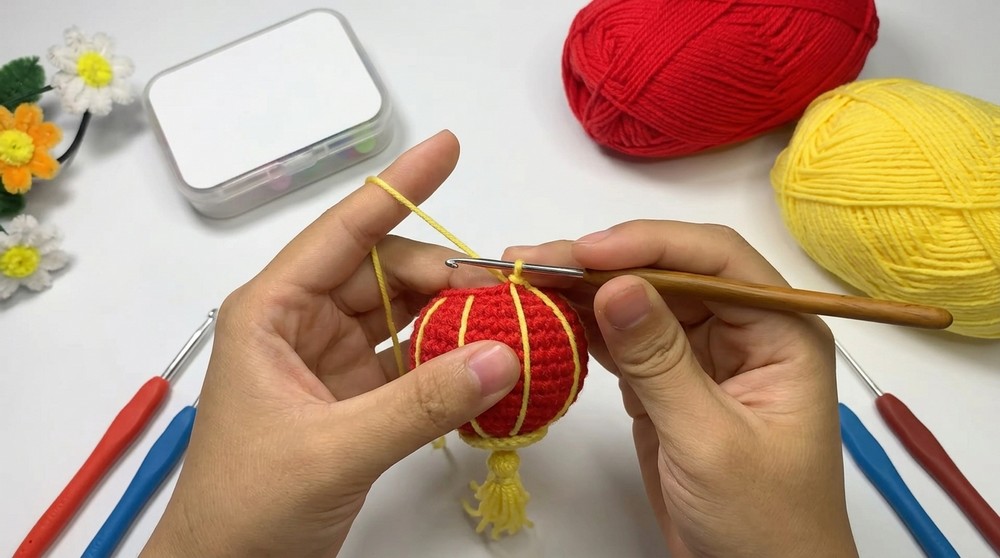
Assembly and Sizing
- Attach the Base:
- Position the yellow base circle at the bottom of the red lantern body.
- Use the long tail from the base to sew it securely to the bottom edge of the lantern.
- Attach the Top:
- Center the yellow top at the top of the red lantern body.
- Sew the edges of the top securely to the lantern body with the yellow yarn tail.
- Attach the Tassel:
- Using a tapestry needle, secure the tassel to the bottom center of the lantern base. Tie a knot and weave in the ends.
- Add the Hanging Loop:
- Attach the hanging loop to the top center of the lantern by sewing both ends of the chain securely with yellow yarn. Knot tightly and weave in any ends.
- Final Assembly:
- If needed, use a hot glue gun to attach all pieces securely in place for additional durability, especially for decorative purposes.
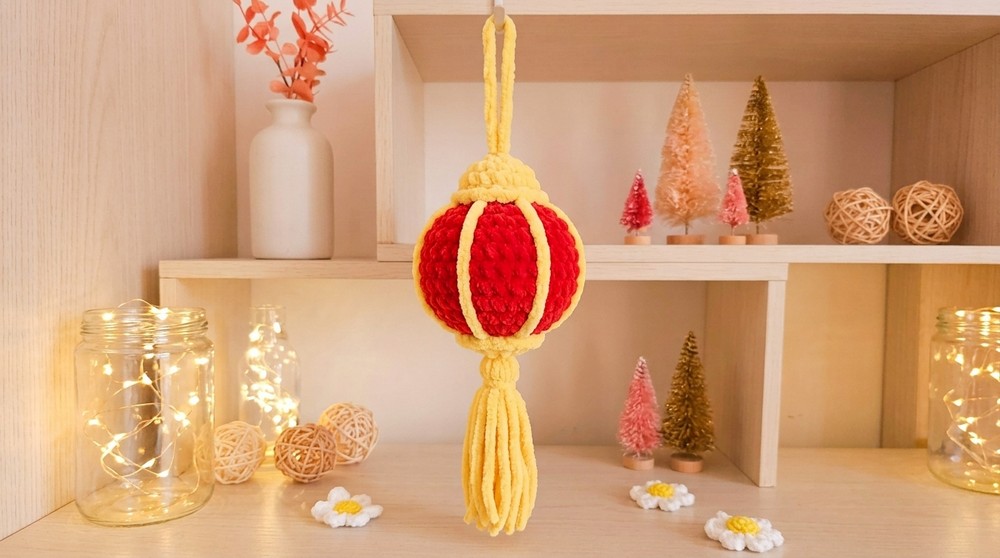
- If needed, use a hot glue gun to attach all pieces securely in place for additional durability, especially for decorative purposes.
Sizing
The finished lantern size varies slightly based on yarn and tension but typically measures around 3–4 inches in diameter and 6–7 inches in height, including the tassel and hanging loop.
Conclusion
This crochet lantern is a delightful project that combines simplicity with creativity. Its bright design captures the essence of festive decorations and can be used to celebrate special occasions or elevate home décor. Customize your lantern by experimenting with yarn colors and embellishments, or create a whole series in different sizes for a truly enchanting display. The versatility of this design ensures it will shine as a handmade treasure for any event or setting.