How to Crochet Mini Fish Amigurumi Pattern + Tutorials

Bring fun to your crafts with this Free Crochet Mini Fish Amigurumi Pattern, featuring easy steps to create adorable, handmade fish for gifts or decor.
Crocheting small, colorful toys has always been a fun and relaxing way for me to spend free time, especially when I want to create something cute and quick. Recently, I came across a delightful free crochet mini fish amigurumi pattern that really caught my eye. This charming project can be easily followed thanks to a helpful YouTube channel (HappyYarny) that offers clear, step-by-step instructions perfect for beginners and those building their skills. The tutorial guides you through making an adorable little fish using basic crochet stitches, making it a great way to step into amigurumi crocheting with confidence.
Free Crochet Mini Fish Amigurumi Pattern
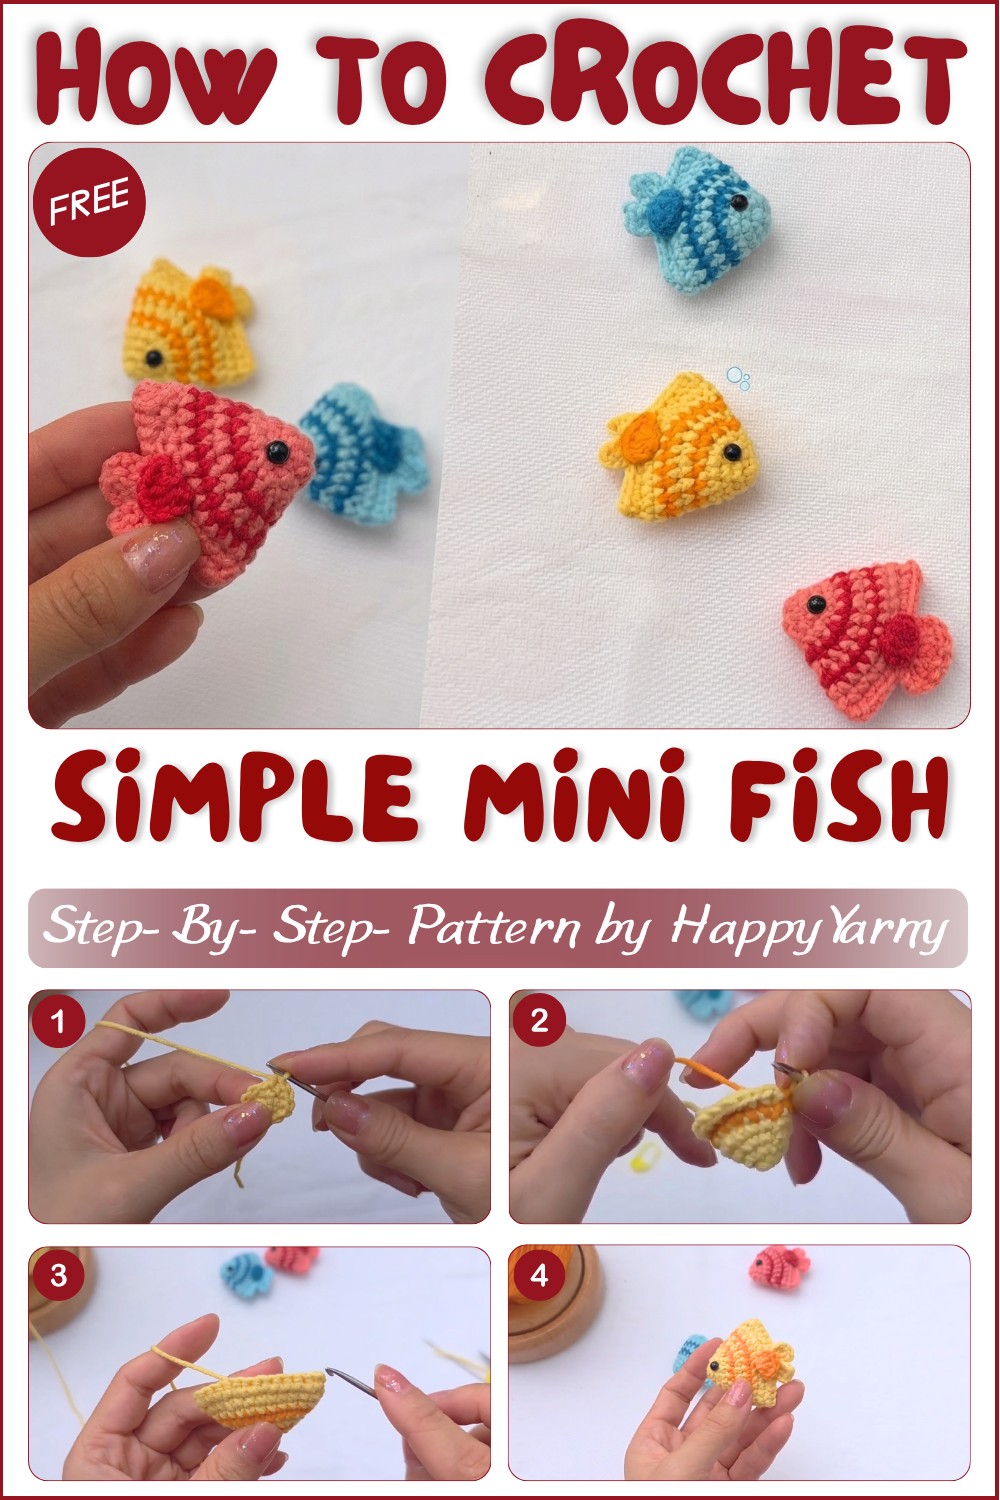
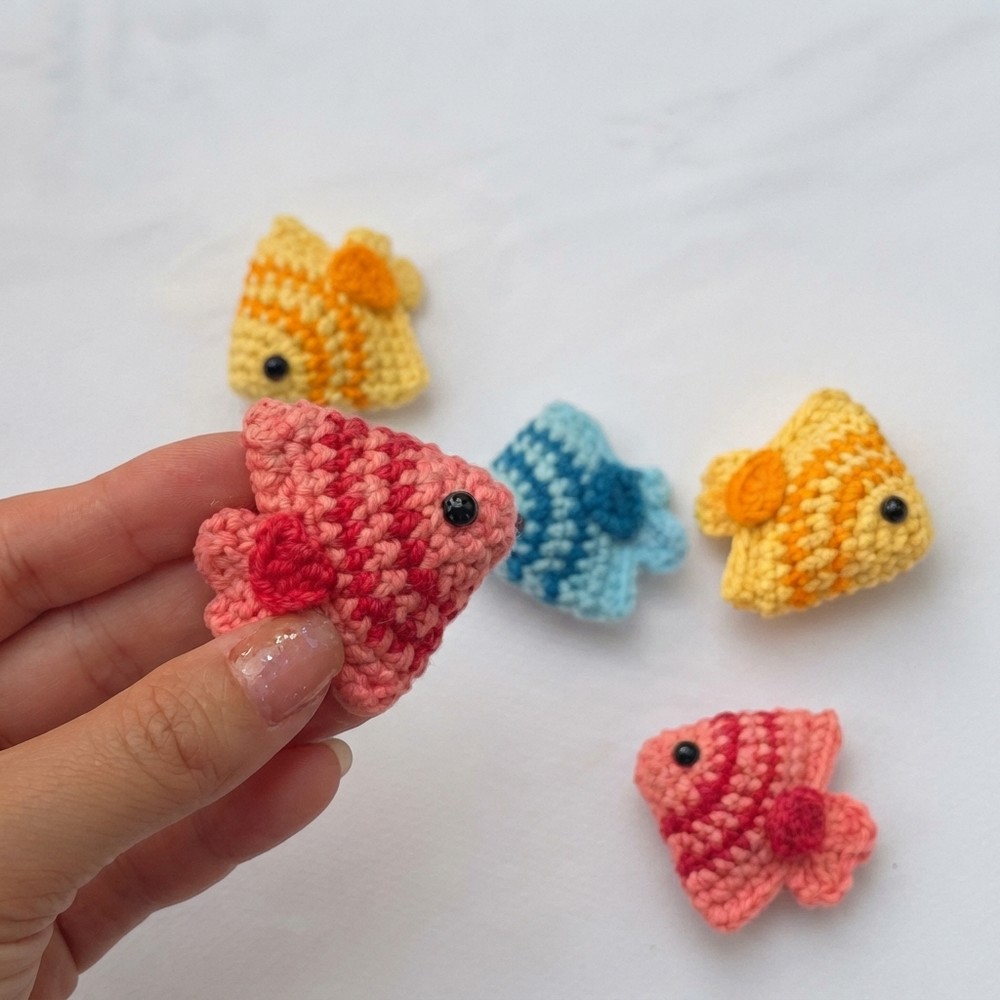
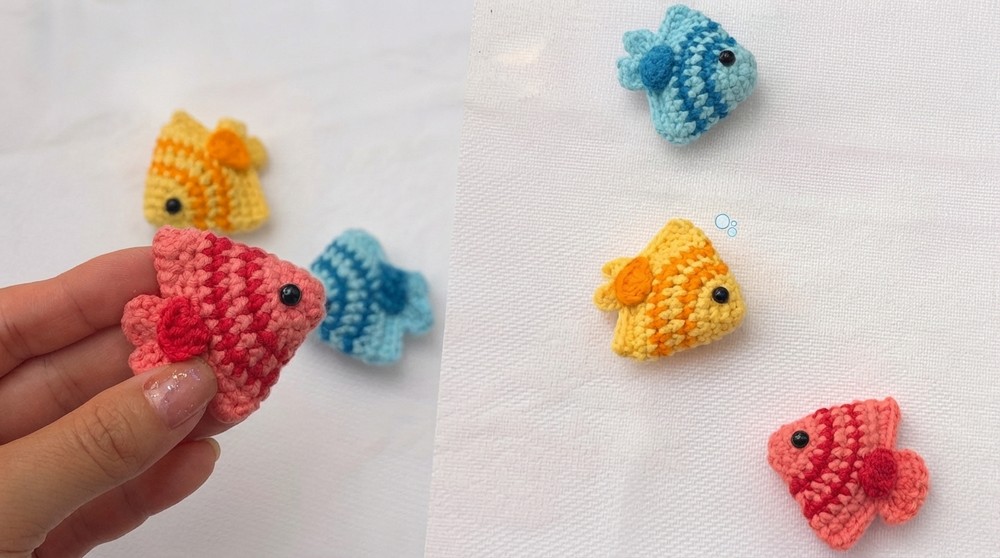
This mini fish amigurumi stands out with its bright, two-tone colors and its cute, rounded shape that perfectly mimics a small fish. The texture is smooth but detailed, thanks to working in rounds mainly with single crochet stitches combined with thoughtful increases and double crochets to add the shaping for the body and fins.
The fish’s tail and fins are crocheted to give it a playful look, and attaching charming little eyes completes its friendly expression. Its compact size makes it perfect as a keychain, bag charm, or a lovely shelf decoration, bringing a splash of handmade warmth wherever it goes.
The skill level for this project is beginner-friendly, focusing mainly on single crochet stitches, magic rings, and simple increases. The tutorial carefully shows how to keep track of your stitches and when to change colors, making it easy to follow along. As a result, this mini fish is not just a great practice piece for those new to amigurumi but also a quick and satisfying project for more experienced crocheters.
Whether you want to make thoughtful handmade gifts or add a cute collectible to your crochet collection, this free crochet mini fish amigurumi pattern from the YouTube channel is a joyful and rewarding project to try. Give it a go—you might be surprised how quickly you’ll fall in love with crocheting these little sea creatures.
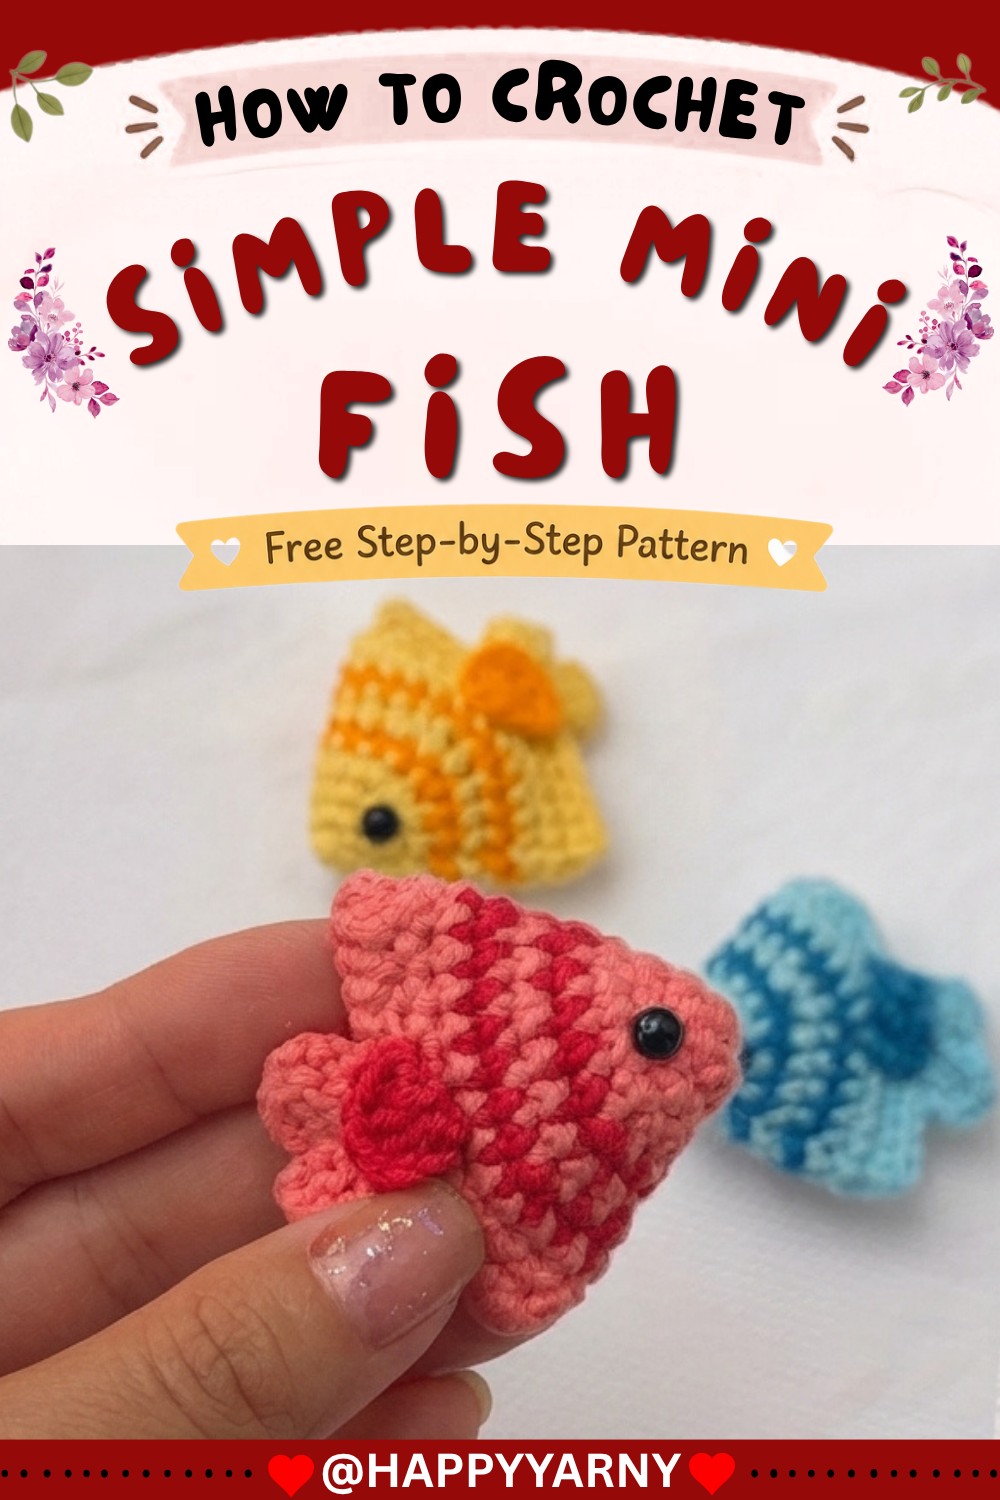
Colorful Little Fish Amigurumi Crochet Pattern
About Tutorial
This amigurumi pattern comes from a YouTube channel HappyYarny. The creator presents a range of approachable and engaging projects for crocheters, focusing on easy-to-understand, beginner-friendly instructions. This specific video is a cheerful, step-by-step tutorial for crocheting vibrant little fish—perfect for learning basic amigurumi techniques or making quick gifts, toys, or decorations. The video uses clear demonstrations, color changes, and finishing touches to guide viewers smoothly from start to finish.
Introduction
In this tutorial, you’ll learn how to crochet cute, colorful little fish. This amigurumi project is designed for beginners and made with basic stitches and simple color changes. The fish body is started with a magic ring and worked in the round, with easy increases, clear instructions for changing yarn color, and straightforward construction for the tail and fins. Instructions for assembly and stuffing are included, as well as guidance for attaching small details like eyes and fins to bring your fish to life.
Quick Overview of Pattern
- Simple amigurumi fish, worked from magic ring upward
- Body is made in rounds with slight shaping
- Uses two yarn colors for stripes (swap colors as directed)
- Tail and fins are created separately and attached
- Easy stuffing and finishing
- Optional use of glue for quick, secure attachment of fins and eyes
Notes
- Always finish each round with a slip stitch and chain one before starting the next.
- Keep color changes tidy by carrying the yarn not in use along the inside; do not cut until instructed.
- Use a stitch marker to track the beginning of each round to ensure accurate counting.
- For best results, weave in ends cleanly and be sure to stuff gently but fully for a neat shape.
- Small plastic safety eyes or embroidery may be substituted for glued-on eyes.
Skill Level
Beginner
No advanced techniques required—just single crochet, double crochet, slip stitch, and simple increases. Ideal as a first or early amigurumi project.
Materials
- Worsted weight cotton or acrylic yarn in two bright, contrasting colors (e.g., yellow and orange as per video)
- 2.5 mm – 3.5 mm crochet hook (adjust for yarn thickness)
- Scissors
- Stitch marker (recommended)
- Yarn needle for sewing and weaving in ends
- Fiberfill or similar stuffing material
- Small amount of glue (for eyes and fins attachment)
- Small black beads, safety eyes, or black embroidery thread (for eyes)
Measurements / Sizing
- Finished fish will measure approximately 7–10 cm (3–4 inches) in length, depending on yarn and tension
Gauge
Gauge is not critical for this project; maintain a tight enough tension to prevent stuffing from showing through stitches.
Stitch Abbreviations
- ch – chain
- sc – single crochet
- dc – double crochet
- sl st – slip stitch
- MR – magic ring
- inc – increase (2 sc in same stitch)
Special Stitches
- Magic Ring (MR):
Form a loop, insert hook, yarn over, pull loop through, chain one, work the specified number of stitches into the ring, then cinch closed. - Color Change:
On last yarn-over of previous stitch, drop current color and pick up new color, complete the stitch as normal to change color cleanly.
The Crochet Pattern
Fish Body
- Round 1:
- With Color A (e.g., yellow), begin with a magic ring.
- 6 sc in MR.
- Tighten ring.
- Place a stitch marker at first stitch if desired.
- Join with sl st. Ch 1.
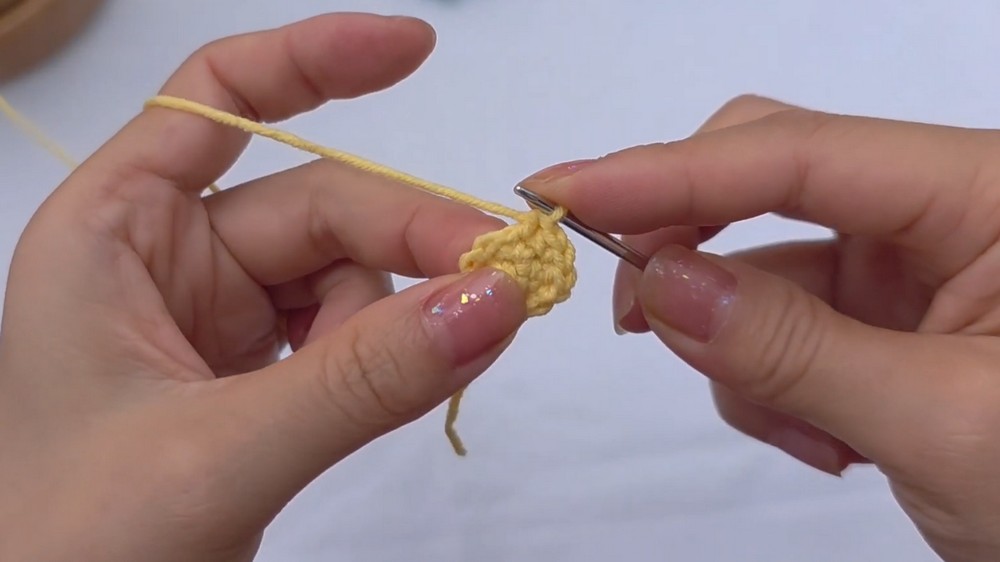
- Round 2:
- Repeat [1 sc, 1 dc] until end of round (6 repetitions, total 12 stitches).
- Join with sl st. Ch 1.
- Round 3:
- Repeat [1 sc, 1 dc, 1 sc] until end of round.
- Join with sl st. Ch 1.
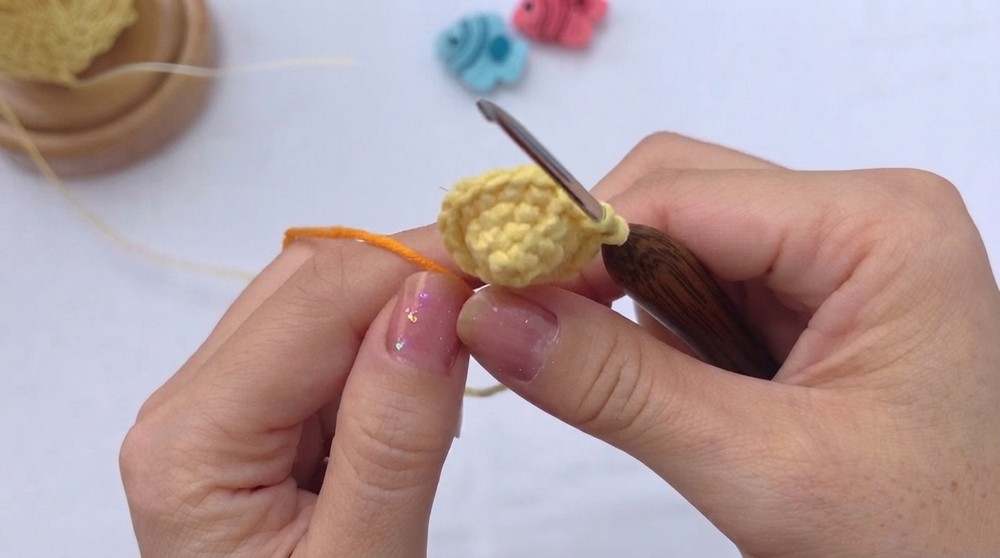
- Round 4:
- Repeat [3 sc, 1 inc] (i.e., 3 sc in next 3 sts, then 2 sc in next).
- On the last stitch of this round, switch to Color B (e.g., orange) but do not cut Color A—carry it for later.
- Round 5:
- Repeat [2 sc, 1 inc, 2 sc] around.
- Join with sl st. Ch 1.
- Round 6:
- Pick up Color A (yellow).
- Repeat [5 sc, 1 inc] all the way around.
- Join with sl st. Ch 1.
- Round 7:
- Switch back to Color B (orange).
- Repeat [3 sc, 1 inc, 3 sc] for the round.
- Join with sl st. Ch 1.
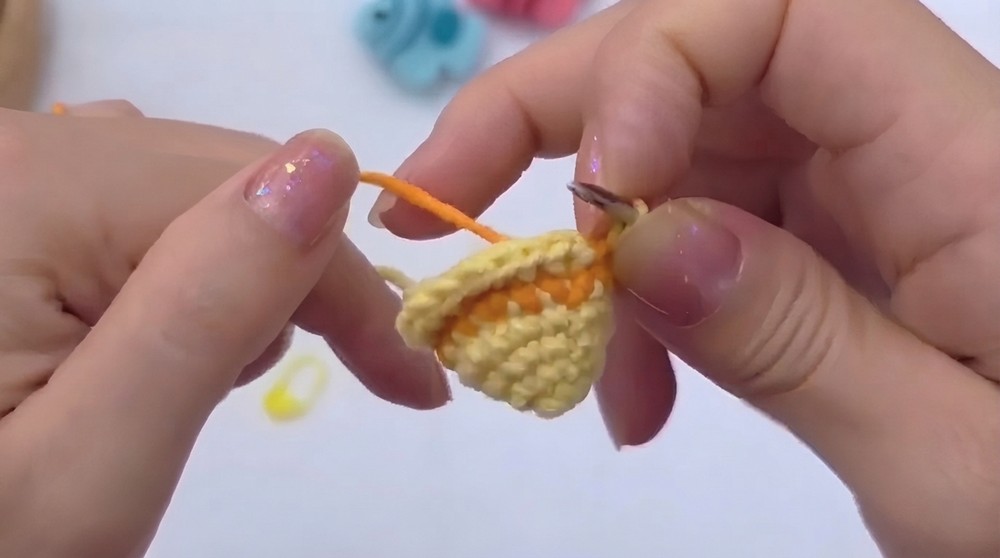
- Round 8:
- Switch back to Color A (yellow).
- 24 sc around.
- Cut Color B (orange).
- Join with sl st. Ch 1.
- Round 9:
- Continue with Color A (yellow).
- 24 sc around.
- Join with sl st, but do not chain.
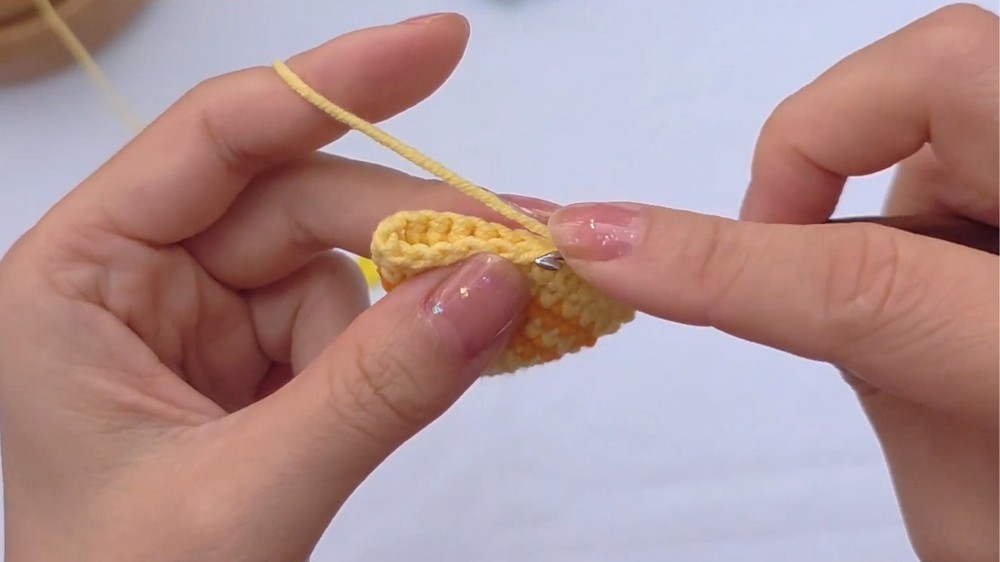
- Seaming and Stuffing:
- Flatten the fish body so stitches align.
- Join the sides by working 12 sc through both layers to close the body.
- Stuff with fiberfill before fully closing the last stitches.
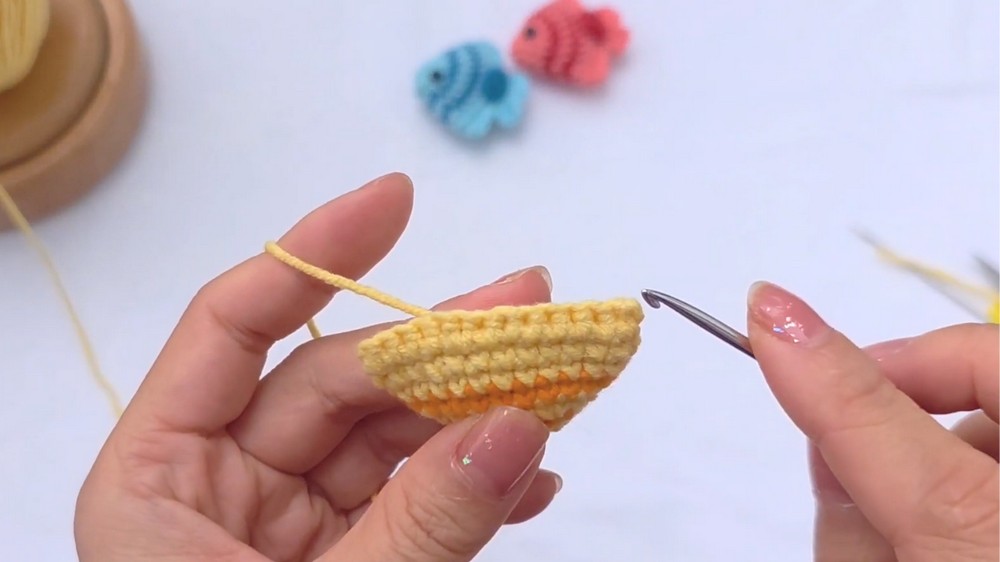
Tail
- Count to the 6th stitch along the now-closed edge for tail placement.
- Into that stitch:
- Attach yarn. Chain 3.
- Work 2 dc into same stitch.
- Chain 3, sl st into same stitch (First tail lobe complete).
- Into the next adjacent stitch:
- Chain 3, 2 dc into same stitch.
- Chain 3, sl st into same stitch (Second tail lobe complete).
- Fasten off, weave in ends.
Fins (Make 2)
- In a magic ring:
- Chain 3.
- Work 3 dc into ring.
- Chain 3.
- Slip stitch into ring.
- Close magic ring and fasten off, leaving tail for assembly.
Assembly & Finishing
- Use glue or sewing to attach the two fins symmetrically on each side of the fish.
- Attach small black beads, safety eyes, or embroider French knots for eyes on each side just ahead of the fins.
- Optionally, lightly dampen and shape tail and fins for crispness; allow to dry.
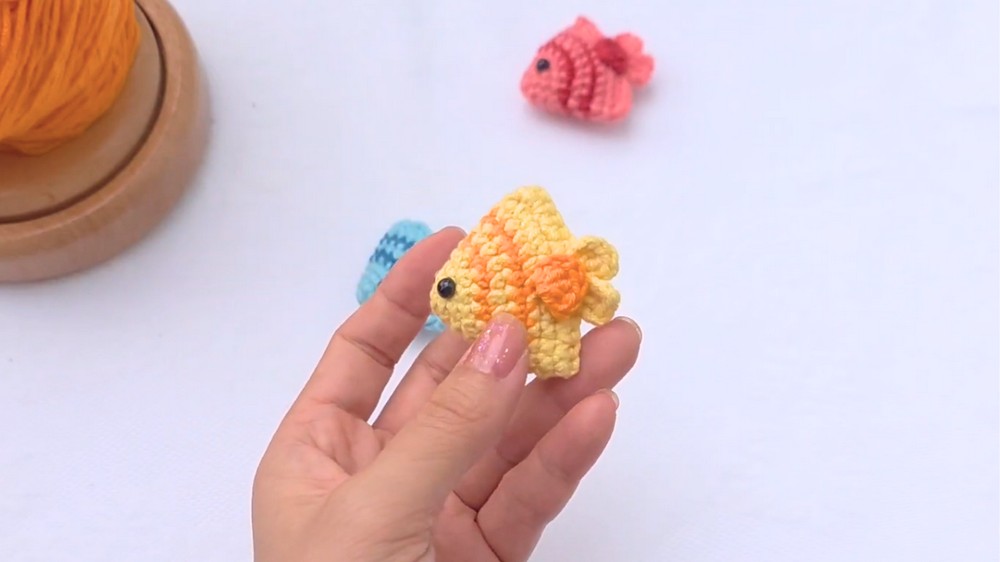
Finished Size
- The fish measures approximately 7–10 cm (3–4 inches) long and about 4 cm high when made with worsted yarn and a 2.5–3.5 mm hook.
Conclusion and Ending Words
Congratulations! You’ve finished your Colorful Little Fish Amigurumi. This easy and fun project is perfect for learning amigurumi basics or sharing the joy of crochet with beginners and children. Make a whole school in different colors for mobiles, gifts, or playful decorations. Thank you for crocheting along—and remember, if you enjoyed this tutorial, give the video a like and visit the channel for more creative ideas.
Pattern inspired by from happyarny