Cute & Easy Crochet Ice Cream Cone Free Pattern + Tutorial

Create a charming crochet ice cream cone with this free pattern, perfect for adding a playful touch to your décor or crocheting thoughtful handmade gifts.
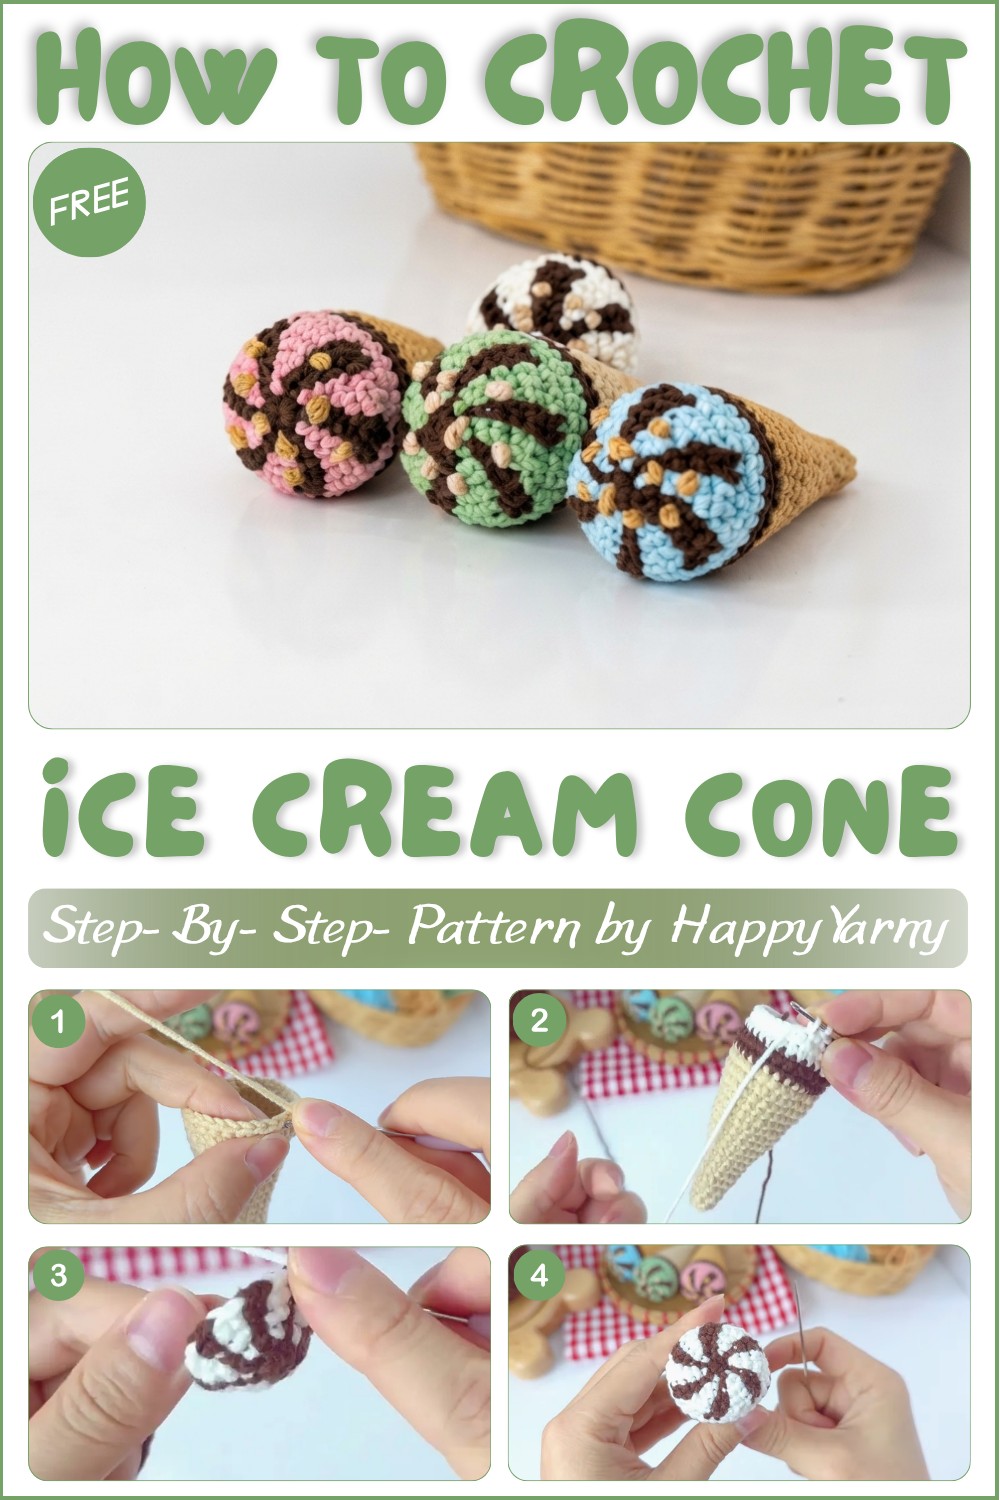
Sometimes, finding a simple crochet project that’s both quick and enjoyable can be frustrating, especially when patterns seem too complicated or time-consuming. That’s why the free crochet ice cream cone pattern from the YouTube channel “Happy Yarny” is such a refreshing find. This easy and charming project stands out as the perfect choice for anyone wanting to create something fun and cute without stress. The tutorial is clear and beginner-friendly, guiding you smoothly through each step so you can craft this sweet ice cream cone with confidence.
Free Crochet Ice Cream Cone Pattern With Neat Stitches
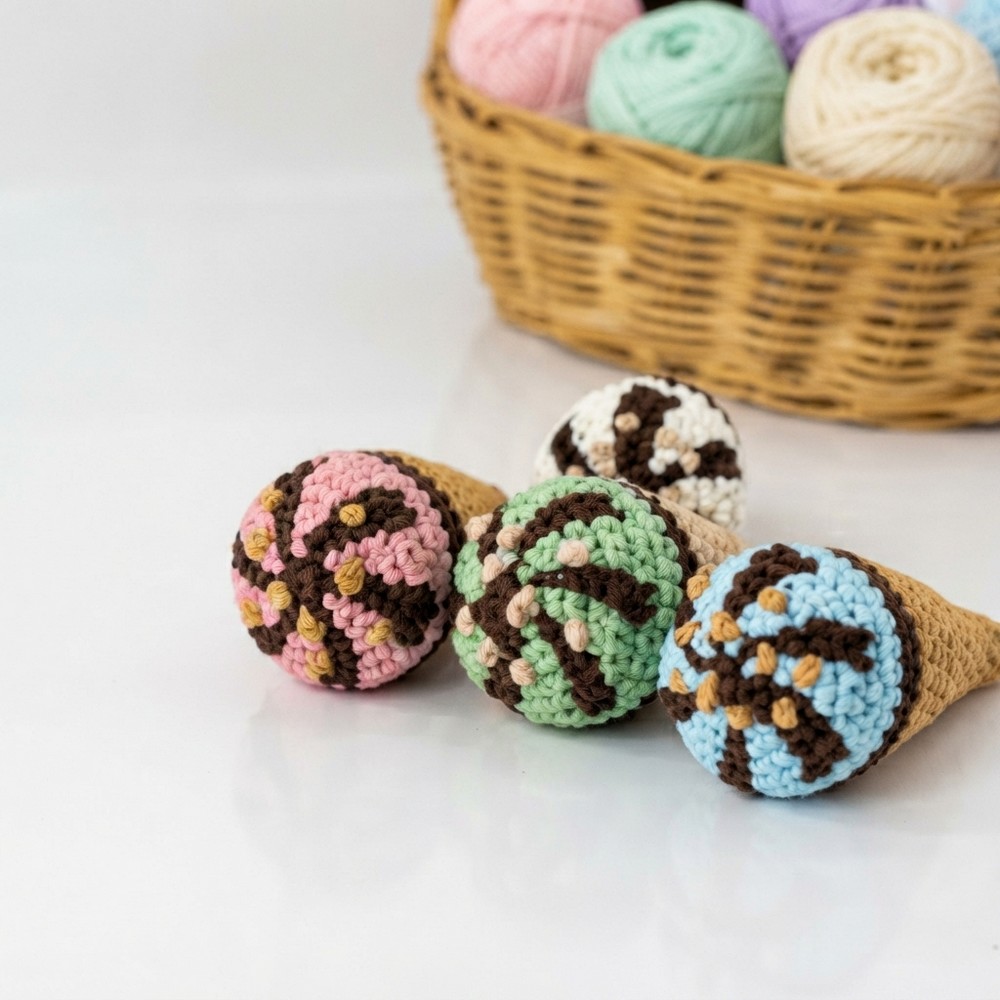
This crochet ice cream cone is a delight to look at, featuring a soft, rounded scoop that sits atop a textured cone base. The waffle cone effect is beautifully recreated with neat stitches in warm brown tones, while the creamy white scoop is accented with tiny “sprinkles” made from small stitch details.
The combination of shape, texture, and colors gives the piece a playful yet realistic style. It’s great as a keychain, a decorative accent for your room, or a charming collectible that adds a touch of handmade whimsy.
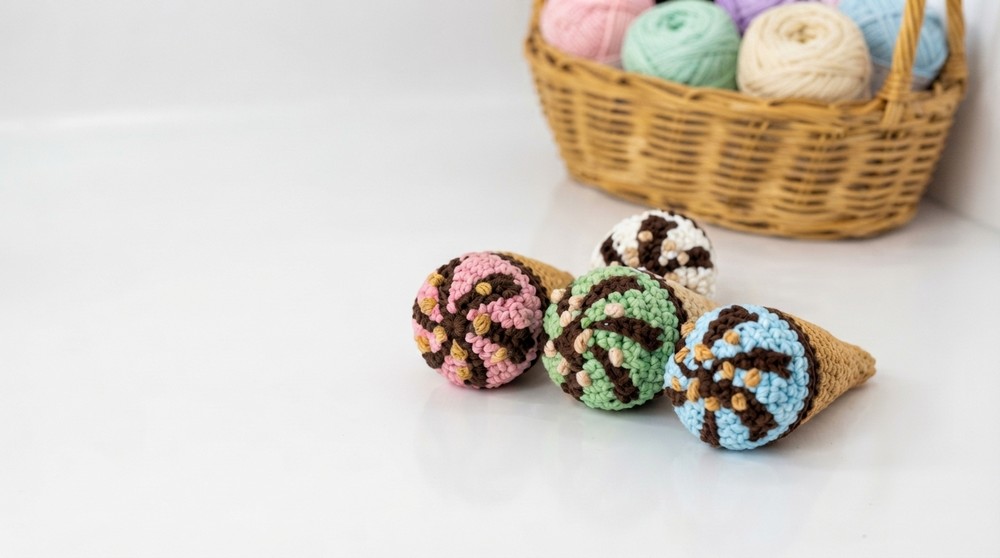
Designed for beginners, this pattern mainly uses simple single crochet stitches worked in rounds, alongside easy increases and some incomplete single crochets to add texture. Thanks to the well-explained video by “Happy Yarny,” even those new to crochet can follow along without feeling overwhelmed.
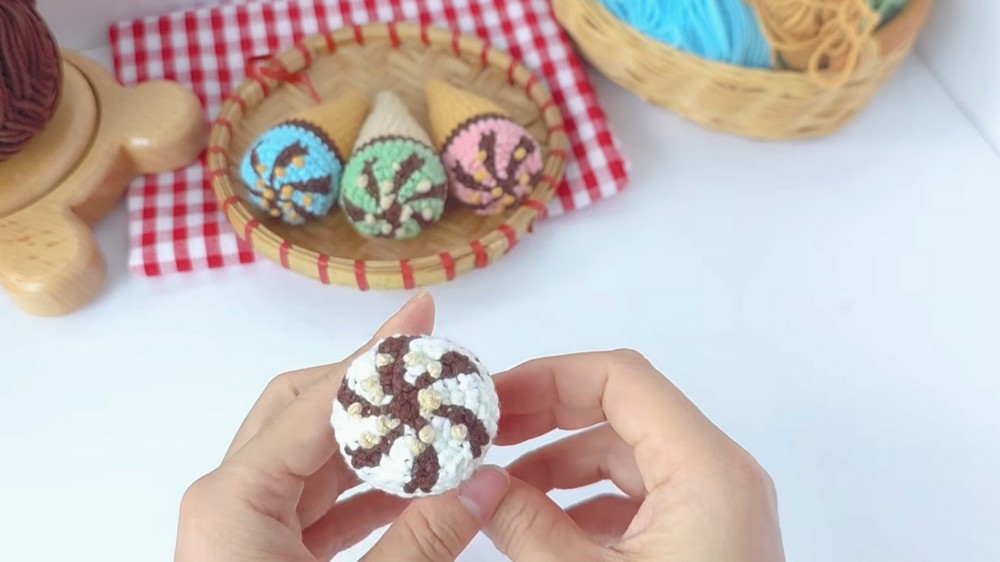
Perfect as a heartfelt handmade gift or a cheerful decoration, this free crochet ice cream cone pattern offers a quick and satisfying project with lots of personality. Whether you want to brighten up your crocheting time or create something special to share, this sweet little pattern is sure to bring joy and a sense of accomplishment.
Happy Yarnney’s Crochet Ice Cream Cone Amigurumi Pattern
Summertime calls for sweet treats! With this pattern, you can crochet an adorable amigurumi ice cream cone in your favorite flavors. The step-by-step pattern walks you through each round, teaches color changes for a realistic scoop, and adds whimsical peanuts to finish your summer project.
About the tutorial
In this particular video, Happy Yarnney shares a fun pattern to help you crochet a realistic and irresistible ice cream cone, complete with detailed swirls and “peanut” embellishments. The tutorial is carefully broken down into rounds, guiding viewers through color changes, joining techniques, and finishing touches. Each instruction is clear and easy to follow, making it perfect for any skill level. You can see the full step-by-step demonstration here.
Quick Overview of Pattern
- Amigurumi ice cream cone, worked from tip to scoop
- Cone section shaped with increases to create a natural look
- Scoop and swirls made with seamless color changes
- Base crocheted separately and sewn on for neat closure
- Embroidered details add playful “toppings”
- Great for gifts, pretend play, or cute decor
Notes
- Use a stitch marker to keep track of the first stitch in each round.
- Join each round with a slip stitch unless otherwise indicated; chain one to start the next round.
- Change colors by completing the last yarn over of a stitch with the new color.
- For best results, keep your stitches tight to avoid gaps in the fabric.
- Stuff the cone before sewing on the base.
Skill Level
This is an adventurous beginner pattern. You should be comfortable crocheting in the round, working increases, changing colors, and basic seaming or embroidery.
Materials
- Worsted weight yarn in two main colors:
- Brown/caramel for the cone and base
- White (or color of choice) for the ice cream scoop
- 3.0 mm–3.5 mm crochet hook suitable for amigurumi
- Polyester fiberfill stuffing
- Yarn/tapestry needle
- Stitch marker
- Scissors
Measurements / Sizing
The finished ice cream cone is about 10–12 cm (4–4.75 inches) tall, with a scoop diameter of approximately 5 cm (2 inches). Size may vary slightly according to hook, yarn, and tension.
Gauge
Gauge is not critical but aim for a dense fabric to prevent stuffing from showing through. Typical amigurumi gauge in worsted weight: around 8–9 sc and 8–9 rows per 2.5 cm (1 inch).
Stitch Abbreviations
- MR: Magic Ring
- sc: single crochet
- inc: increase (2 sc in one stitch)
- sl st: slip stitch
- ch: chain
- st/sts: stitch/stitches
- FO: fasten off
Special Stitches
Color Change (incomplete single crochet): Begin a single crochet, and when you have two loops left on the hook, yarn over with the new color and pull through to complete the stitch, seamlessly switching to the new color.
The Crochet Pattern
Part 1: The Cone
Round 1: In brown yarn, work 6 sc into a magic ring. Mark the first stitch.
Round 2: Work 6 sc (one in each stitch around).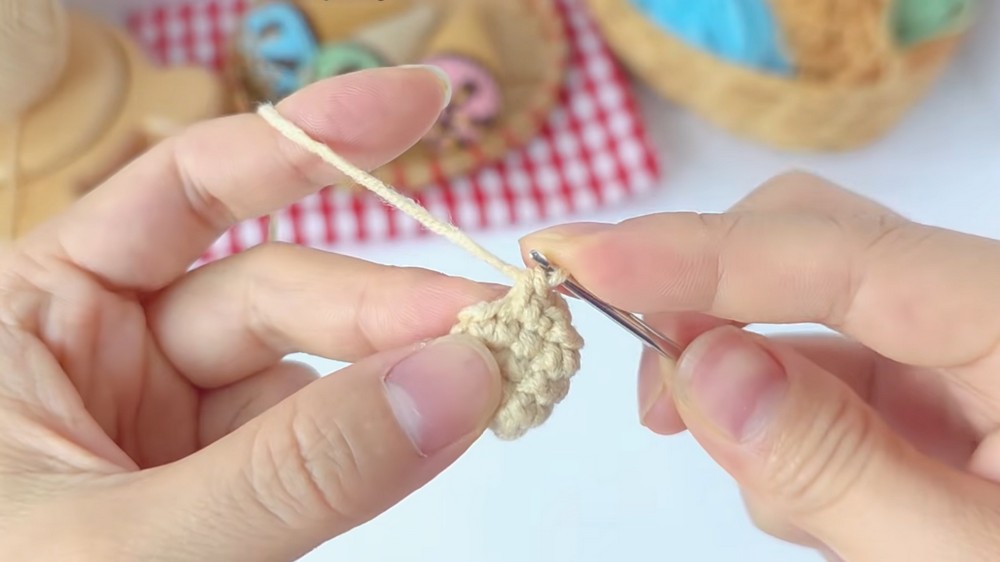
Round 3: 1 sc, inc; repeat this sequence 3 times (total 9 sts).
Round 4: 9 sc around.
Round 5: 1 sc, inc, 1 sc; repeat 3 times (12 sts).
Round 6: 12 sc.
Round 7: 3 sc, inc; repeat 3 times (15 sts).
Round 8: 15 sc.
Round 9: 2 sc, inc, 2 sc; repeat 3 times (18 sts).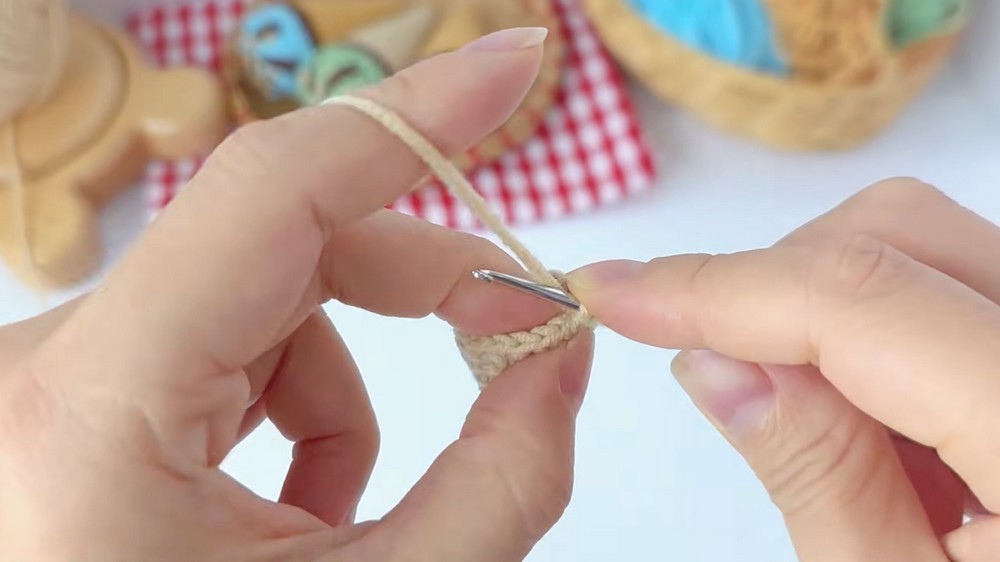
Round 10: 18 sc.
Round 11: 5 sc, inc; repeat 3 times (21 sts).
Round 12: 21 sc.
Round 13: 3 sc, inc, 3 sc; repeat 3 times (24 sts).
Round 14: 24 sc.
Round 15: 7 sc, inc; repeat 3 times (27 sts).
Round 16: 27 sc.
Round 17: 4 sc, inc, 4 sc; repeat 3 times (30 sts).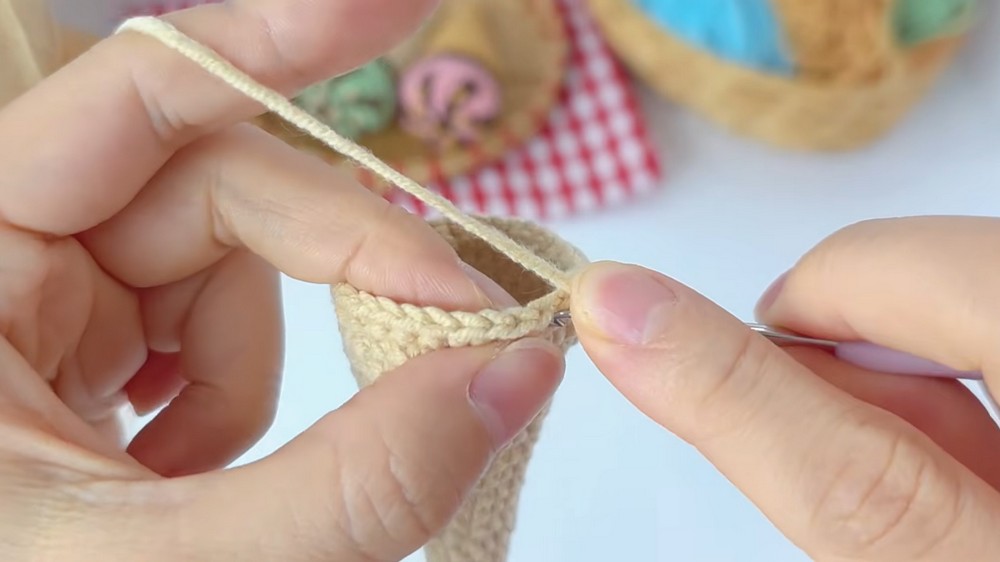
Round 18: 30 sc.
At the last stitch of round 18, begin a single crochet and, on the final yarn over, switch to your ice cream scoop color (e.g., white).
Join the round with a sl st, ch 1.
Rounds 19–20: With ice cream color, sc in each st around (30 sc per round). On the last sc of round 20, pull through with brown to change color.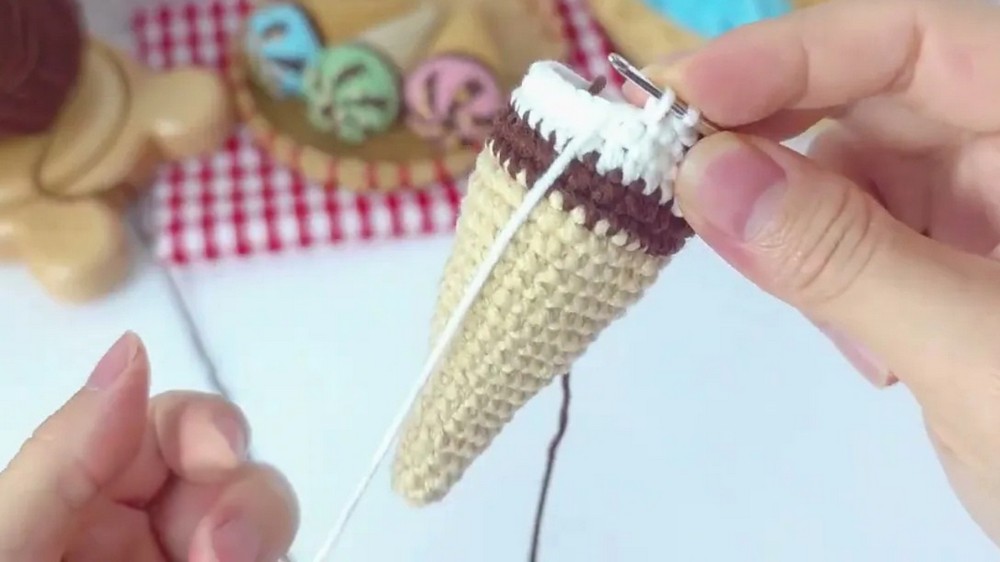
Part 2: The Scoop Swirl
Rounds 21–22: With white, sc in each st around (30 sc per round). Do not cut brown; keep it attached. On the last sc of round 22, pull through with brown.
Round 23: Swirl round—(in brown: 1 sc, 1 incomplete sc), switch to white: 2 sc, incomplete sc, switch to brown: 2 sc.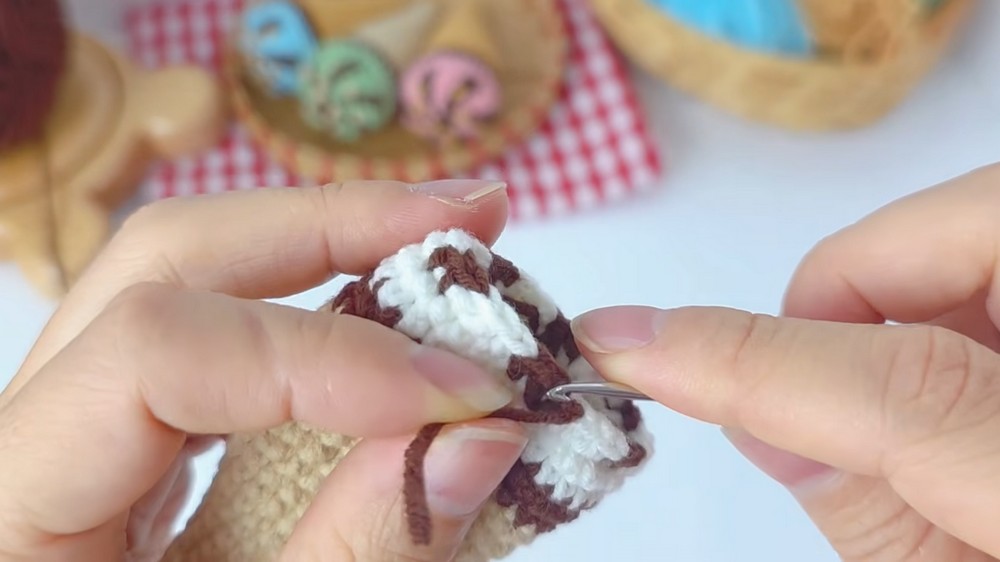
Continue: 3 sc in white, 2 in brown, repeat this alternating pattern to the round’s end, changing colors as demonstrated in the video for a swirled effect. Join the round with a sl st in brown.
Part 3: The Base
Round 1: In brown, work 6 sc into a magic ring.
Round 2: In each st: incomplete sc in brown, add incomplete sc in white (same stitch), switch to brown—repeat around (6 pairs per round).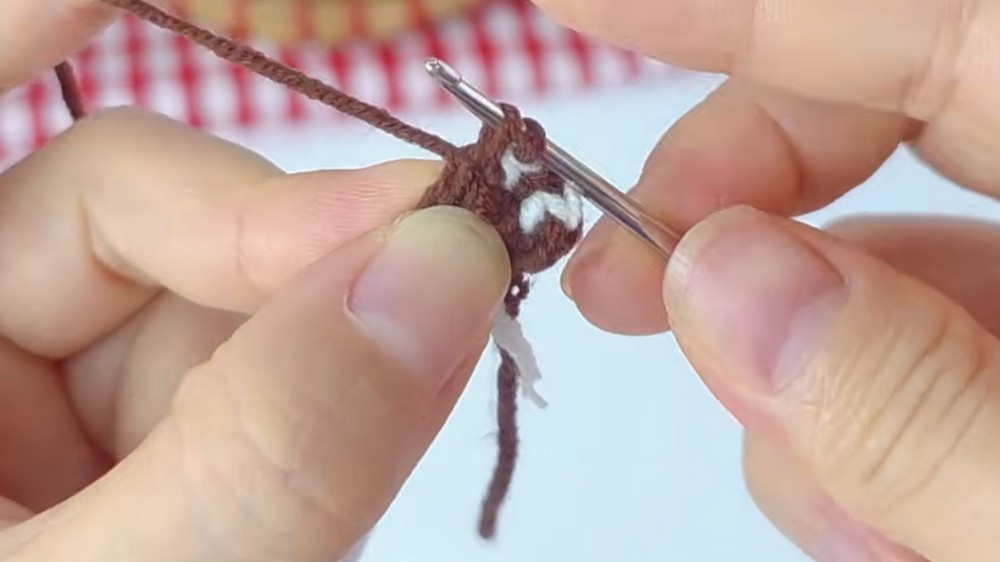
Finish the round by joining with brown.
Round 3: Start with an incomplete sc in brown; in next st, work an increase with white (1 sc + incomplete sc). Switch back to brown for the next st. Repeat this sequence six times.
Round 4: In brown: sc + incomplete sc in same st, in next st: white sc, then incomplete sc in white in next st, switch back to brown. Repeat around.
Round 5: Brown: sc, incomplete sc in next st. White: inc in next st, incomplete sc in white in next stitch, switch to brown. Repeat sequence around.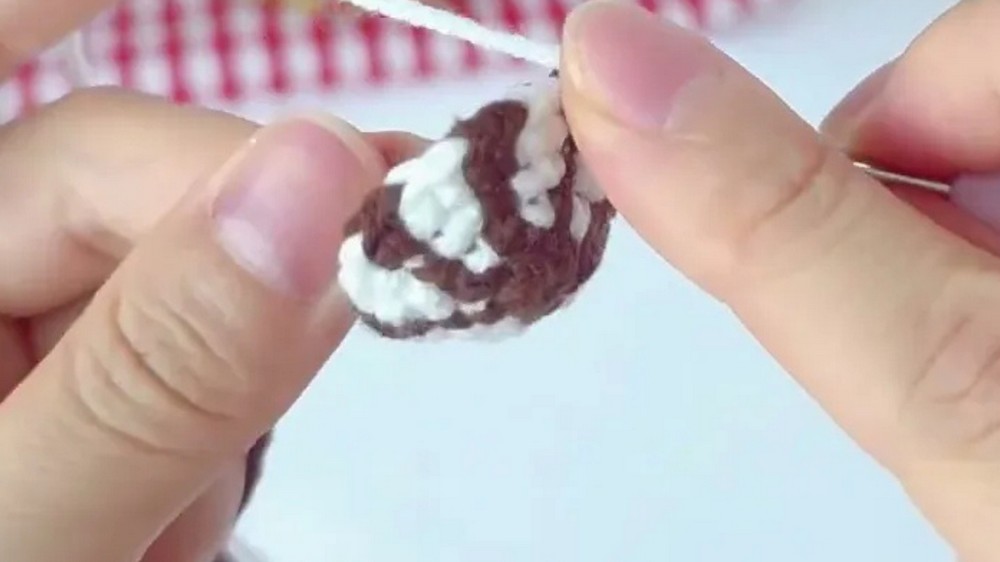
Finish with a sl st in brown into the first stitch. FO, leaving a long tail for sewing.
Assembly & Finished Size
Stuff the ice cream cone with fiberfill, shaping it evenly and leaving the top open. Position the base so color sections align. Use the brown yarn to sew brown sections to the cone, and white yarn for white areas, for an even and invisible finish.
Once closed, you can shape the cone gently with your hands.
Embroider peanuts or sprinkles with brown yarn by making small, random stitches on top of your scoop for a cute, “topped” finish.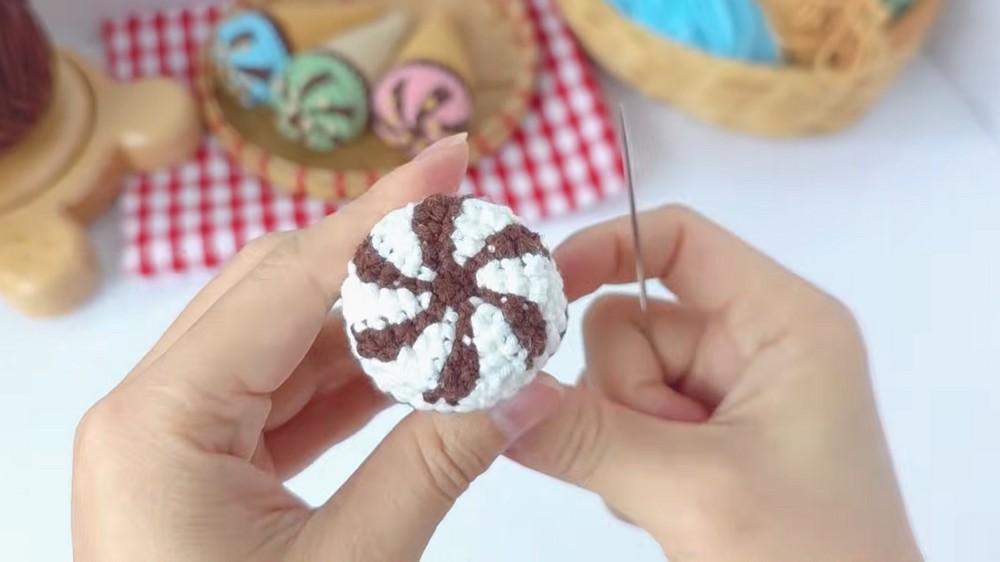
Conclusion & Ending Words
Congratulations on finishing your ice cream cone amigurumi! This project not only celebrates summer but also gives you a chance to practice increases, colorwork, and detailing in a fun, manageable size. Enjoy gifting, decorating, or keeping your sweet treat as a toy.
If you enjoyed this pattern, be sure to visit Happy Yarnney on YouTube for more creative, adorable crochet tutorials.