Free Crochet Tulip Flowers Pattern Like A Floral Bouquet

Create stunning floral accents with this Free Crochet Tulip Flowers Pattern, featuring easy-to-follow steps for making beautiful and timeless decorations.
I recently found a fun and easy way to add some color to my home, by making cute crochet tulip flowers. These little flowers look amazing and are a great way to bring a bit of spring inside. If you like handmade gifts or pretty decor, you’ll love this project.
Free Crochet Tulip Flowers Pattern – Lovely Plant Decor
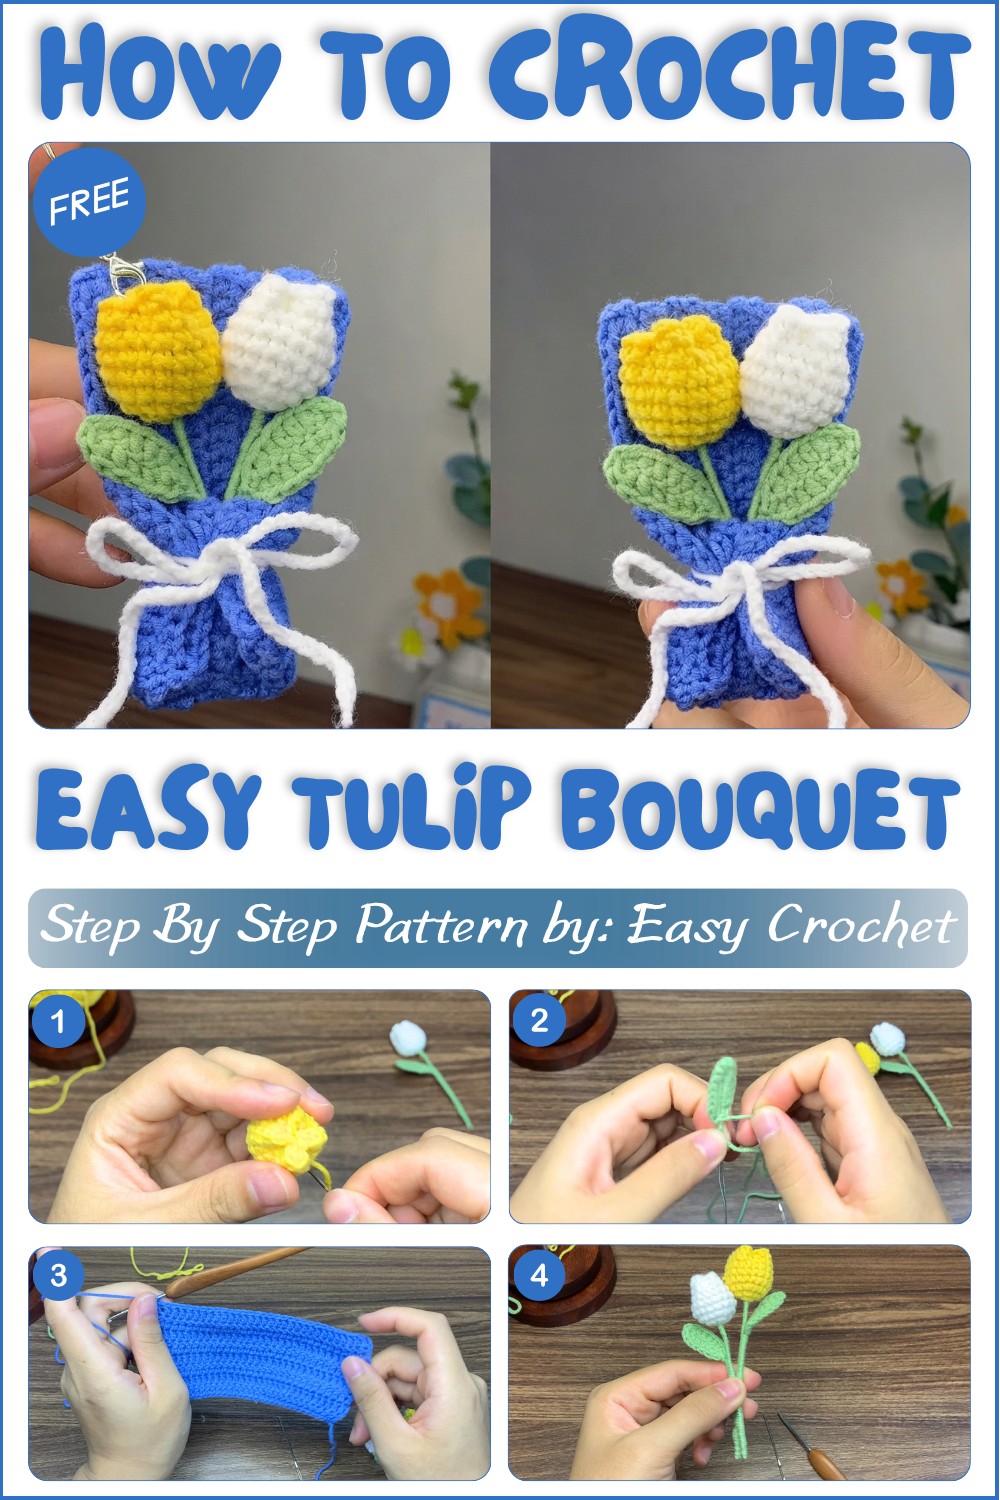
The free crochet Tulip Flowers Pattern I used comes from the YouTube channel EASY CROCHET. Their video shows you exactly how to make the flowers step by step, even if you’re new to crochet. You only need simple materials like yarn, a crochet hook, and some wire to shape the stems. The instructions are clear and friendly, so it’s a perfect project to learn and enjoy. For the full written pattern, just scroll down on their page.
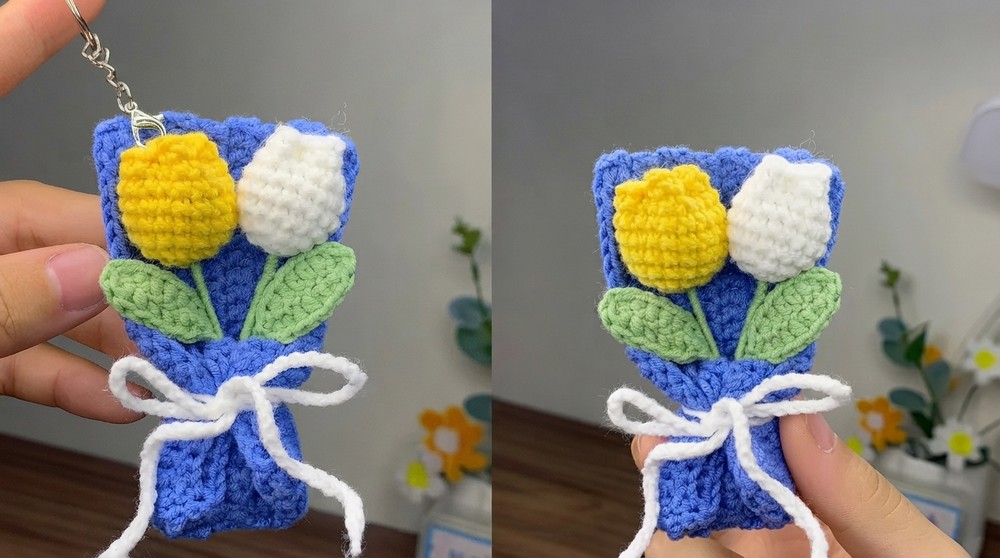
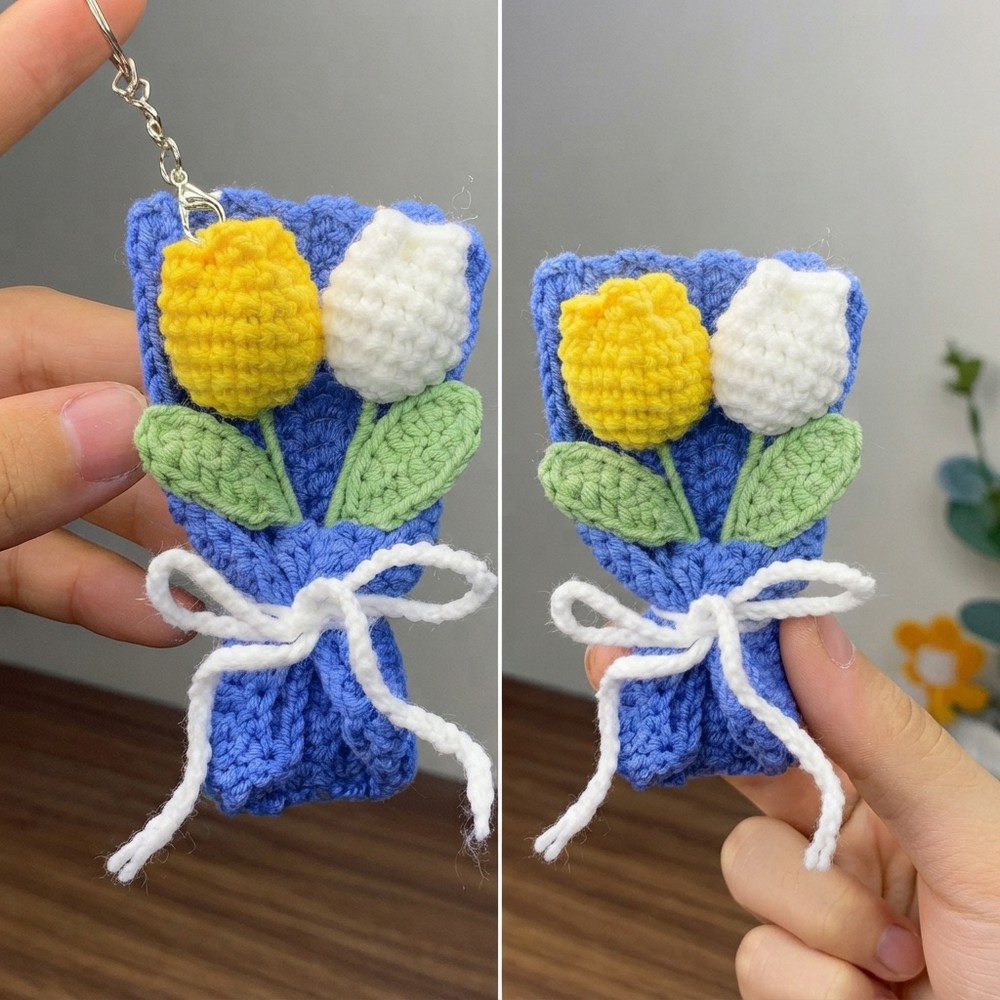
The finished tulips are soft and beautifully shaped, with smooth petals and green leaves that wrap around the stems. They look bright and cheerful, just like real tulips. You can use them to decorate your desk, shelf, or even give them as a thoughtful gift. The small bouquet looks super cute, and you can even add a crocheted wrap around it to make it extra special.
If you want a quick, relaxing project that turns out lovely and colorful, this crochet tulip flowers pattern is a great choice. It’s easy to follow and doesn’t need any fancy skills.
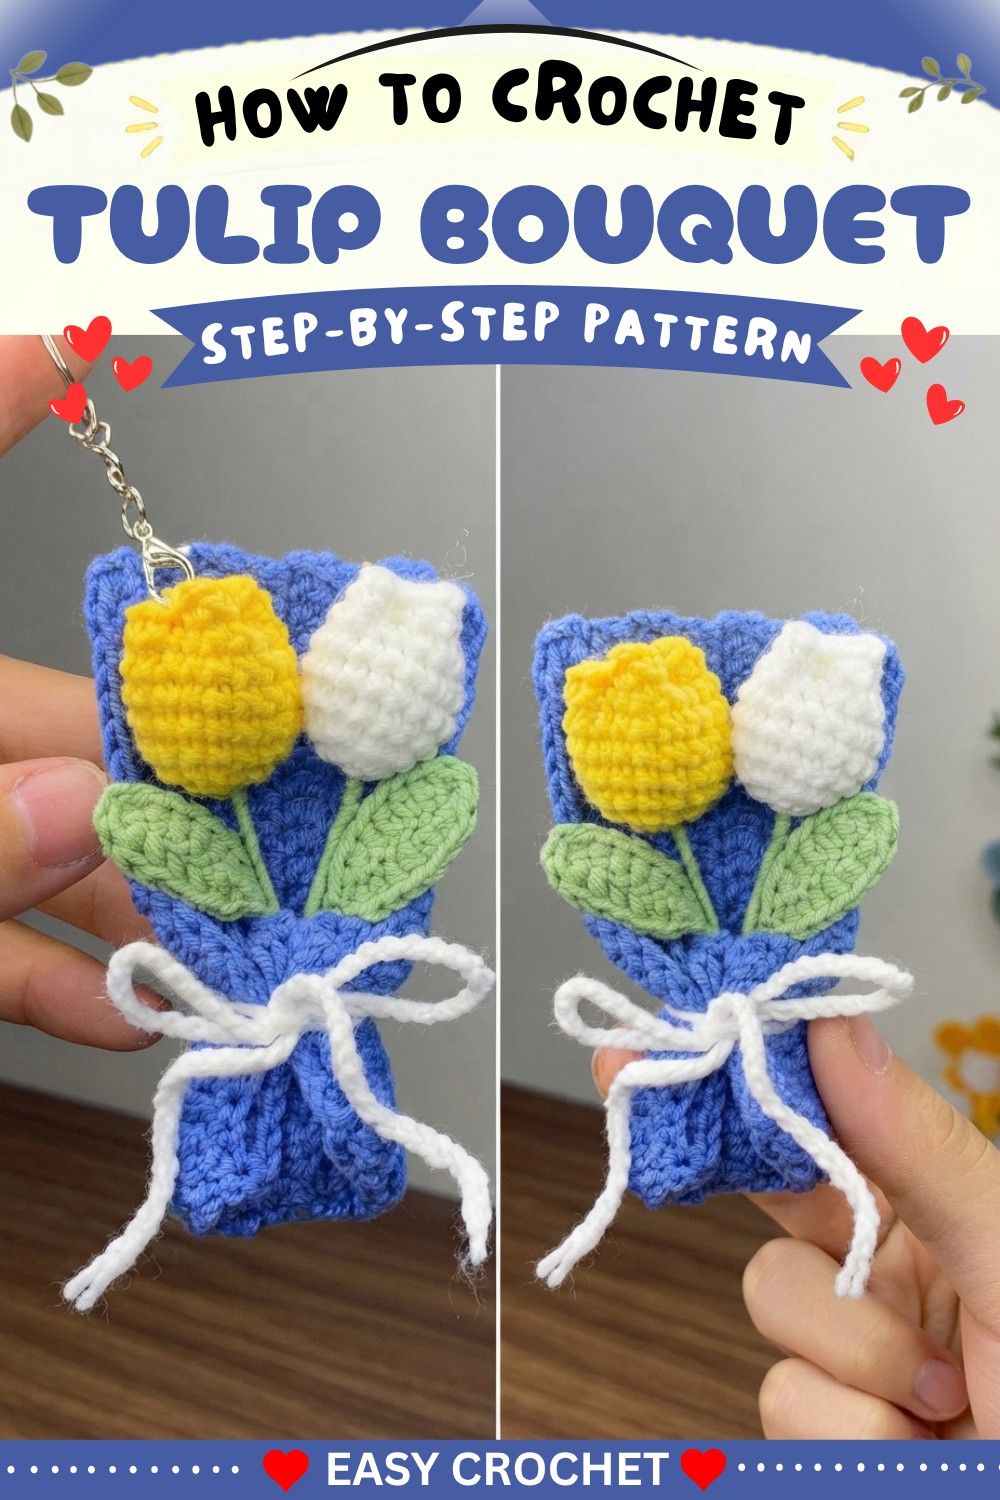
Mini Tulip Bouquet Crochet Pattern
Create a beautiful bouquet of mini tulips! This pattern is perfect for beginners and a joy for seasoned crocheters. Each flower is worked in the round with simple stitches, finished with its own leaf and stem, and wrapped in a crochet “paper.” Use your favorite colors to personalize your bouquet.
Quick Overview Of Pattern
- Mini tulips are crocheted in the round using basic increases.
- Flowers are stuffed and securely attached to stems made with yarn or floral wire.
- Leaves and stems are crocheted separately and wrapped around the flower base.
- A bouquet wrap is created as a rectangle.
- The bouquet is tied together with a long crocheted chain.
Notes
- Use a stitch marker (or a scrap of yarn) to mark your rounds.
- Adjust yarn and hook size for larger or smaller flowers.
- Wire or yarn provides stability for stems.
- Stuff flowers lightly for a natural look.
- Substitute yarn scraps for polyfill if needed.
Skill Level
Beginner to Confident Beginner
Materials
- Yarn: Baby Lane or similar (approx. 1.5mm thickness)
- White and yellow (tulip petals)
- Green (stem, leaves, bouquet wrap)
- Bone green or contrasting color (bouquet wrap)
- Crochet Hook: 2.5mm (or as suits your yarn)
- Scissors
- Sewing Needle
- Stitch Marker
- Floral Wire (optional)
- Polyfill or yarn scraps
- Measuring Tape (optional)
Measurements / Sizing
- Tulip Flower: approx. 2 cm across, 4–5 cm tall (excluding stem)
- Stem: approx. 5–8 cm long
- Bouquet Wrap: approx. 15–17 cm long, 5–6 cm wide
- Tie String: 100 chains or as needed
- Final Bouquet: 2–3 tulips (or more if desired)
Gauge
- Gauge is not crucial; use a hook for firm, non-gappy stitches.
- Reference: 6 sc ≈ 1 inch (2.5 cm)
Stitch Abbreviations
- ch: chain
- sc: single crochet
- hdc: half-double crochet
- dc: double crochet
- sl st: slip stitch
Special Stitches
- Magic Circle: Create a tight ring to start the flower.
- Increase (inc): Work 2 sc in the same stitch.
Crochet Pattern
A. Tulip Flower
Step 1: Magic Circle Start
- Make a magic circle.
- Ch 1.
Step 2: Round 1
- Work 6 sc into the magic circle.
- Pull tight to close (6 sts).
Step 3: Round 2
- Place stitch marker in first stitch.
- 2 sc in each stitch around
- (12 sts)
Step 4: Round 3
- 1 sc in next stitch, 2 sc in next stitch (inc)—repeat 6 times.
- (18 sts)
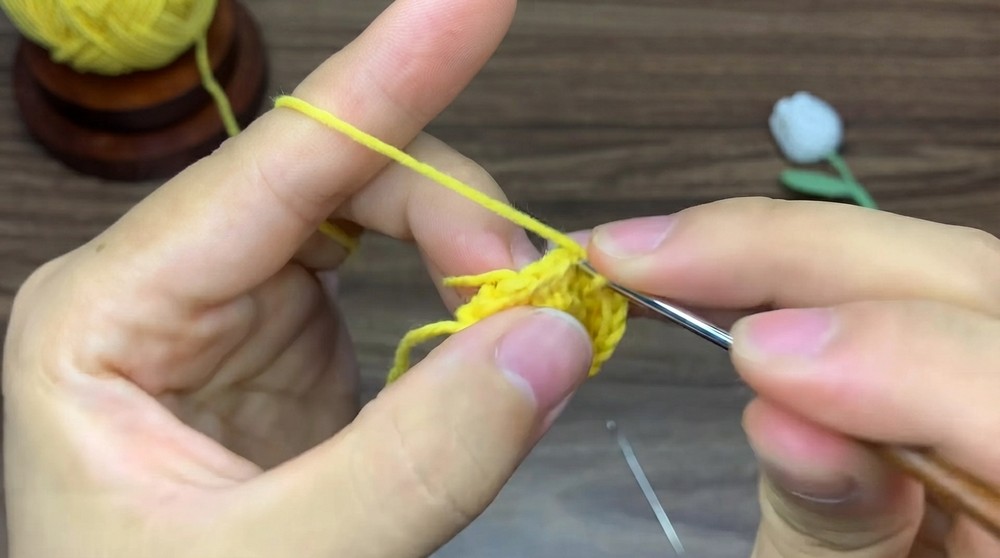
Step 5: Rounds 4–8
- Work 1 sc in each stitch (no increases or decreases) for each round.
- (18 sts per round)
Step 6: Finishing the Flower
- After round 8, sl st to next stitch and fasten off.
- Leave a long tail for sewing.
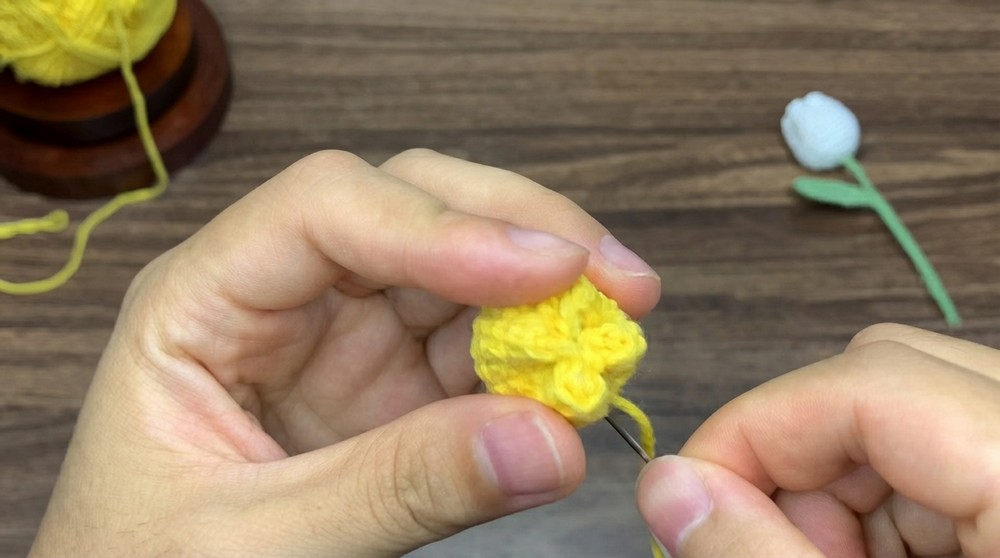
Step 7: Stuffing and Stem Attachment
- Stuff flower lightly with polyfill or yarn scraps.
- Insert floral wire or yarn stem through base, fold a small end over inside, and sew flower around wire to secure.
- Tuck magic circle tail into flower.
B. Tulip Leaf & Stem Wrapping
Step 1: Leaf Start
- With green yarn, ch 7.
Step 2: Work Leaf (first side)
- Align wire with chain for support if using wire.
- sc in second ch from hook
- sc in next ch
- hdc in next 2 ch
- sc in last 2 ch
Step 3: Work Leaf (second side)
- Rotate work; on opposite side of chain:
- sc in first stitch
- hdc in next 2 stitches
- sc in last 2 stitches
Step 4: Leaf Finishing
- Fasten off.
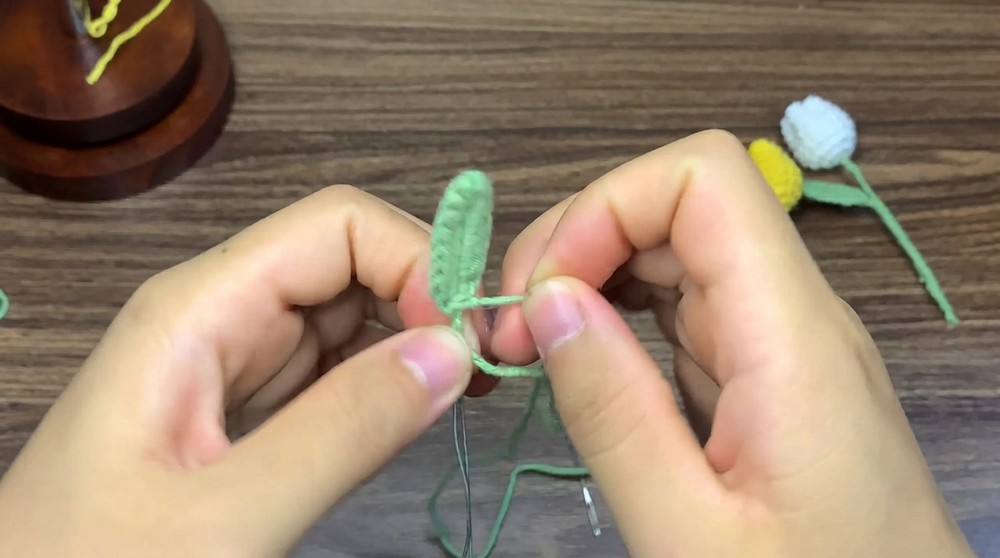
- Wrap leaf piece tightly around stem base.
- Sew or wrap yarn tail securely.
C. Bouquet Wrap (“Wrapping Paper”)
Step 1: Start
- With bone green yarn, ch 31.
Step 2: Row 1
- Ch 2 to turn (counts as first stitch).
- Starting in third ch from hook, dc in each ch across (31 dc).
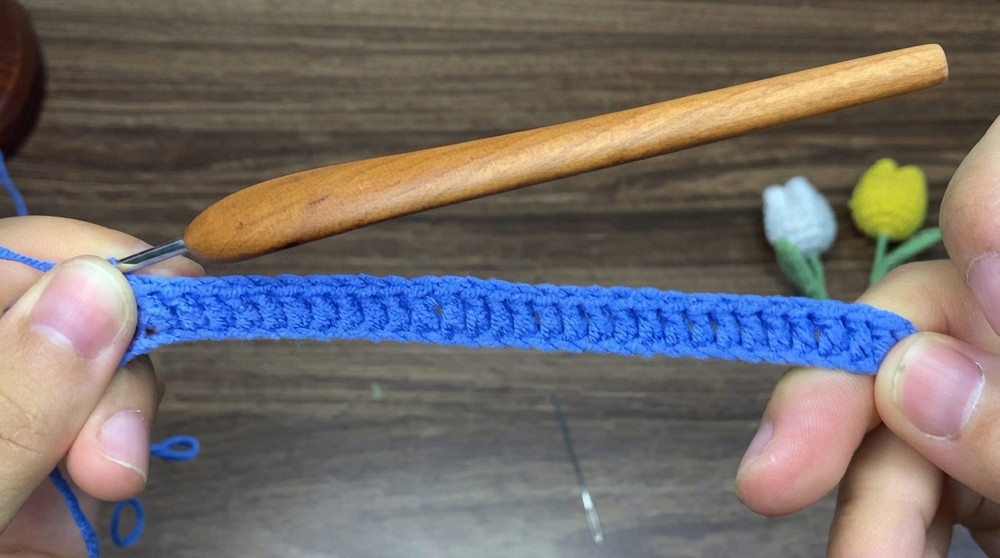
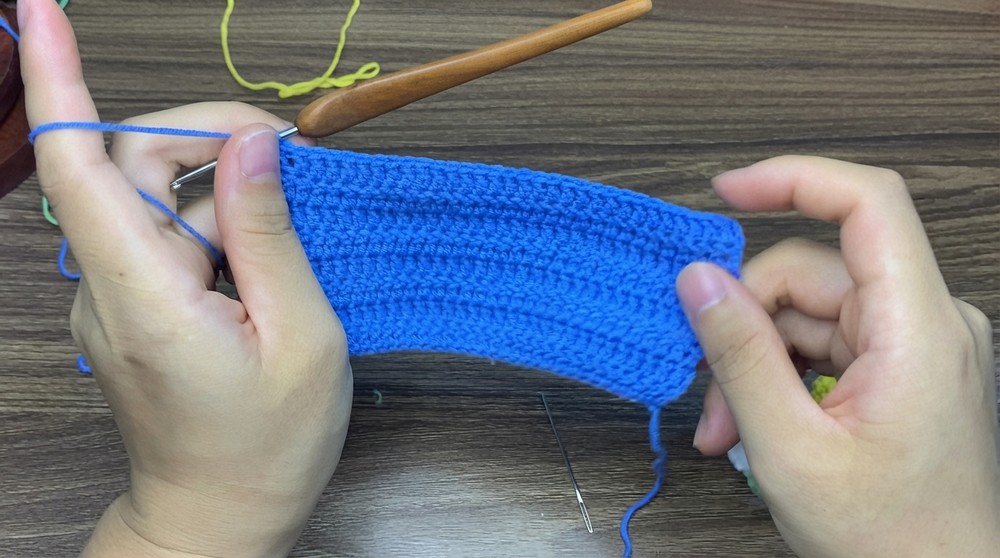
Step 3: Rows 2–8
- For each row:
- Ch 2, turn.
- dc in each stitch across (31 dc).
- Repeat until you have 8 rows (adjust for desired width).
Step 4: Wrap Finishing
- After last row, ch 1, cut yarn, and weave in ends.
D. Bouquet Tie
Step 1: Chain Tie
- With matching or contrast yarn, ch 100 (or as needed for tying).
Step 2: Finish
- Fasten off and weave in end.
Assembly & Finished Size
- Arrange tulip flowers, adjusting height and angle.
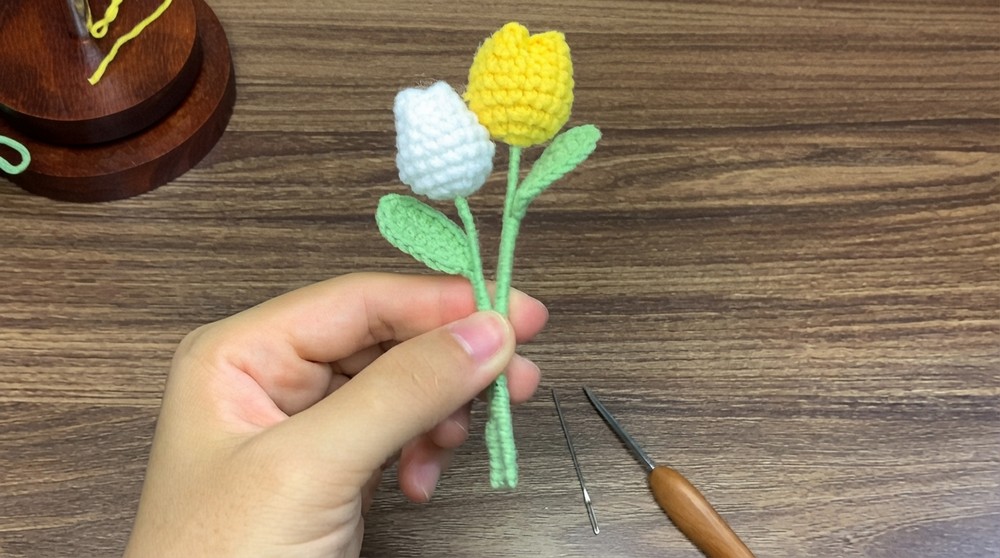
- Fold bouquet wrap around flowers like real wrapping paper.
- Tie tightly with your long chain.
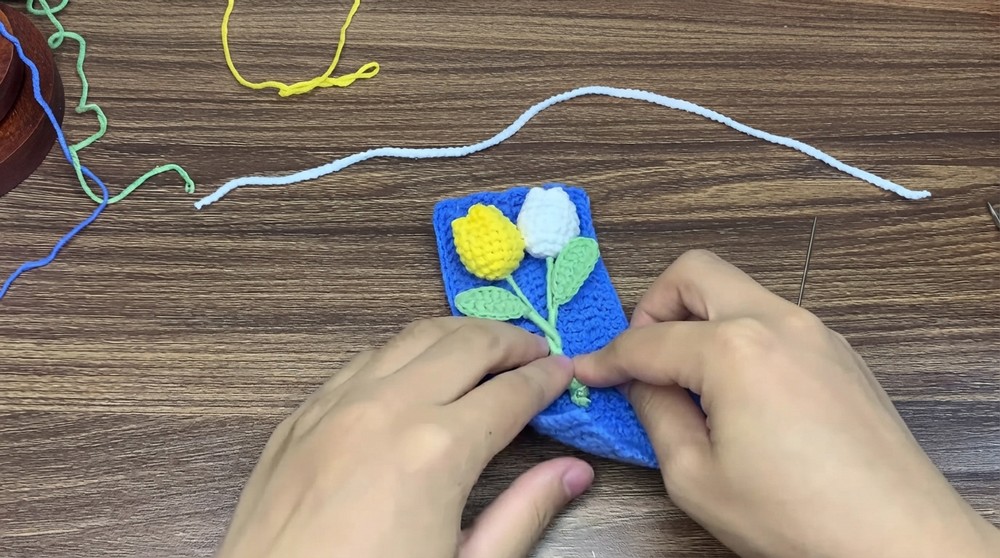
- Coil chain several times for a neat finish.
- Trim or tuck any protruding wire or yarn ends.
Finished bouquet: hand-sized, approx. 5–7″ tall and 3–4″ wide.
Conclusion
Your mini tulip bouquet is now complete, a cheerful, everlasting flower arrangement to brighten any day. Enjoy practicing your crochet skills, gift a bouquet, or use individual tulips as cute charms or keychain decorations.