Crochet Simple Tulip Flower Keychain Pattern With Free Easy Tutorial

Access the free crochet tulip flower pattern to easily weave lifelike tulips, adding charm and beauty to your projects with straightforward instructions.
There’s something magical about making a flower that never fades, and that’s exactly what I experienced when I crocheted a tulip using the Free Crochet Tulip Flower Pattern. This lovely flower isn’t just a project—it’s a bright spot of color and warmth you can hold in your hands. The design is shared on the YouTube channel Happy Yarny, where the clear, easy-to-follow instructions help anyone create this beautiful flower without confusion.
Free Crochet Simple Tulip Flower Keychain Pattern for Beginners
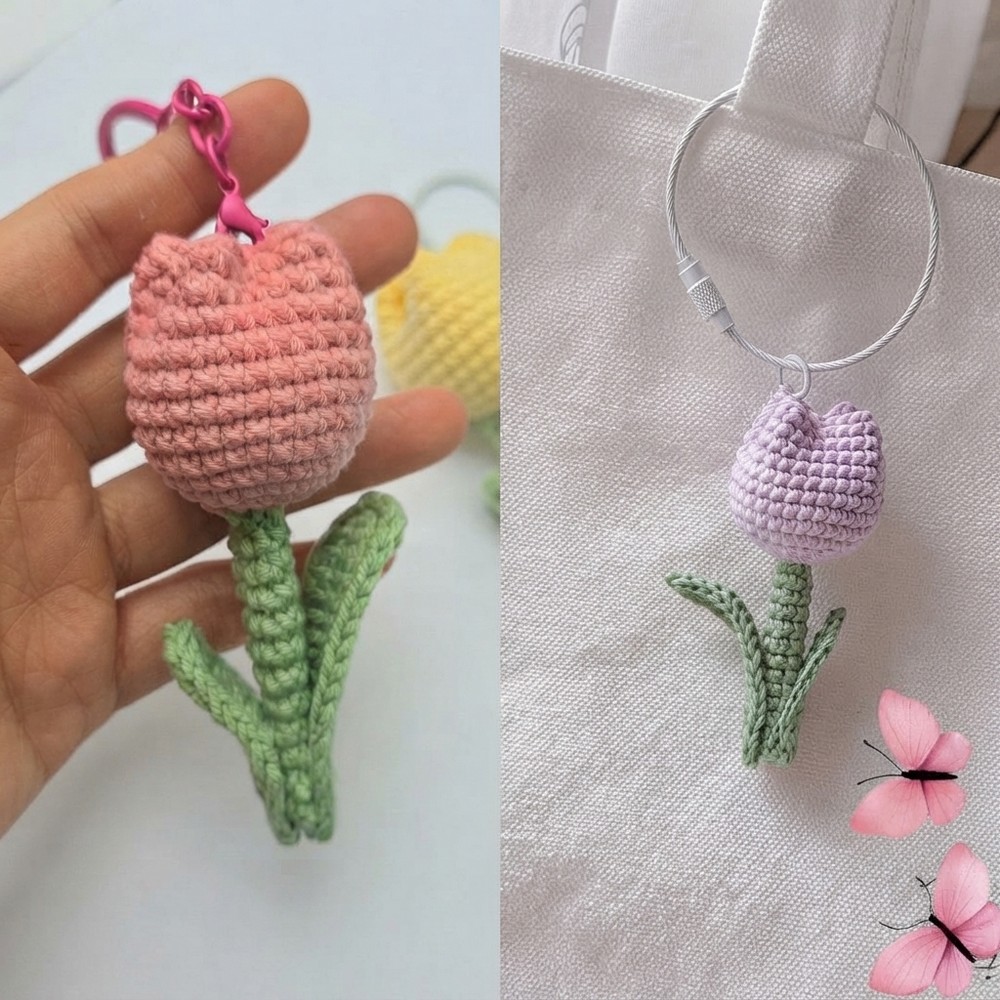
The tulip features smooth, rounded petals and a firm stem, capturing the gentle beauty of a fresh bloom. Made from soft yarn, it has a cozy texture that feels nice to the touch. Its upright shape and bright colors add cheer to any space, making it ideal as a decoration, a special gift topper, or a charming handmade accent. The carefully formed petals and little leaves add a personal touch that makes this flower truly special.
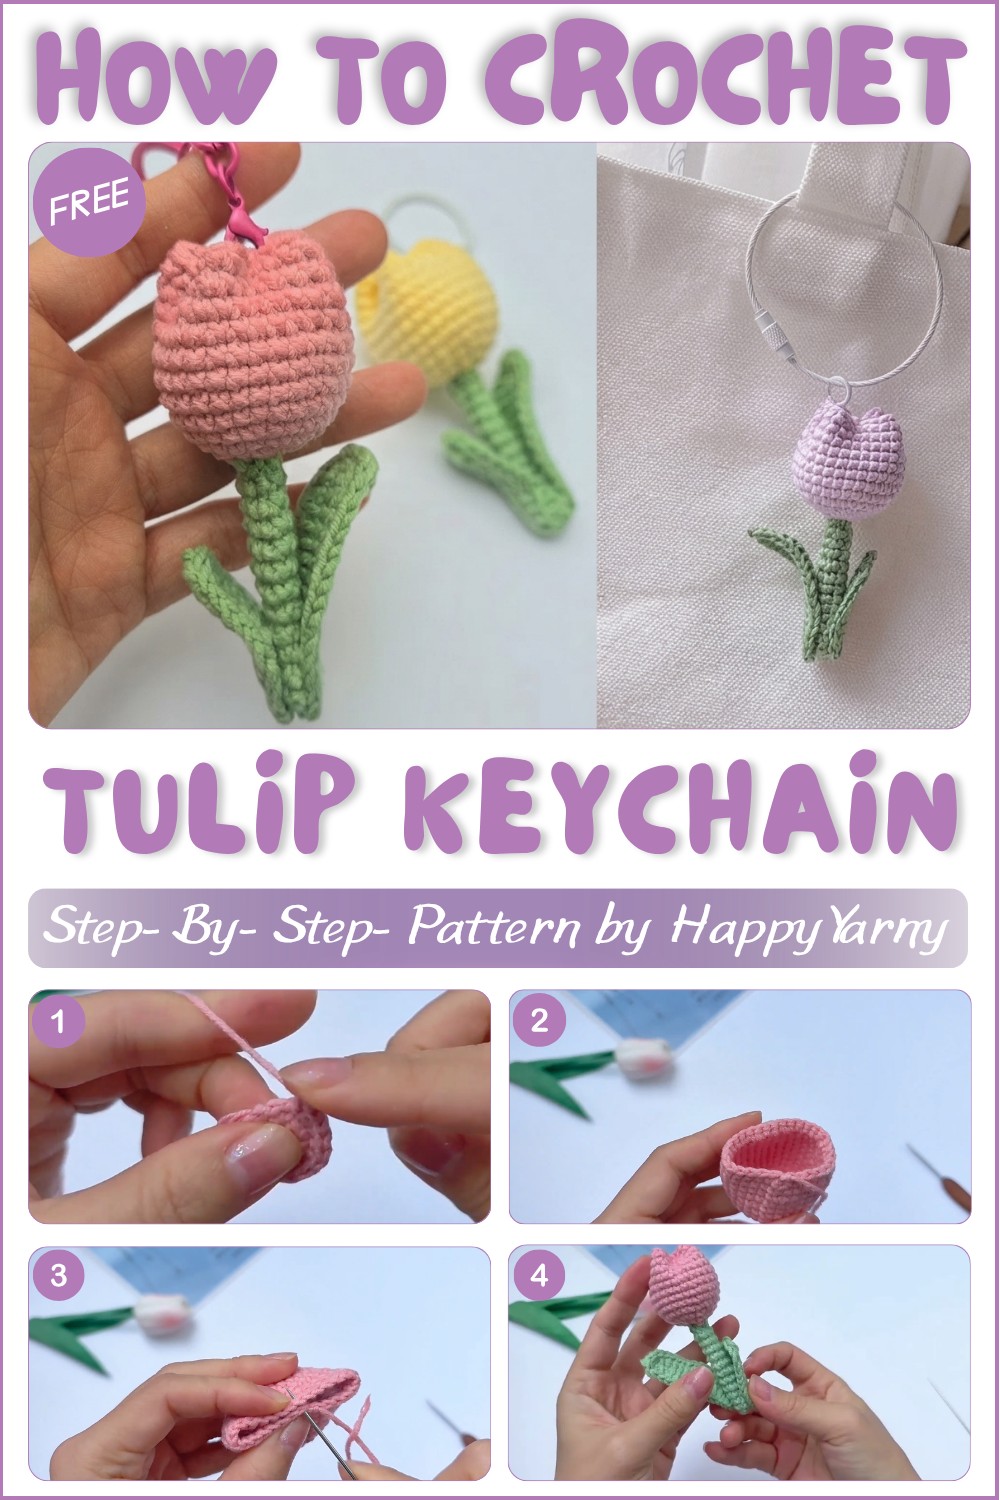
This project is suitable for beginners, using mainly simple stitches like single and double crochet. The step-by-step video guide walks you through each section, helping you feel confident throughout the process. You don’t need to be an expert to complete this sweet tulip.
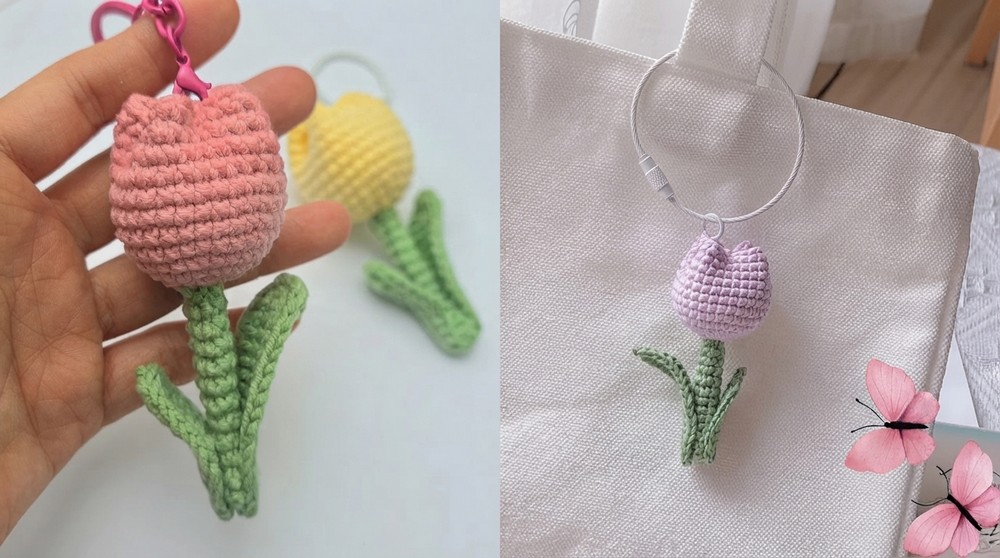
A crocheted tulip lasts much longer than a real one, making it a thoughtful gift that brightens any home. It can decorate your living space or be part of a collection of handmade items. For anyone looking for an easy and enjoyable project with a lovely result, this tulip is a wonderful choice.
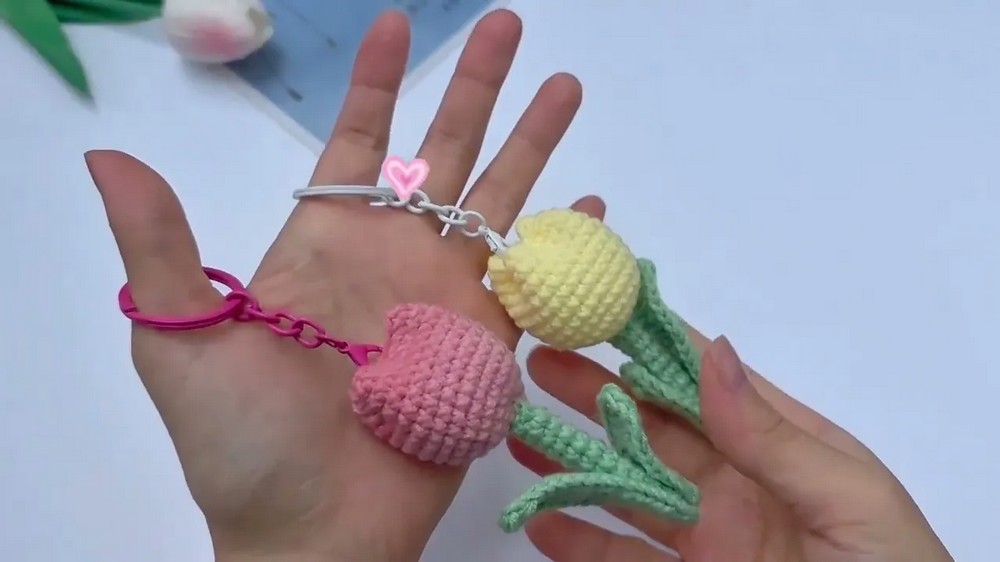
Quick Overview Of Pattern
-
Features a three-part construction: a rounded flower head, a slender stem, and two distinct leaf sizes.
-
Utilizes foundational stitches including chains, single crochet, and half-double crochet to build texture and shape.
-
Employs clear, repetitive rounds and rows, making it ideal for those developing their crochet rhythm and counting skills.
-
Finished with a simple, clean assembly method that ensures a polished and secure final result.
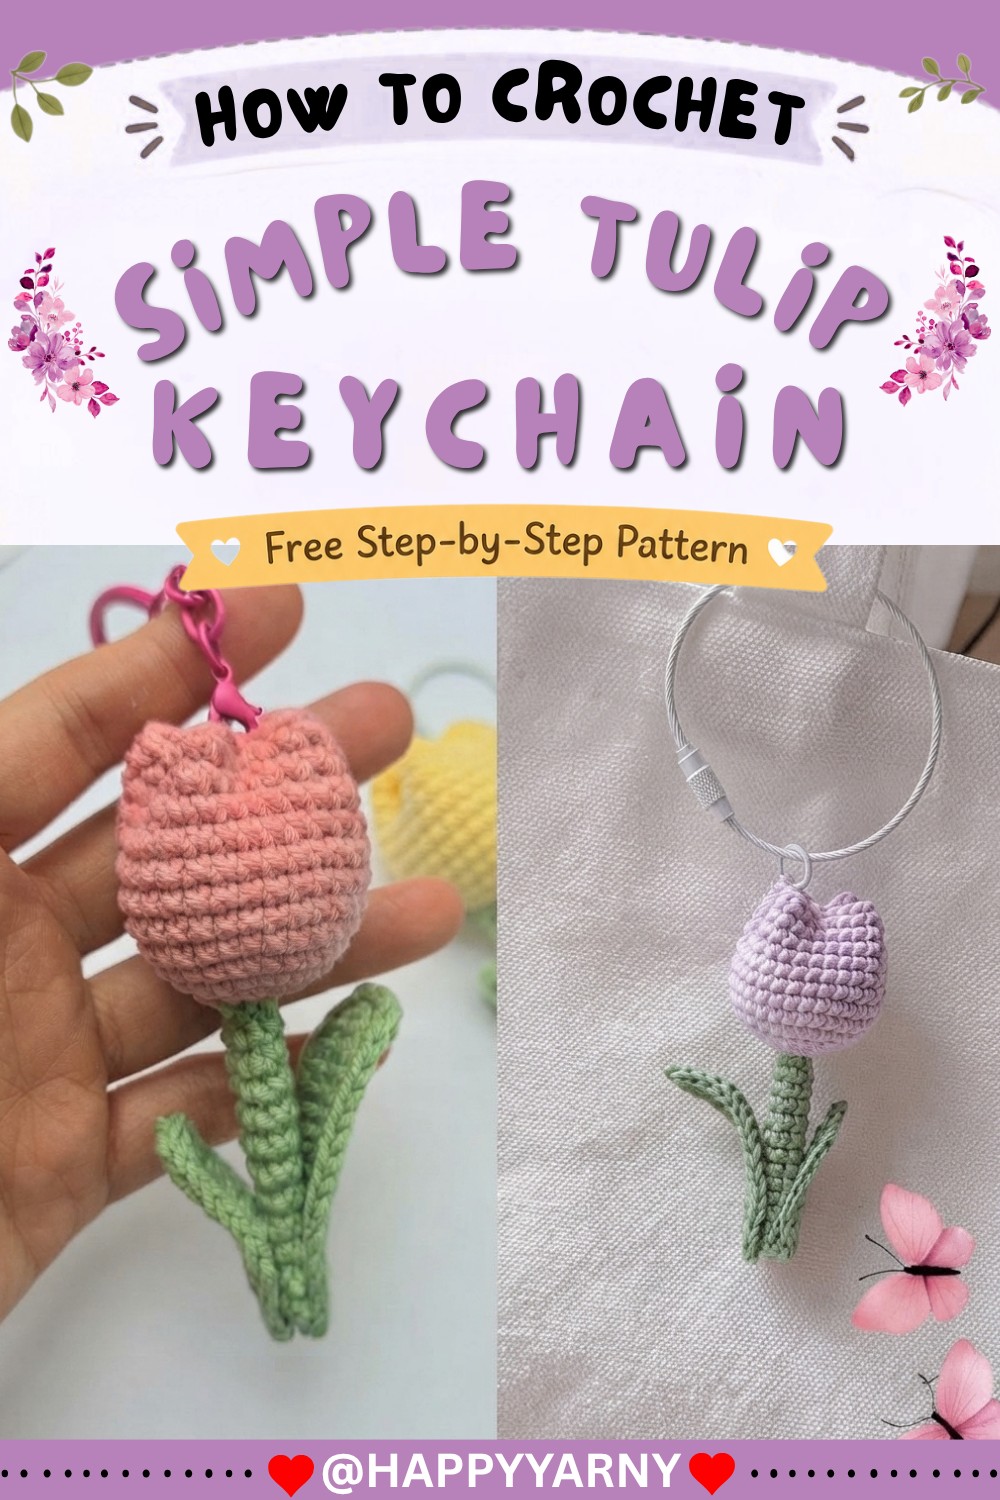
Easy Crochet Tulip Flower Pattern & Tutorial
This charming crochet tutorial, provided by the channel HappyYarny, offers a delightful and accessible pattern for creating a whimsical tulip flower, perfect for use as a keychain or a dainty decoration. The tutorial is expertly paced for beginners, breaking down the project into manageable steps that ensure success for anyone new to the craft of amigurumi.
With a focus on clarity and simplicity, the pattern demonstrates how to achieve the iconic shape of a tulip, from the rounded flower head to the delicate leaves and stem, providing all the necessary technical guidance to transform basic yarn into a finished, adorable accessory.
Notes
This project is worked in continuous rounds for the flower and stem, while the leaves are worked in rows. A stitch marker is highly recommended for the rounds to maintain accurate counts. Maintain consistent, moderate tension throughout; stitches that are too loose may allow the fiberfill to show through, while excessively tight stitches can make insertion difficult.
Skill Level
Beginner
Materials
-
Worsted weight yarn in pink or yellow (for the flower head).
-
Worsted weight yarn in light green (for the stem and leaves).
-
A 2.5 mm crochet hook.
-
A tapestry needle for sewing and finishing.
-
Stitch marker.
-
Fiberfill or polyfill for stuffing.
-
Hot glue (optional, for attaching leaves).
-
Keychain ring.
Gauge
Gauge is not critical for this project, but aim for a dense, even tension to ensure the stuffing remains securely contained within the flower head.
Stitch Abbreviations
-
sc: Single Crochet
-
inc: Increase (two single crochet in the same stitch)
-
st(s): Stitch(es)
-
ch: Chain
-
hdc: Half-Double Crochet
-
hdc-w: Half-Double Crochet (worked as a specific pattern instruction)
-
MR: Magic Ring
-
sl st: Slip Stitch
Special Stitches
-
Magic Ring (MR): The standard starting technique for amigurumi to ensure a gap-free center.
-
Increase (inc): Working two single crochet stitches into a single stitch to expand the circumference.
The Crochet Pattern!
To begin your tulip project, start by anchoring your work within the magic ring, which provides a secure, gap-free base for the flower head. As you work in rounds, focus on maintaining an even, consistent tension to ensure the bloom keeps a soft, rounded shape. Once you have reached the desired width, simply continue crocheting around each stitch without increasing until the piece has enough height to be stuffed, creating that signature plump appearance that brings your flower to life.
Part 1: The Flower Head (Use Pink/Yellow Yarn)
-
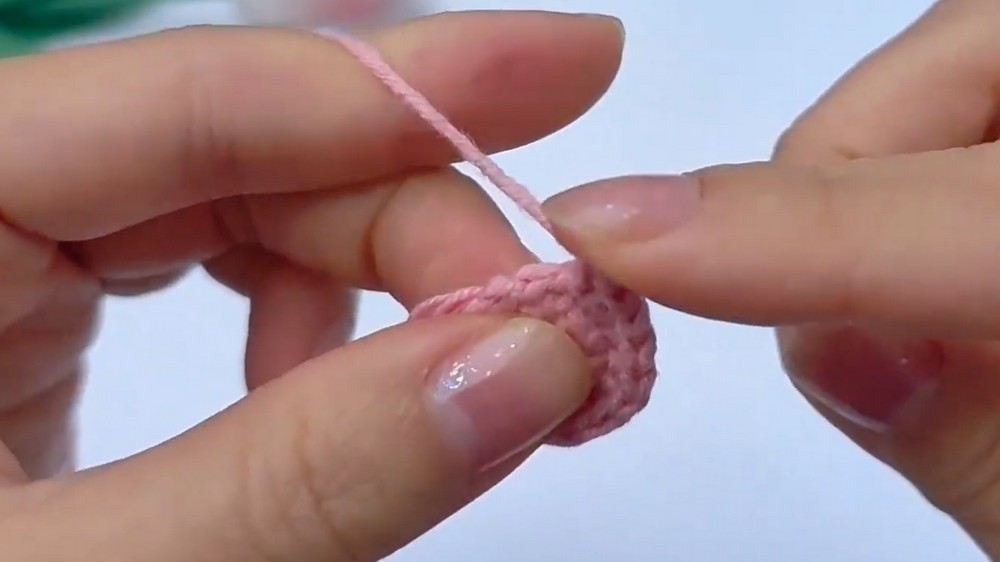
Round 1: 6 sc in MR [6]
-
Round 2: 6 inc [12]
-
Round 3: (1 sc, 1 inc) x 6 [18]
-
Round 4: (1 sc, 1 inc, 1 sc) x 6 [24]z
-
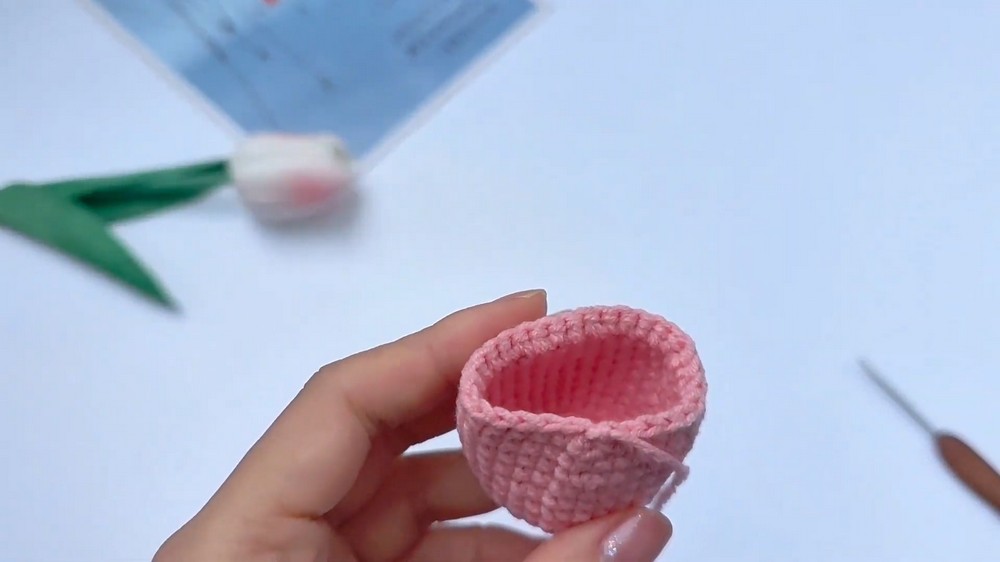
Round 5: (3 sc, 1 inc) x 6 [30]
-
Round 6: 30 sc [30]
- Round 7: 30 sc [30]
- Round 8: 30 sc [30]
- Round 9: 30 sc [30]
- Round 10: 30 sc [30]
- Round 11: 30 sc [30]
- Round 12: 30 sc [30]
- Round 13: 30 sc [30]
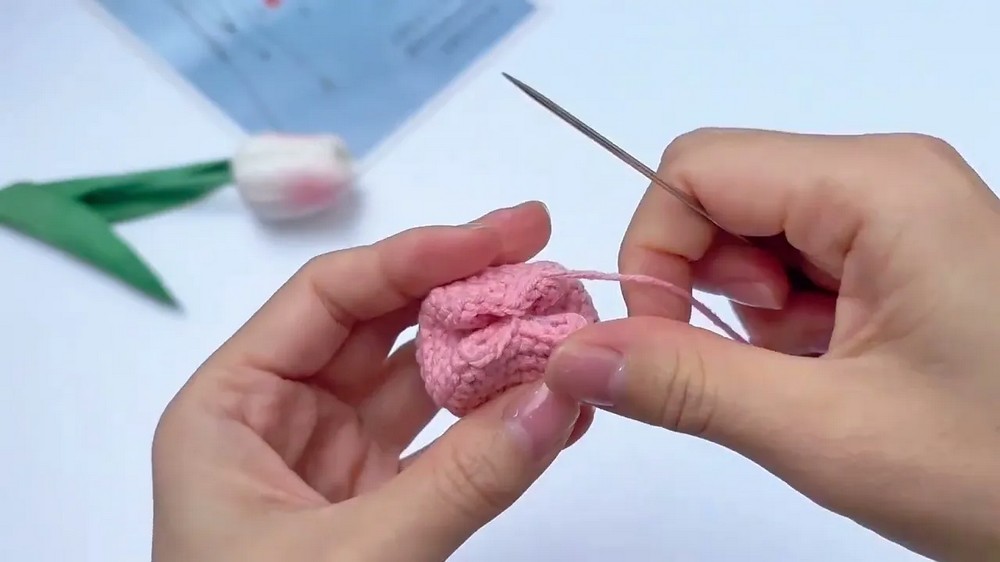
Fasten off, leaving a long tail for sewing. Stuff the flower head firmly with fiberfill. Use the tapestry needle to sew the top closed by weaving through the front loops and pulling tightly to shape the flower petals, as shown in the tutorial.
Part 2: The Large Crochet Leaf (Use Light Green Yarn)
-
Ch 17, start in 2nd ch from hook.
-
Row 1: 2 sc, 13 hdc, 3 hdc in the same last stitch, 13 hdc, 2 sc, sl st to finish.
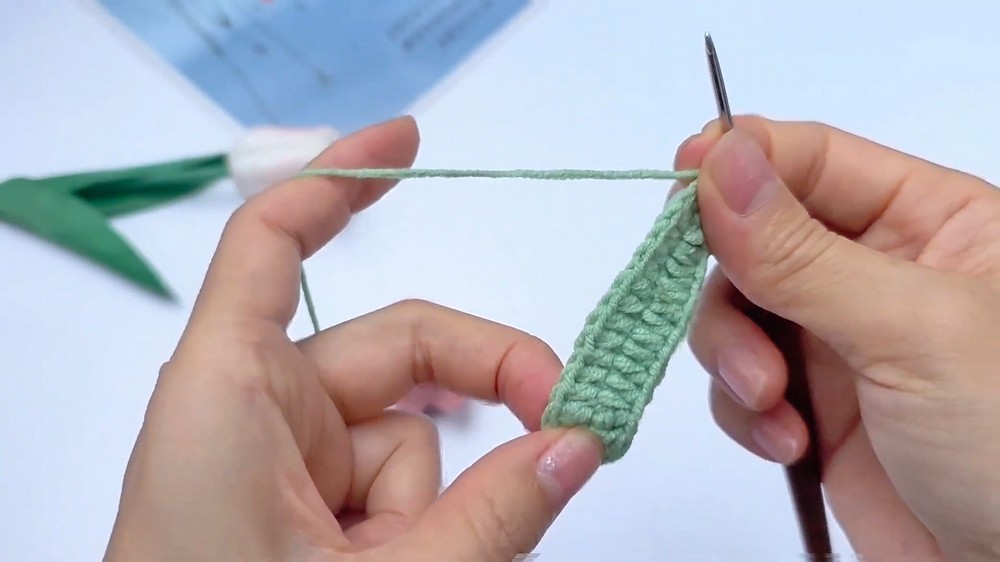
For the middle portion of the pattern, shift your focus to the stem and leaves, which are worked individually to allow for better control. The stem is created by repeating simple, continuous rounds until it reaches your preferred length, while the leaves are worked in rows using a combination of single and half-double crochet stitches. This variety in stitch types naturally forms the pointed, delicate structure of the foliage, providing a beautiful, lush contrast to the vibrant head of your tulip.
Part 3: The Small Leaf Pattern (Use Light Green Yarn)
-
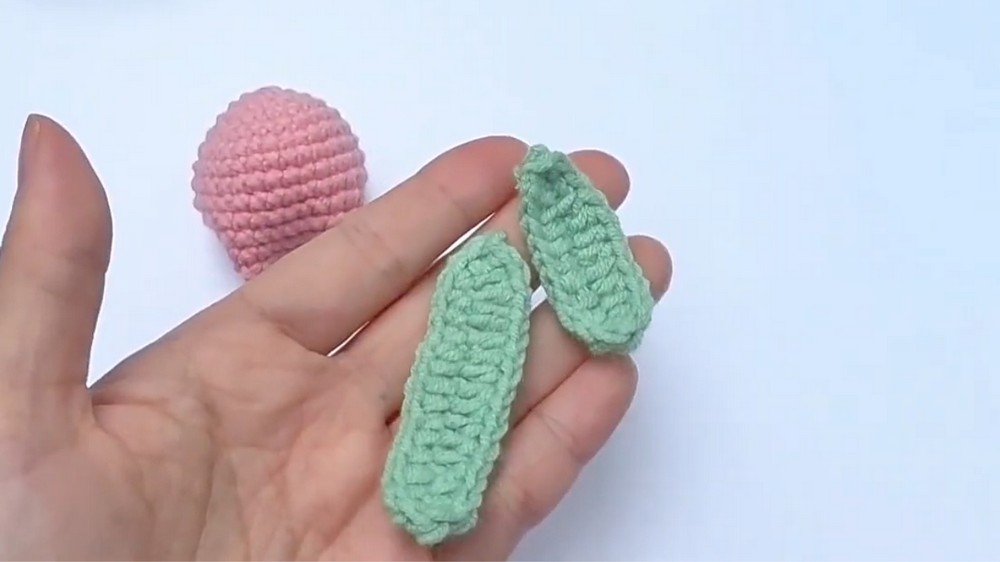
Ch 12, turn.
-
Row 1: Start in 2nd ch from hook: sl st, 2 sc, 7 hdc, 3 hdc in the same last stitch, 7 hdc, 2 sc, sl st to finish.
-
Both leaves are completed.
Part 4: The Flower Stem (Use Light Green Yarn)
-
Round 1: 6 sc in MR [6]
-
Round 2–12: 6 sc [6] (11 rounds total)
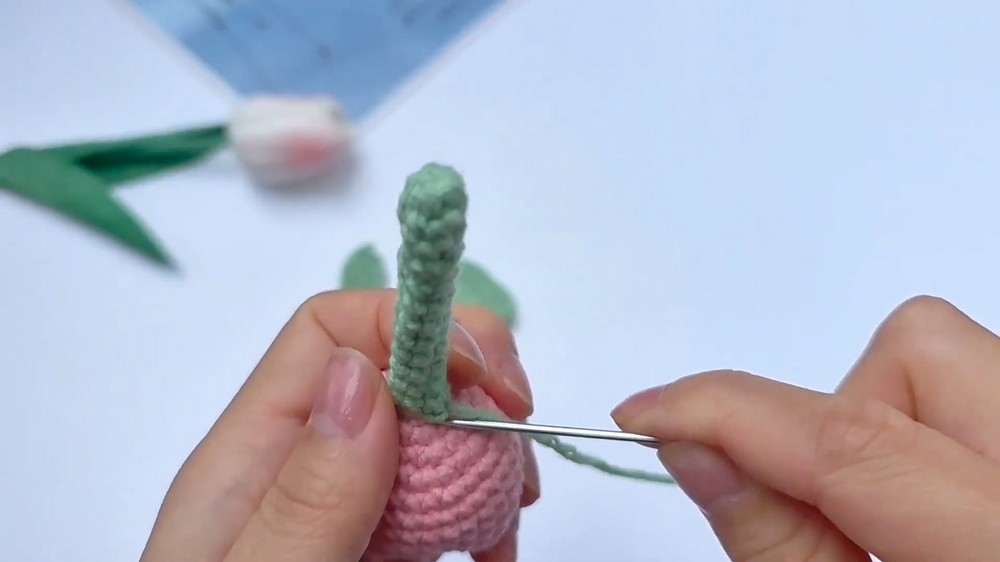
Fasten off, leaving a long tail for sewing.
Finally, complete your project by carefully assembling the individual components into a cohesive, functional keychain. Methodically sew the top of the stem to the base of the flower head, ensuring it is centered so the piece hangs straight, then fix the leaves securely around the bottom. After weaving in any remaining loose yarn tails and attaching your keyring hardware, your efforts culminate in an adorable, professional-looking accessory that showcases the elegant, straightforward beauty of your work.
Assembly & Finished Size
To assemble, use your tapestry needle to sew the stem onto the base of the flower head securely. Once the stem is attached, arrange the large and small leaves at the base of the stem. You may use a small amount of hot glue to fix the leaves in place for a neat, permanent position. Finally, attach the keychain ring through the top of the flower head. The finished tulip is compact and portable, perfectly sized for a keychain.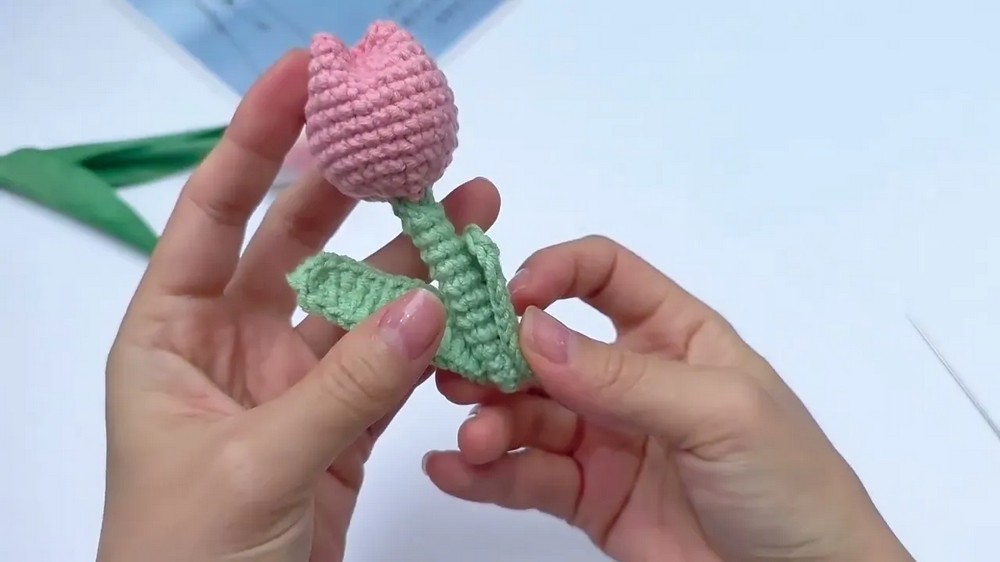
Conclusion and ending words
This charming tulip project is a wonderful way to practice fundamental amigurumi techniques while resulting in an adorable, functional accessory. Its simplicity makes it an excellent choice for expanding your repertoire or for making quick, thoughtful gifts. Whether you choose to make one or a whole bouquet of colors, your effort will certainly result in a delightful and lasting piece. Happy stitching!
Watch the full tutorial here: https://youtu.be/evJF0VJ-uJs