Free Crochet Gingerbread Man Pattern – Video Tutorial

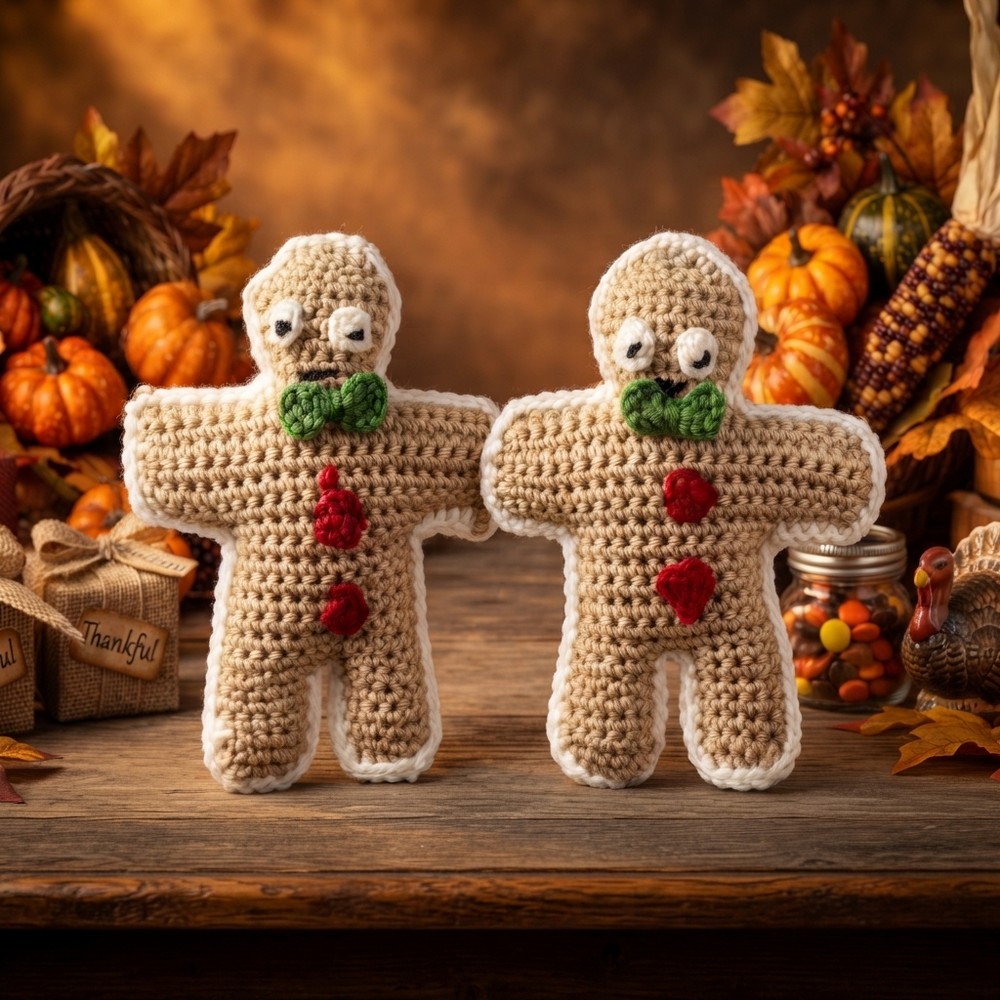
Keep your holiday decor cozy and festive with this free crochet gingerbread man pattern, adding warmth and charm to gifts or seasonal decorations.
Crocheting festive decorations is such a joyful way to g et into the holiday spirit, and the free crochet Gingerbread Man pattern is a perfect project to brighten up your season. Found on Eirini Lada crochetotherapia channel, this pattern offers a charming and easy-to-make gingerbread man that captures the warmth and nostalgia of holiday celebrations.
Easy Free Crochet Gingerbread Man Pattern for Christmas Ornaments
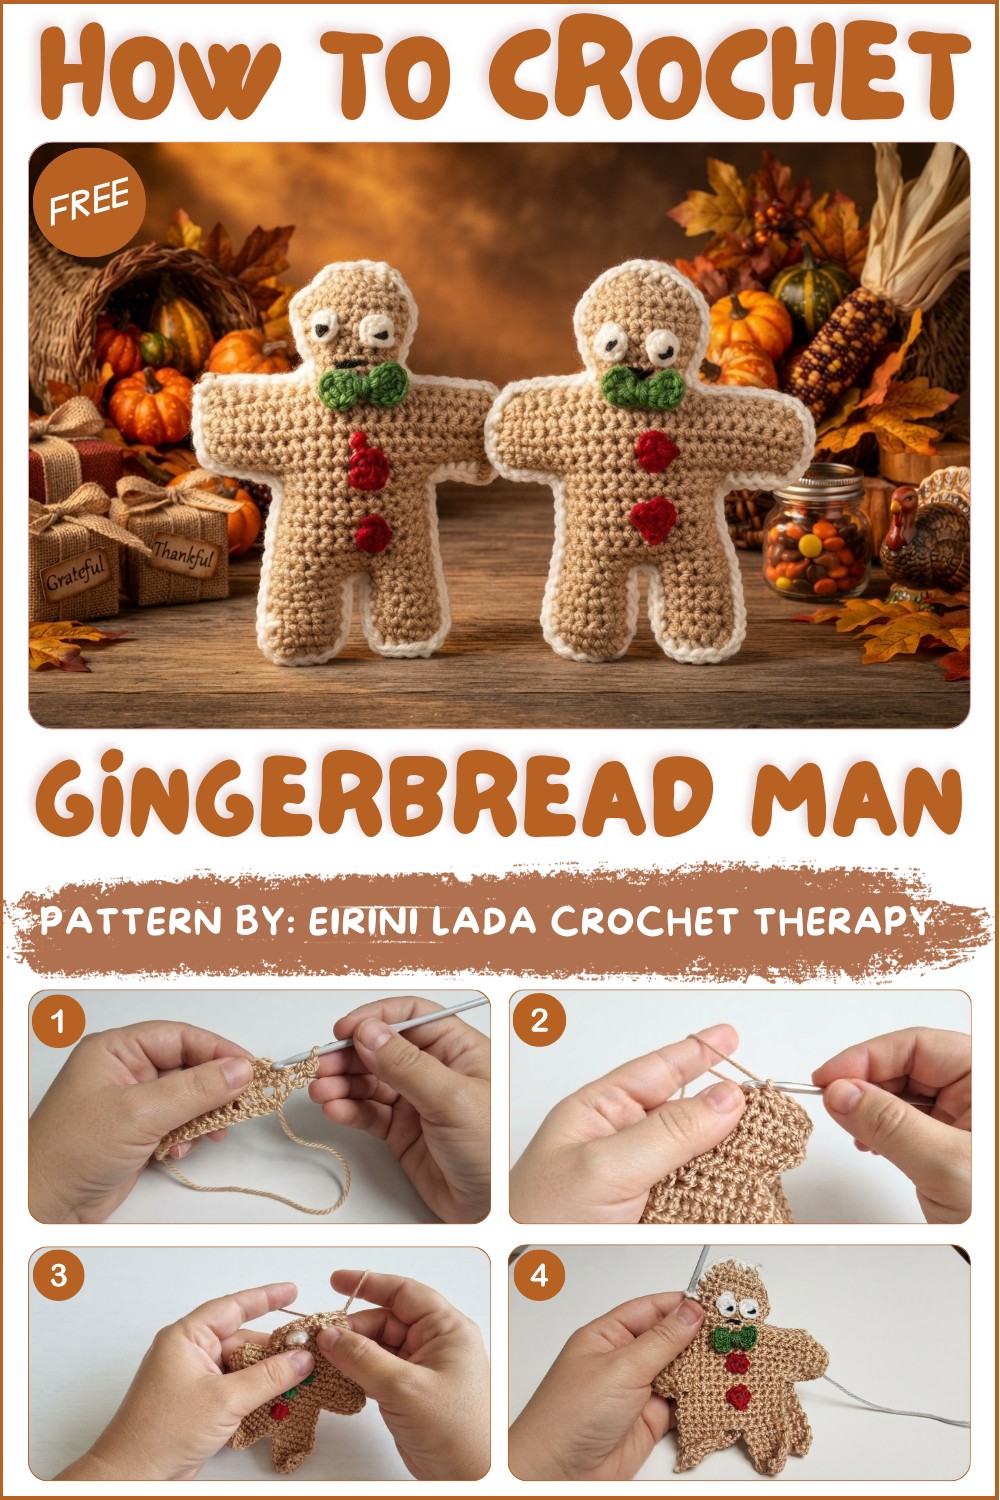
This crocheted gingerbread man is a delightful accessory that combines simplicity with festive charm. Its sweet, rounded shape and friendly details, like button eyes and a big smile, make it an inviting decoration. Whether hung on the Christmas tree, placed on a shelf, or used as a cute gift topper, this little figure adds a cozy and playful touch to any holiday setting.
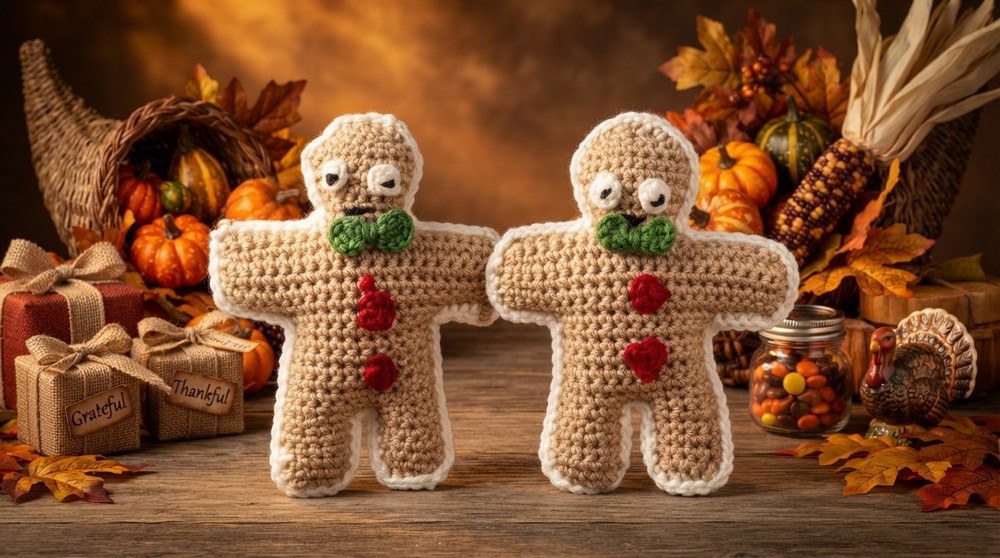
One of the best things about this project is its potential as a heartfelt gift. Handmade crochet gingerbread men are unique and meaningful presents that show thoughtfulness and care. They’re perfect for friends, family, or coworkers, and their timeless appeal ensures they’ll be treasured keepsakes for years to come.
If you’re searching for a fun and festive crochet project this holiday season, I warmly recommend checking out the free crochet Gingerbread Man pattern from Eirini Lada crochetotherapia. It’s a wonderful way to add a handmade, joyful touch to your celebrations and spread cheer through your crochet.
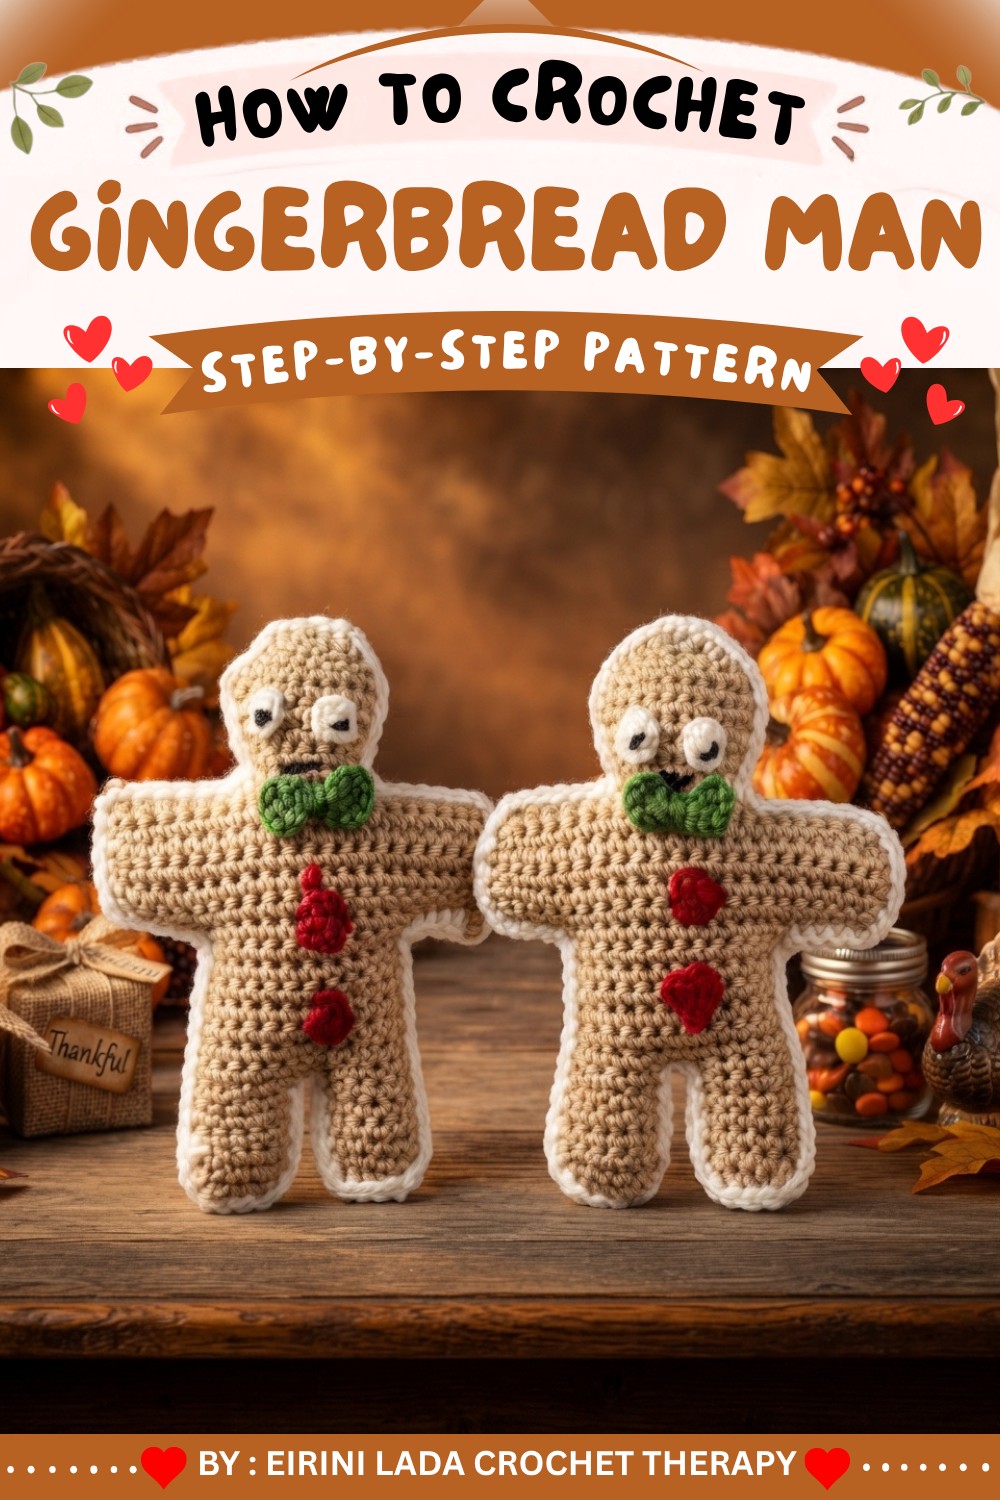
Biskotoulis (Cookie Doll) Crochet Pattern
This step-by-step tutorial guides you through making “Biskotoulis,” an adorable cookie doll constructed from two identical flat panels, which are joined, detailed, and stuffed. The instructions below strictly follow the video’s breakdown, including shaping, assembly, and all embellishments. The result is a charming plush perfect for gifting or decoration.
Pattern Basics
Main Shape Construction
- Worked flat in rows: Foundation chain, single crochet rows, and shaping with increases and decreases.
- Separate shaping for arms, legs, and head: Built directly onto the body panel without sewing.
Decorative Details
- Bow and button/eye motifs worked separately and attached.
- Each “cookie” edge is joined with single crochet for a neat finish.
Three-Dimensional Assembly
- Panels are joined and lightly stuffed for a pillow-like plush cookie effect.
Notes
- Work in rows for each panel. Turn and chain 1 at the end of every row unless otherwise specified.
- Always work the reduction/arm shaping exactly as described for proper form.
- Make two identical body pieces. Join at the end with single crochet edging.
- Magic circle (for bow and eyes/buttons): Recommended for tight center.
- Poly-fill should be inserted just before final closing.
- Pattern uses US crochet terminology.
Skill Level
Confident beginner to intermediate.
Techniques include foundation chains, working in rows, increases, decreases, working in the back loops, colorwork (optional), and magic ring for details.
Materials
- Worsted weight yarn (Cookie: tan/beige; Bow: color of choice; Eyes/Buttons: black or color of choice)
- 3.5 mm crochet hook (or as needed for plush, dense fabric)
- Small amount of poly-fill or fiber stuffing
- Yarn needle and scissors
- Stitch markers (optional)
Measurements / Sizing
- Finished Height: Approx. 18–20 cm (7–8”)
- Width: Approx. 13–15 cm (5–6”)
Gauge
- Not critical for this toy. Ensure stitches are tight enough to prevent stuffing showing between the stitches.
Stitch Abbreviations
| Abbreviation | Stitch Name |
|---|---|
| ch | chain |
| sc | single crochet |
| dc | double crochet |
| st(s) | stitch(es) |
| sl st | slip stitch |
| sc2tog | single crochet 2 together (decrease) |
| MR | magic ring/magic circle |
Special Stitches
- Magic Circle/Ring (MR): Make an adjustable ring for tightly closed embelishments (bow, eyes, buttons).
- Increase: Work 2 sc in one st.
- Decrease (sc2tog): Insert hook into next st, yo, pull up a loop, repeat in next st, yo, pull through all 3 loops.
Detailed Pattern
1. Main Body Construction
Foundation
- Ch 23.
Rows 1–6
- Row 1: Sc in 2nd ch from hook and in each ch across (22 sc).
- Ch 1, turn.
Rows 2–6: Sc in each st across (22 sc per row).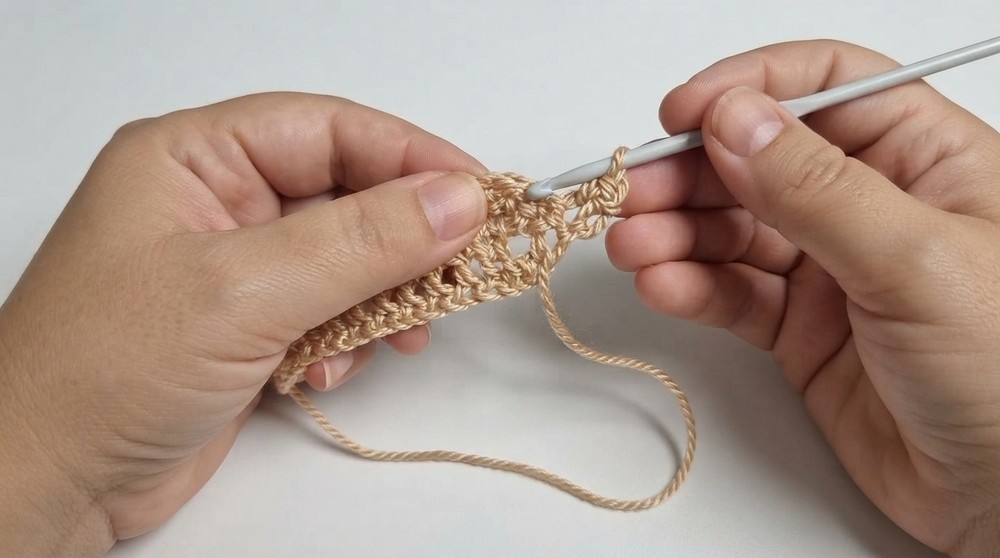
At the end of Row 6, do not turn; continue with the reduction shaping.
Wait/Reduction
- Work 5 sc in back loops only.
This is at one short edge for beginning of the arm/shoulder.
2. Arms
Row 7
- Skip 5 sts from reduction,
- Attach yarn, sc in next 12 sts (start at 6th st).
(You are now working the arm segment.)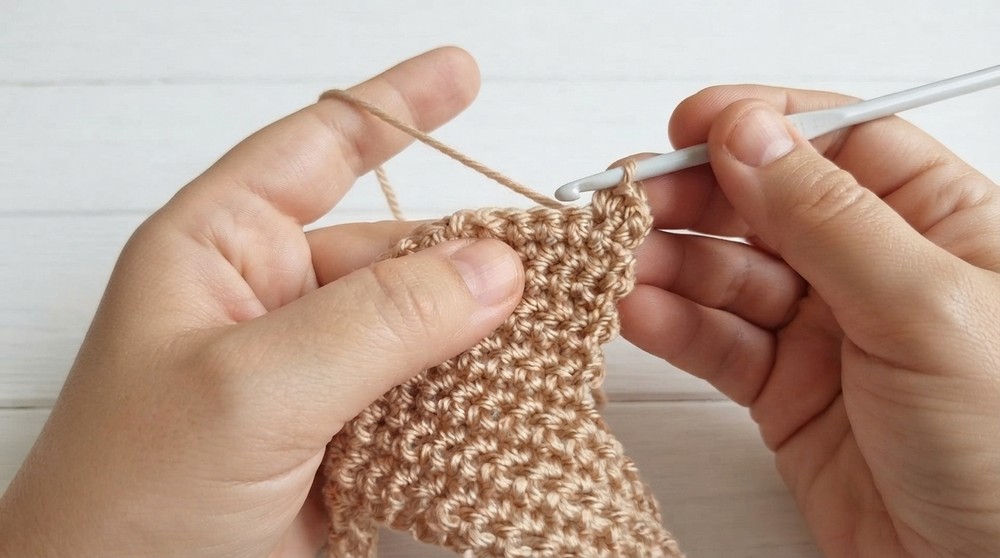
Rows 8–12
- Ch 1, turn.
- Sc in each st across (12 sc).
Repeat for a total of 5 additional rows (arms are 6 rows long total).
3. Legs
First Leg
- From left arm side:
Sc in first 5 sts, ch 1, turn.
Work 5 rows total (5 sc per row).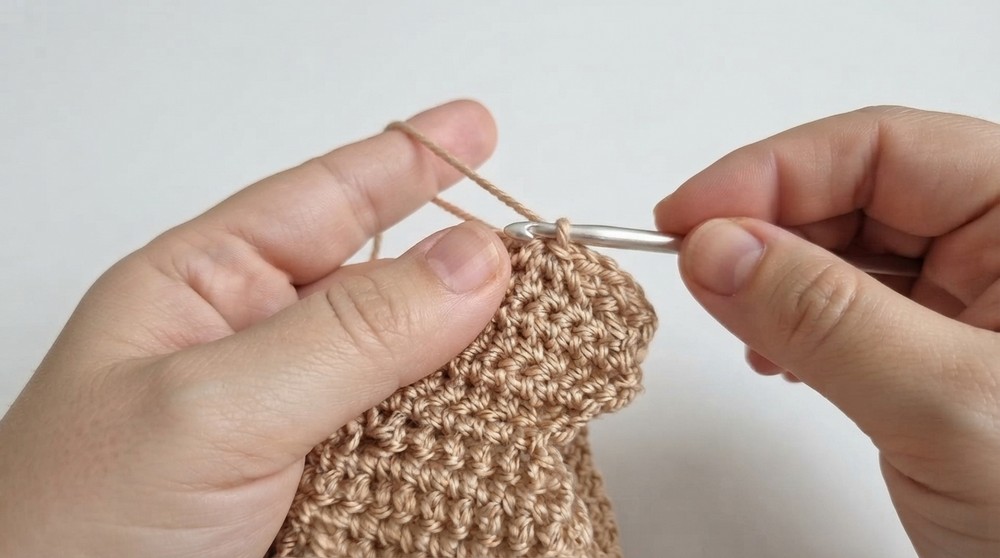
- On the final row, sc2tog, sc in next st, sc2tog (shapes the sock/foot).
Second Leg
- On the right side, attach yarn to the last 5 sts of the arm row.
- Sc in 5 sts, ch 1, turn.
Work 5 rows as for first leg; repeat shaping with sc2tog, sc, sc2tog on fifth row.
4. Head
Foundation
- Count 8 stitches along the top of the arm row, attach yarn in the 9th st.
Increases Row 1: Sc in next 8 sts.
- Row 2: Ch 1, turn. 2 sc in first st, sc in next 6 sts, 2 sc in last st (10 sts).
- Row 3: Ch 1, turn. 2 sc in first st, sc in next 8 sts, 2 sc in last st (12 sts).
- Repeat increase row as established until desired head roundness is reached (usually 14 sc).
Decreases
- Following rows:
Ch 1, turn. Sc2tog, sc in next sts across to last 2 st, sc2tog.
Repeat for several rows until head tapers (approx. 4 sts remain).
Fasten off.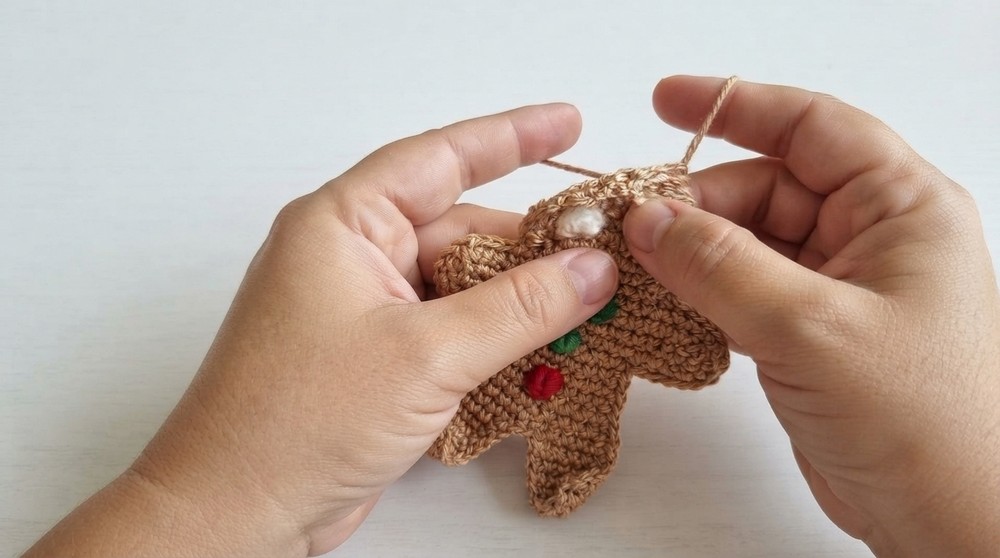
Note: Make a second identical body piece (repeat all steps above).
5. Details & Assembly
Bow
- Magic ring, ch 2, 2 dc, ch 2, sc into ring.
- Ch 2, 2 dc, ch 2, sc into ring.
- Pull tight and fasten off to secure the bow.
Eyes/Buttons
- Magic ring, work 4 sc into ring. Pull tail tight.
- Sl st to first sc, fasten off.
Make two for eyes/button details.
Final Join
- Place both pieces wrong sides together.
- Single crochet evenly around the entire perimeter to join, working 3 sc in each corner for roundness.
Stuffing
- Before closing the final section, insert poly-fill stuffing to desired fullness.
- Close opening with scs. Fasten off and weave in all ends.
Assembly & Finished Size
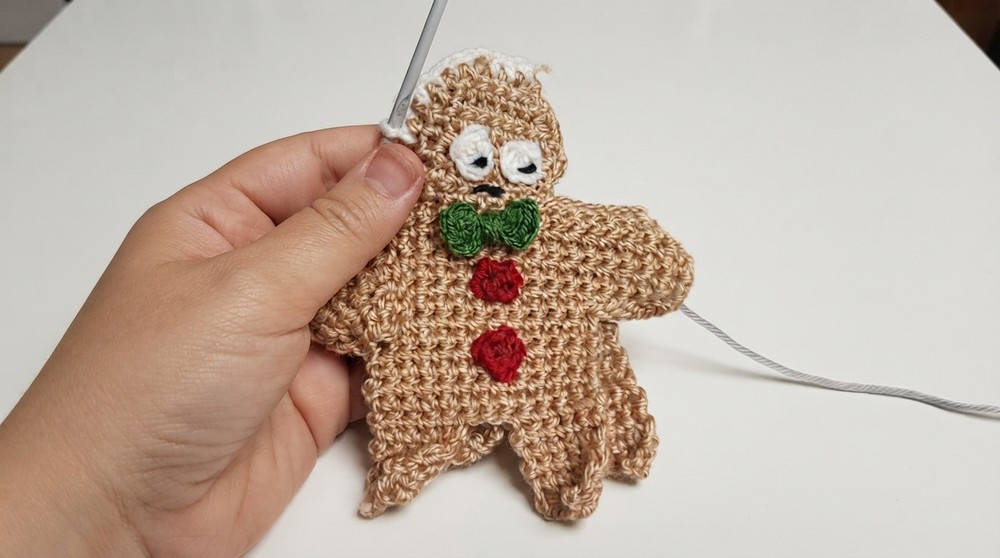
- Sew bow, eyes, and buttons as desired to face and chest.
- Finished cookie doll should measure approximately 18–20 cm tall and 13–15 cm wide.
- Ensure all parts are securely attached, and all yarn tails are clipped and hidden.
Conclusion
Well done! You have now crocheted the Biskotoulis Cookie Doll by following a comprehensive step-by-step process. Each detail—from the plush, joined edges to the three-dimensional bow and face—reflects attentive craftsmanship and playful design. The resulting doll is both whimsical and sturdy, perfect as a gift, collectible, or decorative accessory.