Free Crochet Dizzy Duck Pattern | No Sewing Required

Follow the free crochet Dizzy Duck pattern to effortlessly stitch a cute and fun duck, using our clear guide for quick and rewarding results every time.
There’s something truly special about making tiny, cute animals that instantly bring a smile, and that’s exactly why I enjoyed creating this little duck. The Free Crochet Dizzy Duck Pattern is a charming amigurumi project to make a sweet duckling keychain or decoration. I found this helpful tutorial by the Happy Yarny on YouTube, where the clear and friendly instructions make following along simple and enjoyable, even for those new to crochet.
Free Crochet Dizzy Duck Pattern With Easy Steps
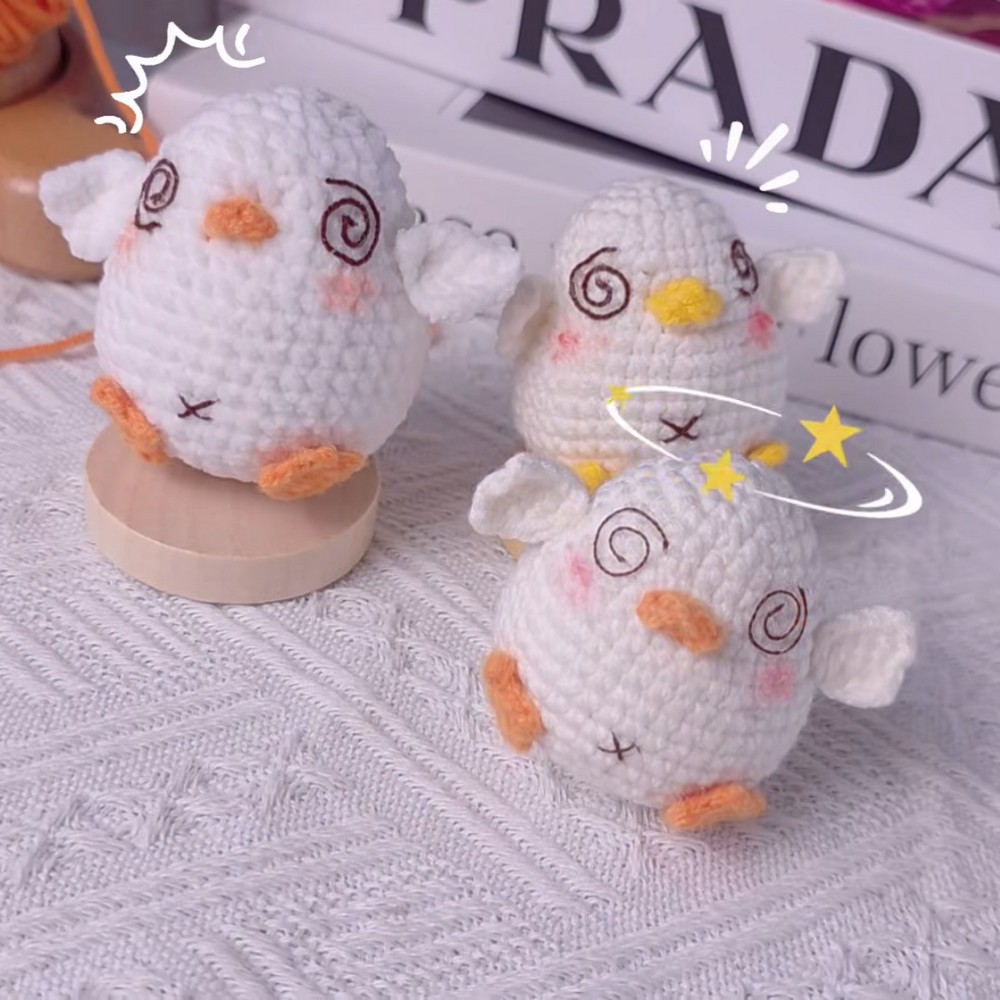
This Dizzy Duck is very cute, with a round, plump body and small wings that give it a lively, playful look. The soft, smooth feel comes from using single crochet stitches, making it nice to hold or hang on bags and keys. The bright yellow body, paired with an orange beak and tiny feet, adds a fun pop of color. The small size and simple shape make it a lovely little gift or a cheerful accessory, and you can change the size by using different yarn weights or adding your own touches.
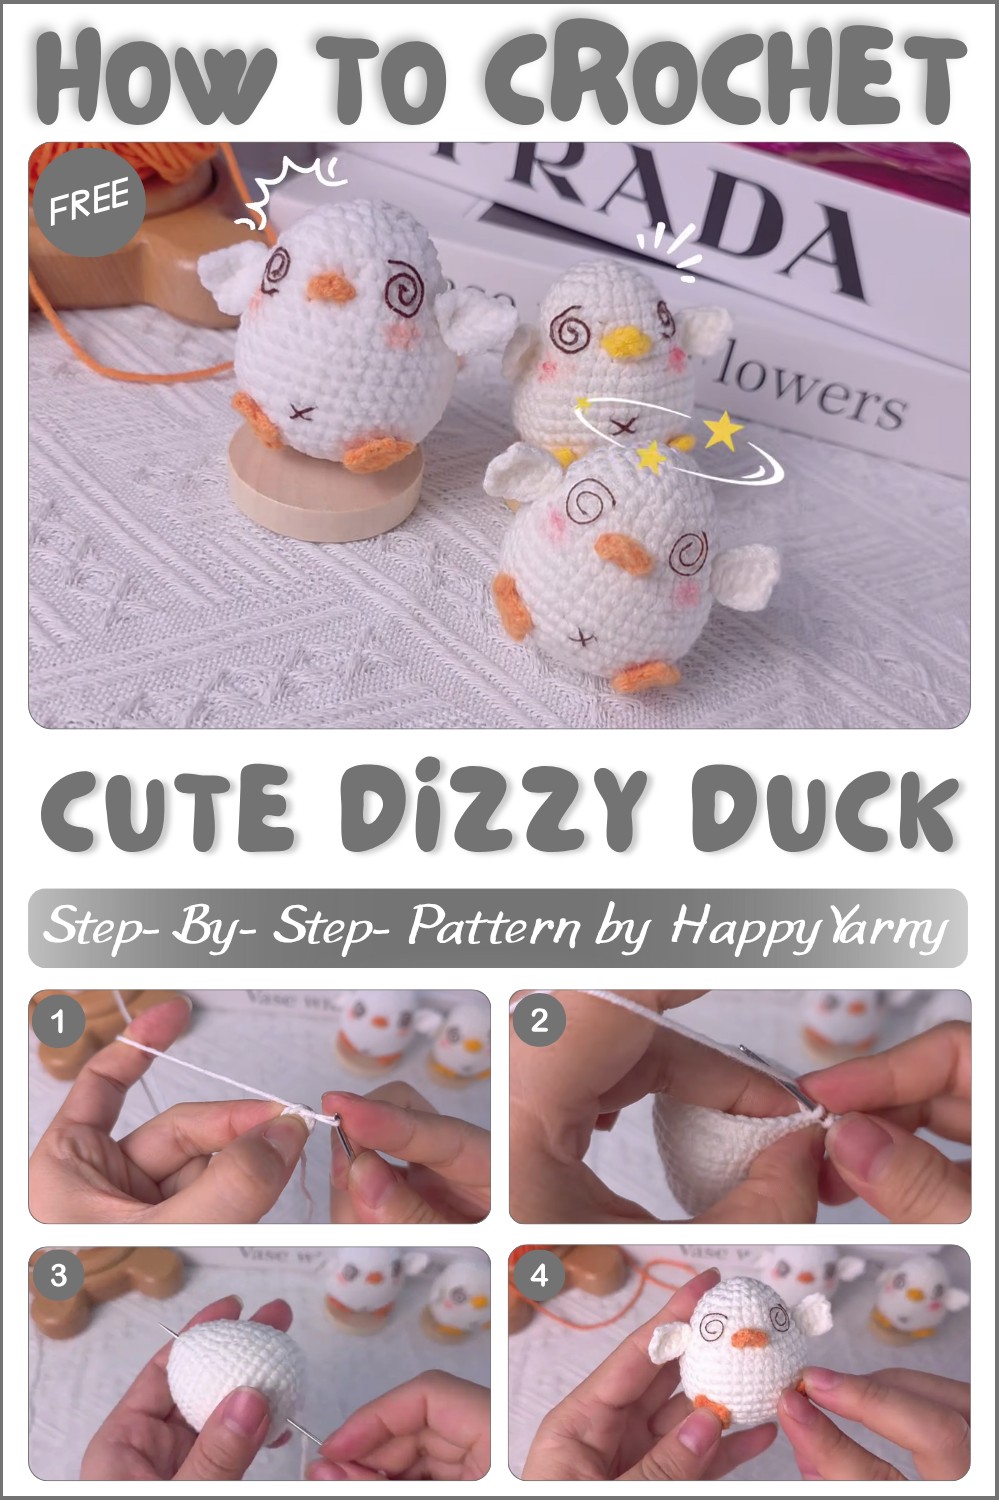
The project works well for beginners, focusing on single crochet, increases, and decreases mostly worked in rounds. The pattern clearly described how to start with a magic ring, add stuffing for shape, and finish with easy glue-on details like eyes, beak, wings, and feet. The step-by-step guide keeps things straightforward, helping you complete the duck without stress.
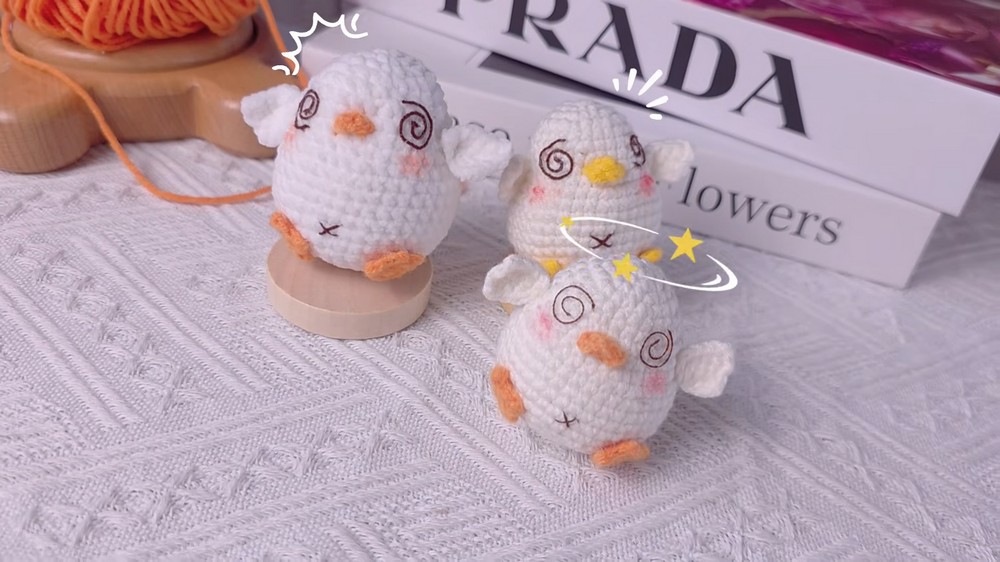
This adorable duck is a great handmade gift for friends or family who enjoy unique, personal items. It also looks nice as a cheerful decoration or a fun piece for amigurumi fans to collect. Whether you are learning to crochet or want a quick, fun project, the Dizzy Duck is a wonderful way to practice your skills while making something truly sweet.
Adorable Duckling Amigurumi Crochet Pattern
About the Channel & This Video
Happy Yarnney is a vibrant crochet YouTube channel focused on beginner-friendly amigurumi and plush creations. Hosted by an enthusiastic and supportive crocheter, the channel features projects that are small, charming, and suitable for various kinds of yarn—inviting viewers to use up their stash creatively.
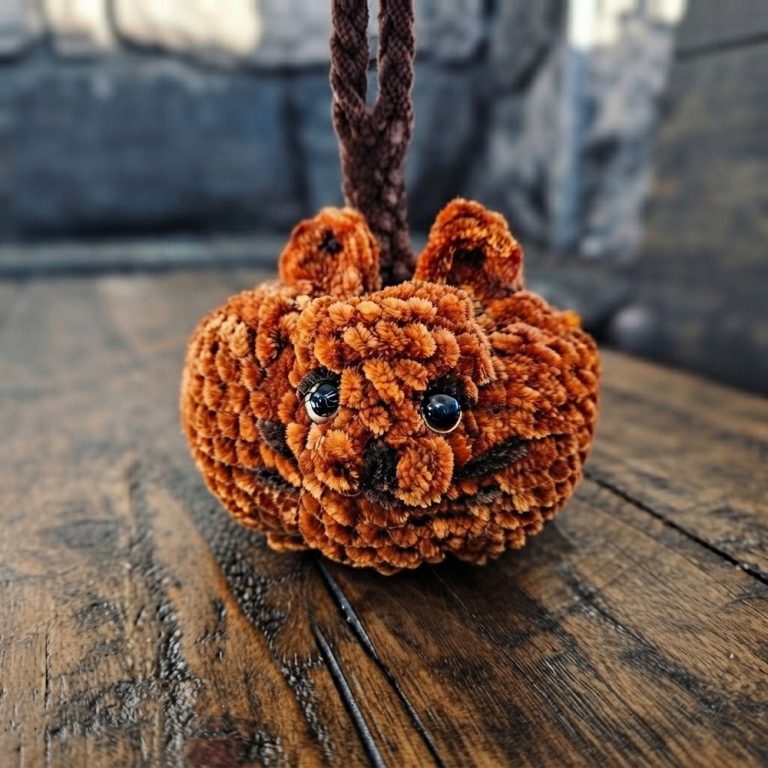
In the tutorial for this cute little duckling (found here), the host demonstrates step-by-step how to make the perfect duckling for a keychain or tiny toy. Two versions are shown, one with plushy chenille yarn for a larger duck, and the other with milk cotton yarn for detail. The pattern is flexible, simple, and works up quickly!
Introduction
In this pattern, we’ll make an adorable amigurumi duckling, perfect as a keychain, ornament, or gift. Designed to be accessible for crafters of all skill levels, it’s a delightful stash-buster and can be made in any yarn weight for different sizes. The main body is worked in a spiral (or joined rounds if you prefer sharp edges), and the pattern includes clear instructions for the body, wings, beak, feet, and final assembly.
Quick Overview Of Pattern
- Duckling is worked in continuous or joined rounds of single crochet
- Simple increases and decreases shape the body
- Easy, small, separate components for the wings, beak, and feet
- Quick and neat assembly using glue or a tapestry needle
- Easily customizable for yarn type and size
Notes
- Using a stitch marker for the first stitch of each round is essential for accurate row counting.
- For a larger duck, use chenille or other bulky yarn; for a smaller one, choose cotton or acrylic in DK or worsted weight.
- You may use joined rounds (slip stitch to the first stitch, chain 1 to start a new round) for more visible “rings,” or work in a spiral for a seamless look.
- Make invisible decreases (sc2tog through the front loop only) for neater shaping.
- Stuff the body firmly for a plush, smooth finish.
Skill Level
Beginner/Advanced Beginner
(Only basic stitches and increases/decreases needed.)
Materials
- Yellow (and orange for beak/feet) yarn in your chosen weight (milk cotton, plush chenille, or similar)
- 2.5mm–4mm crochet hook (adjust for yarn)
- Stitch marker
- Yarn needle
- Toy stuffing (polyfill)
- Small amount of black or dark yarn/thread for eyes (or use safety eyes)
- Scissors
- Craft glue (to attach small parts, if desired)
Measurements / Sizing
- Using milk cotton, the duckling measures approx. 6–7 cm tall.
- Using chenille yarn, the duckling will be much larger, roughly 10–12 cm.
- Easily increases/decreases in size based on yarn and hook.
Gauge (and Stitch Pattern if applicable)
- Gauge is not critical; stitches should be tight enough to prevent stuffing from showing.
- Sample gauge (milk cotton + 3mm hook): ~7 sc × 7 rows = 1 inch
Stitch Abbreviations
- MR – Magic Ring
- sc – Single crochet
- inc – Increase (2 sc in one stitch)
- dec or invdec – Invisible decrease (sc two together through front loops only)
- hdc – Half double crochet
- sl st – Slip stitch
- ch – Chain
Special Stitches
- Magic Ring (MR): Wrap yarn into a loop, insert hook, pull up a loop and work stitches into ring.
- Invisible decrease (invdec): Insert hook into the front loops of each of the next two stitches, yarn over, pull through both loops (two on hook), yarn over and pull through both.
- Increase: Work two stitches in the same stitch.
The Crochet Pattern
Duck Body
- Round 1: 6 sc in a Magic Ring (6).
- Mark the first stitch of each round.
- Round 2: 6 inc (2 sc in each st around) (12).
- Round 3: [sc, inc] x6 (18).
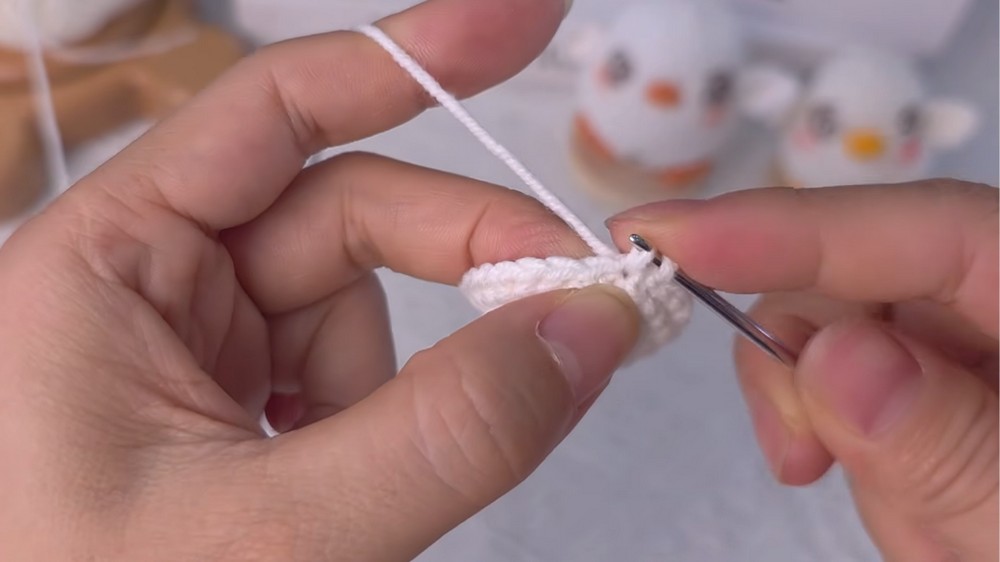
- Round 4: [sc, inc, sc], repeat x6 (24).
- Round 5: 24 sc.
- Round 6: [3 sc, inc] x6 (30).
- Rounds 7–8: 30 sc each round.
- Round 9: [5 sc, inc] x5 (35).
- Round 10: [3 sc, inc, 3 sc] x5 (40).
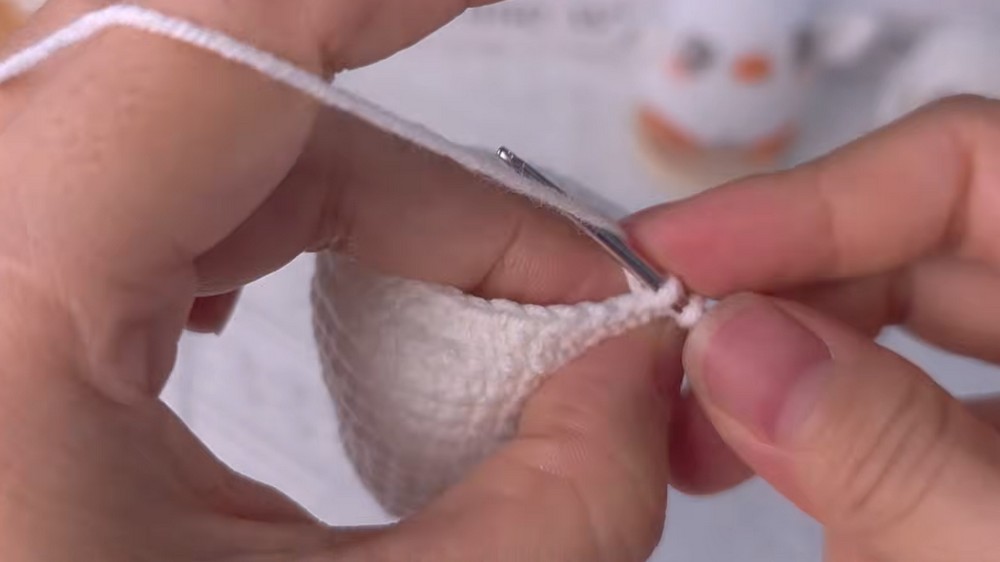
- Rounds 11–15: 40 sc per round.
- Round 16: [3 sc, invdec, 3 sc] x5 (35).
- Invisible decrease: Insert hook into front loop of next two stitches at once, complete as sc.
- Round 17: [5 sc, invdec] x5 (30).
- Round 18: [3 sc, invdec] x6 (24).
- Round 19: [sc, invdec, sc] x6 (18).
- Start stuffing the duckling, making sure it is firm and smooth.
- Round 20: [sc, invdec] x6 (12).
- Round 21: 6 invdec (6).
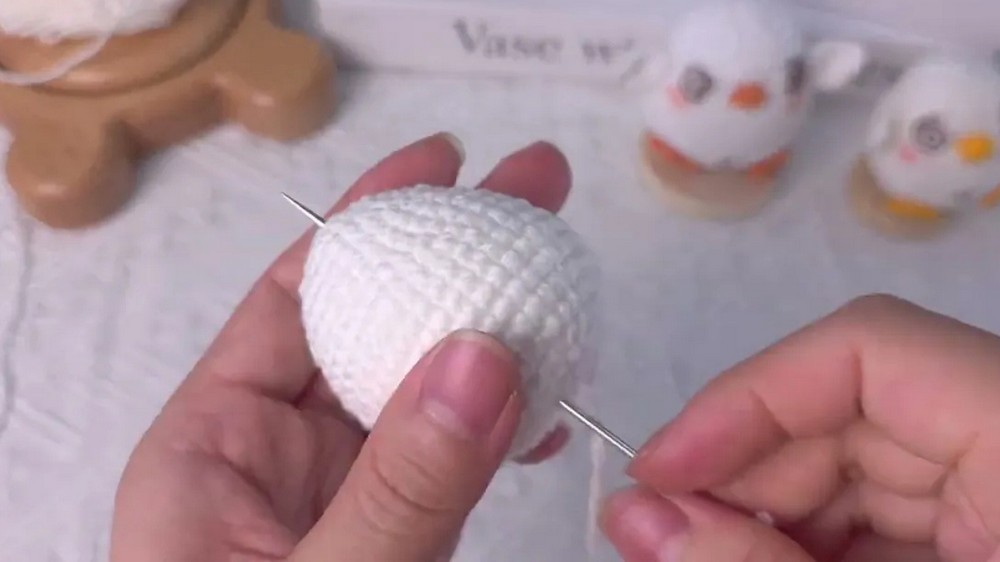
- Cut yarn, leaving a tail. Use your needle to sew the opening closed.
Wings (Make 2)
- Make a slip knot (don’t count as a stitch).
- Ch 5, turn.
- Starting in 2nd ch from hook:
- 1 hdc, then 3 sc (4 sts total).
- Ch 2, turn.
- Skip the first two ch and work into the third stitch from the hook:
- 1 hdc, then 3 sc, finish with sl st.
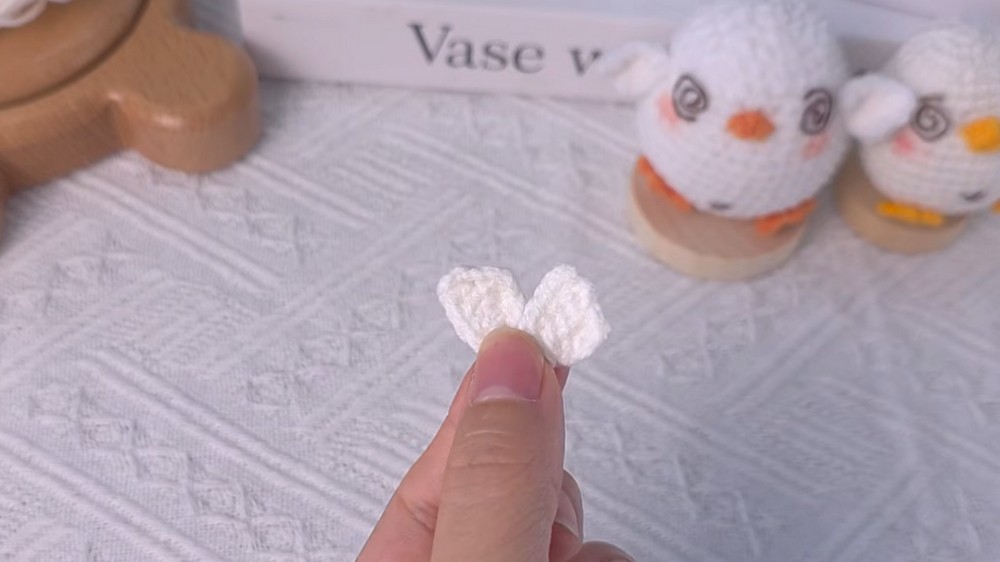
- 1 hdc, then 3 sc, finish with sl st.
- Fasten off, leaving a tail for assembly.
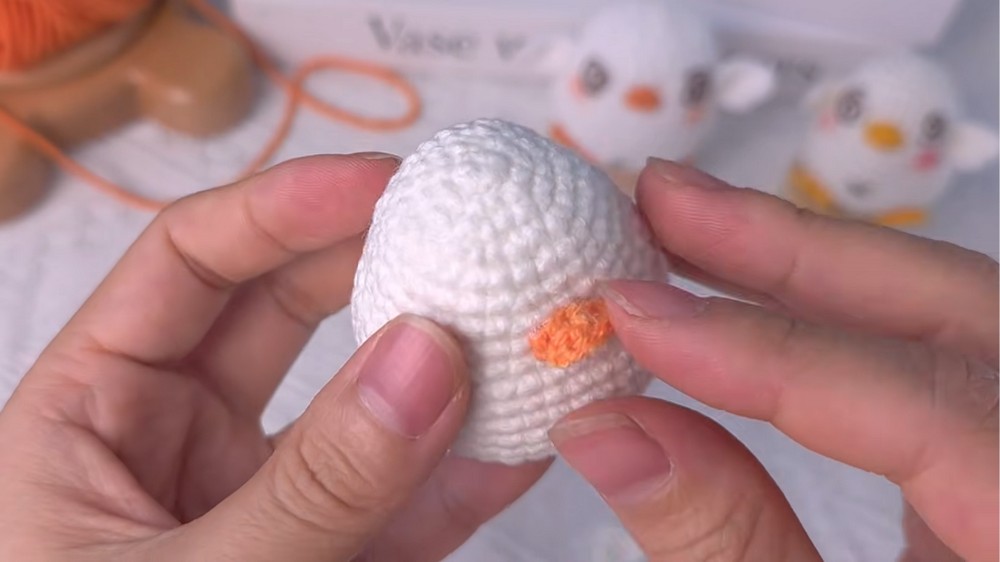
Beak
- Ch 4, turn.
- From 2nd ch from hook:
- 1 sc, 1 hdc, 1 sc.
- Sl st in the same stitch. Fasten off, leaving a tail.
Duck Feet (Make 2)
- Round 1: 6 sc into a Magic Ring (6).
- Row 2: Ch 2, turn,
- Work 1 dc in second ch from hook,
- 1 sc in next st.
- Repeat the “toe” sequence (Ch 2, dc in 2nd ch from hook, sc in next st) three times in total for three toes.
- Fasten off; weave in the ends.
Assembly & Finished Size
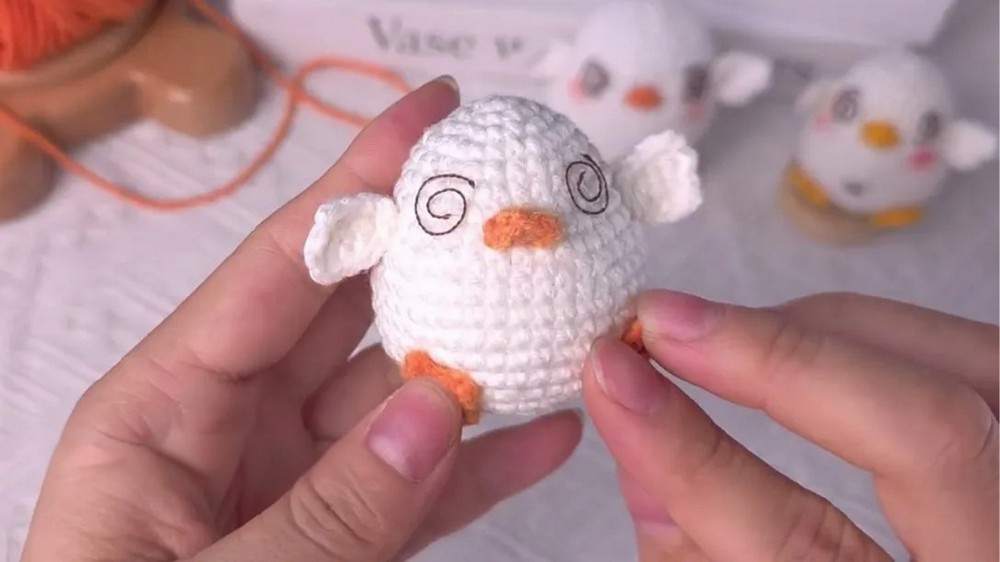
- Sew the head closed neatly with the yarn tail.
- Beak: Attach beak with glue or sew on—centered on the 7th row down from the top of the head.
- Wings: Attach with glue or sewing about 6 rows below the beak, one per side.
- Feet: Attach feet to base of the duck, about 4 rows apart.
- Eyes: Use small pieces of dark yarn (or sew/glue 5mm safety eyes) just above the beak.
- Enjoy your duckling! Attach to a keychain if you wish.
Conclusion & Ending Words
Congratulations on completing your Happy Yarnney duckling! This cheerful little project is perfect for gifting, desk décor, or a playful keychain. Experiment with yarn weight and colors to create a whole flock of ducklings in different sizes and personalities. Don’t forget, you can find more adorable amigurumi and plush projects on Happy Yarnney’s YouTube channel.