Cute & Quick Free Crochet Scrunchies Pattern for Beginners

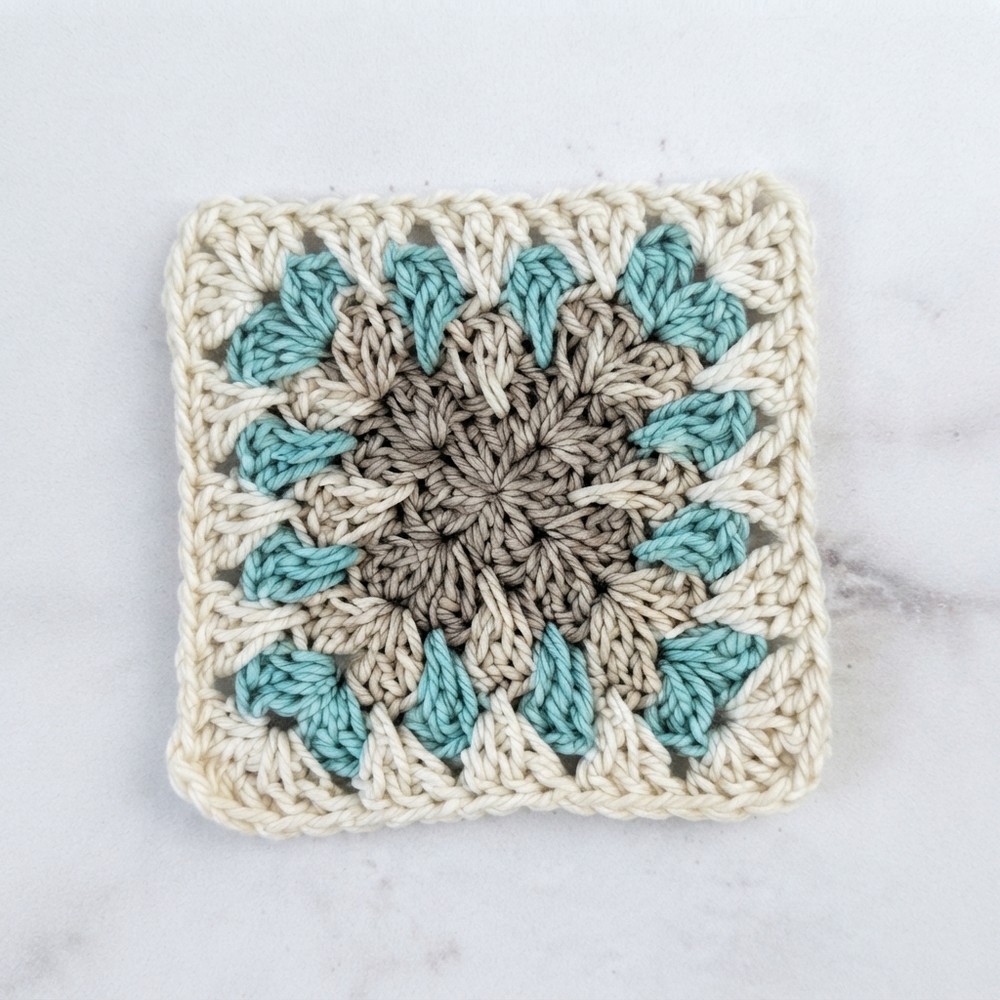
Add bold texture to your projects with this free crochet spike stitch granny square pattern, a perfect mix of style and simplicity for any crocheter.
One day, while searching for a new crochet project to brighten up my crocheting routine, I stumbled upon a beautiful tutorial by Hope Corner Farm Crochet. The design instantly caught my eye because it offers a fresh twist on the classic granny square. This pattern introduces a unique stitch that adds texture and depth, creating an eye-catching and elegant look that you won’t get with regular granny squares.
Simple Free Crochet Scrunchies Pattern Anyone Can Try
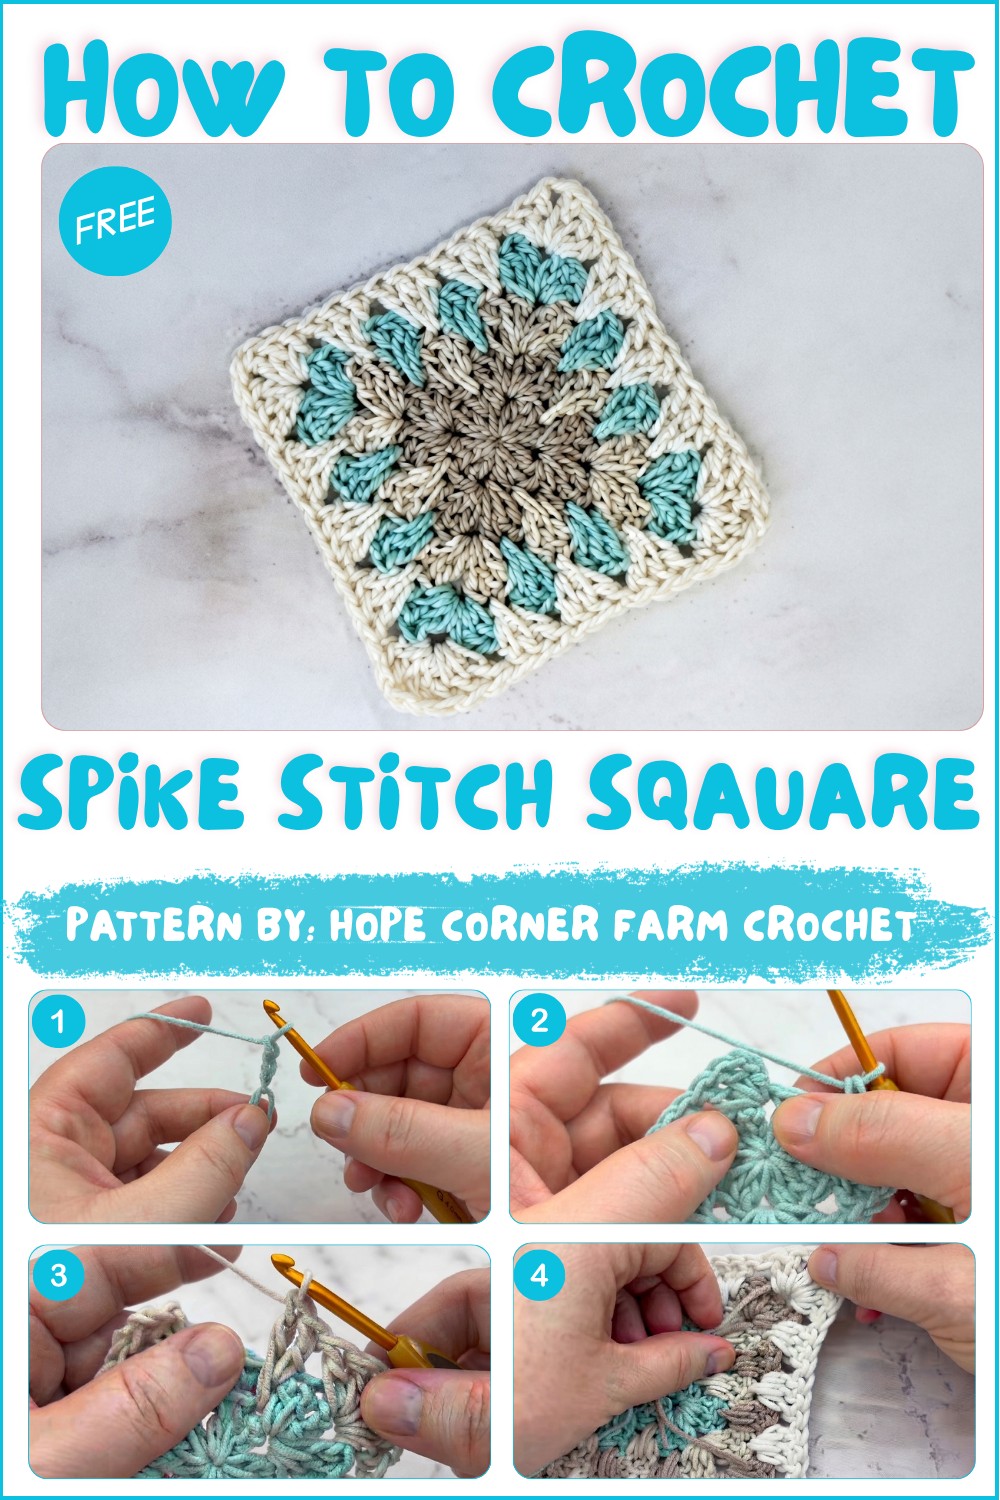
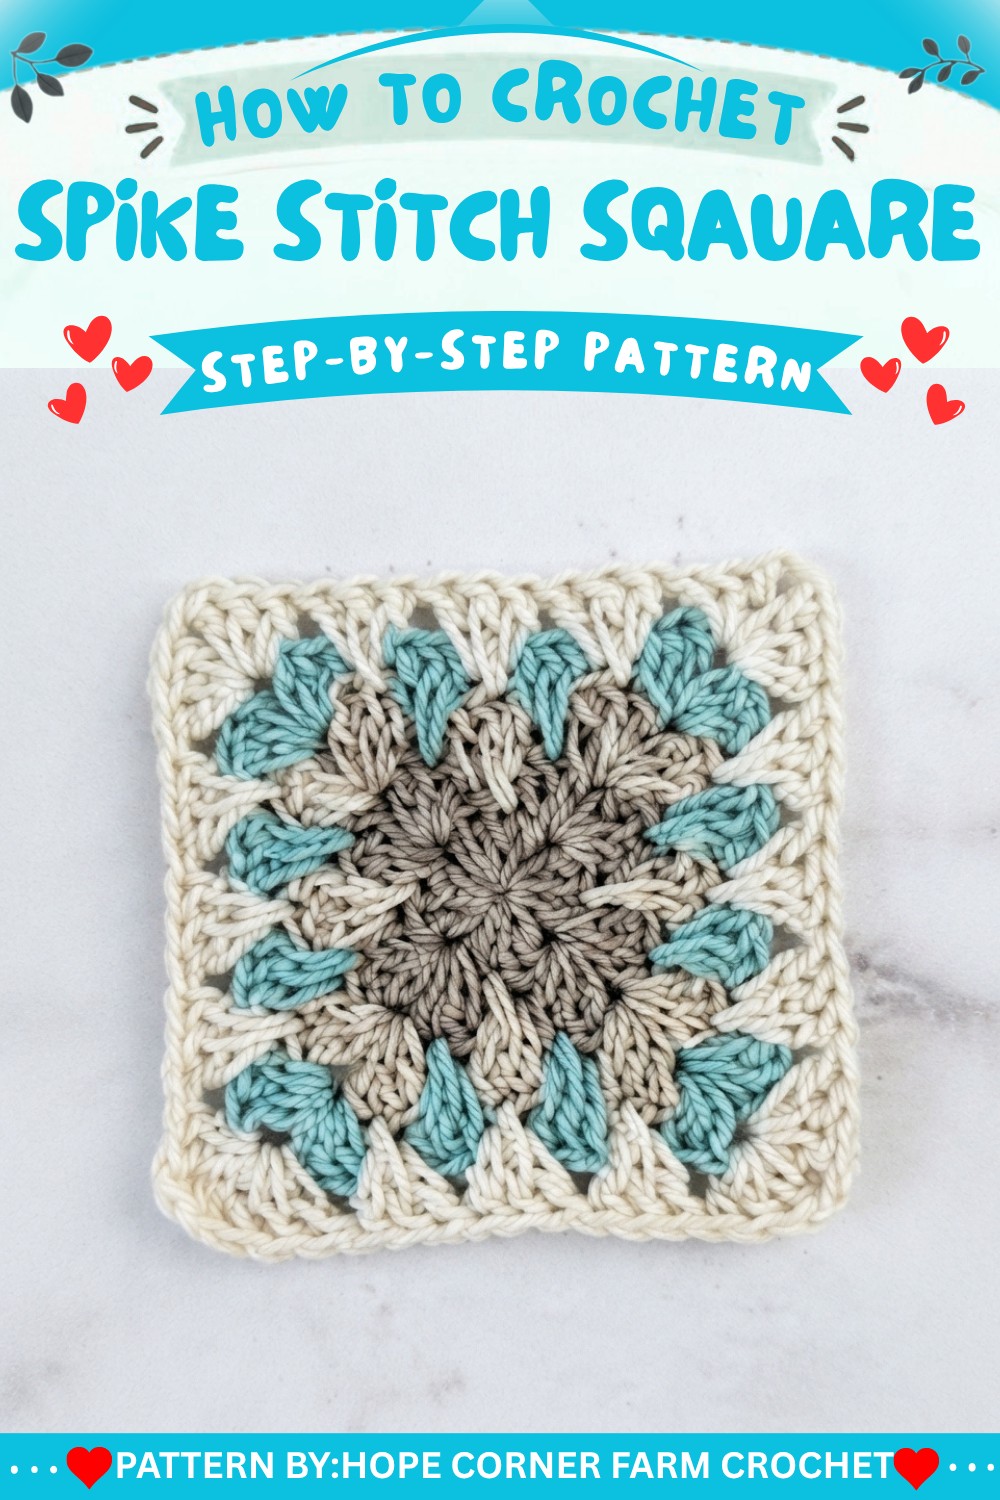
Spike Stitch Granny Square Pattern
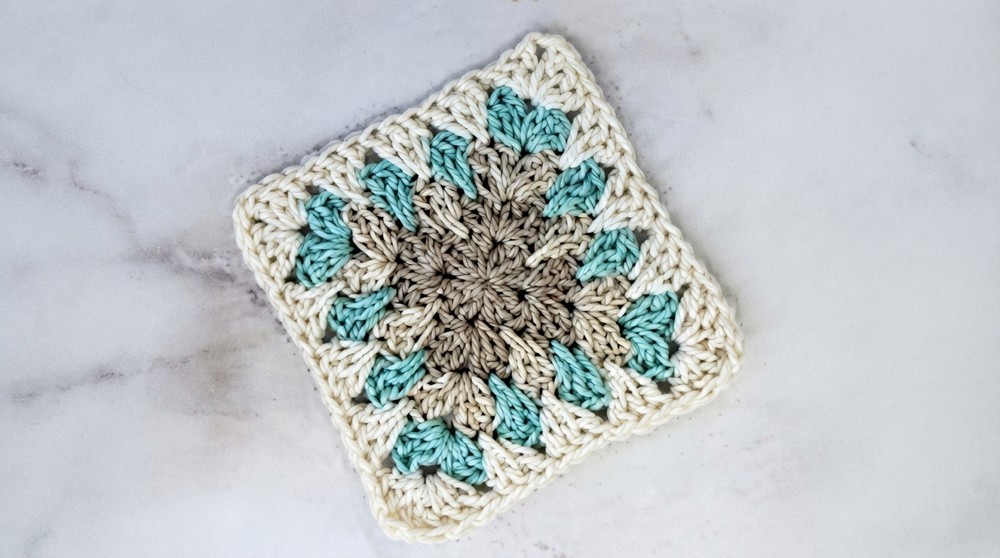
The spike stitch granny square blends classic construction with bold, textured stitches that create a visually dynamic motif. This square is excellent for blankets, bags, or pillows and showcases color well, especially when alternating rounds. The spike stitches add depth and interest, making this square a versatile addition to any crochet project.
Pattern Basic Points
Construction Overview
- The square is worked in joined rounds from the center out, using clusters of double crochet (dc) and chain-1 corners.
- Spike stitches are incorporated in rounds three and onward, creating a layered effect.
- Color changes are built into the pattern, offering easy customization.
Design Features
- Traditional granny square structure with innovative spike stitches.
- Spike stitches are worked into lower rows for extra texture and visual appeal.
- Corners are consistently built with chain spaces and double crochet clusters for a neat square shape.
Special Notes
- Each round begins in a chain-1 gap (corner space) for consistent placement.
- Spike stitches should be worked with even tension to prevent puckering or distortion.
- Changing colors at the start of spike stitch rounds enhances the pattern’s definition.
- Weave in ends carefully to preserve the look and durability of your square.
- Blocking is recommended for optimal squareness and stitch definition.
Skill Level
Beginner to Intermediate: The pattern builds on basic granny square techniques and introduces spike stitches. Prior familiarity with working into previous rounds is helpful but not required.
Materials
- Size 4 medium weight yarn (cotton or acrylic blend recommended)
- 4.0 mm (G) crochet hook
- Scissors
- Yarn needle
Measurements / Sizing
- Square measures approximately 5–6 inches on each side with five rounds, depending on yarn and tension.
- Size is easily adjustable by working more or fewer rounds.
Gauge
- Gauge is not critical for this project unless matching squares for assembly.
- Stitch pattern: classic granny clusters and spike stitches.
Stitch Abbreviations
- ch = chain
- sc = single crochet
- dc = double crochet
- sl st = slip stitch
- sp = space
- MR = magic ring
Special Stitches
- Magic Ring (MR): Adjustable loop for starting projects in the round.
- Granny Cluster: Three double crochets worked together in the same space.
- Granny Spike Stitch:
- Work 1 dc in gap,
- 1 dc into the top of the middle dc of the previous round cluster
- 1 dc in the same side gap.
Detailed Pattern
Round 1
- Begin with a magic ring (MR)
- Ch 3 (counts as first dc), 2 dc into ring, ch 1
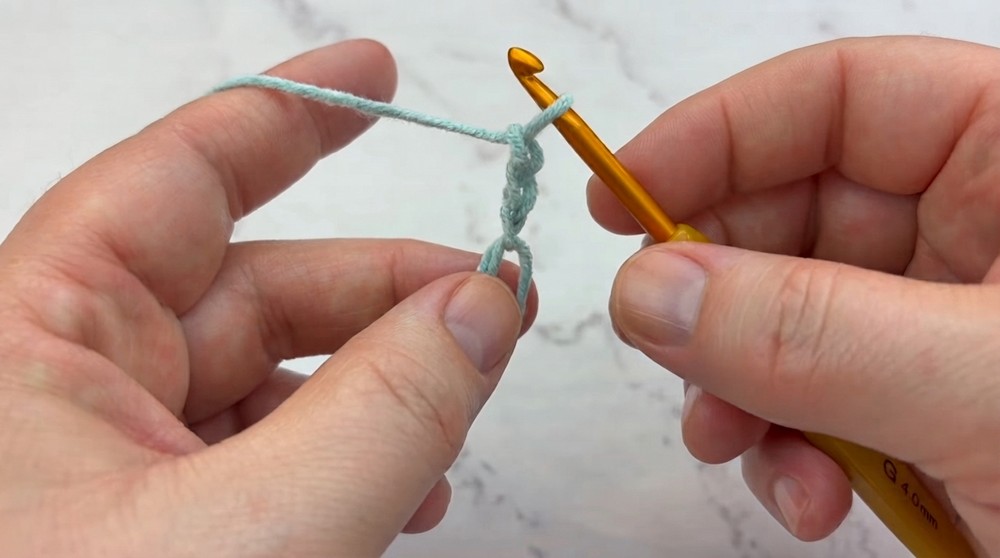
- Repeat [3 dc, ch 1] three times
- Tighten the magic ring
- Sl st to the top of the first dc to close the round
Round 2
- Still using the same color, sl st to a chain-1 corner space
- Ch 3, 2 dc in same space (first corner cluster)
- Move to next chain-1 space, work:
- 3 dc, ch 1, 3 dc in each corner space
- 3 dc in non-corner gaps as needed (for larger squares or additional non-corner gaps)
- Finish with a sl st to the top of the first dc and fasten off
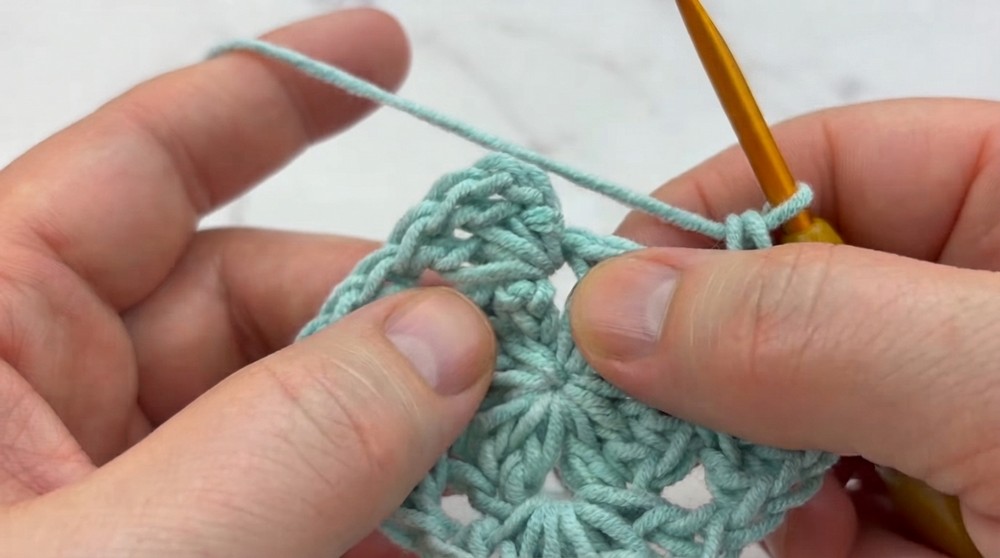
Round 3
- Join a new color in any chain-1 gap (corner)
- Ch 3, 2 dc in same gap
- Corners: 3 dc, ch 1, 3 dc in each chain-1 gap
- Sides:
- In each side gap, work a granny spike stitch
- 1 dc in gap, 1 dc into the top of the middle dc of the previous round 3-dc cluster, 1 dc in same gap
- In each side gap, work a granny spike stitch
- Repeat sides and corners around
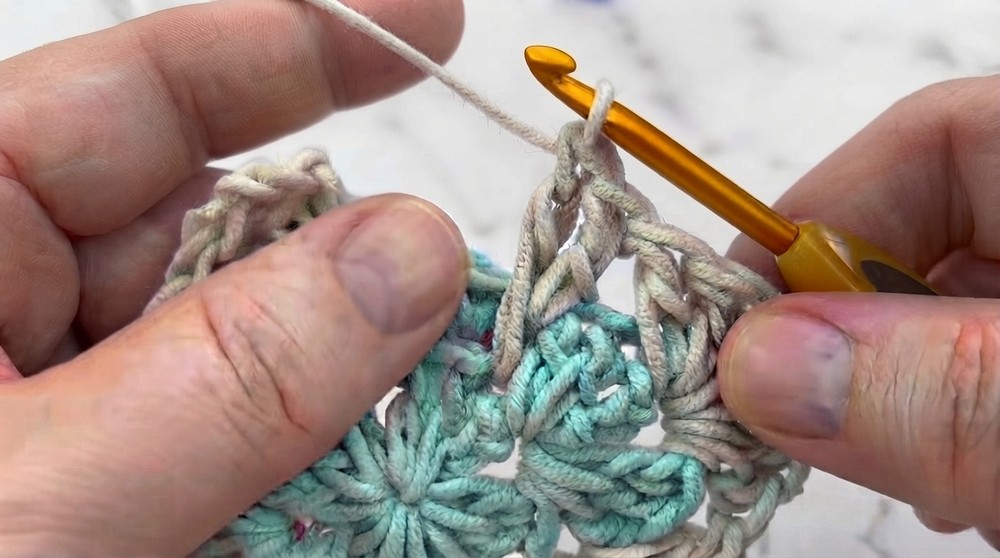
- Finish with a sl st to the top of the first dc
Round 4
- Join a new color in a chain-1 corner gap
- In each corner: 3 dc, ch 1, 3 dc in chain-1 gap
- In each side gap: perform the granny spike stitch
- 1 dc in gap, 1 dc in middle dc of previous round cluster, 1 dc in gap
- Repeat pattern on all sides and corners
- Finish with a sl st to the top of the first dc
Round 5
- Repeat the pattern from Round 4:
- In every corner: 3 dc, ch 1, 3 dc
- In each side gap: granny spike stitch (1 dc in gap, 1 dc in middle dc, 1 dc in gap)
- Continue all around, joining with a slip stitch at the end
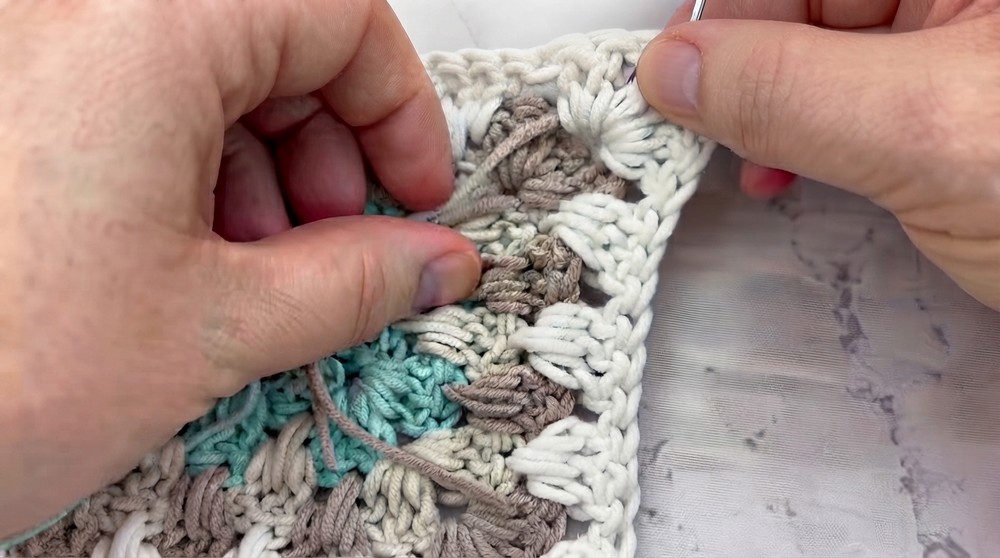
Finishing
- After your final round, fasten off.
- Choose your preferred joining method:
- Traditional: sl st to starting chain
- Seamless: use a yarn needle for an invisible join (pulling yarn through top of starting dc and then back into the final stitch)
- Weave in all yarn tails securely with the yarn needle
Assembly
- Block your square lightly for crisp edges and best definition
- Join to other squares using your preferred method if assembling a blanket or pillow
- Weave in any additional tail ends and trim excess yarn
Conclusion
The spike stitch granny square is a lively variation on traditional granny techniques, perfect for bright color play and dynamic texture. The spike stitches add depth and visual intrigue to each square, ready for assembly into larger projects or stand-alone decorative elements. By changing colors and practicing tension consistency, each square can be tailored for unique effects. This motif is durable and eye-catching, lending itself well to both functional and decorative crochet projects.