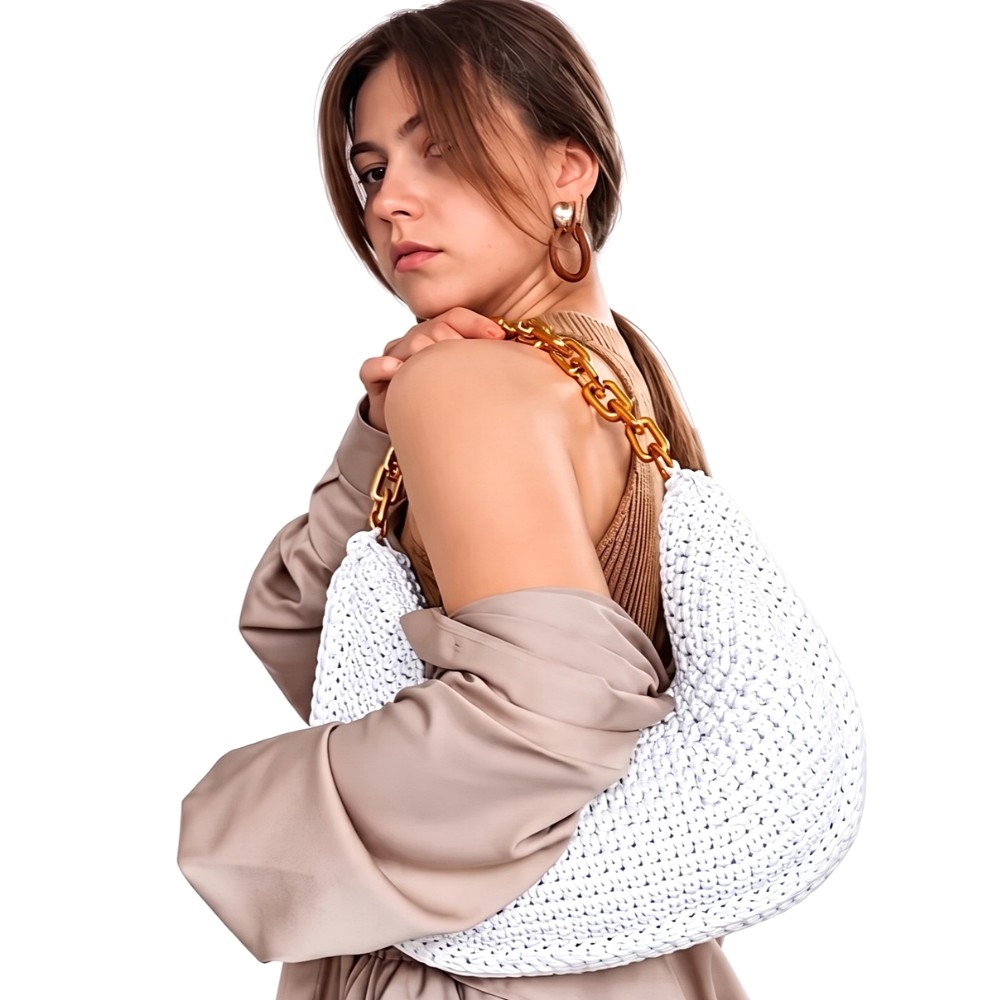
Stylish Crochet Cord Handbag With Free Pattern & Easy Tutorial

Give your outfit a handmade finish with this cord handbag pattern that’s a stylish bag idea to enjoy creating a useful accessory for everyday outings.
Fashion accessories become more meaningful when they include a personal handmade touch. This cord handbag is an interesting project for anyone who enjoys exploring creative bag designs and stylish accessories. Its cord-based appearance gives it a distinctive look that can complement different casual outfits.
How to Crochet a Beautiful Cord Handbag with a Simple Design
Whether you enjoy making handmade fashion pieces or simply want fresh inspiration for your next DIY project, this handbag is worth exploring.
The Creative Channel
Ju and O is a YouTube channel dedicated to creative handmade inspiration, including fashionable accessories and interesting craft projects. Its content encourages viewers to explore new ideas and appreciate the beauty of handmade designs. The cord handbag tutorial reflects the channel’s interest in combining creativity, personal style, and everyday accessories.
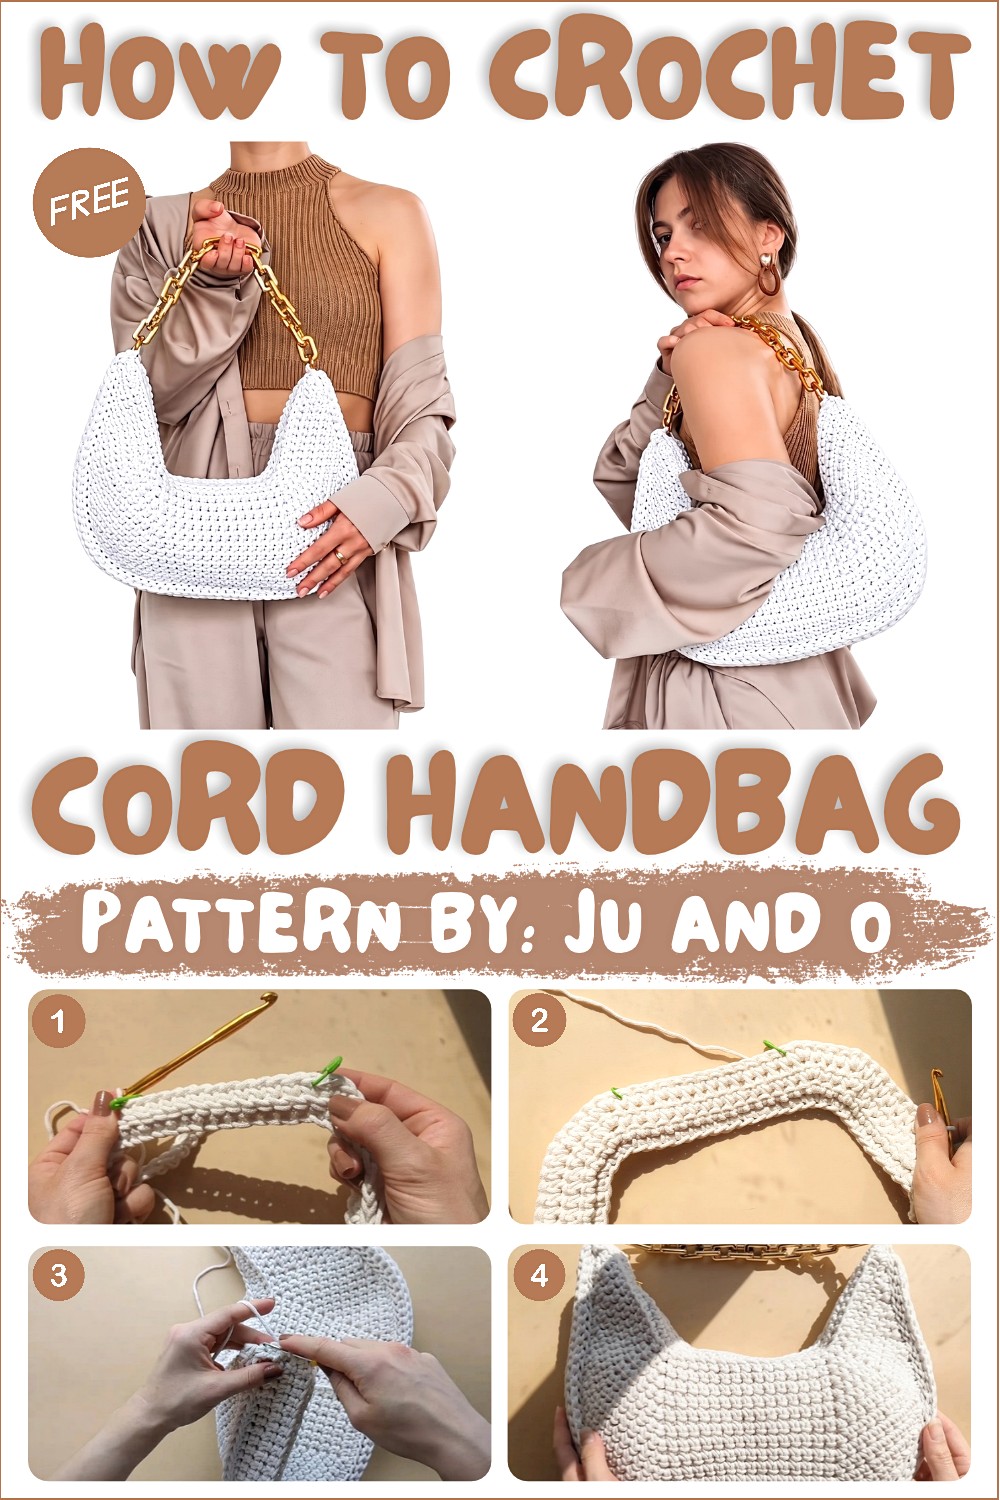
Cord handbags are popular among craft lovers because they offer an attractive alternative to ordinary store-bought accessories. Their simple yet fashionable appearance makes them suitable for everyday styling, casual gatherings, and relaxed outings. Depending on the final design and your preferred colors, a handmade cord bag can look minimal, modern, or playful.
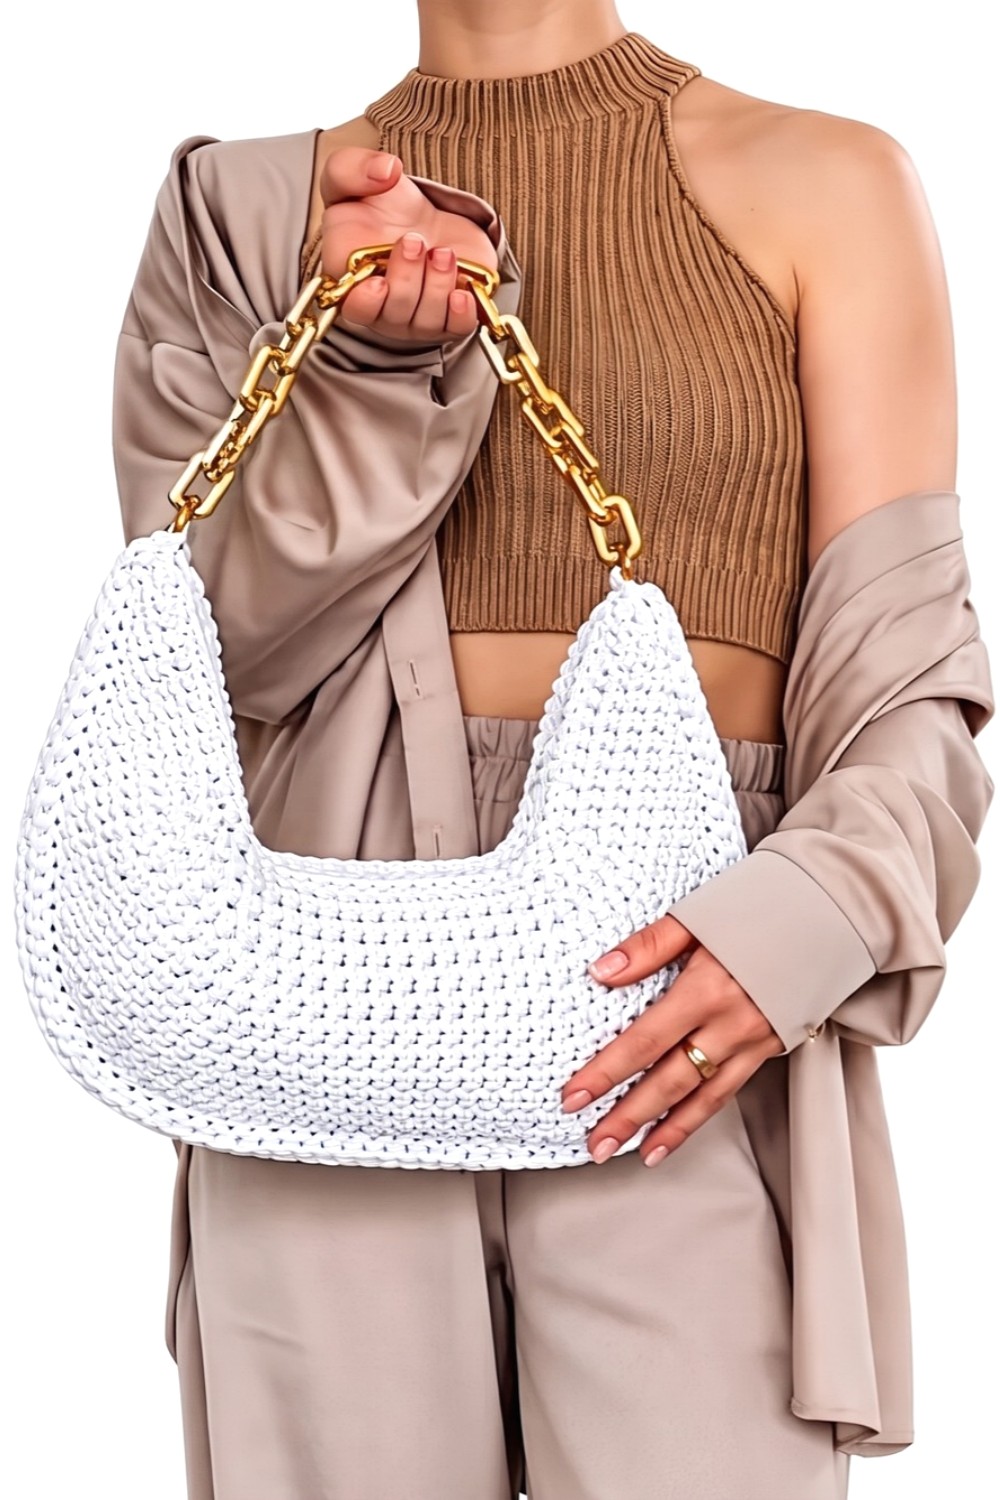
The video tutorial gives viewers an opportunity to explore this particular handbag design and see how the project is presented. Watching the process can help you understand the overall appearance and gather ideas for your own creative projects. You can also save the design for future inspiration when planning handmade accessories or looking for a thoughtful gift idea.
Another appealing feature of handmade bags is the freedom to experiment with personal style. Different shades and decorative details can create completely different looks. If you enjoy combining practical accessories with creative expression, this cord handbag offers an enjoyable idea to add to your DIY fashion collection.
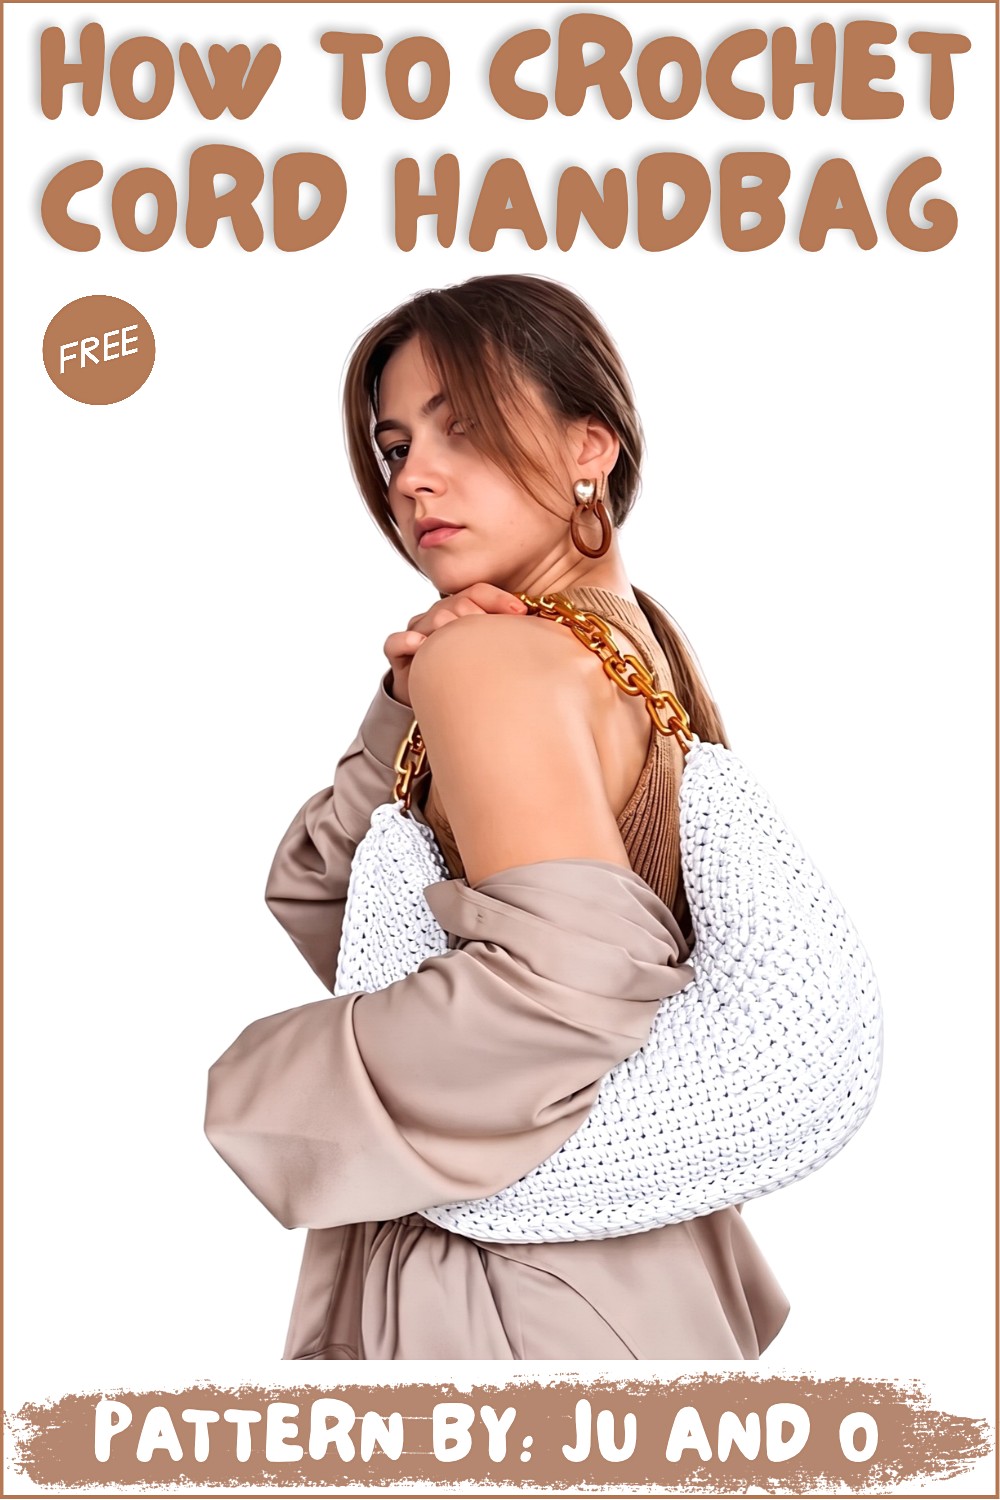
Crochet Beauty Handbag Pattern
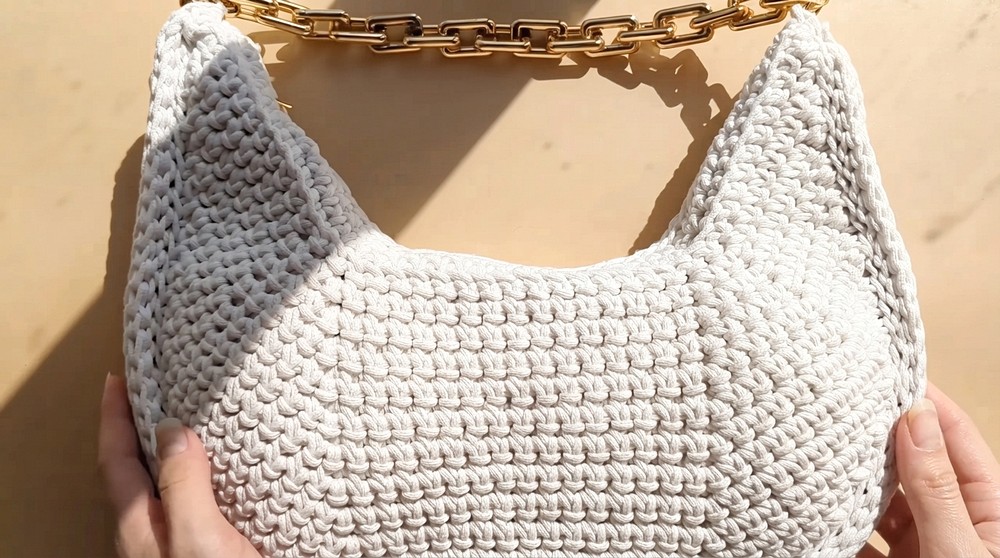
This trendy crochet handbag is a stylish and practical accessory that showcases modern design techniques. Featuring sturdy stitching and a playful horseshoe shape, it can be tailored to fit personal preferences with ease. Follow these instructions to create your own beauty handbag.
Skill Level
Intermediate – This pattern requires familiarity with foundational crochet techniques, as well as assembling, zipper placement, and additional finishing steps for a polished handbag.
Materials
- Yarn:
- Cotton cord (3 mm without a core). You will need approximately 3 skeins.
- Example: Saltera brand, 120 m per skein weighing 300 g.
- Note: Ensure your yarn is lightweight, as heavier cords may add unnecessary weight to the handbag.
- Color: The tutorial uses milky 235 (similar to a soft burgundy).
- Article number of yarn can be found in product description or original source.
- Cotton cord (3 mm without a core). You will need approximately 3 skeins.
- Crochet Hook: 7 mm (5 mm may also be used depending on preference).
- Stitch Markers: At least two markers.
- Lightweight Plastic Chain: Adjustable in length and equipped with two carabiners.
- Metal Zipper: Approximately 50 cm, but you will only need 40 cm for this pattern.
- Scissors – for trimming ends.
- Optional: A smaller hook for final finishing touches to connect parts.
Stitch Abbreviations
- Ch – Chain
- Single Crochet (SC) – Single Crochet
- Inc – Increase (2 SC in the same stitch).
- Connecting Stitch – A stitch worked through the back half-loop to connect stitches or rows.
- Half-loop – A specific loop from the previous row.
Useful Tips
- Consistency in Yarn Type: If replacing the recommended yarn, ensure the thickness is consistent with 3 mm to achieve the right shape and durability.
- Tension Control: Keep tension uniform throughout the pattern to ensure your bag maintains its intended size and shape.
- Marker Usage: Placing markers is crucial for both organization and keeping track of key stitches, especially for central stitches and increases.
- Sew the Zipper Early: To avoid complications, sew the zipper into the bag before attaching the bottom or final pieces.
- Avoid Overstuffing: Connect parts carefully by working only in the outer loops for a seamless and neat finish.
Pattern Instructions
1. Main Part of the Bag
Foundation Chain:
- Make 42 air loops using the 3 mm cotton cord in your chosen yarn color.
- At the end, create one lifting loop for turning.
Row 1:
- Focus on the jumpers/bridges visible on the bottom of the braid.
- Skip the first jumper, then work 1 SC into the second jumper.
- Continue knitting 42 SC stitches across the entire row. Take your time and don’t miss a loop.
- For the free tail left at the end, align it with the row and tie it into the fabric as you work.
Rows 2–3:
- After completing a row, unfold the work. Skip the first stitch in each row.
- Work a connecting stitch in the second stitch, grabbing the back half-loop from the previous row.
- Knit 9 SC into the back half-loop.
- Begin forming a horseshoe shape with an increase, 1 SC, then another increase.
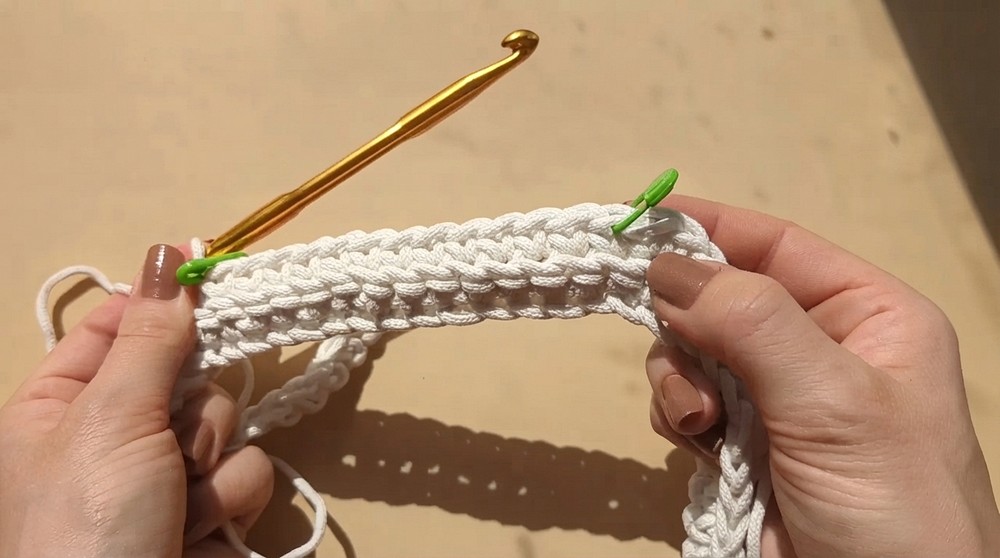
- After the increases:
- Knit 14 SC into the central part of the row. Mark the first and last stitch with markers as these stitches will remain constant and unaffected by increases.
- Work the remaining row in mirror image: an increase, 1 SC, another increase, and 9 SC stitches.
Row 4:
- At the end of the third row, work a connecting stitch in the last loop, skipping the outermost loop.
- Unfold the work and repeat the process:
- Skip the first loop, work a connecting stitch in the second.
- Knit all stitches according to the pattern, restoring 42 stitches total.
Row 5 and Onward:
- You will now focus on knitting successive rows while adding increases where necessary:
- Single crochets in the rows without increases remain unaffected by previous increases.
- In rows with increases, work two stitches per half-loop from the earlier row when needed.
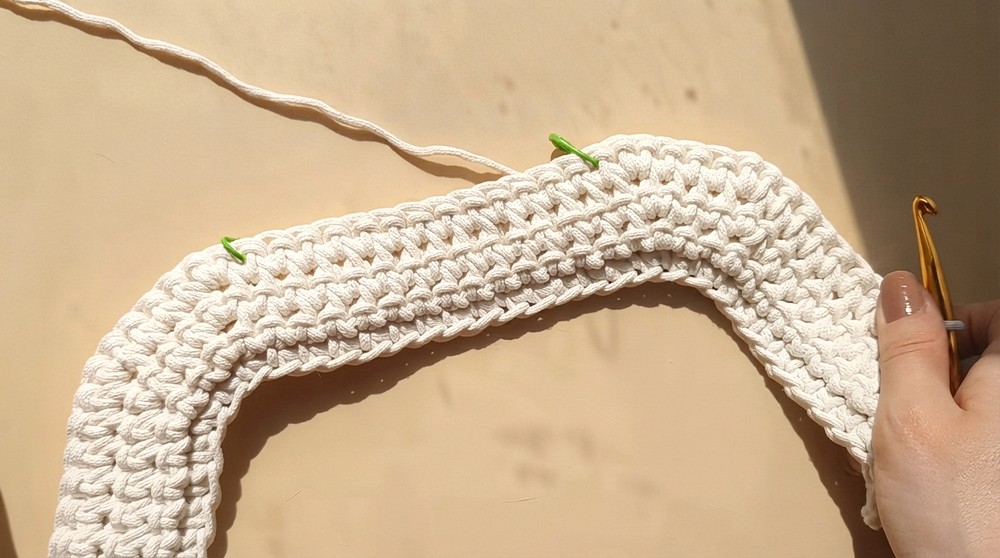
Key Points for Horseshoe Shaping:
- Gradually reduce SC counts on the sides over subsequent rows to create the round base of the handbag.
- Transition from 9 SC on the sides to fewer stitches progressively, while maintaining 14 central stitches throughout the rows.
- Use the markers to retain symmetry between the central portion and the mirrored sections.
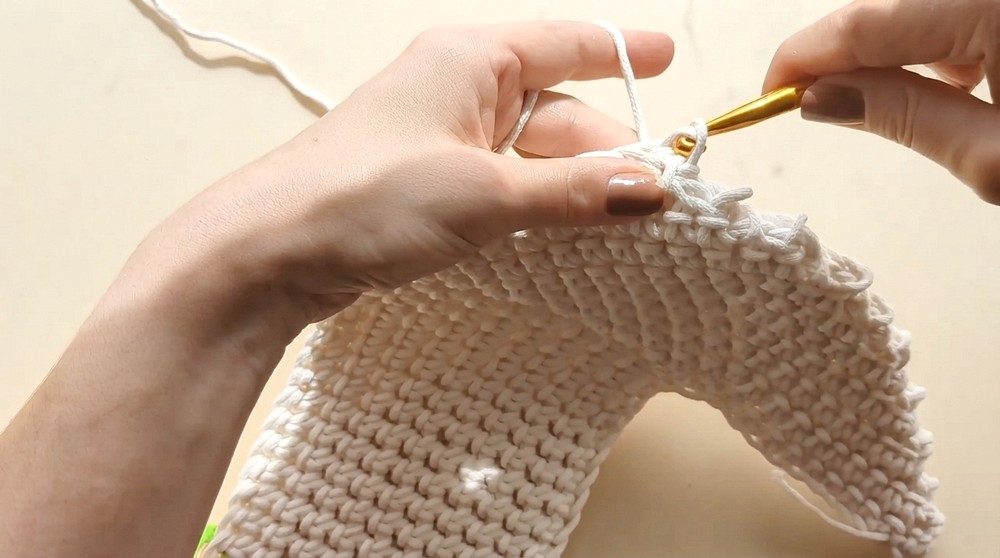
Continue knitting and shaping until reaching the desired size for the handbag.
2. Binding the Bag
Binding Technique:
- Turn the bag so the right side of the fabric is facing outward.
- Begin binding the edges from the right corner using a connecting stitch to stabilize the base.
- Work stitches by grabbing the peaks and valleys along the row transitions. Alternate stitches by working into high points and low depressions to ensure secure binding.
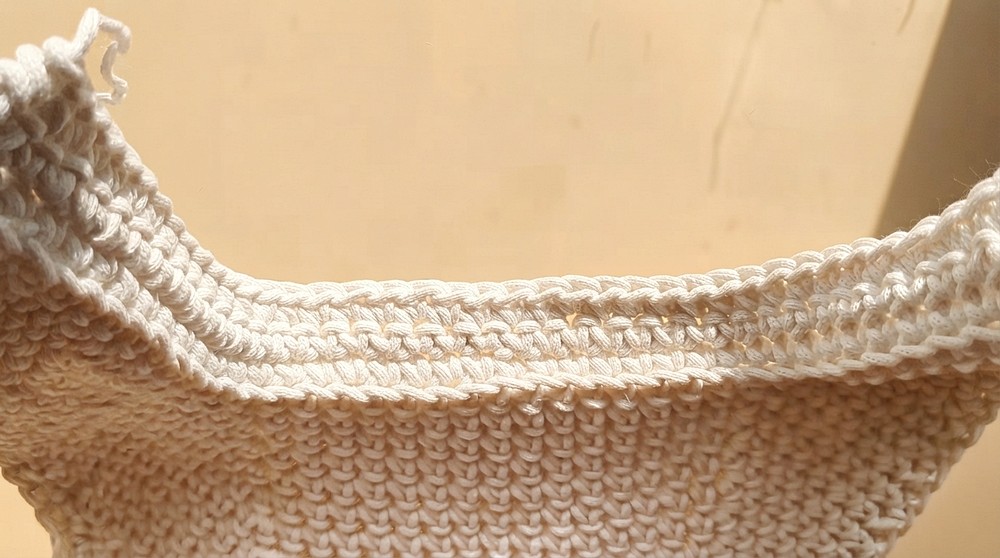
3. Bottom Section
Foundation and Rows:
- Cast 78 air loops (or adjust based on the bag’s width) plus one lifting chain.
- Work stitches into the back half-loop for greater texture and durability.
- Knit the bottom section in straight rows, working a total of 9 rows.
Conclusion
This exquisite handbag combines both style and practicality, giving you creative freedom to customize with your choice of yarns, colors, and chains. The detailed step-by-step instructions ensure you can create a smooth, durable, and professional-looking accessory for everyday use or special occasions. Add your own flair with personalized accents.
Keep your stitch count consistent, plan your assembly ahead of time, and enjoy crafting this beauty handbag with confidence.