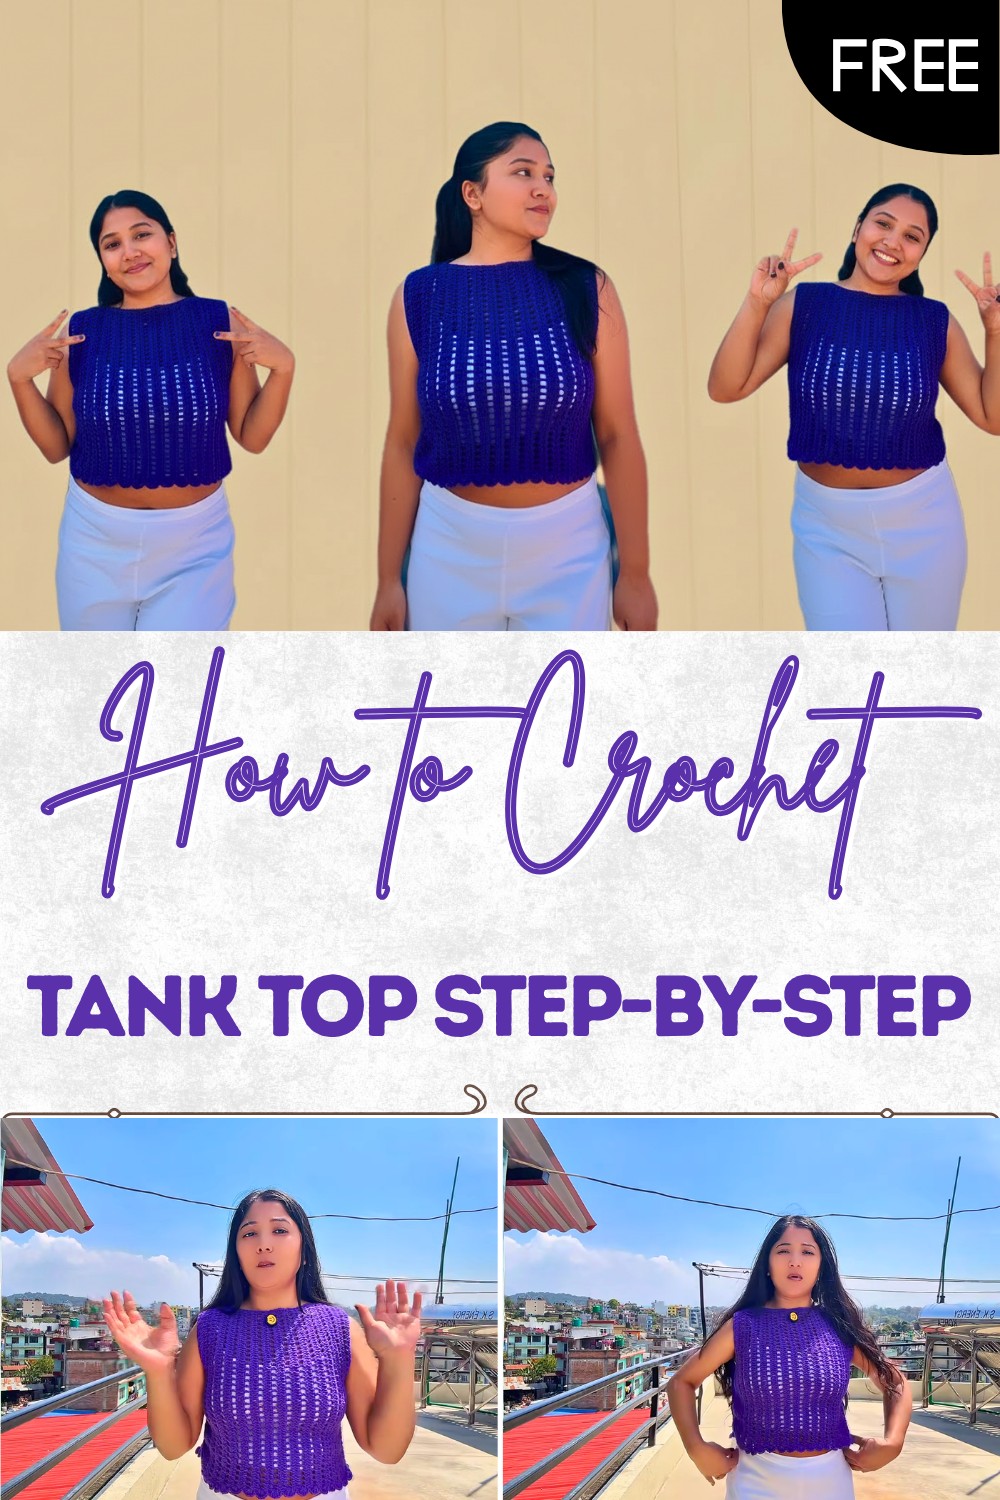
Free Crochet Tank Top Pattern – Step-By-Step Guide
Slip into summer comfort with this free crochet tank top pattern that’s promise effortless style and breezy feel for every sunny adventure.
Soft cotton touches your skin and a sense of confidence grows as you slip on a lovely handmade piece looking in the mirror and seeing bright colors and patterns that feel just right for you. With a crochet tank top pattern you can bring fresh style to your daily look or get ready for a special day with a friend. This top is easy to wear and perfect for warm weather keeping you cool and comfy all day long.
Free Crochet Tank Top Pattern for Summer Fun
Each piece can show off your favorite shade or even match what you love to wear the most making every tank top unique and personal. Making your own top adds a feeling of pride because you had a hand in each stitch. The open design lets your skin breathe while giving you room to move freely. From relaxing at home to heading outside this pattern gives you beauty and comfort in a simple design everyone can enjoy.

Easy Crochet Crop Top Pattern
Materials
- Yarn: Light worsted (DK/3) weight yarn, 100% cotton or cotton blend (sample uses light purple)
- Crochet Hook: 3 mm
- Scissors
- Stitch Marker (optional, for marking the beginning/end of rows)
- Tape Measure (for confirming dimensions)
- Tapestry Needle (for weaving in ends)
Key Abbreviations
- ch – chain
- sc – single crochet
- dc – double crochet
- sl st – slip stitch
- st(s) – stitch(es)
- rep – repeat
Special Notes
- Pattern is written in US crochet terminology.
- Crop top is worked in two flat panels (front and back), then seamed.
- Adjust width (chain number) and length (row number) as desired for your size.
- Measurements taken in the video: about 1 inch per row as reference, but measure to fit your bust.
Instructions
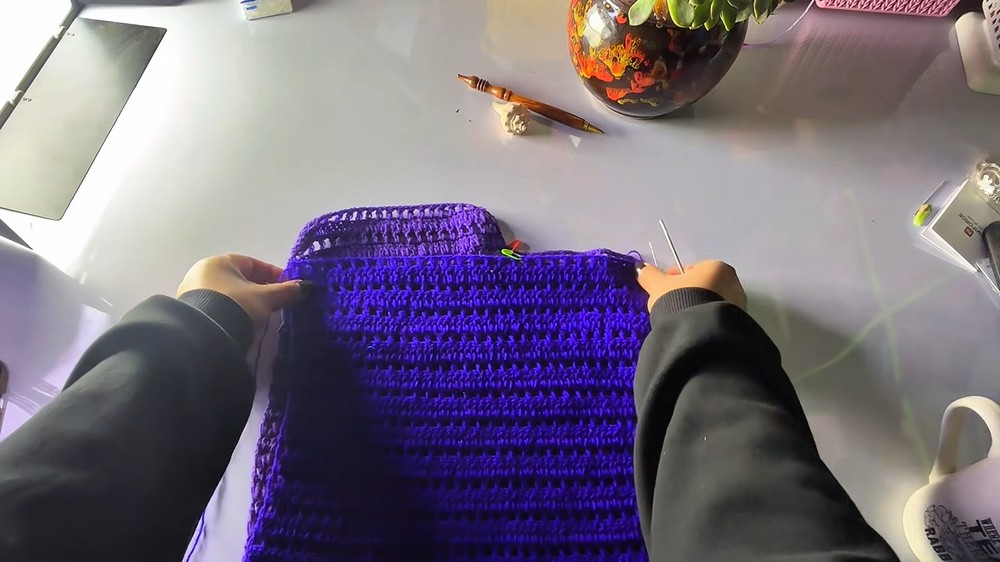
BACK PANEL
- Foundation Row
- Ch 80 (or as many as needed for your desired width).
- Row 1:
- Starting from 3rd ch from hook, dc in each ch across. (78 dc)
- Turn.
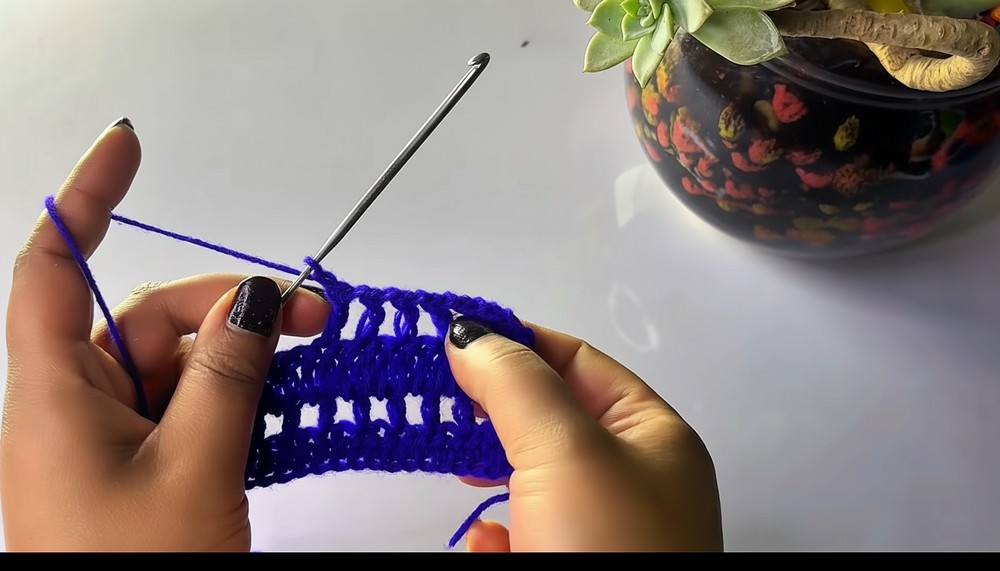
- Row 2:
- Ch 2 (counts as 1st dc here and throughout).
- [Skip next dc, ch 1, dc in next dc]; rep across (keep the mesh pattern—1 dc, ch 1, skip 1 st, dc).
- Repeat until the end of the row (last stitch = dc). Turn.
- Rows 3–4:
- Ch 2, dc in dc, ch 1, skip ch-1, dc in next dc; rep across.
- Repeat the mesh pattern as for Row 2.
- Turn at the end of each row.
- Rows 5 and beyond (as needed for length):
- Continue Row 3 pattern until panel measures desired length or approximately covers from under the bust to wherever you want the crop top to end.
- For the video, around 30 rows were mentioned as a standard size.
- Fasten off and set aside.
FRONT PANEL
- Repeat all steps as for the Back Panel.
- Both panels should be identical in width and row count.
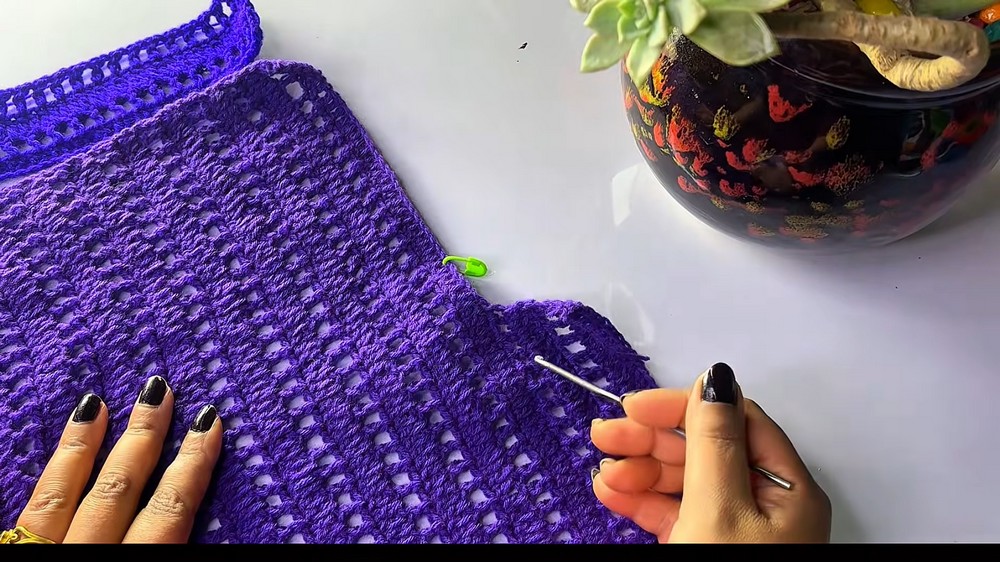
SEAMING THE PANELS
- Align front and back panels, right sides facing.
- Join yarn at one side seam, sl st or sew up the side seams to your desired armhole depth.
- Repeat on the other side.
- At the shoulders, sl st (or sew) the panels together.
- Join as many stitches as desired on each shoulder for your preferred neckline.
EDGING (Optional)
- Turn your top right side out.
- Join yarn at bottom edge: Sc evenly around the bottom hem, join with a sl st, ch 1 (optional: repeat for 2 rows).
- For armhole and neckline edging:
- Sc evenly around each armhole and neckline for a finished look, join with a sl st.
- Sc evenly around each armhole and neckline for a finished look, join with a sl st.
STRAPS (Optional, add extra support)
- Ch 21 (or desired strap length).
- Row 1:
- Starting from 2nd ch from hook, sc in each ch across. (20 sc)
- Fasten off, leave a tail for sewing.
- Make 2 (or 4 if you want ties for both front and back).
- Sew securely to the front and back top edges at desired shoulder locations.

Conclusion
This simple mesh crop top is perfect for the summer season, featuring beginner-friendly stitches and easy construction. Create in your favorite color for a custom, lightweight, and breathable piece!
Pattern Corrections
- Gauge and Sizing: Adjust the foundation chain and the number of rows to fit your body measurements.
- Mesh Pattern: Remember to always “dc, ch 1, skip 1” for mesh rows—do not add unintentional increases or decreases at row ends.
- Count stitches at the end of each row to check for consistency.
Tips
- Try on as you go: Measure against your body for the perfect fit.
- Stitch markers help keep track of the beginning and end of rows, especially when seaming.
- Block your panels before seaming for a neater finish, especially when using cotton yarn.
- Get creative: Add decorative edgings, picots, or mix yarn colors for striping effects.