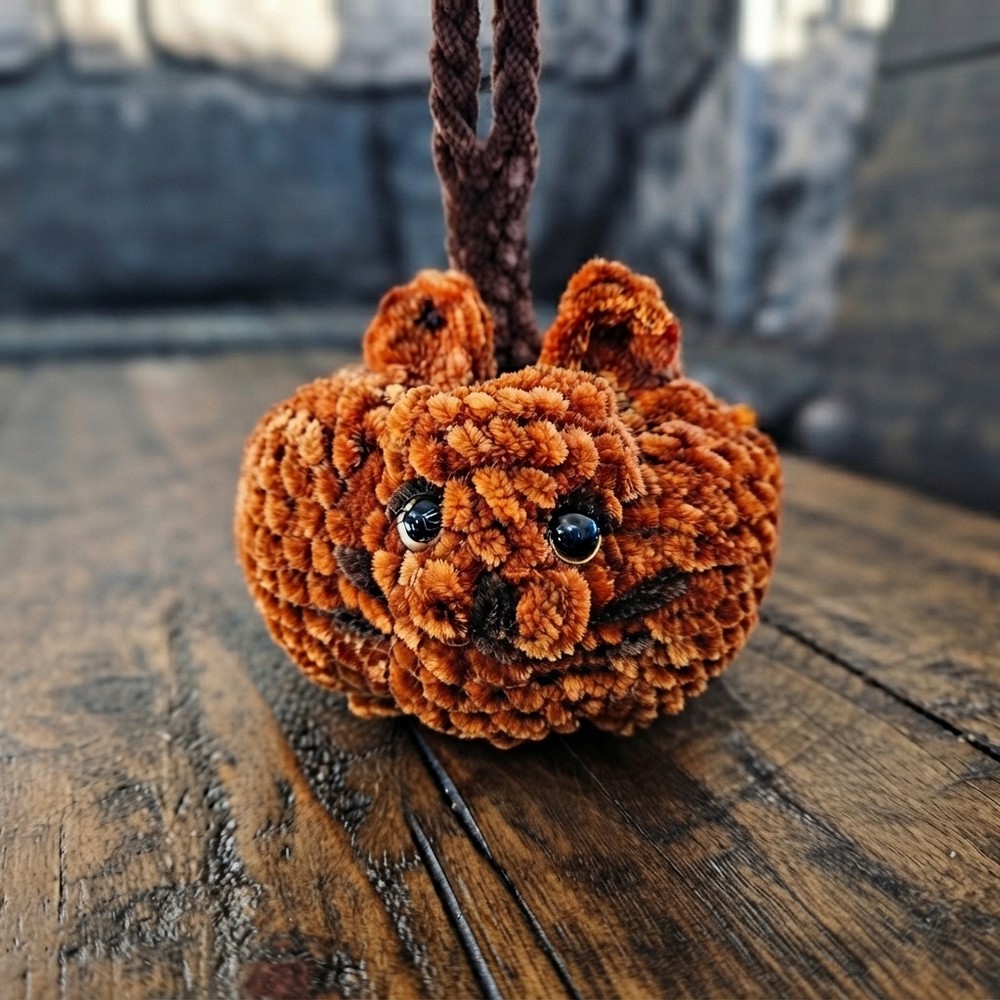
Adorable Free Crochet Pumpkin-Kitty Pattern with Full Tutorial

Turn your crochet skills into fun with this Free Crochet Pumpkin-Kitty Pattern that helps you stitch a cute and festive decoration for Halloween or fall.
Handmade crochet items add warmth and a personal touch to any space. The free crochet pumpkin-kitty pattern from Enchanted Yarn Works offers a fun way to celebrate fall and cats together. This pattern gives those who enjoy crocheting a wonderful way to express their love for autumn and furry friends alike.
Easy Free Crochet Pumpkin-Kitty Pattern & Tutorial for Beginners
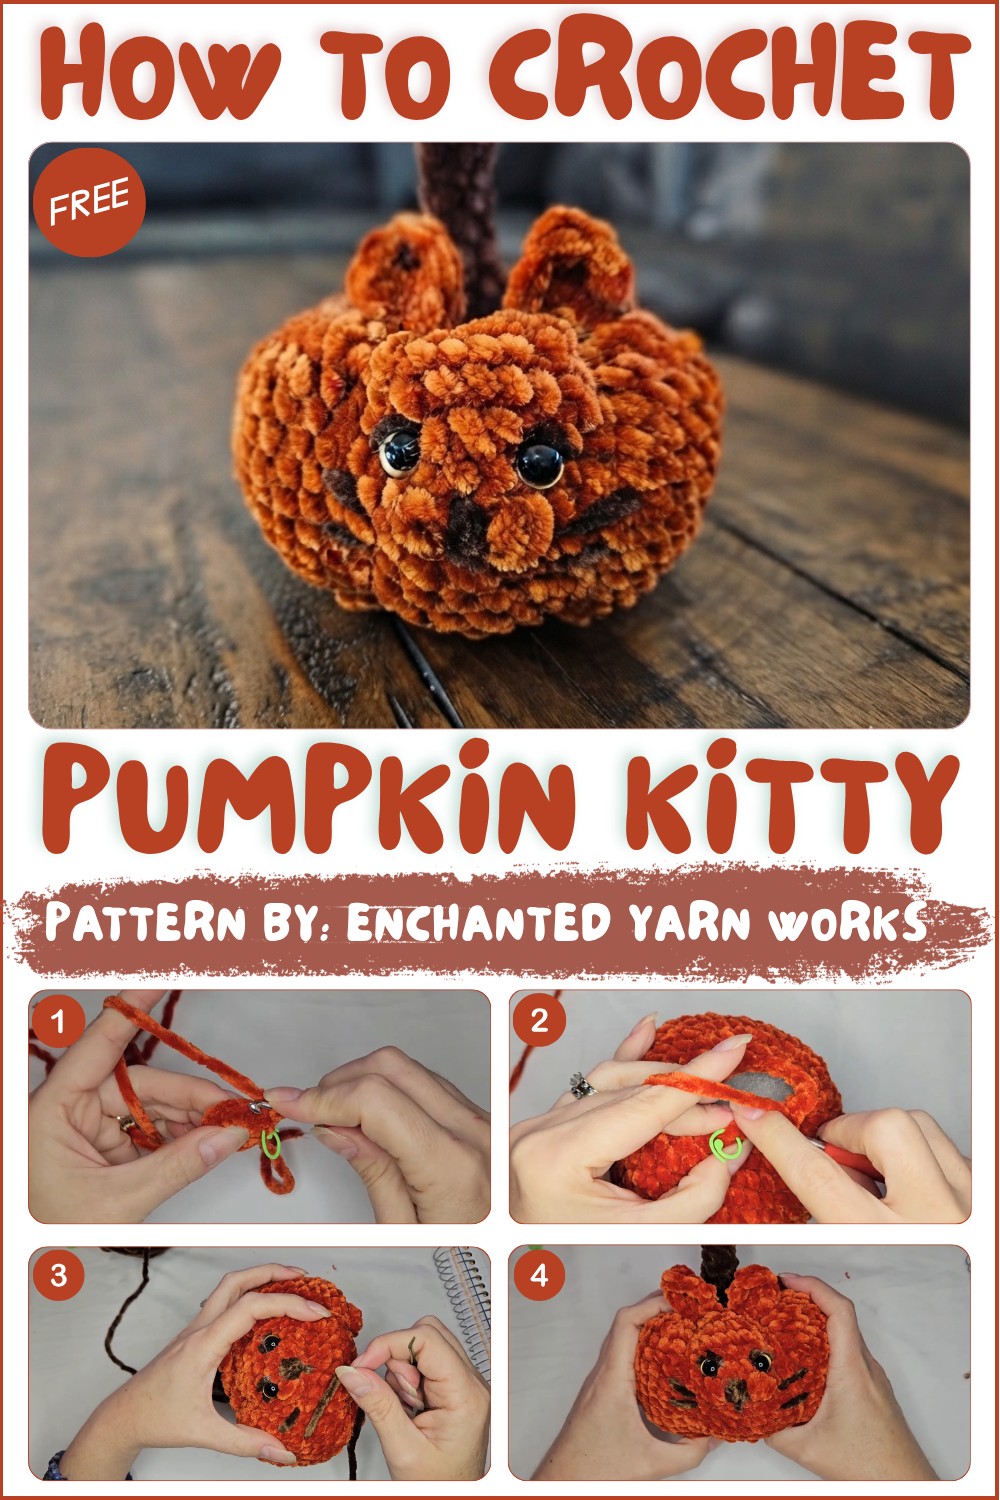
This design is both charming and unique, featuring a small pumpkin with a cute kitty peeking out from inside. The round pumpkin shape has soft ridges that resemble a real pumpkin, and the kitty’s sweet face adds a playful detail. The texture is smooth yet firm enough to hold its shape, making it perfect as a small decoration for shelves, desks, or mantels.
Because of its size and shape, this crochet pumpkin-kitty works well as a gift for cat lovers or anyone who enjoys autumn décor. It can brighten up your home during the fall season or make a lovely addition to a child’s room. The pattern is simple enough for beginners but still enjoyable for those with more experience who want a quick, satisfying project.
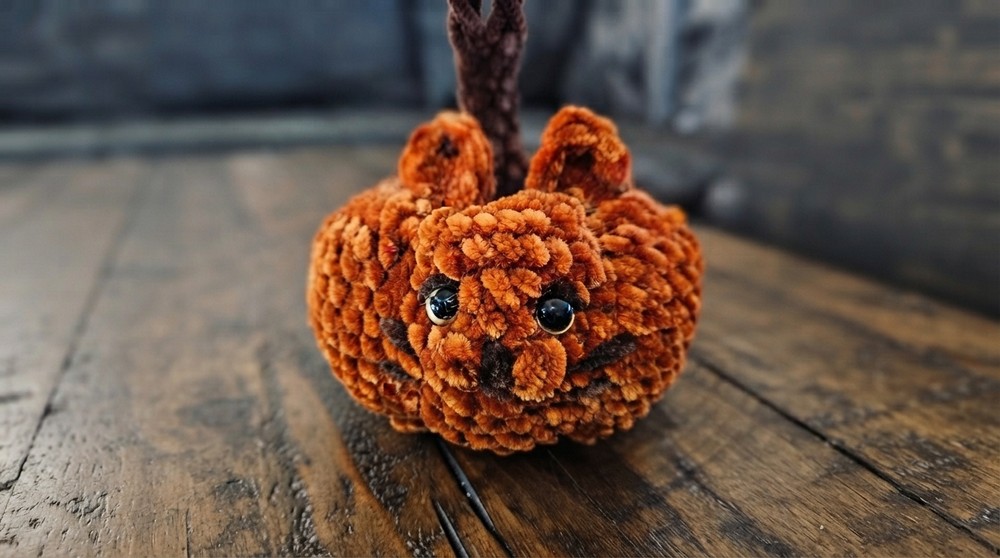
Using basic stitches and clear instructions, even new crocheters can complete this cute piece without difficulty. You can change the colors to suit your style or seasonal themes. Whether making one as a gift or to keep, this project is a sweet and cozy way to add personality to your space.
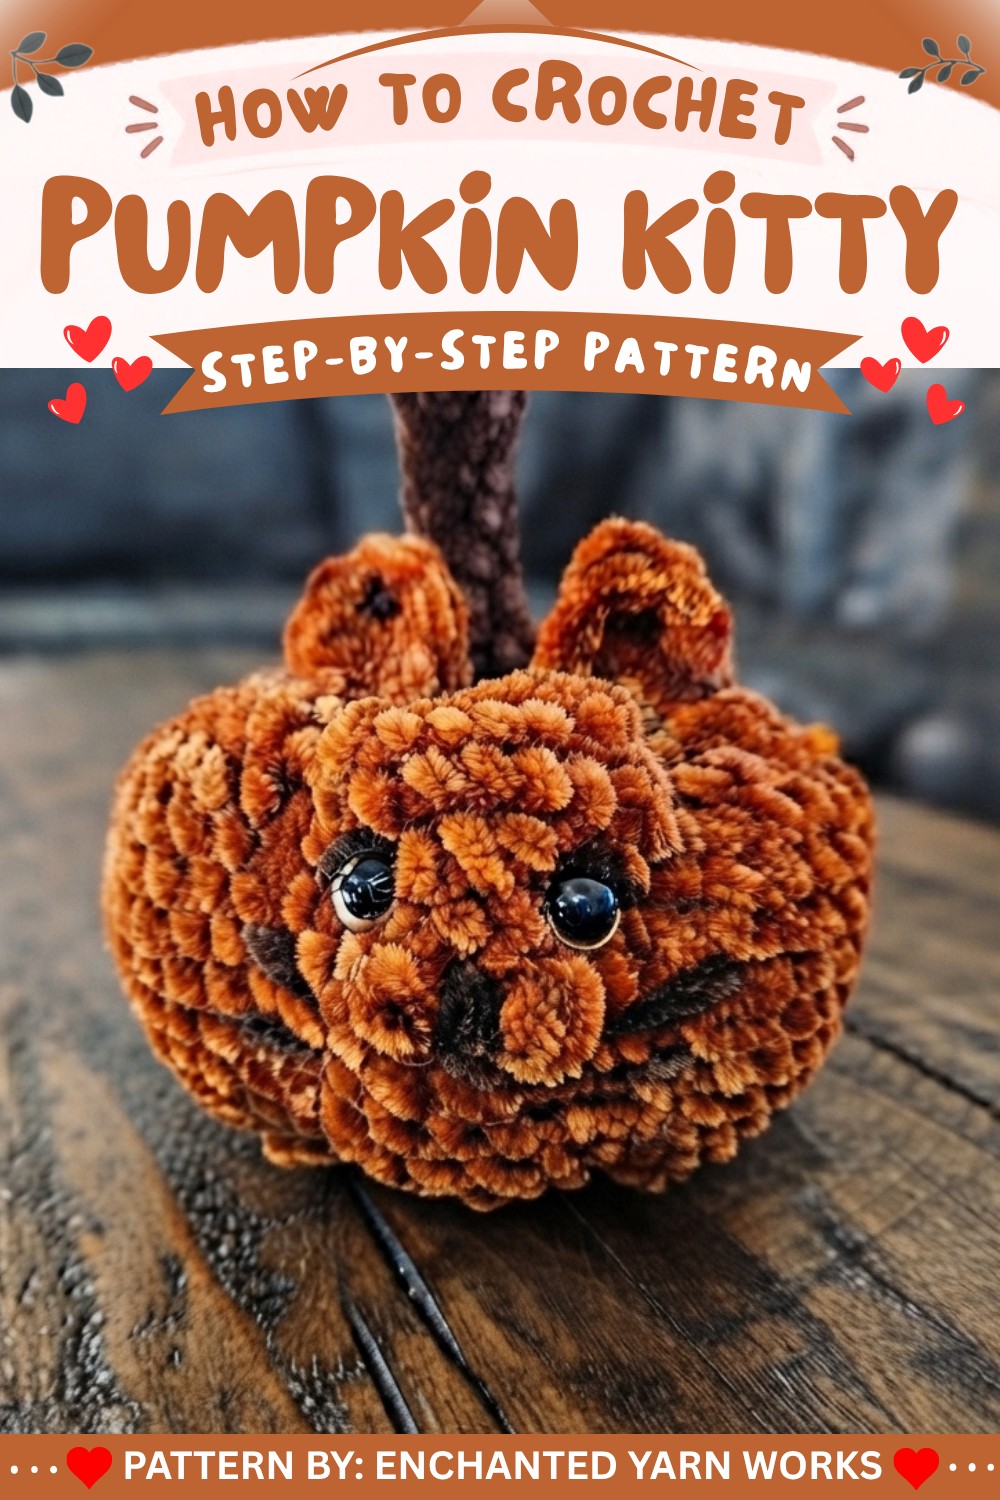
Pumpkin Kitty (Pumpkitty) Amigurumi Crochet Pattern
This detailed, step-by-step pattern brings together two favorites: cute loaf cats and festive pumpkins, resulting in a cuddly, squishable “pumpkitty” ideal for fall décor, toys, or gifts. This pattern is designed to help you create a plushie full of personality, from its pumpkin-shaped body and feet to expressive kitty ears, a velvety tail, and sweet embroidered face. Customizable with colors and details, this project lets you celebrate fall and your love for cats all at once.
Pattern Basic Points
Project Highlights:
- Textured, Shaped Pumpkin Body: Formed with custom increases and shaping, then finished with segment-wrapping for a true pumpkin effect.
- Poseable, Kawaii Ears & Feet: Crocheted on for 3D character.
- Embroidered Face: Expressive features added with yarn and safety eyes.
- Custom Tail: Can be made poseable or soft and plush.
- Chunky Velvet Yarn for Maximum Squish: Pattern adapts easily to classic or plush yarn.
Special Notes
- Written in US crochet terminology.
- Yarn under single crochet is used for tighter stitches.
- Segments and shaping are created with strategic sewing and stuffing.
- Safety eyes are used; embroider or securely attach if small children will be using the toy.
- Every round is joined in a continuous spiral (use a stitch marker).
- This pattern was inspired by holiday/fall themes but can be adapted to different colorways (white “ghost” kitties, black “moon” kitties, etc.).
Skill Level
Adventurous Beginner to Intermediate
Requires familiarity with:
- Magic ring
- Single crochet increases and decreases
- Bobble stitch for feet
- Basic embroidery for the face
- Sewing/attaching amigurumi parts
Materials
- Main Yarn: Bulky weight (5) velvet or chenille yarn; sample used Hobby Lobby Yarn Bee “Velvety Smooth” (Pumpkin color)
- Tail/Details Yarn: Brown (sample used Yarn Bee “Be-adorable,” same size/weight)
- Hook Size: 5-6 mm (match to yarn for a tight amigurumi stitch)
- Safety eyes: Two, 12mm (gold recommended, or color of choice)
- Embroidery Yarn: Small amount of brown and optional pink/orange (for cheeks and face)
- Polyester Fiberfill: Stuffing
- Yarn needle
- Stitch marker(s)
- Scissors
Measurements / Sizing
- Approximate Size:
- Width: 10–12 cm (4–4.75″)
- Height: 10–12 cm (4–4.75″)
- (Slight variations based on yarn, hook, and tension.)
Gauge
- Gauge is not critical.
- Important you crochet tightly enough to keep stuffing from showing.
- After Round 4, the base should measure about 2.5–3 inches across (6–7.5 cm).
Stitch Abbreviations
- MR: Magic Ring
- ch: chain
- sc: single crochet
- inc: increase (2 sc in same st)
- dec: decrease (sc2tog using invisible decrease for neat look)
- BLO: back loop only
- st(s): stitch(es)
- sl st: slip stitch
- dc: double crochet
- tr: treble/triple crochet
- bo: bobble stitch (see notes)
- FO: fasten off
Special Stitches
- Yarn Under sc: Instead of yarning over, place the yarn under the hook for each single crochet. Gives a tighter ‘X’ shaped stitch (optional but recommended).
- Bobble Stitch (Feet): Using 4 double crochets, each begun in the same st and unfinished, then yarn over and pull through all 5 loops to close.
- Invisible Decrease: Insert hook into FLO of each of next 2 sts, yarn over and pull through, finish sc as normal.
- Amigurumi Embroidery: For face shaping, cheeks, and whiskers.
Written Pattern
Body
With pumpkin (orange) velvet yarn:
- MR; 8 sc into ring (8).
- Increase to 16: 2 sc in each st around (16).
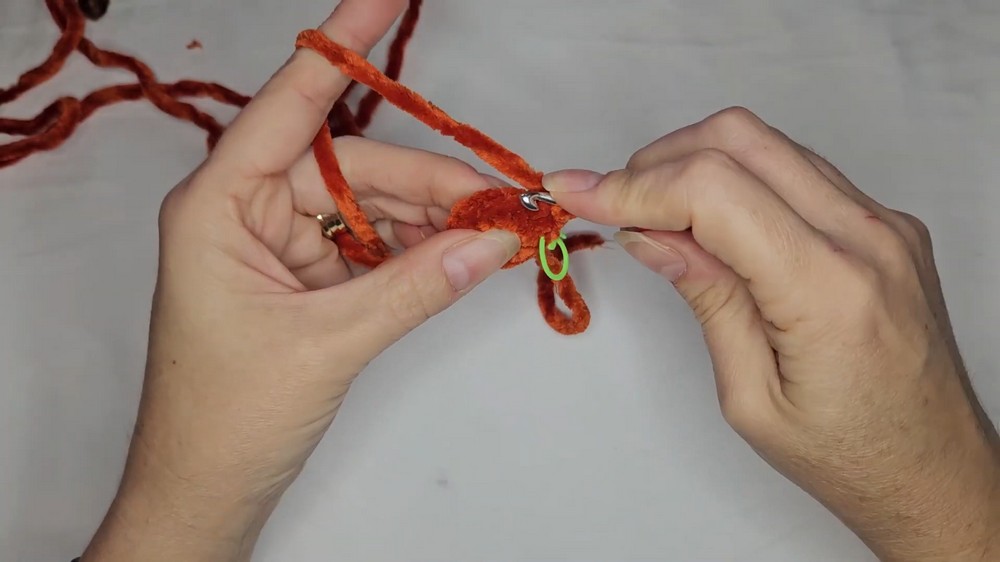
- Increase to 24 with corners:
- (Inc, inc, sc, sc), repeat 3x more (32).
Each time, two inc = 2 corners, then 2 sc. End with 1 sc to meet start.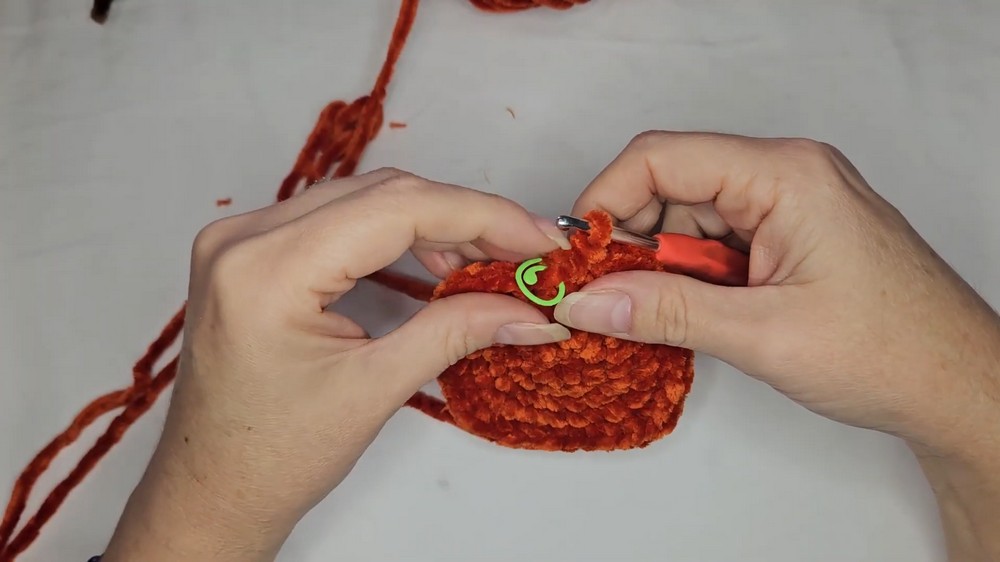
- (Inc, inc, sc, sc), repeat 3x more (32).
- Increase to 32 with corners:
- (2 sc, inc, inc, 4 sc), repeat sequence three more times, for four corners.
- At end, two sc to complete (40).
- Increase to 40 with corners:
- (3 sc, inc, inc, 6 sc), repeat sequence around, then 3 sc to finish (48).
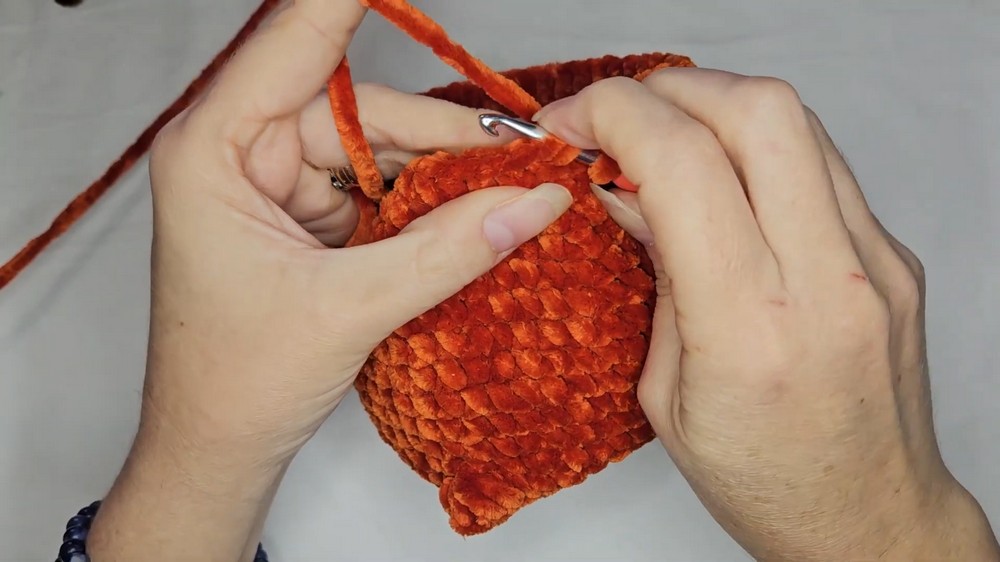
- (3 sc, inc, inc, 6 sc), repeat sequence around, then 3 sc to finish (48).
Making the Feet
- Feet Row:
Everything except feet is worked in BLO. Feet are made at each “corner.”
a) (4 sc in BLO), make a 4-dc bobble for corner foot in both loops, repeat for four corners. Between feet: 9 sc in BLO between each bobble. Final side = 5 sc.
- At the end, you should have four bobbles at “corners”, rest of the stitches are BLO.
Sides
- Increase to 48: Back to normal sc in both loops.
- (2 sc, inc, 4 sc, inc), repeat.
- Next rows: 10 rows (48 sc) even, placing stitch marker at start of each row.
- AFTER ROUND 15:
- Insert 12 mm safety eyes between Rounds 14–15, about 3 sts apart and centered at the front. Attach washers inside.
Shaping the Pumpkin / Decreases
- Decrease to 40: (2 sc, dec, 4 sc, dec), repeat around.
- Decrease to 32: (3 sc, dec), repeat around.
- Decrease to 24: (2 sc, dec), repeat around.
- Stuff thoroughly (round, bottoms, and top).
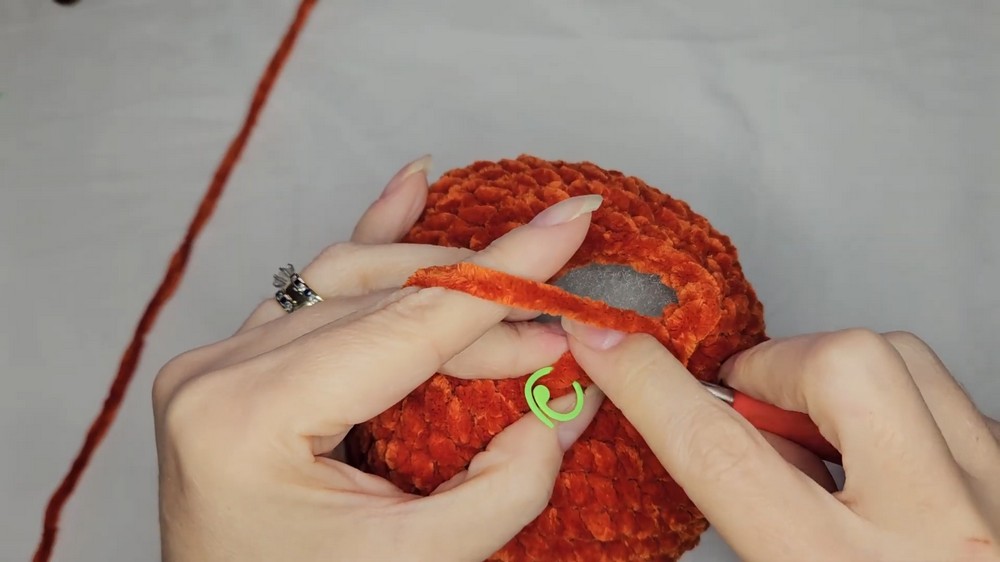
- Decrease to 16: (sc, dec) around.
- Decrease to 8: Dec in all stitches around (8).
FO, leaving an extra long tail (24″+).
Shaping the Pumpkin
- Using yarn needle and long tail, thread through each of the 8 front loops to close the hole. Pull tight.
- For pumpkin sections:
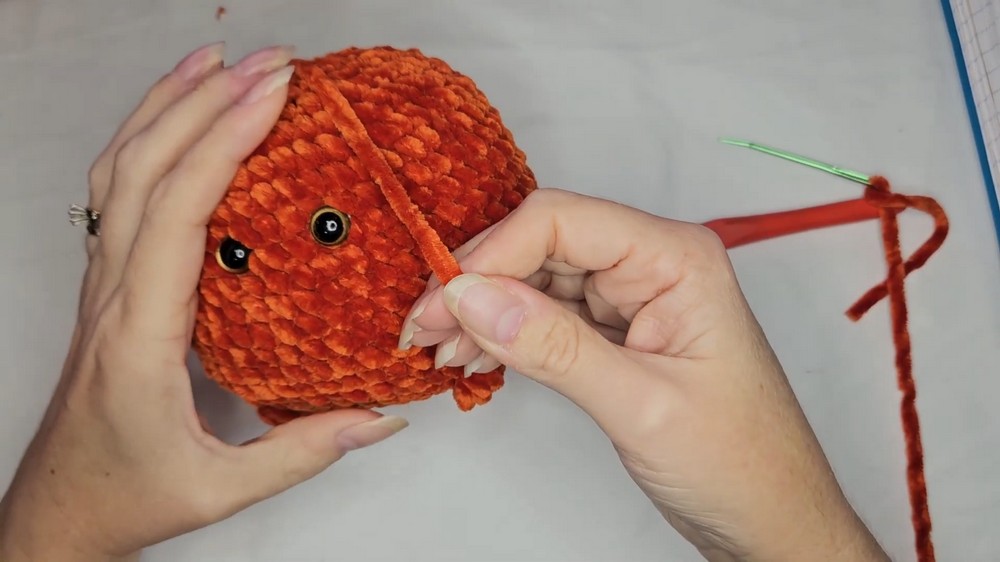
- Bring needle from top center, down the side (between foot and eye), across the bottom, and up to center top. Pull tight to form segment indentation, repeat for opposite (front/back) then two sides. Tighten as desired for pumpkin shape. Secure each loop in place; tie off and hide yarn.
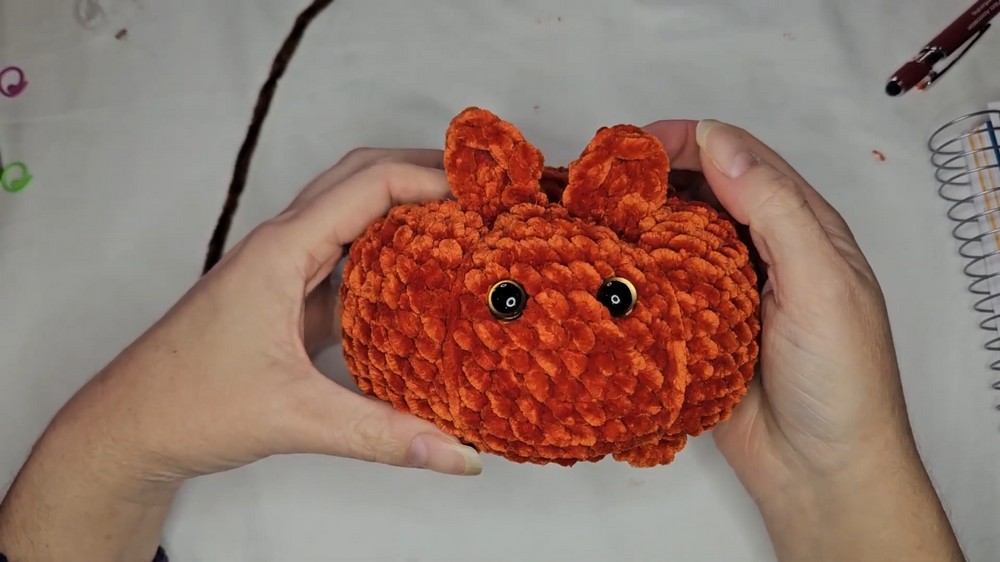
- Bring needle from top center, down the side (between foot and eye), across the bottom, and up to center top. Pull tight to form segment indentation, repeat for opposite (front/back) then two sides. Tighten as desired for pumpkin shape. Secure each loop in place; tie off and hide yarn.
Ears (Make 2)
With orange (main color), leave long tails for sewing:
- Ch 4.
- In 2nd ch from hook: sc.
- In next ch: dc, tr, dc (all in same ch).
- In last ch: sc.
- Sl st in same st to anchor, FO.
You should have a wedge-shaped piece; sew ears about four rows back from the eyes, straddling segment line.
Tail
With brown yarn:
- MR, 6 sc.
- Rows 2–10: sc in each st around (6); for total of 10 rows.
- FO, leaving long tail for sewing.
- Lightly stuff if desired.
- Sew tail slightly off-center at top middle back, “pumpkin stem” style but set like a cat tail.
Face Embroidery
Cheeks:
- With orange or pink, embroider several (4–6) “over-under” stitches down at an angle beneath each eye, forming the muzzle/pad. Fluff up with needle.
Eye Outlines (optional):
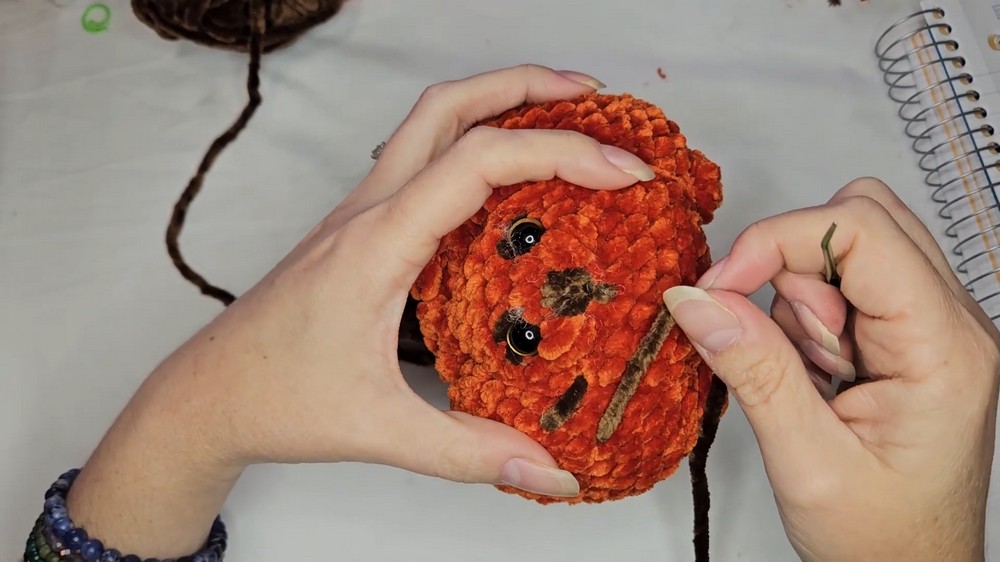
- With brown yarn, embroider above and around eyes to accentuate.
Nose:
- With brown yarn, embroider an upside-down triangle for nose at bottom of cheeks.
Mouth & Whiskers:
- Extend a vertical line below nose for mouth, then out for whiskers (two per side).
Finishing:
- Tuck in all yarn tails, shape as needed.
Assembly & Finished Size
- Feet: Should protrude slightly; may be reshaped after stuffing.
- Ears: Align over eye and foot, 4 rows back from eyes.
- Tail: Whipstitch around base for stability.
- Face: Adjust shaping, pull cheeks and nose features for dimensionality.
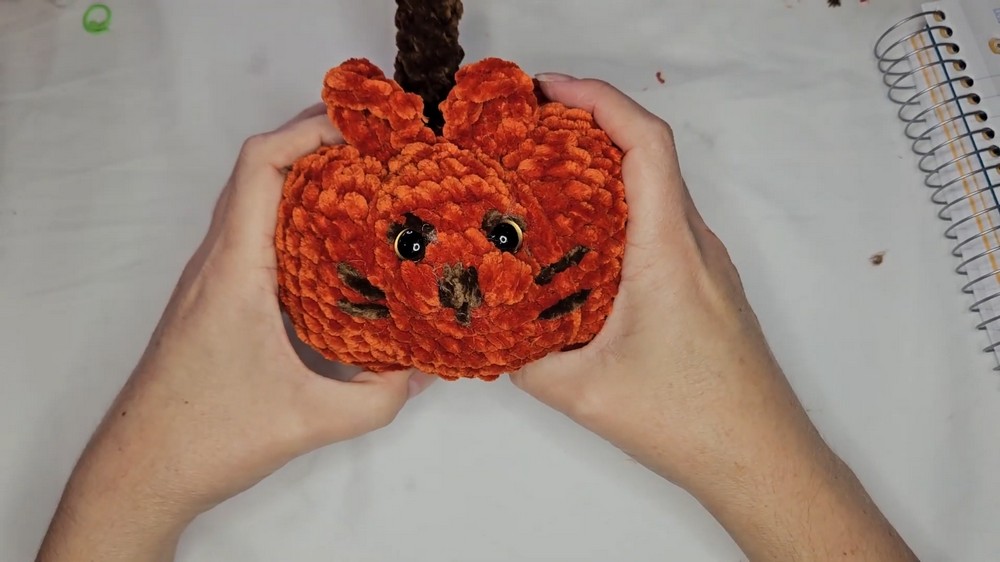
- Final: Kitty should stand squatty and proud—pumpkin-shaped center, four feet, cute ears, plush tail, chubby cheeks, and perky whiskers.
Conclusion
You’ve brought a festive Pumpkin Kitty (Pumpkitty) to life—combining the best of cozy fall décor and adorable feline fun. This cat is certain to add seasonal joy wherever it goes, from bookshelves to toy baskets. Remember, you can customize with color changes for endless character. Crafted with squishy velvet or soft yarn, it’s a joy to hold and display.
Tips:
- Embroider features to suit your kitty’s personality.
- Adjust yarn weight/hook for size variation.
- For safety, secure safety eyes fully or embroider eyes if for young children.