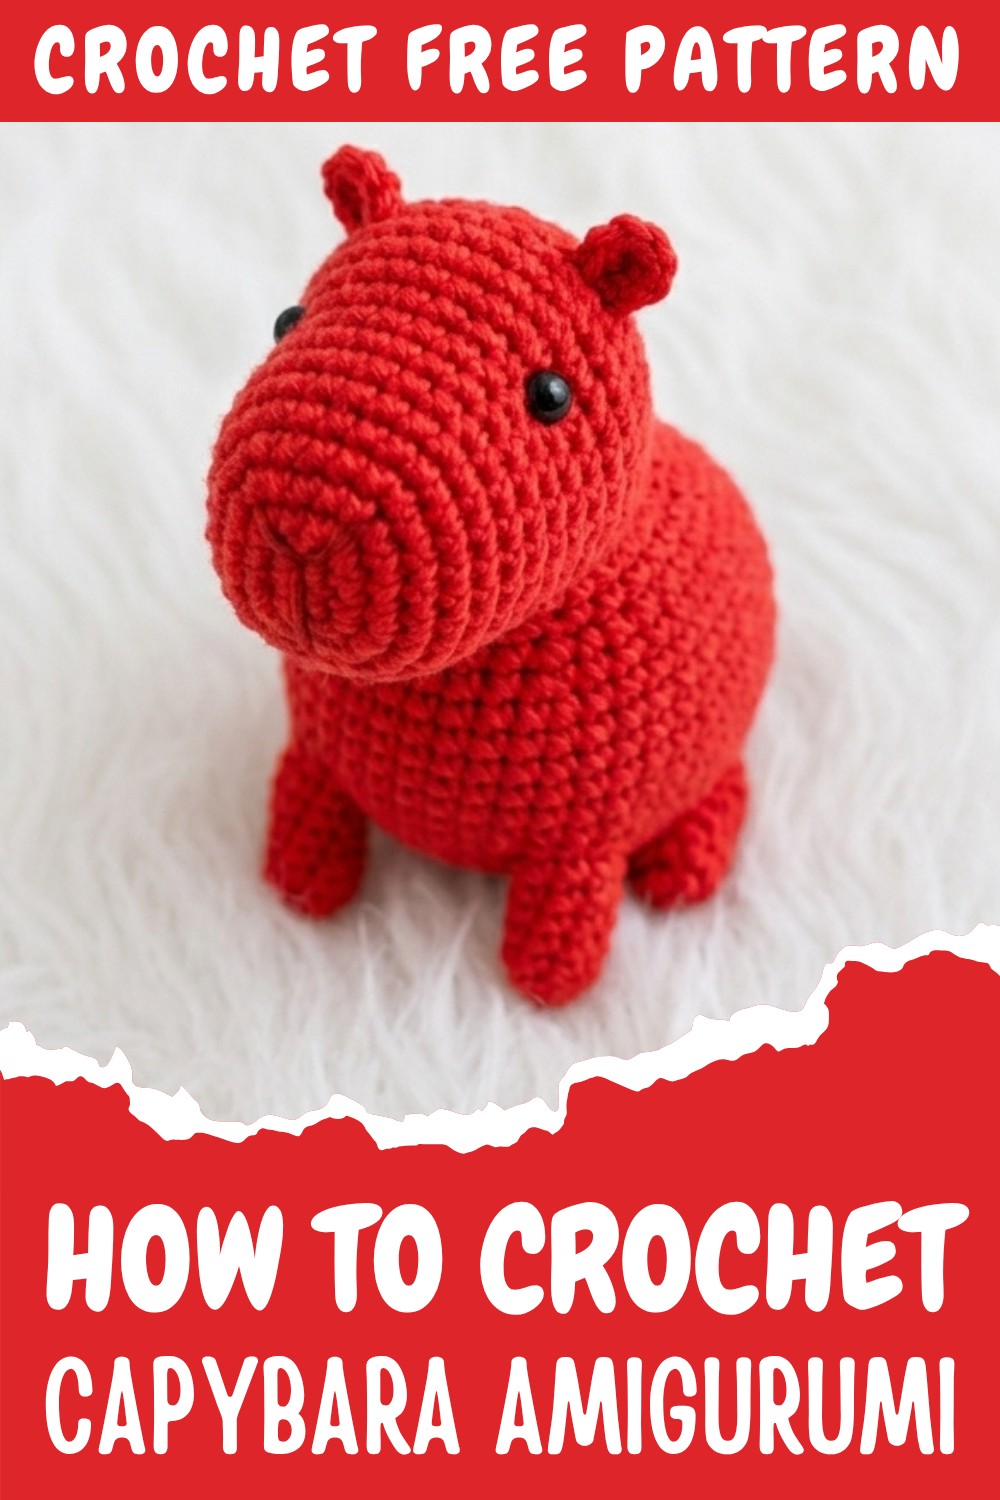
Handmade Free Crochet Capybara Pattern for Playtime Fun
Current style meets comfort by following the Free Crochet Capybara Pattern to crochet a sweet capybara in simple steps for all.
Have you ever thought about crocheting a whimsical, yet surprisingly simple animal that sparks joy and brings a smile to anyone who sees it? This crochet capybara pattern is designed to be adorable yet straightforward, making it beginner-friendly while allowing endless customization. Its cute little snout, rounded body, and short limbs give it an irresistible charm. You can experiment with color combinations, such as earthy browns for a natural look, soft pastels for a whimsical pattern, or even vibrant hues for a bold, quirky statement. This pattern is suited for craocheting plush toys, desk decorations, or even thoughtful handmade gifts.
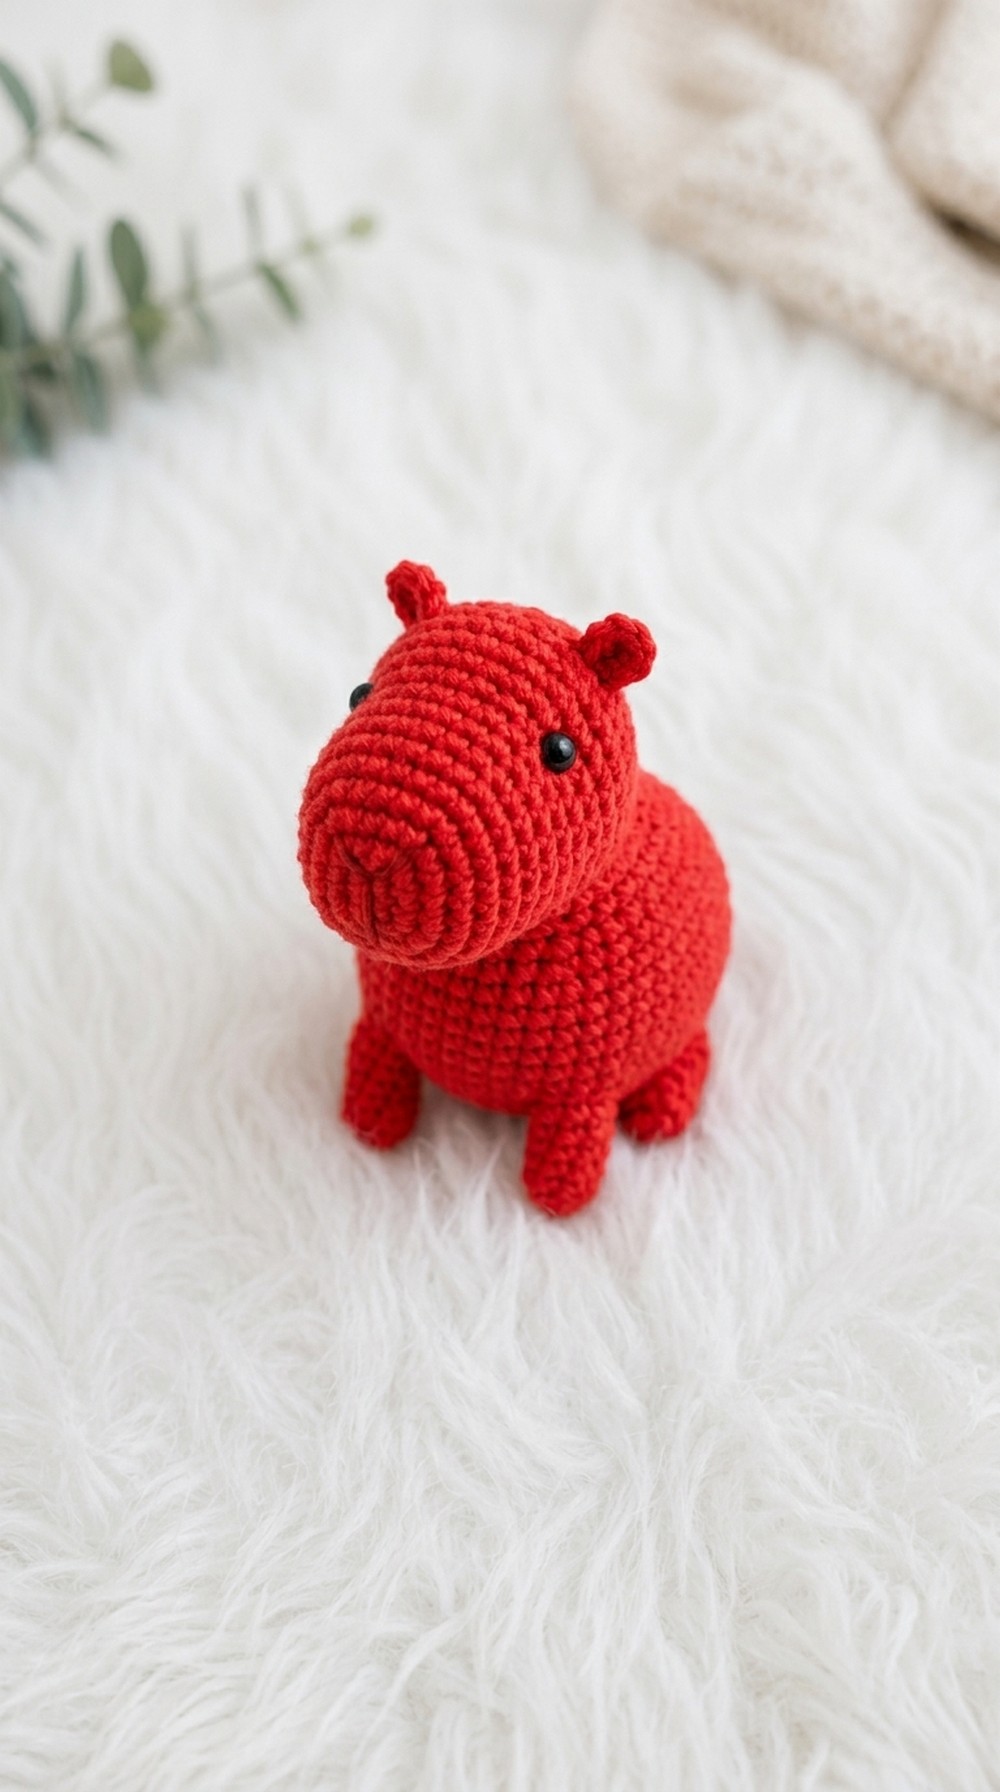
Lovely Free Crochet Capybara Pattern for Animal Fans
In this pattern, you’ll predominantly use single crochet (SC) stitches in a continuous spiral, giving the capybara a neat, sturdy form while keeping the process approachable for crochet novices. The pattern also includes basic techniques like increases and decreases to shape the body, adding dimension and structure to capture the essence of the beloved capybara.
Beyond creating a standalone capybara, this pattern opens doors to exciting possibilities:
Other Things You Can Crochet Inspired by This Pattern:
- Mini Keychain Capybaras: Scale down the pattern for charming bag charms or keychains.
- Capybara Family Set: Create capybara “parents” and tiny baby capybaras for a cute display!
- Seasonal Capybaras: Add accessories, like scarves for winter, or a flower crown for spring.
- Capybara Plush with Extras: Crochet a tiny teacup or bird to place on its back for extra personality.
Crochet Pattern: Teddy Bear Keychain (No-Sew)
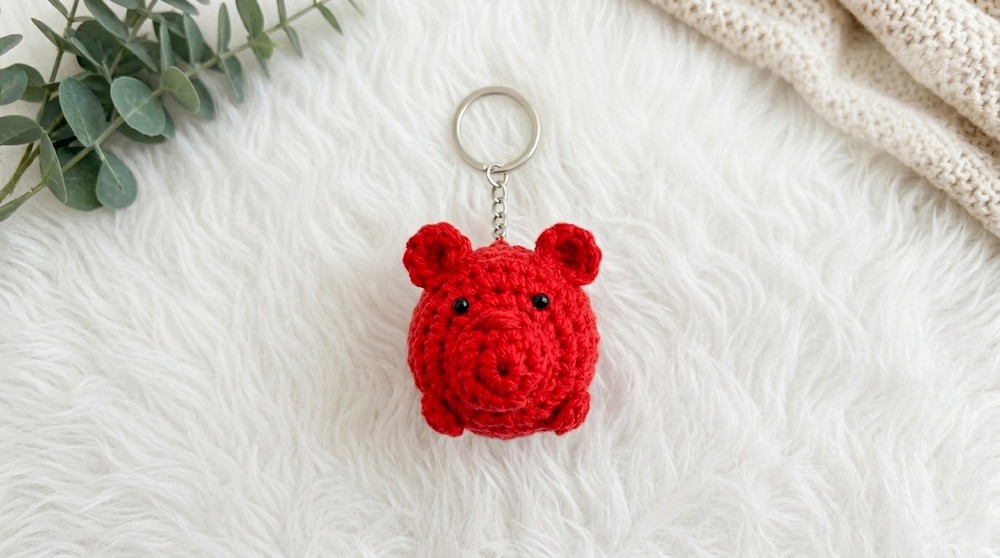
Are you looking for an easy and adorable crochet project? This teddy bear keychain is part of the 2023 keychain challenge, where the goal is to create small, lovable designs with minimal sewing. This no-sew pattern makes the process quick and beginner-friendly, while still resulting in a polished and professional look. You can use this keychain as a gift or a playful addition to your bag, making it both practical and stylish!
The pattern starts with the magic ring technique for a seamless circular base, where the body, legs, and ears are made directly as part of the design. The main stitch used is the classic half double crochet (HDC) stitch, ensuring the structure is sturdy while remaining soft and cute. With simple materials and clear instructions, you’ll finish this project in no time!
Skill Level & Terminology
Skill Level: Beginner to Intermediate
Terminology: US Crochet Terminology.
Materials & Tools
- Yarn: Small amount of DK or worsted-weight yarn in your chosen bright red color for the bear.
- Hook: 2.0 mm crochet hook.
- Eyes: Two 3 mm safety eyes or embroidery thread (if safety eyes are unavailable).
- Stuffing: Polyester fiberfill or cotton for stuffing.
- Optional: Keyring or chain if making a keychain.
- Additional Tools:
- Tapestry needle (for closing gaps and embroidery).
- Scissors.
- Stitch markers (recommended for precision).
Gauge
Gauge is not critical for this pattern but ensure your stitches are tight enough to prevent the stuffing from showing through.
Abbreviations List
- MR: Magic Ring
- HDC: Half Double Crochet
- Ch: Chain
- St: Stitch
- Sc: Single Crochet
- Inc: Increase (work 2 stitches into the same stitch).
- Dec: Decrease (work 2 stitches together).
- Sl St: Slip Stitch
Special Stitch Instructions
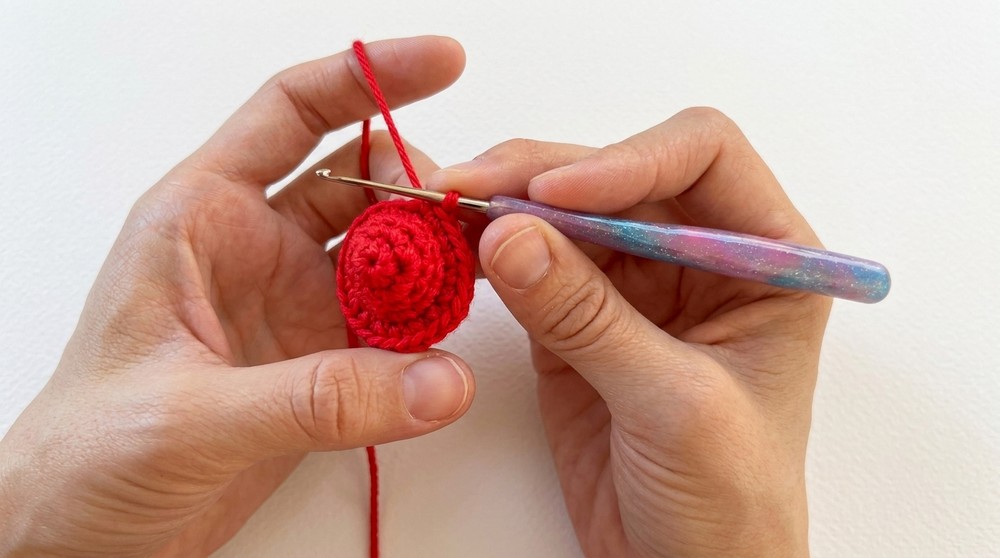
Magic Ring (MR):
Wrap the yarn around your fingers to form a loop. Insert your hook into the loop, yarn over, and pull up a loop. Chain one to secure and start crocheting into the circle.
Pineapple Stitch for Tail:
This stitch creates a small “bobbled” ball for the tail. Begin with a magic ring or chain loop, and add several stitches into the same space to create a small, compact shape.
Finished Size
The finished keychain measures approximately 2.5 inches (6.5 cm) in height, making it perfect for a keyring or bag charm.
The Pattern Itself
Body (Rounds 1–6)
Round 1:
- Begin with a MR, make 6 HDC inside the ring. Pull the starting yarn to close the center, and join with a Sl St. [6 St]
Round 2:
- Work 2 HDC in each St (Inc) around. Join with a Sl St. [12 St]
Round 3:
- Work 1 HDC in each St around. Join with a Sl St. [12 St]
Round 4:
- Work 3 HDC, Inc 6 times, finishing with 3 HDC. Join with a Sl St. [18 St]
Round 5:
- Work 3 HDC, (1 HDC + Inc) 6 times, finishing with 3 HDC. Join with a Sl St. [24 St]
Round 6:
- Work 1 HDC in each St around to maintain 24 stitches. Here, you’ll also create the front legs and ears.
After completing Round 6, you should have the circular lower half of the body formed.
Front Legs
Step 1: Mark the position of the first front leg with a stitch marker.
Step 2: Create the leg by chaining 4 chains.
- Skip the first chain, then work 1 HDC into the back loop of each remaining chain. [3 HDC]
Step 3: Secure the leg to the body by making a Sl St into the base from where the chain started.
Repeat the same process to make the second front leg.
(Tip: Use stitch markers to easily track the start and end points of each leg.)
Ears
Step 1: To create the first ear, make a Ch 2, then work 5 Sc into the second chain from hook.
Step 2: Create a Sl St into the base where you want the ear positioned. This secures the ear to the body.
Repeat for the other ear. Make sure both ears are placed symmetrically.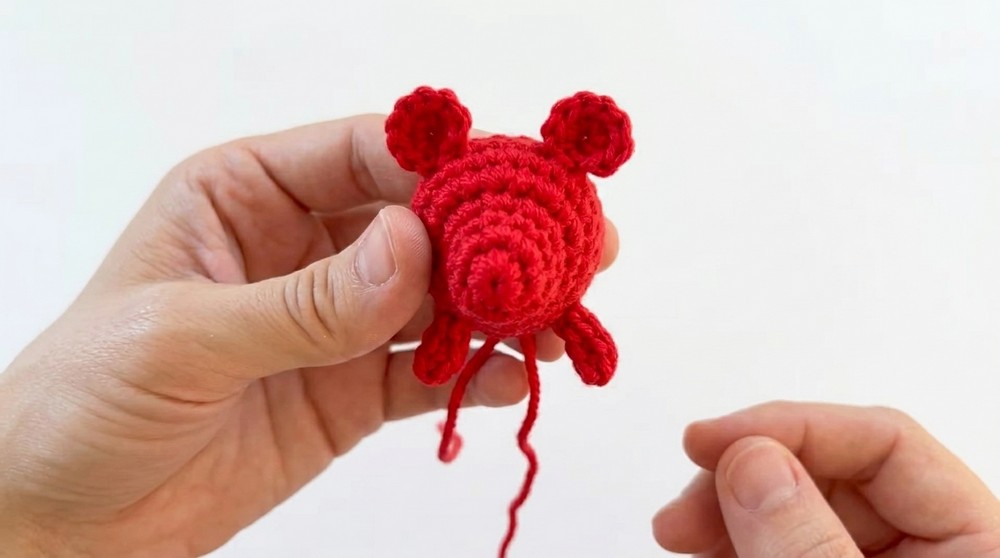
(Tip: Stretch the ears slightly so they hold their shape and sit upright.)
Back Legs and Tail
Back Legs: Follow the same process as the front legs by marking positions with stitch markers. Work 4 chain loops for each back leg, attach them symmetrically on the back side of the bear.
Tail: For the tail, create a small “pineapple” stitch:
- Chain 2; in the second chain from hook, work several Sc into the same space (about 5–6).
- Once the tail forms a bobbled shape, secure it to the back of the bear with a Sl St.
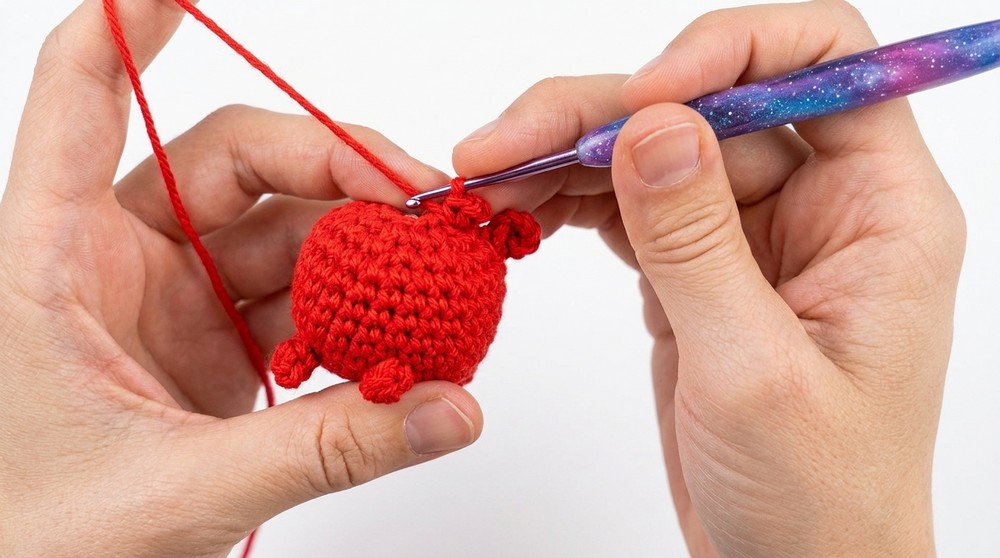
Rounds 7–11: Shaping the Body
Work 1 HDC in each St for 5 rounds to add height to the body while maintaining the stitch count at 24 per round. Ensure the legs and ears face outward as you work.
Eye Placement
Place the eyes on Round 4, symmetrical to the ears. Use safety eyes, or embroider small black eyes with thread. Ensure they’re securely fastened.
Decreasing for the Head (Rounds 12–16)
Round 12:
- Work 3 HDC, Dec 6 times. [18 St]
Round 13:
- Work 2 HDC, Dec 6 times. [12 St]
Round 14:
- Work 1 HDC, Dec 6 times. [6 St]
Round 15:
- Work 6 Dec to close the gap.
Stuff the bear as you work the decreases. Ensure the stuffing is evenly distributed for a rounded shape.
Snout and Nose Embroidery
Use black or brown thread to embroider the nose:
- Start from the center of the face (Round 1).
- Add several small stitches over a 2-stitch space to create a triangular nose.
- Connect the nose to the middle of the bear with vertical stitches for the snout.
Assembly & Finishing
- Fill and Shape: Ensure all stuffing is evenly distributed. Adjust the positioning of legs and ears if necessary.
- Weaving Ends: Weave in all loose ends securely with a tapestry needle. Trim excess yarn.
- Keyring Attachment: If converting to a keychain, attach a keyring through the top of the head.
Why You’ll Love This Teddy Bear Pattern
- Fast & Easy: Perfect for beginners and quick to make!
- No-Sew Build: Everything is crocheted in place for seamless assembly.
- Customizable: Adjust colors, add a bow, or embroider unique details.
This tiny teddy bear is a fun project with endless creative possibilities.