Crochet Twisted Headband Free Pattern & Tutorial

Stay stylish and cozy with this free crochet twisted headband pattern, adding a practical and trendy accessory to your wardrobe with ease.
While looking for a fun and simple crochet project, I found a great video (Link below) that really helped me. If you want a Free crochet twisted headband pattern, the one by Lalyloop Handmade is perfect. The video makes it easy to follow, even if you’re new to crochet, and soon you’ll have a stylish headband to wear or gift.
Free Crochet Twisted Headband Pattern – Hair Accessories
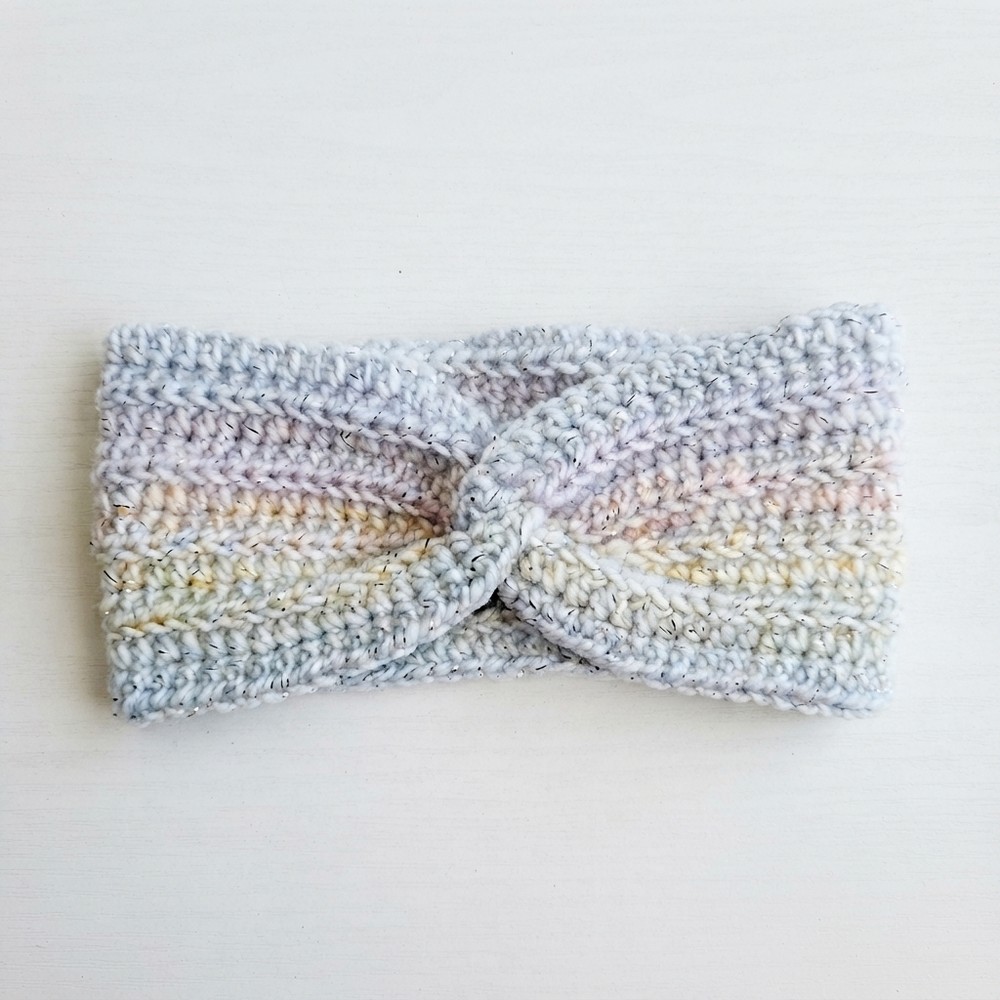
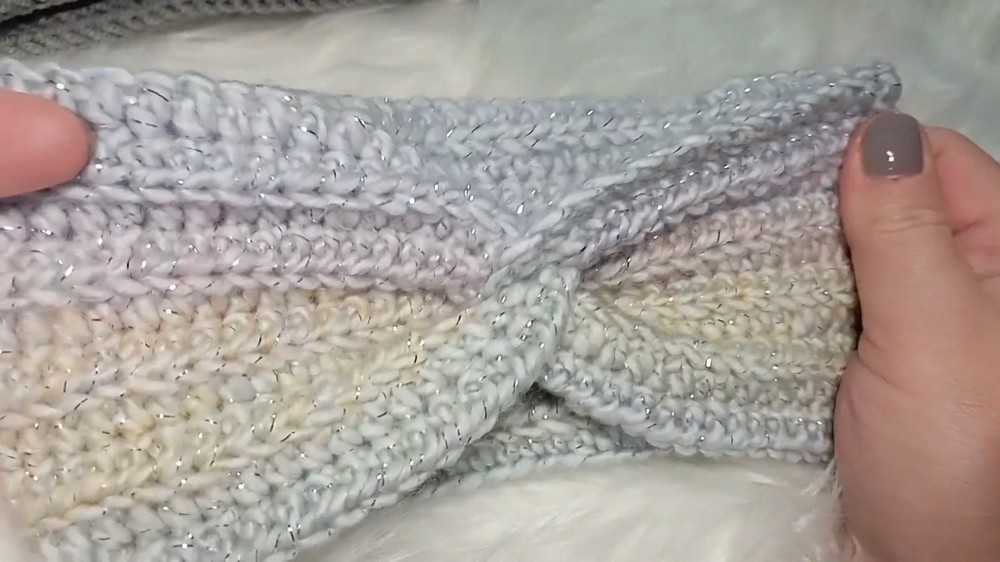
A twisted headband is a cool and useful accessory. It keeps your hair in place and adds a nice touch to any outfit. What I really like about this pattern is how it looks nice and feels soft. The twist in the middle makes it stand out and look fancy without being too much. It’s not too thick or heavy, so it’s comfortable to wear all day.
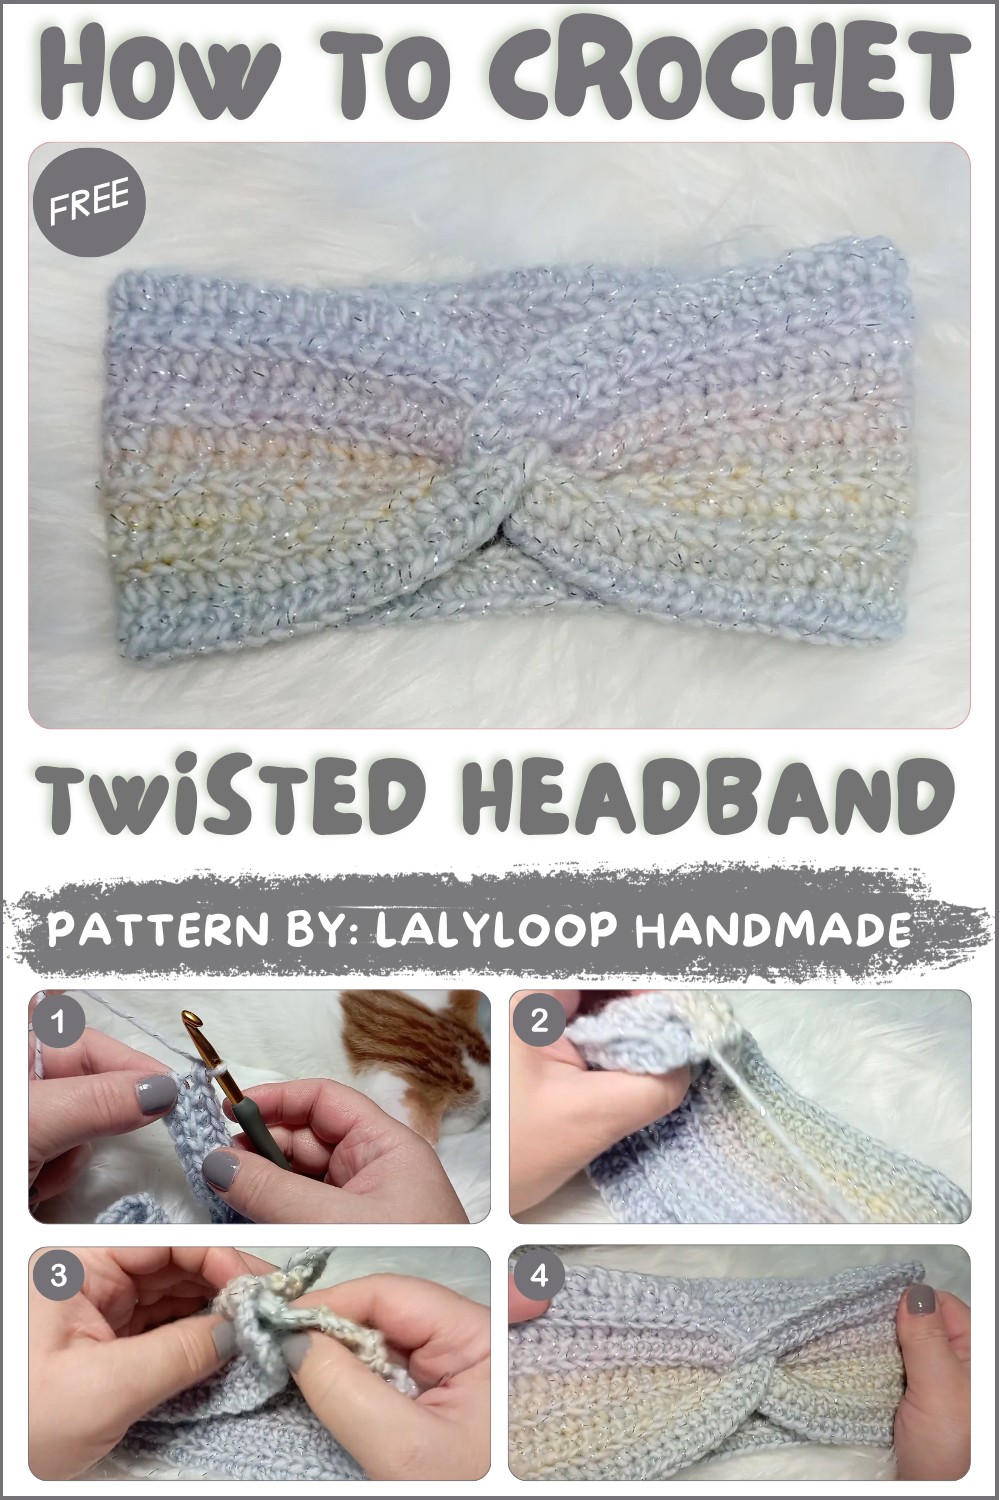
The way the headband is made gives it a nice ribbed texture that looks neat and simple. The yarn feels smooth on your skin, and the size is just right to keep hair back without slipping. You can even change the size if you want a bigger or smaller headband.
Lalyloop Handmade also shows how to add little decorations, like flowers or beads, to make your headband special and different. This makes the project fun and lets you make something unique for yourself or as a gift.
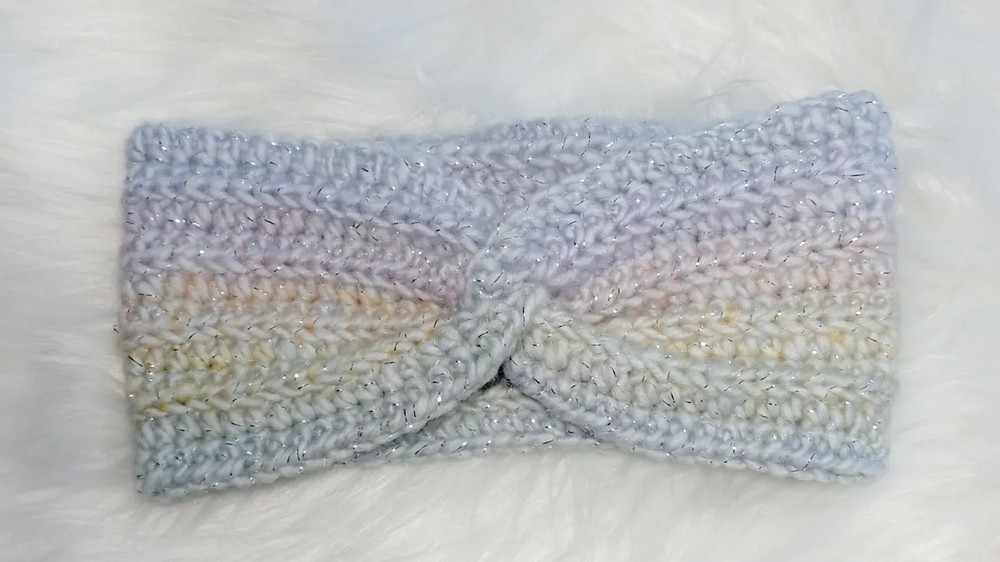
If you want to try making something stylish but easy, I suggest checking out this Free crochet twisted headband pattern on Lalyloop Handmade’s channel. It’s a nice way to make a warm, pretty accessory that anyone would love. 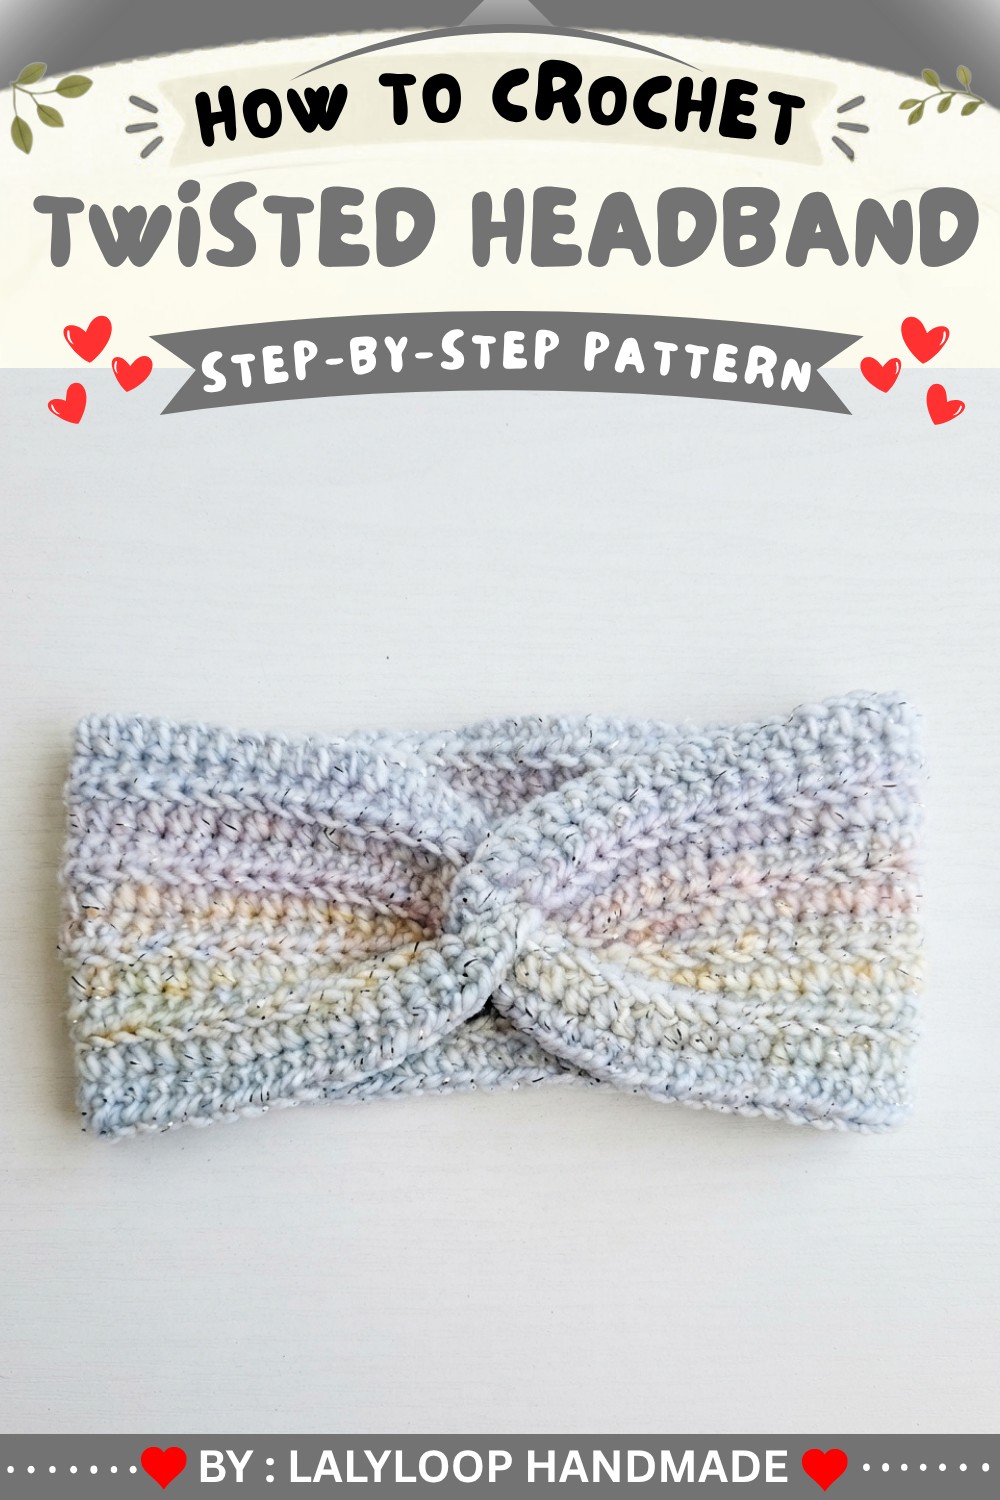
Crochet Twisted Headband Pattern
This pattern offers a systematic, video-guided tutorial for making a stylish crochet twisted headband using only the half double crochet stitch throughout. Every step from foundation chain creation to the final twist, is laid out clearly. The result is a modern, stretchy, and textured headband that finishes with a secure and decorative twist, perfect for both comfort and fashion.
Pattern Highlights
Project Preparation
- Choose appropriate yarn and hook (7mm recommended, 6mm used in the video)
- Tidy workspace and essential tools on hand
Foundation & Stitchwork
- Simple chain-based foundation for easy sizing
- All rows use half double crochet for quick progress and cozy texture
- Emphasis on back loop only work for attractive ribbing
Assembly & Details
- Clear guidance for the signature overlapping, twisted join
- Sewing through all fabric layers for durability
- Option to personalize with decorative additions
Notes
- Always count stitches at the end of every row to prevent accidental decreases or increases.
- Working in the back loops only is essential to achieve the beautifully ribbed texture—do not skip this step.
- Leave a long enough yarn tail after finishing the rows to allow for comfortable sewing during assembly—approximately 20–30cm is suggested.
- The headband’s sizing is easily adjustable by changing the number of foundation chains.
- To create the perfect “twist,” follow the folding instructions closely before sewing.
- Blocking is optional but can improve shape and drape.
Skill Level
Beginner to Intermediate
This pattern requires only the basic half double crochet stitch and simple sewing for assembly. It is especially suitable for those learning to work in the back loops and perfect for practicing uniform tension.
Materials
- Yarn: Chunky or super chunky yarn (suggested for 7mm hook; sample uses 6mm hook)
- Hook: 6mm crochet hook (use 7mm if desired for a looser, more flexible headband)
- Tapestry (yarn) needle: For sewing the seam
- Scissors
- Measuring tape
(Optional: beads, decorative buttons, or a crocheted flower for embellishment)
Measurements / Sizing
- Finished Length: ~55 cm (can be adjusted by altering the starting chain count; each chain adds/subtracts roughly 0.7–0.8 cm depending on yarn and tension)
- Width: Dependent on the number of rows worked; the pattern creates a comfortably wide band with 10 rows
Schematic:
A rectangular strip: 55 cm long × approx. 11–12 cm wide (10 rows)
Gauge
- Gauge: Approximately 7 stitches × 5 rows = 10 cm × 10 cm in half double crochet (back loops only)
- Check your gauge if you wish the band to fit snugly.
Stitch Abbreviations
- ch: chain
- hdc: half double crochet
- blo: back loop only
- sl st: slip stitch
Special Stitches
- Half Double Crochet (hdc): Yarn over, insert hook in stitch, yarn over, pull up a loop (3 loops on hook), yarn over, pull through all 3 loops.
- Back Loop Only (blo): Insert your hook only into the back loop of each stitch (furthest loop from you) instead of under both loops as usual. This creates a ribbed effect.
Pattern Instructions
Preparation
- Select your yarn and matching hook size. The video suggests chunky yarn intended for a 7mm hook, but uses a 6mm for a slightly firmer fabric.
- Gather a tapestry needle and scissors.
- Use a measuring tape to determine your desired finished headband length (example: 55 cm).
Foundation Chains
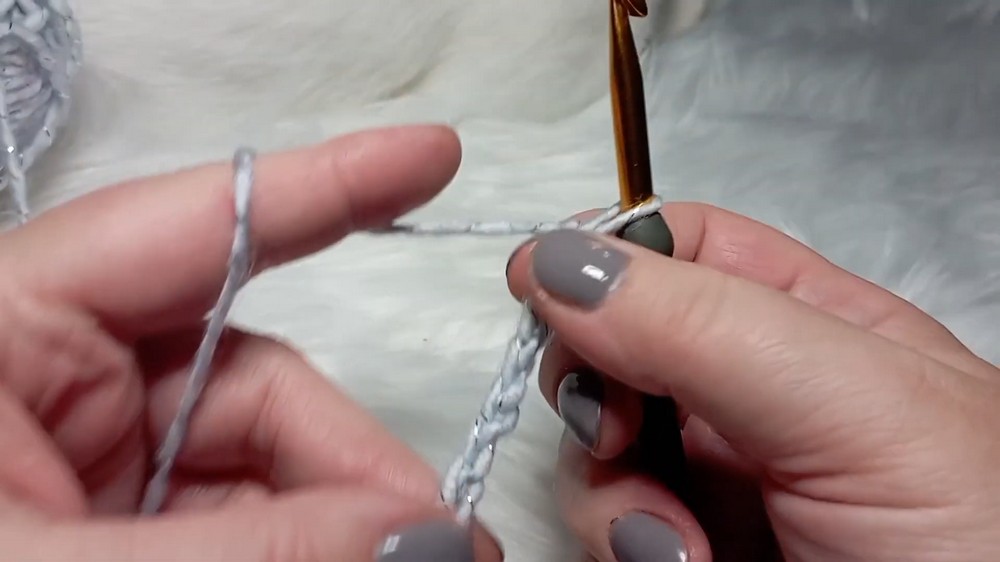
- Make a slip knot on your hook.
- Ch 70 (or adjust the count if a longer/shorter headband is desired). Ensure your starting chain closely matches your measured length—avoid stretching during measuring.
Row 1
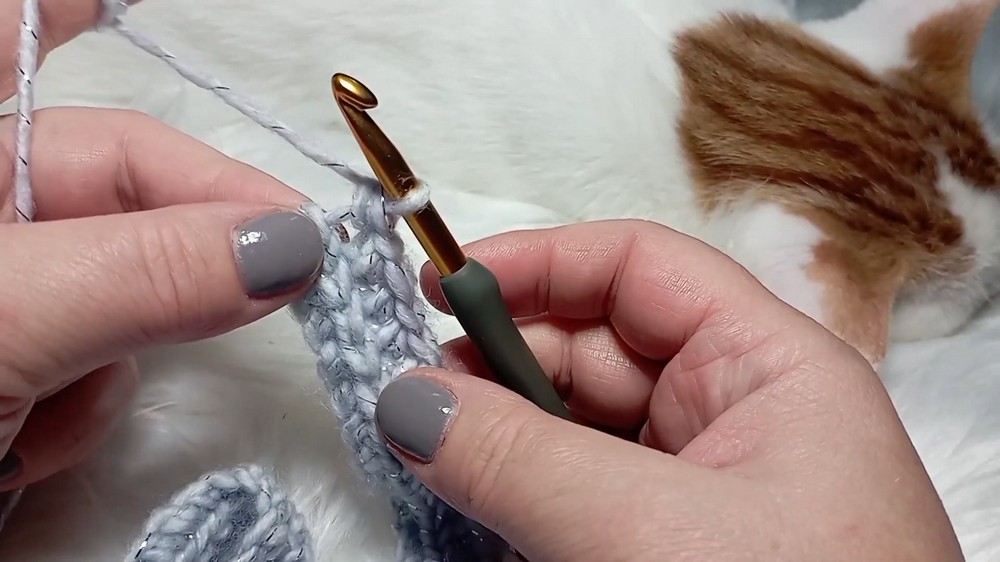
- Skip the first 2 chains from the hook (these act as your turning chain; they do NOT count as your first stitch).
- Work 1 hdc into the 3rd chain from the hook.
- Continue working 1 hdc into each chain across the row, inserting the hook under both top loops as normal for this first row.
- At the end of the row, you should have 68 hdc (if 70 chains were made).
Rows 2 through 10
- Ch 1, turn your work.
- For each row:
- Work hdc in the back loop only (blo) of each stitch across. (To do this, insert your hook through the back loop of the stitch from the previous row, leaving the front loop unworked. This creates a ribbed, stretchy texture.)
- Be careful at the end of each row to work hdc blo in the very last stitch (it can sometimes be easy to skip).
- Repeat this process for a total of 10 rows (including your first row). Adjust row count if you want a wider/narrower headband.
Finishing
- Ch 1.
- Cut your yarn, leaving a long tail (20–30 cm) for sewing.
- Pull yarn through last loop to secure.
Assembly
- Lay your crocheted strip flat with both short ends facing you.
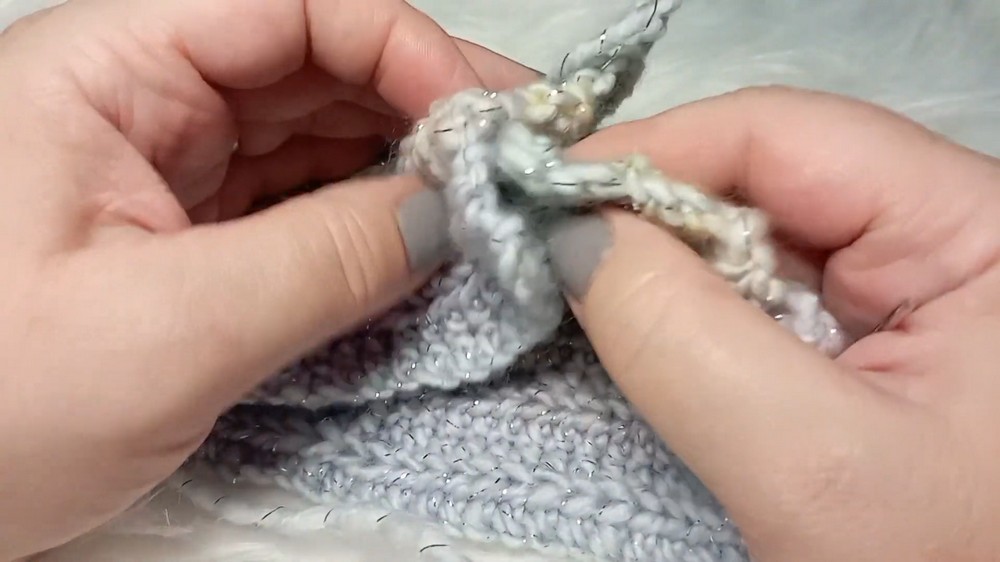
- Fold each short end together so the ends overlap each other in an interlocking bend—each end should fold like an open ‘V’ and sandwich into each other, creating four layers (this is the “twist”).
- Thread your tapestry needle with your yarn tail.
- Sew through all four layers—from one side to the other and back again—for a secure seam. Use neat, small stitches so your seam is sturdy and invisible from the outside.
- Secure with a knot.
- Weave in any remaining yarn ends to tidy your work.
Final Touches
- Turn your headband inside out; the seam should now be hidden, and the elegant twist should be clearly visible at the center.
- Optionally, add a decorative bead, button, or crocheted flower to the twist for extra flair. Secure with a needle and thread or yarn.
Assembly & Finished Size
- Your finished headband should measure about 55 cm in circumference and 11–12 cm wide, perfectly sized for most adult heads.
- The twist at the center gives an attractive, cozy look and a professional finish.
- The ribbed texture makes the band stretchy and snug while maintaining its shape.
Conclusion
This clear, step-by-step headband pattern, built entirely from fundamental stitches and beginner-friendly construction, delivers a satisfying and wearable accessory suitable for gifting or personal use. Attention to the precise folding for the twist and careful back loop only stitching throughout ensures a textured, comfortable fit with a polished appearance. Feel free to personalize your headband with embellishments, colors, and width to suit your own style or the recipient’s preference.