Free Crochet Mini Bread Amigurumi Pattern | Easy Beginner Tutorial

The joy of crocheting small, adorable items is hard to beat, and I recently found an informative pattern that you’ll love, a free crochet Mini Bread Pattern that makes a charming little loaf to add to your amigurumi collection. If you want to create this cute crochet bread yourself, the YouTube channel “HappyYarny” offers a fantastic step-by-step tutorial that’s friendly for beginners and full of helpful tips to guide you through the process.
Free Crochet Mini Bread Amigurumi Pattern
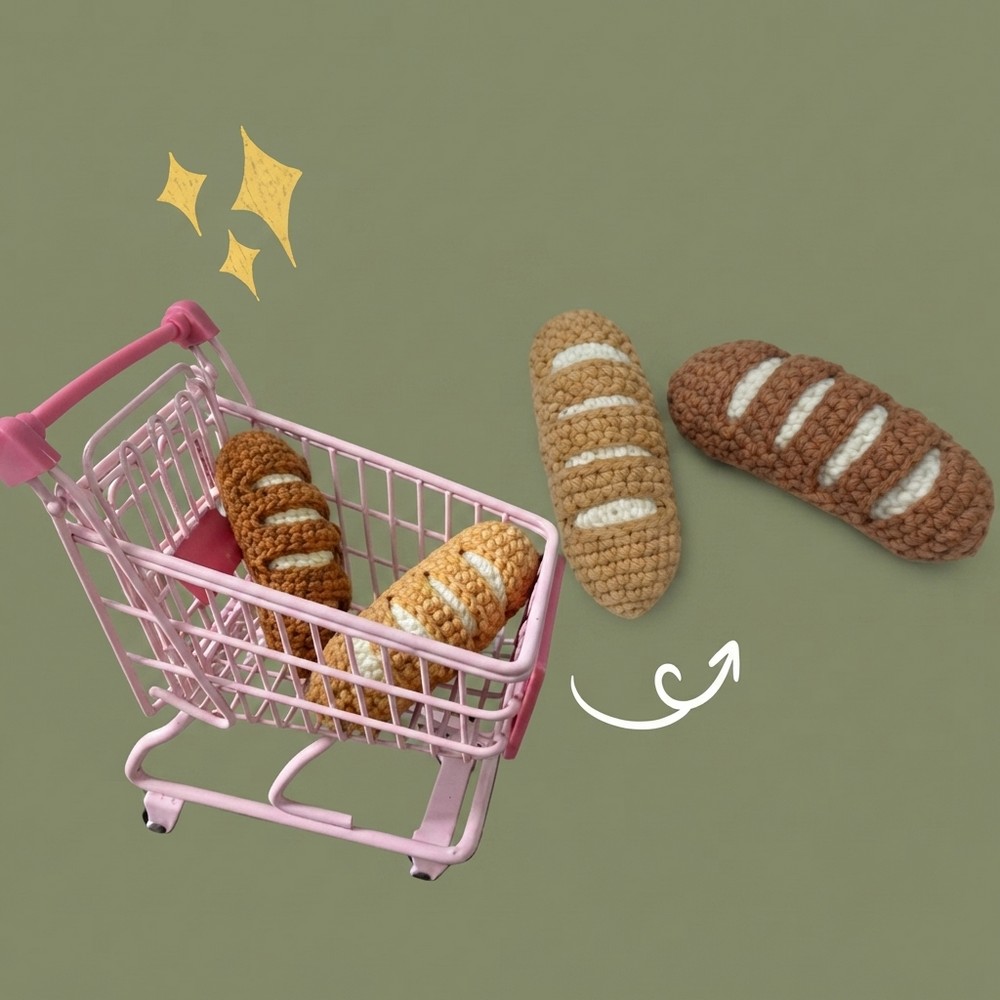
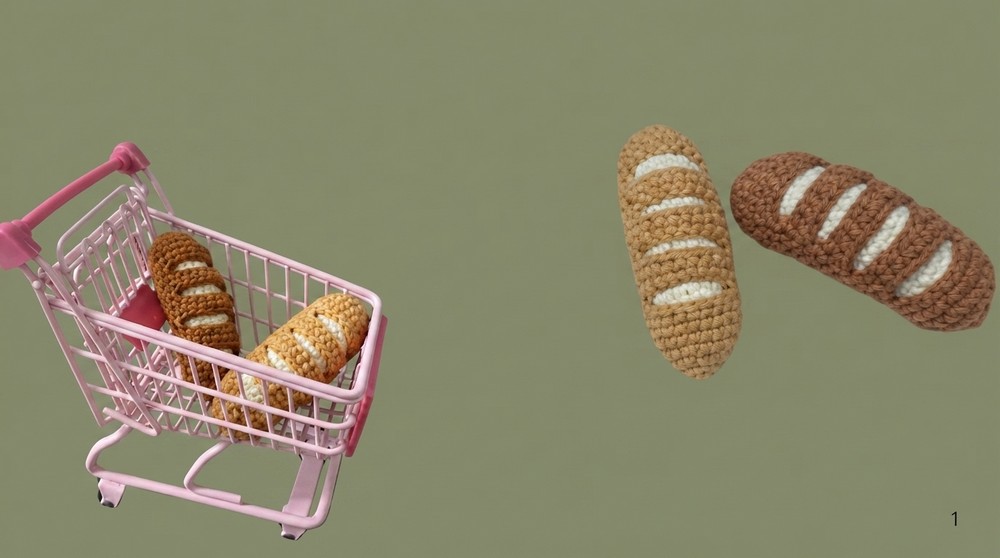
This mini bread crochet project is as beautiful as it is versatile. Shaped like a tiny loaf, it features delicate ridges that mimic the crust of freshly baked bread, giving it a realistic and inviting look. The yarn’s soft, smooth texture adds to its cozy appeal, making it perfect for use as a small decoration, a play food piece for kids, or even as an eye-catching collectible on your shelf. Its compact size and simple, natural style mean it fits wonderfully in a variety of settings, from kitchen shelves to crochet corners, adding a warm, handmade touch wherever it’s placed.
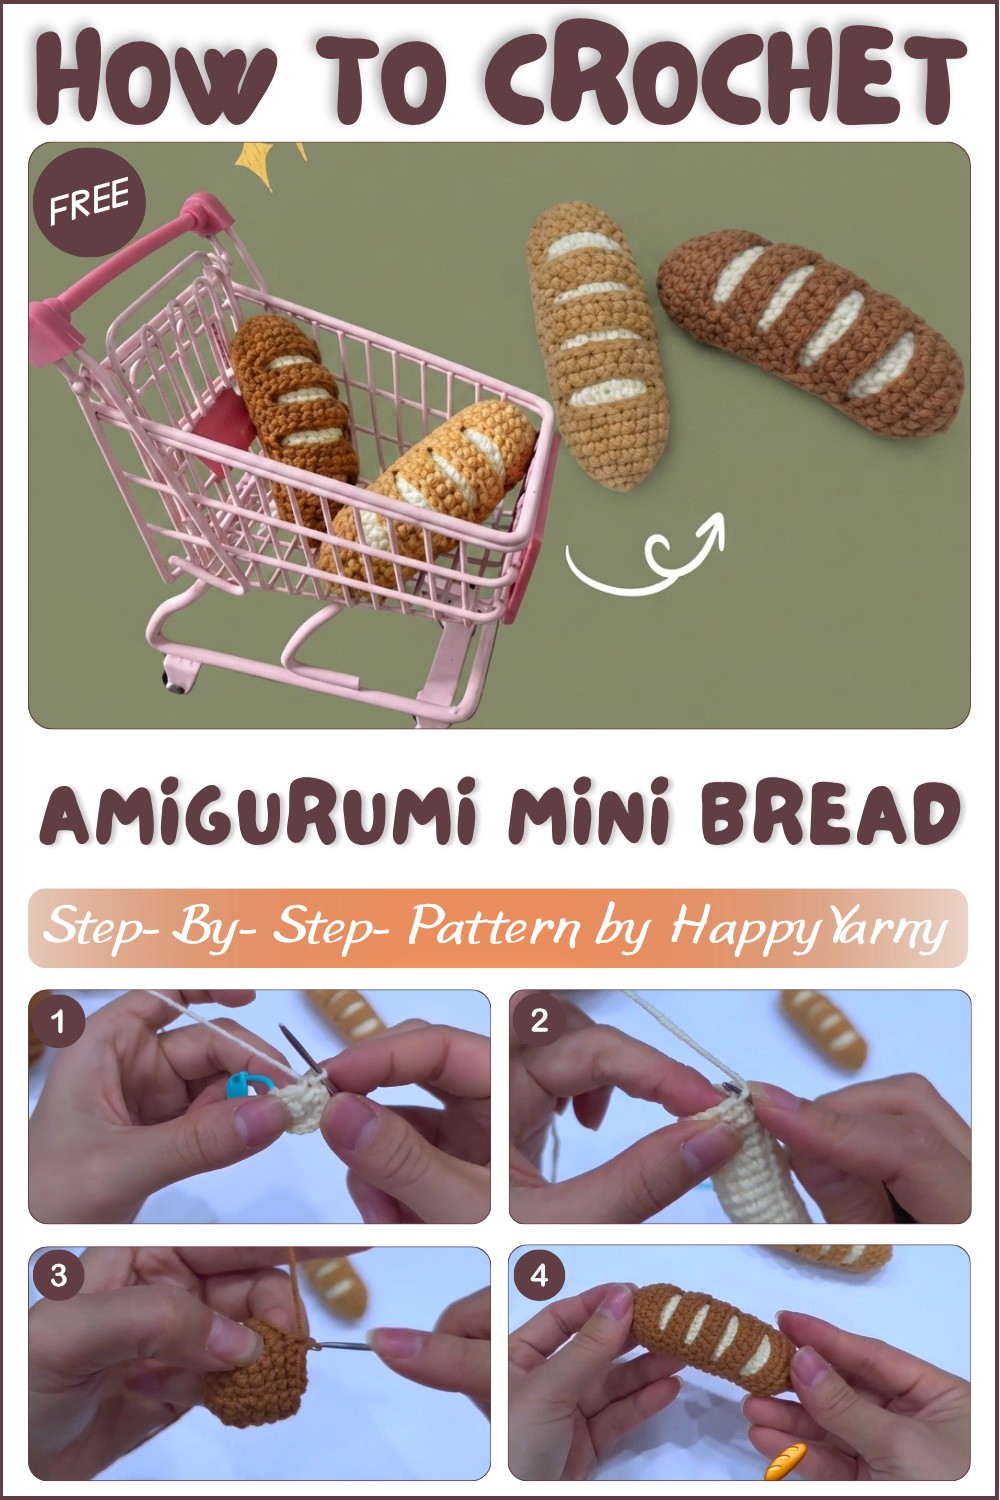
Ideal for those new to crochet or anyone looking for an easy, quick project, this mini bread primarily uses the single crochet stitch worked in rounds. The tutorial clearly breaks down each step, making it easy to follow along and finish your project in no time. This pattern is perfect for practice, gifting, or simply expanding your handmade food collection.
Uses:
- Cute play food for children’s pretend kitchens
- Charming handmade home décor accent
- Unique gift topper, stocking stuffer or keychain
- Collectible item for amigurumi enthusiasts
- Stress-relieving, quick crochet project for beginners and hobbyists
If you enjoy quick and satisfying crochet tasks that result in delightful little treasures, this mini bread pattern is a perfect fit to brighten your crocheting time and add a splash of cozy charm to your handmade collection!
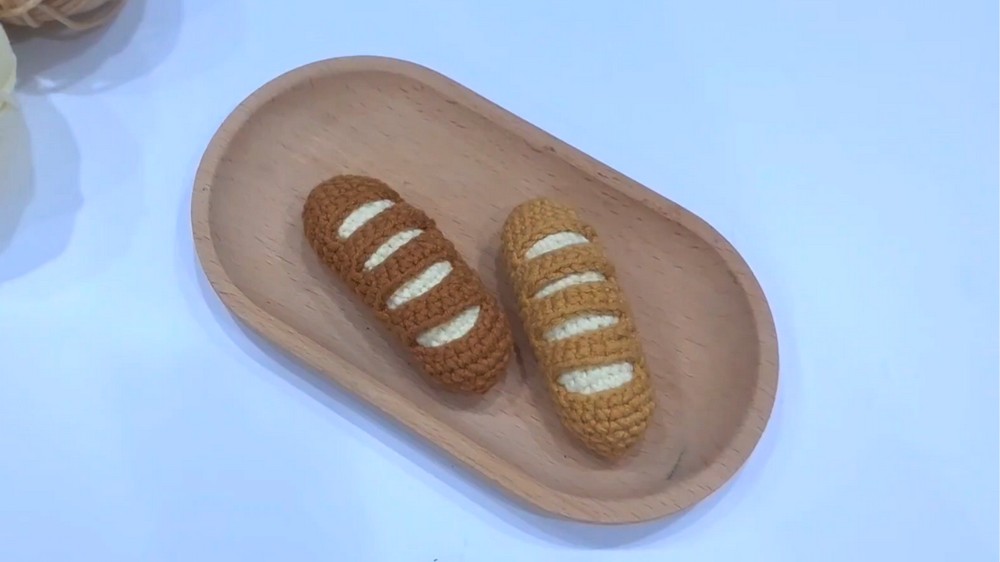
This crochet tutorial by HappyYarny brings the delightful, miniature world of food items to life with this easy-to-follow guide for a charming crochet mini bread. This project is a perfect choice for those just beginning their journey into amigurumi, as it offers a quick, gratifying outcome that allows for skill development in working in rounds, shaping, and basic assembly.
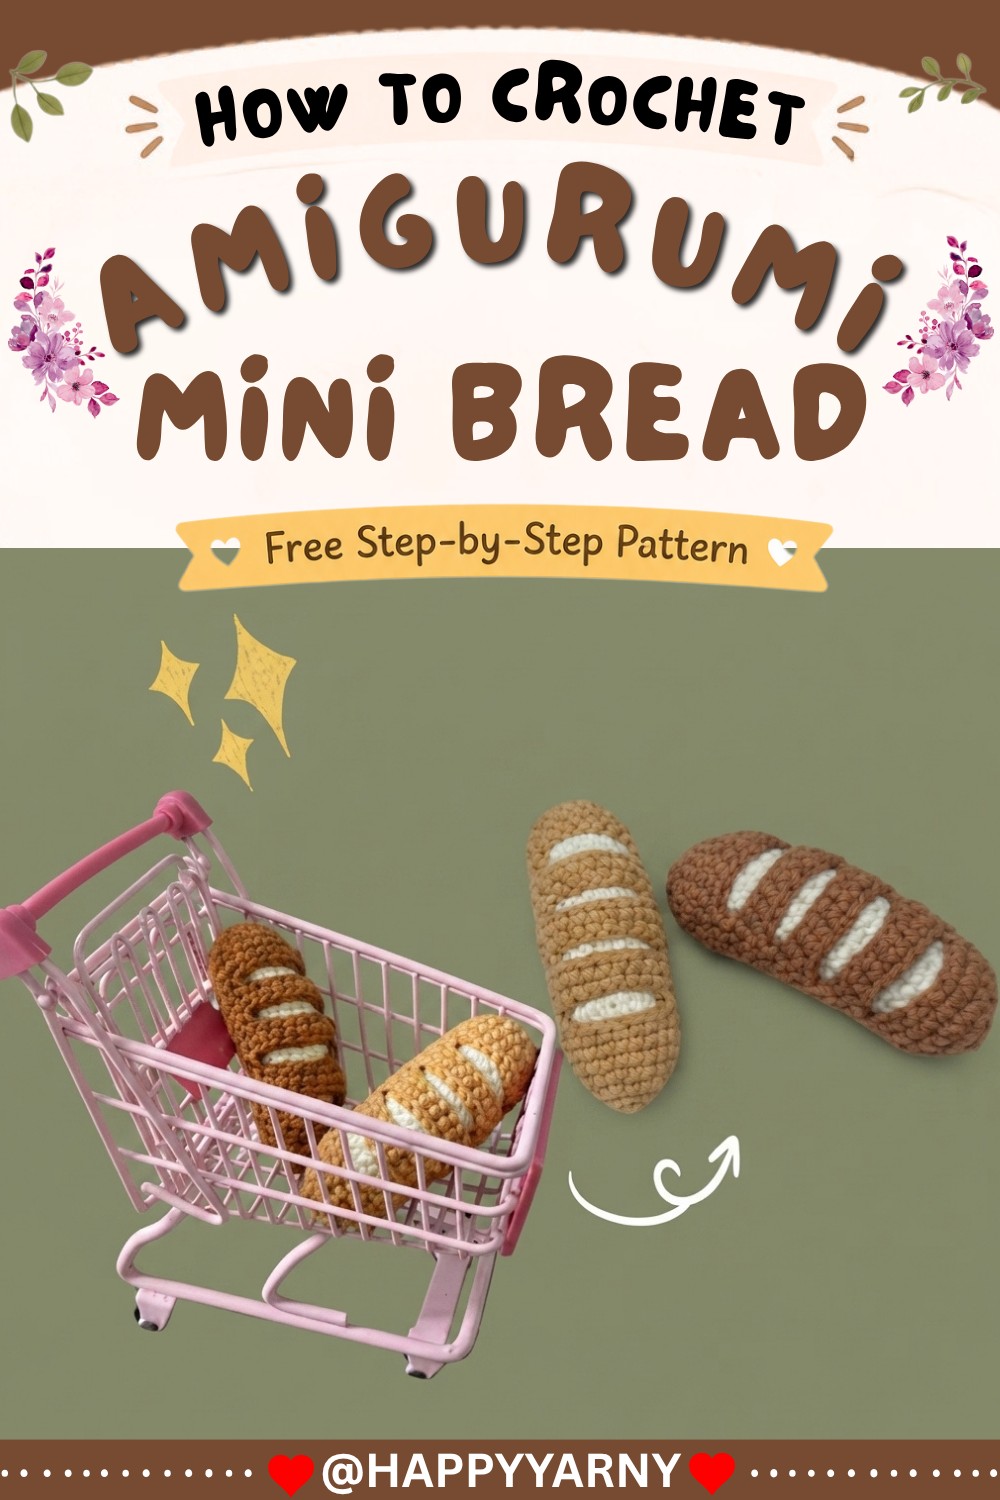
Quick Overview Of Pattern
-
Features a two-part construction: a light-colored inner bread and a brown outer crust.
-
Utilizes basic stitches including single crochet and slip stitches.
-
Involves consistent increasing and decreasing to achieve the bread’s signature baguette shape.
-
Finished with a simple, secure assembly technique to ensure a professional, polished look.
Notes
This pattern is worked in continuous rounds unless otherwise noted. Keep a stitch marker handy to track the start of each round, as it is easy to lose count while working in the round. For a tighter, more compact look, maintain a consistent tension throughout.
Skill Level
Beginner
Materials
-
Worsted weight yarn in light cream or beige for the inner bread.
-
Worsted weight yarn in brown for the crust.
-
A 2.5 mm crochet hook (or size appropriate for your yarn).
-
A tapestry needle for sewing and finishing.
-
Stitch marker.
-
Fiberfill or polyfill for stuffing.
Gauge
Gauge is not critical for this project, but aim for tight stitches to prevent the stuffing from showing through.
Stitch Abbreviations
-
sc: Single Crochet
-
inc: Increase (two single crochet in the same stitch)
-
dec: Decrease (single crochet two stitches together)
-
st(s): Stitch(es)
-
ch: Chain
-
MR: Magic Ring
-
sl st: Slip Stitch
Special Stitches
-
Invisible Decrease (inv dec): This is essential for a clean look in amigurumi. To do this, insert your hook into the front loops of the next two stitches only, yarn over, pull through, and finish your stitch as a normal single crochet.
The Crochet Pattern!
Begin your journey by establishing a sturdy foundation with the inner bread, where the magic ring sets the stage for a perfectly rounded start. Precision here is key, as managing your stitch counts early on ensures the piece maintains its intended shape throughout the process. Keeping your tension consistent and tracking every round with a marker prevents any structural mishaps before you move forward.
Part 1: The Inner Bread (Use Light Cream/Beige Yarn)
-
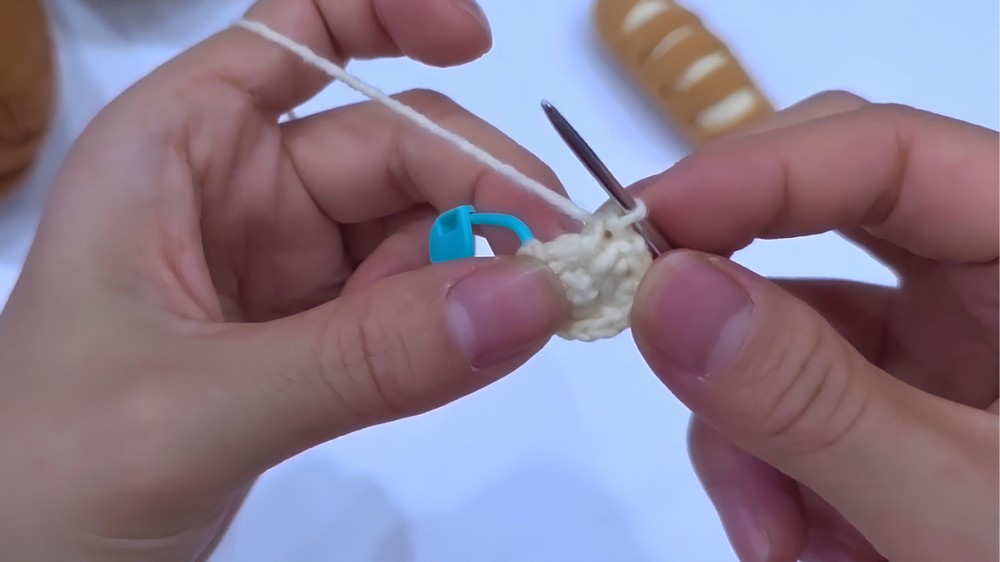
Round 1: 4 sc in MR [4]
-
Round 2: 4 inc [8] (Make 2 sc in every stitch)
-
Round 3: (1 sc, 1 inc) x 4 [12]
-
Round 4: (1 sc, 1 inc, 1 sc) x 4 [16]
-
Round 5–10: 16 sc [16] (6 rounds total)
-
Round 11: 4 sc, 1 inc, 7 sc, 1 inc, 3 sc [18]
-
Round 12–13: 18 sc [18] (2 rounds total)
-
Round 14: 4 sc, 1 dec, 7 sc, 1 dec, 3 sc [16]
-
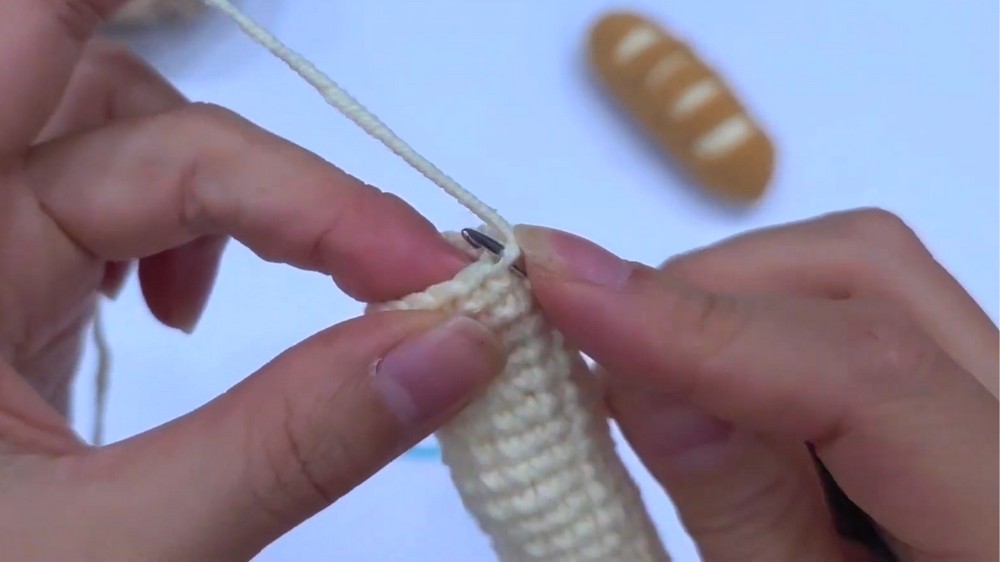
Round 15–20: 16 sc [16] (6 rounds total)
-
Round 21: (1 sc, 1 inv dec, 1 sc) x 4 [12]
-
Round 22: (1 sc, 1 inv dec) x 4 [8]
Cut the yarn, leaving a long tail for sewing. Stuff the piece firmly, then sew through the front loops to close it off.
As you transition to the crust, the mid-section introduces simple, repetitive increases and decreases that bring the baguette’s iconic texture and form to life. This stage focuses on rhythmic, mindful movements, allowing the shape to expand and contract naturally. You will find that maintaining a firm grip on your hook keeps the stitches tight and prevents the fiberfill from peaking through, ensuring a professional, durable outcome.
Part 2: The Bread Crust (Use Brown Yarn)
-
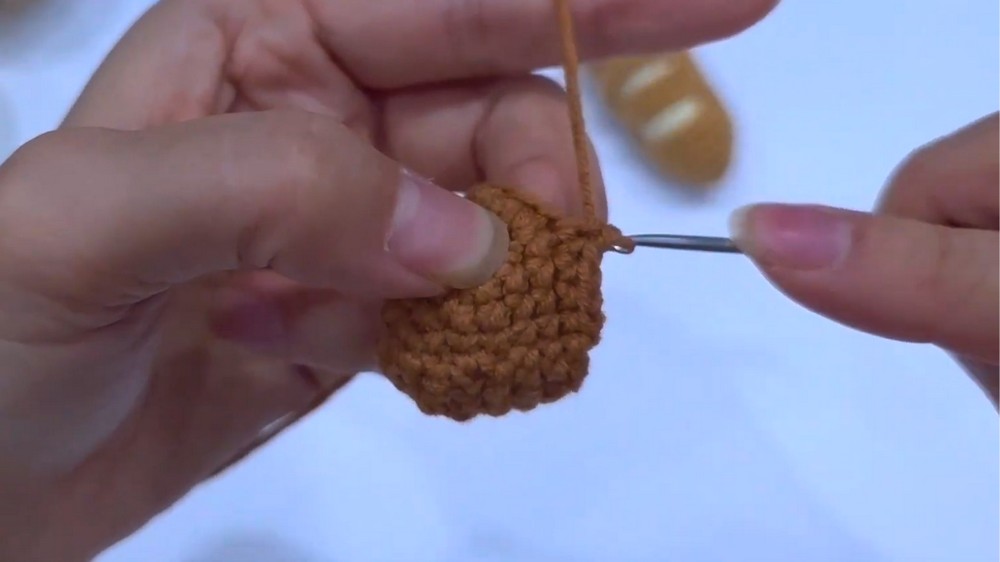
Round 1: 5 sc in MR [5]
-
Round 2: 5 inc [10] (Make 2 sc in each stitch)
-
Round 3: (1 sc, 1 inc) x 5 [15]
-
Round 4: (1 sc, 1 inc, 1 sc) x 5 [20]
-
Round 5–7: 20 sc [20] (3 rounds total)
-
Round 8: 6 sc, 8 ch, skip 8 sts, 6 sc [20]
-
Round 9–10: 20 sc [20] (2 rounds total)
Repeat the steps for Rounds 8–10 until you reach Round 19, for a total of 4 sets of the “crust” sections.
-
Round 20: 20 sc [20]
-
Round 21: (1 sc, 1 dec, 1 sc) x 5 [15]
-
Round 22: (1 sc, 1 dec) x 5 [10]
-
Round 23: 5 dec [5]
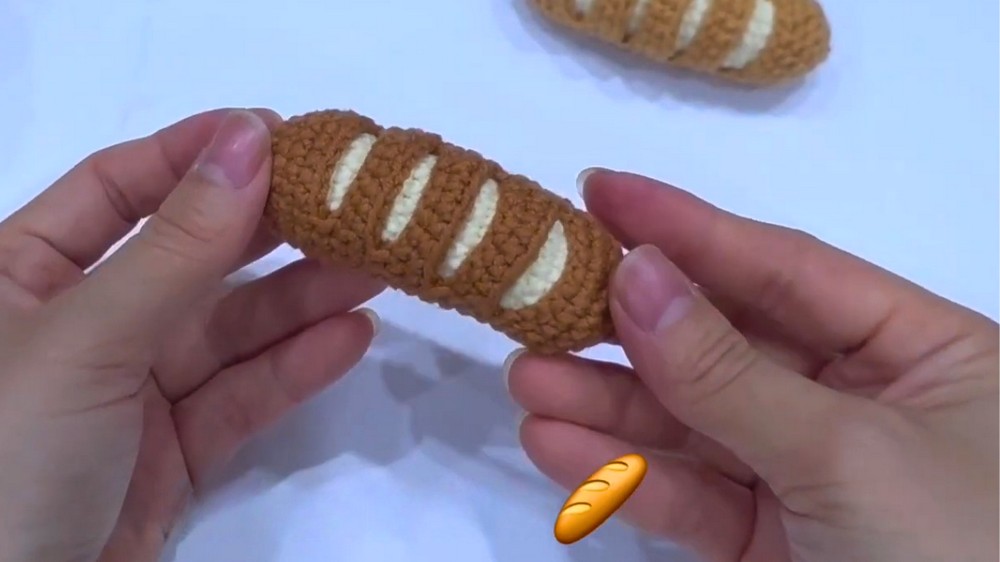
Cut the yarn and leave a tail for weaving in the ends.
Finally, concluding the project requires careful attention to detail during the final assembly. Closing the work with seamless, invisible stitches secures your efforts, resulting in a charming, cohesive piece. Taking a moment to weave in your remaining yarn tails ensures a polished look, transforming your individual components into a delightful, finished miniature treasure ready for display or gifting.
Assembly & Finished Size
To assemble, gently push the inner bread piece into the crust section. Twisting the inner piece while pushing it into place will help it slide in smoothly and quickly. Once it is fully seated, use your tapestry needle and the remaining yarn tail to close the final hole. Hide the yarn tail inside the finished piece for a clean finish. The final result is a charming, palm-sized mini bread.
Conclusion and ending words
This charming crochet project is a wonderful way to add a bit of whimsy to your collection, and it serves as a fantastic, low-stakes practice for working with shaping and small-scale amigurumi. Whether you are using this as a cute desk accessory, a gift for a friend, or a display piece, the effort is truly rewarded by the delightful, realistic-looking finish.
Watch the full tutorial here: https://youtu.be/-bnfhsAPVx4