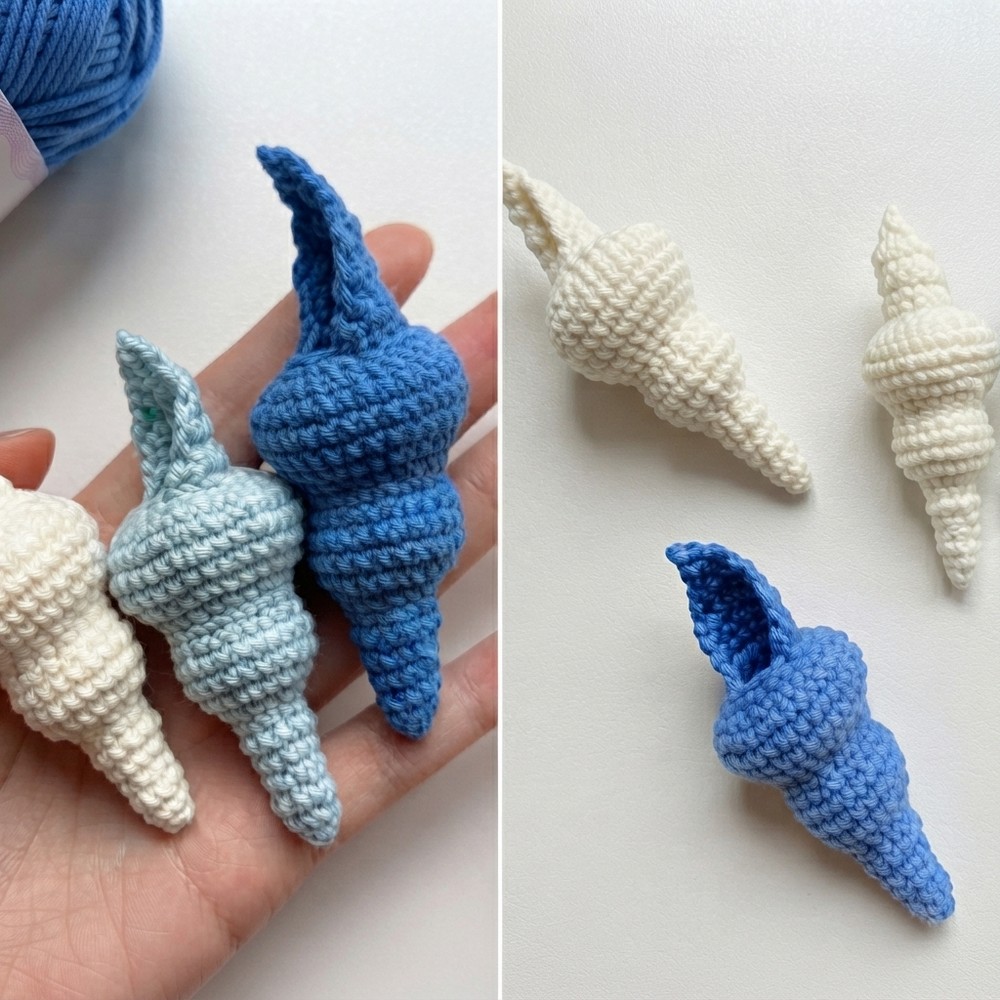
Easy Crochet CONCH SHELL Free Amigurumi Pattern & Tutorial

Stitch adorable ocean vibes with this fun Free Crochet Conch Shell Amigurumi Pattern, adding charm and uniqueness to your handmade creations.
There’s something special about creating a small treasure that brings the beach right to your hands! Making a little conch shell by crochet instantly filled my space with warmth and charm. This Free crochet CONCH SHEL Amigurumi pattern offers a simple and enjoyable way to bring a fun seaside touch into your home. The YouTube channel “Happy yarney” provides a clear and friendly tutorial that guides you smoothly through every step, making the whole process easy and enjoyable.
Free Crochet CONCH SHELL Amigurumi Pattern
This adorable conch shell looks like a tiny ocean wonder, with spiral curves and a soft, cuddly texture. The smooth yarn and tidy stitches create a piece that feels just right to hold or display. Its unique form captures the natural shape of a real conch shell while keeping a cute and playful amigurumi style. It can brighten up a shelf, add charm to a desk, or become a lovely collectible, bringing a bit of beach spirit wherever it goes.
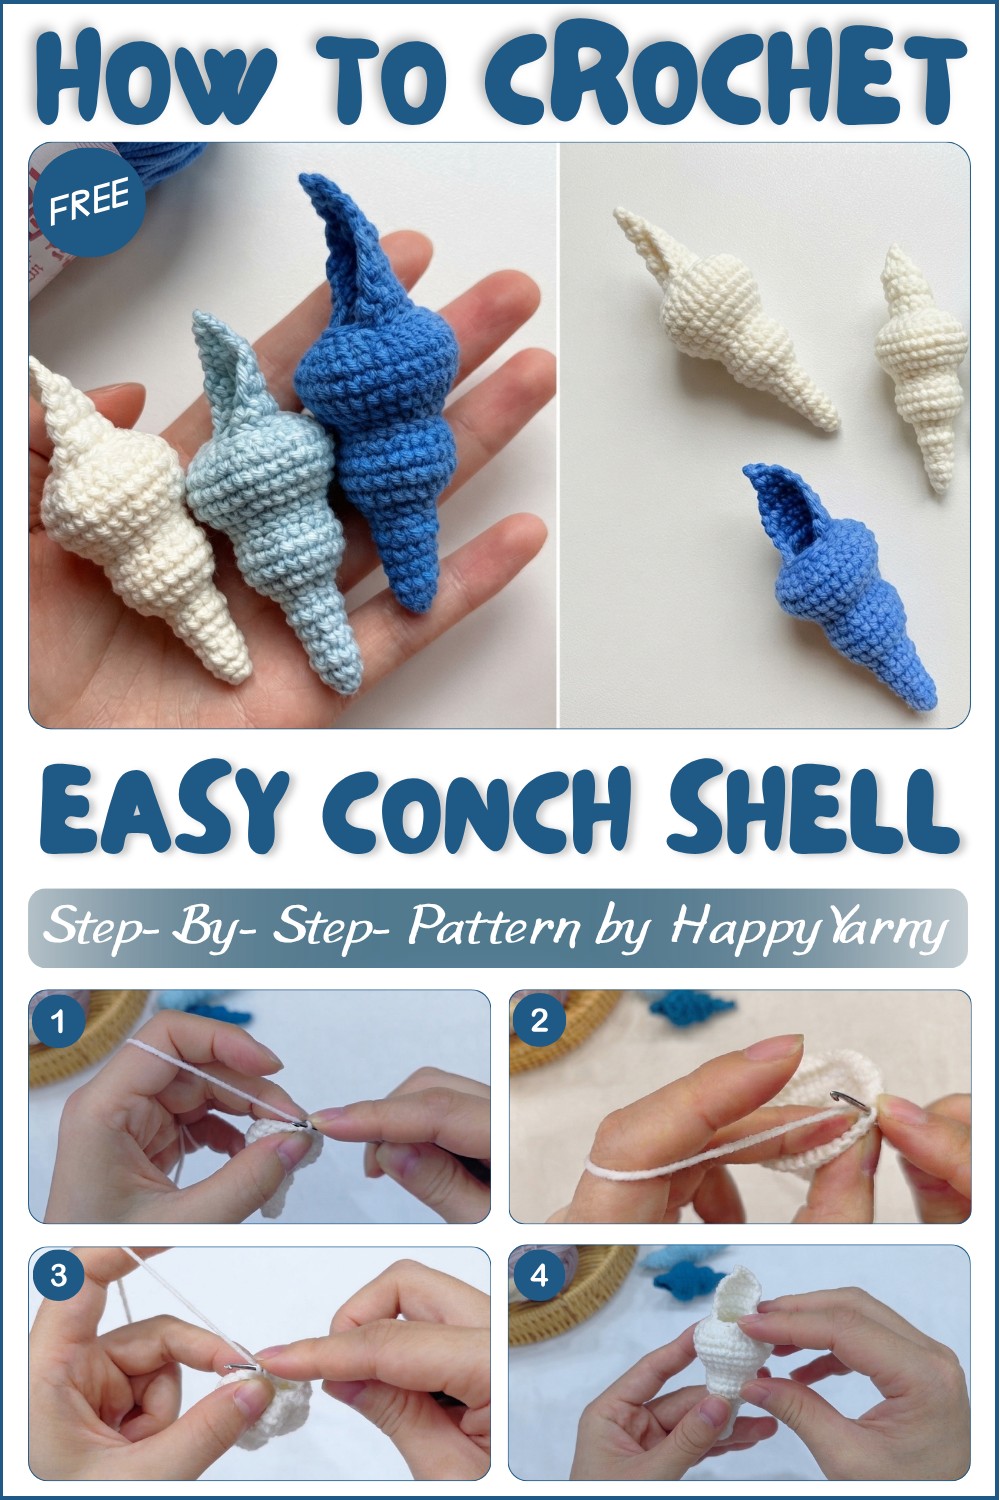
Perfect for beginners and experienced makers alike, the project mainly uses simple single crochet stitches. You’ll also practice shaping techniques like invisible decreases that give the shell its curved look. The instructions are easy to follow, helping you create something that looks polished and professional.
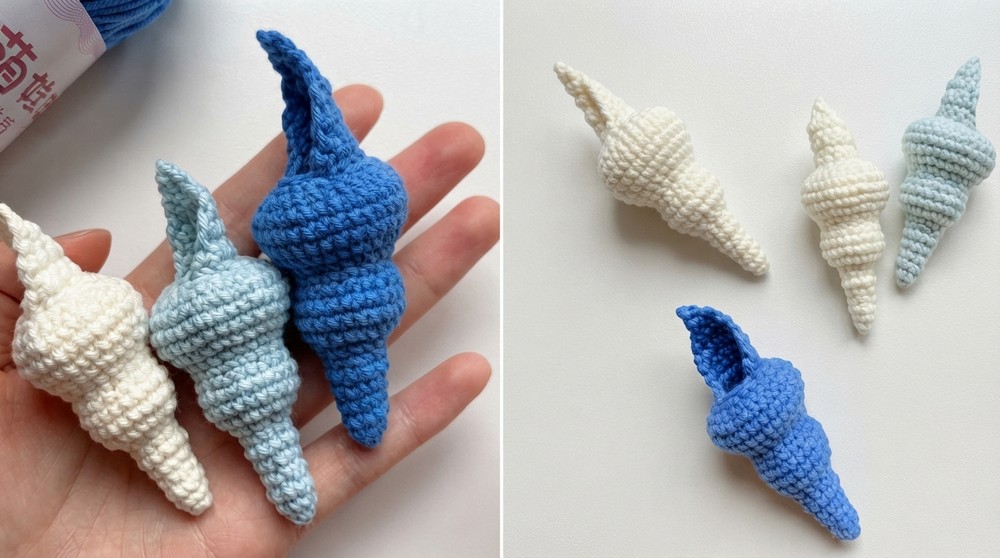
Uses for the Crochet Conch Shell:
- Home decor to add beach-inspired charm to any room
- A cute collectible for lovers of seashells or amigurumi
- A thoughtful handmade gift for friends and family
- A soft, squishy stress reliever to hold and squeeze
- A unique keychain or bag charm when fitted with a ring or clip
- A whimsical photo prop for seaside-themed photos
- An educational tool for beginners learning crochet techniques
- A charming party favor for beach-themed gatherings
Whether as a lovely decoration, a sweet gift, or a cozy companion, this conch shell adds a touch of coastal joy and personality. Grab your hook and yarn, and enjoy making this delightful little shell!
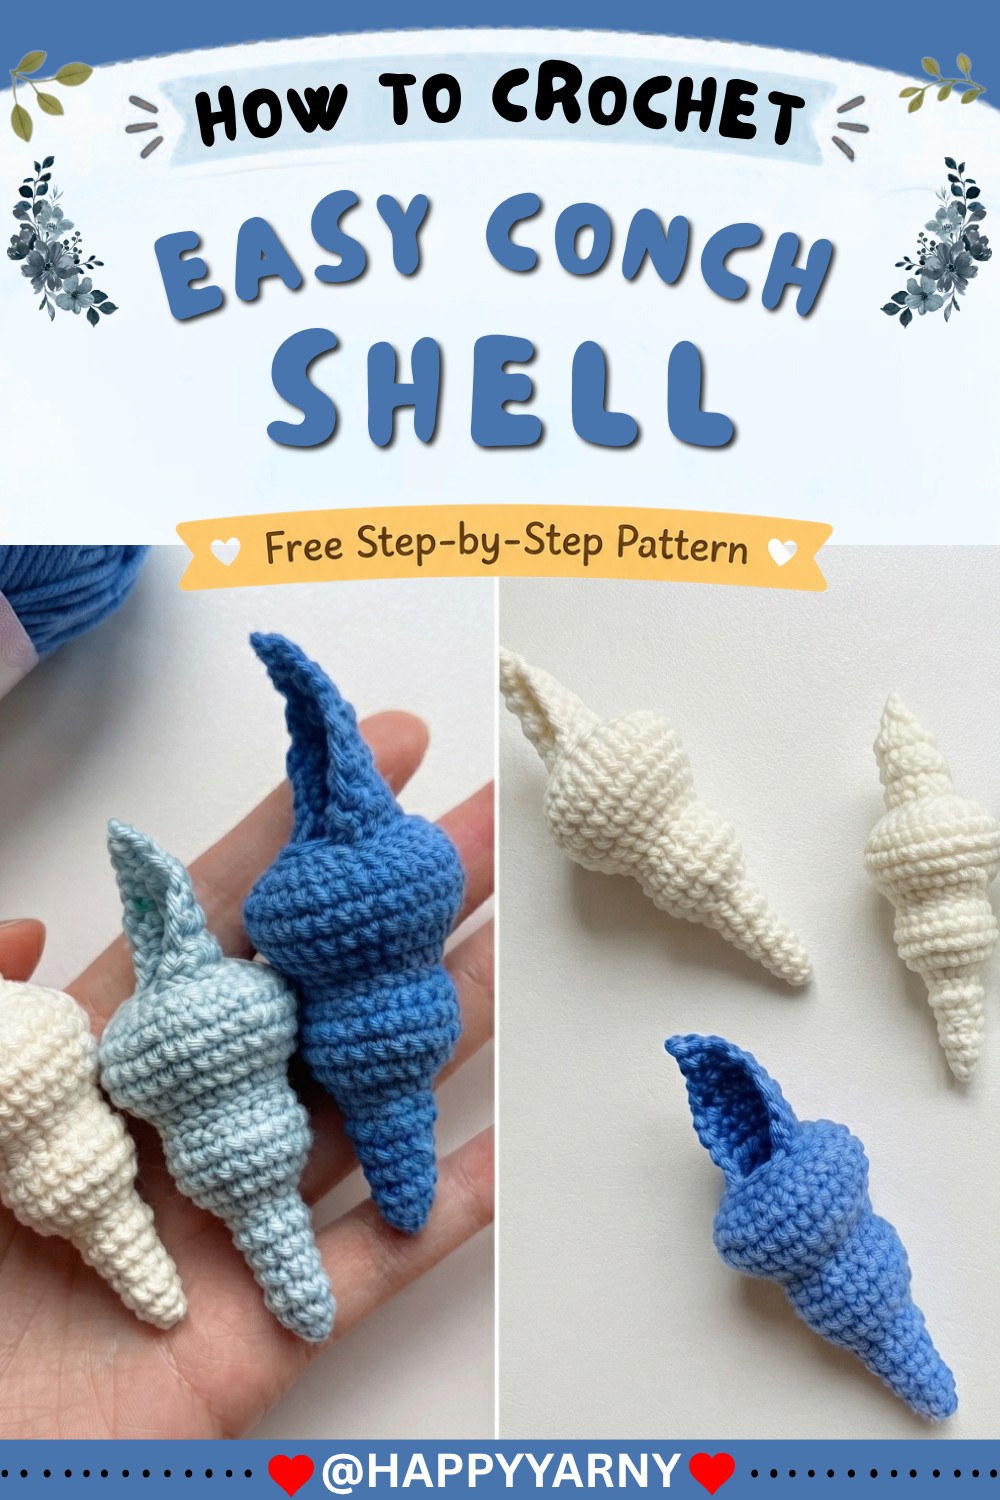
Simple Crochet Seashell Pattern
Today I’ll show you how to crochet these seashells. It’s incredibly simple and fast, perfect for beginners since we’ll only be using basic stitches. For this project, I’m using four ply cotton yarn and a 2.0 mm crochet hook.
About the Crocheter & Channel
This pattern comes from a dedicated crochet YouTuber whose channel specializes in beginner-friendly amigurumi and decorative patterns. The crocheter’s teaching style is clear, methodical, and supportive, making sure that simple stitches are accessible for all skill levels. The channel features visually bright, well-edited tutorials that focus on constructing charming, quick projects, perfect for those who are learning or who want satisfying results in little time. The presenter uses a soft tone and focuses on essential steps, helping thousands of viewers feel confident with each new creation.
Quick Overview Of Pattern
- Seamless, joined-round construction using basic stitches
- Crochet in rounds, slip stitching to join and chaining one at the start of each round
- Uses only single crochet, increase, and invisible decrease
- Compact, decorative seashell—great for gifts, garlands, decor, or practice
- Can be finished quickly, ideal for beginners
Notes
- Use a stitch marker for the first stitch of each round to help keep track
- Pull slip stitches tight to make seams nearly invisible
- Pattern is written in US crochet terms
- Invisible decreases (worked in the front loops only) produce a neat finish
- Adjust hook and yarn size for a larger or smaller shell
- Weave in all ends securely after finishing
Skill Level
Beginner
Materials
- Four ply (sport weight) cotton yarn in color of choice
- 2.0 mm crochet hook
- Scissors
- Yarn needle for weaving in ends
- Stitch marker (recommended for beginners)
Measurements / Sizing
Finished seashell measures approximately 6–8 cm wide and 7–10 cm tall with recommended yarn and hook.
Size will vary if you change yarn or hook.
Gauge & Stitch Pattern
Gauge is not crucial for this pattern.
Stitch tightly enough that stuffing (if you add it) does not show through the stitches.
Stitch Abbreviations
- ch = chain
- sc = single crochet
- inc = increase (2 sc in same stitch)
- dec = decrease (single crochet 2 together)
- inv dec = invisible decrease (single crochet front loops of two stitches together)
- sl st = slip stitch
- st(s) = stitch(es)
Special Stitches
Magic Ring:
Form a loop, hold it in place, work stitches inside ring and pull to close.
Invisible Decrease:
Insert hook into the front loops only of next two stitches, yarn over, draw through both loops, yarn over, pull through both loops on hook.
Join Method for Rounds:
At end of each round, slip stitch into the first stitch, pull tight, and chain one to begin the next round.
The Crochet Pattern
Round 1:
Start with a magic ring. Work 4 sc into the ring. Slip stitch into the first stitch to join. Pull the seam tight to reduce visibility. (4 sts)
Round 2:
Chain 1. (1 sc, inc) two times around. Slip stitch to join. (6 sts)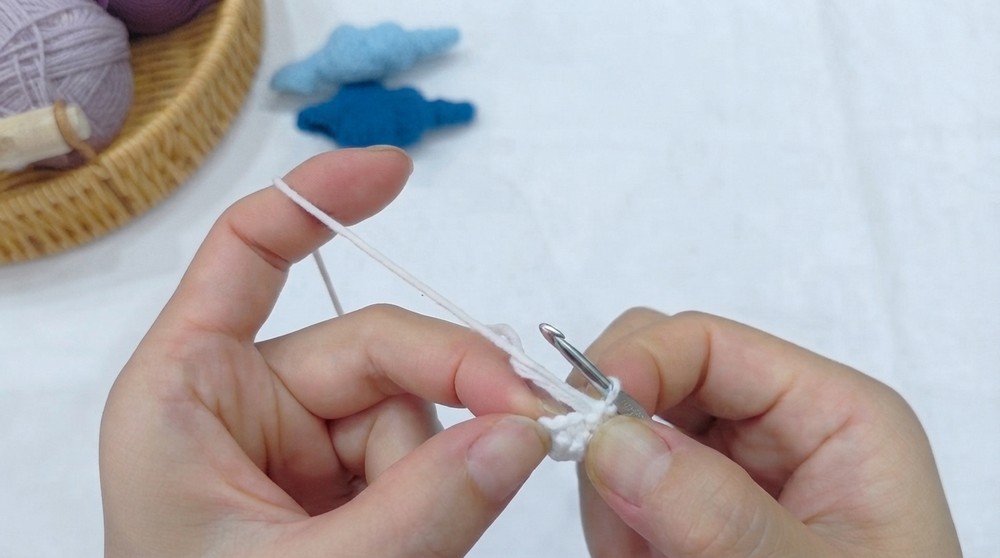
Round 3:
Chain 1. (1 sc, inc) three times around. Slip stitch to join. (9 sts)
Round 4:
Chain 1. (1 sc, inv dec) three times around—use front loops only for decreases. Slip stitch to join. (6 sts)
Round 5:
Chain 1. Make an increase in every stitch (6 inc). Slip stitch to join. (12 sts)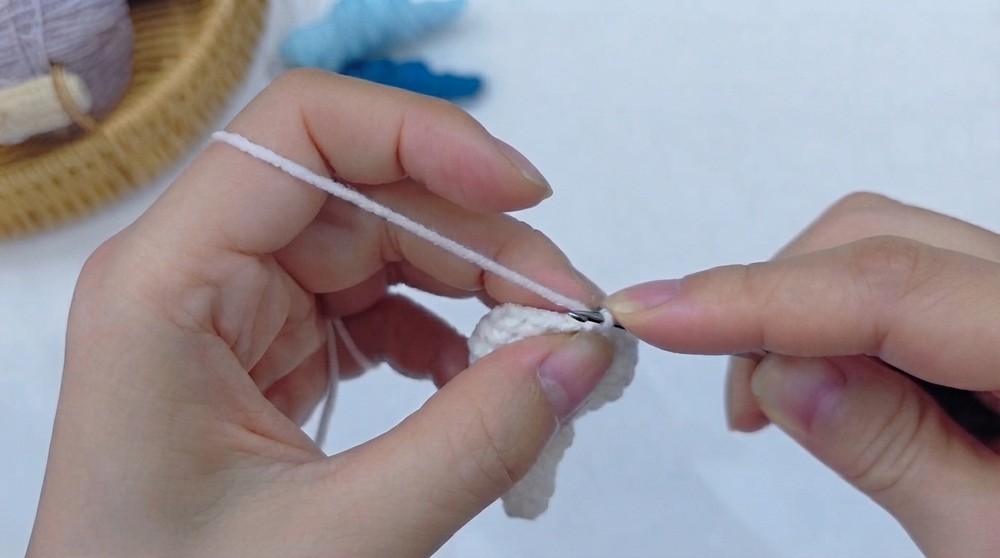
Round 6:
Chain 1. Single crochet in each stitch around. Slip stitch to join. (12 sts)
Round 7:
Chain 1. (1 sc, inv dec) four times. Slip stitch to join. (8 sts)
Round 8:
Chain 1. Increase in each stitch all the way around (8 inc). Slip stitch to join. (16 sts)
Round 9:
Chain 1. (inc, 1 sc) eight times. Slip stitch to join. (24 sts)
Rounds 10 & 11:
Chain 1 at the start of each round. Single crochet in each stitch around. Slip stitch to join at the end of each round. (24 sts each round)
Round 12:
Chain 1. (1 sc, inv dec) eight times. Slip stitch to join. (16 sts)
Round 13:
Chain 1. Single crochet in each stitch around. Slip stitch to join. (16 sts)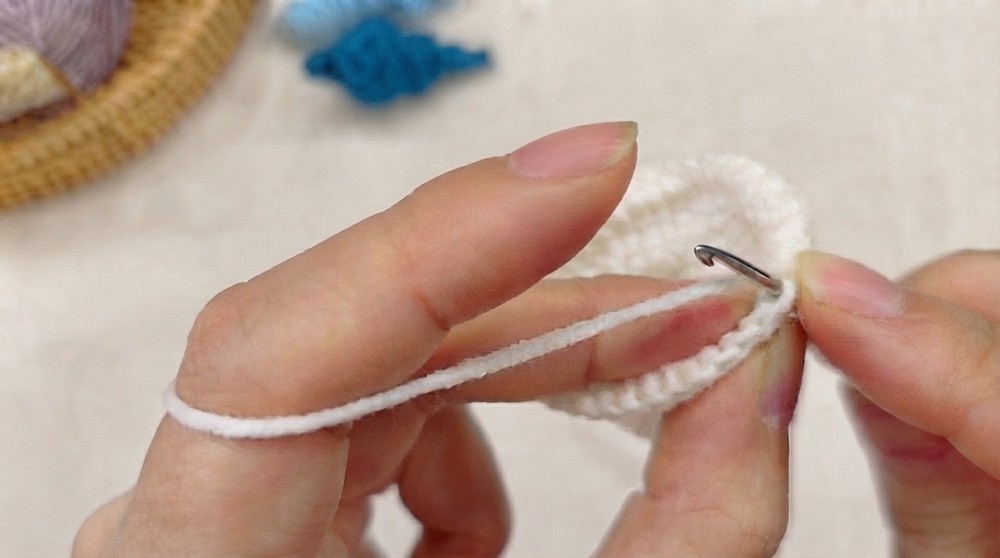
Round 14:
Chain 1. (1 sc, inc) eight times. Slip stitch to join. (24 sts)
Round 15:
Chain 1. (2 sc, inc) eight times. Slip stitch to join. (32 sts)
Round 16:
Chain 1. Single crochet in each stitch around. Slip stitch to join. (32 sts)
Round 17:
Chain 1. (3 sc, inc) eight times. Slip stitch to join. (40 sts)
Round 18:
Chain 1. (3 sc, inv dec) eight times. Slip stitch to join. (32 sts)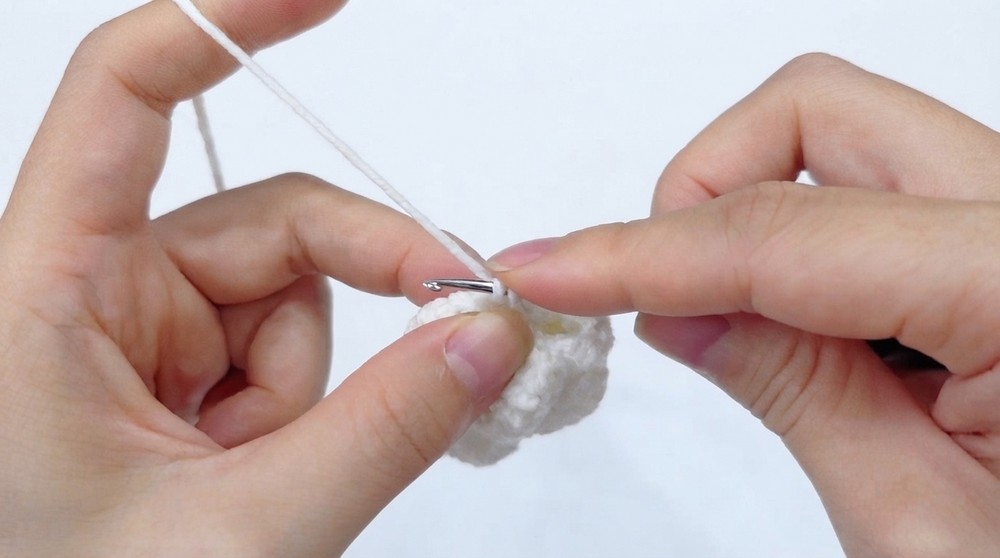
Round 19:
Chain 1. (2 sc, inv dec) eight times. Slip stitch to join. (24 sts)
Round 20:
Chain 1. (1 sc, inv dec) eight times. Slip stitch to join. (16 sts)
Round 21:
Chain 1. (1 sc, inv dec) three times. Then work: 1 sc, inc, 1 sc. Slip stitch, skip last three stitches.
Round 22:
Chain 1. Make one decrease, then 6 sc, and one more decrease. Slip stitch to join. (8 sts)
Rounds 23 & 24:
Chain 1 at start. 1 sc in each stitch around. Slip stitch to join. (8 sts per round)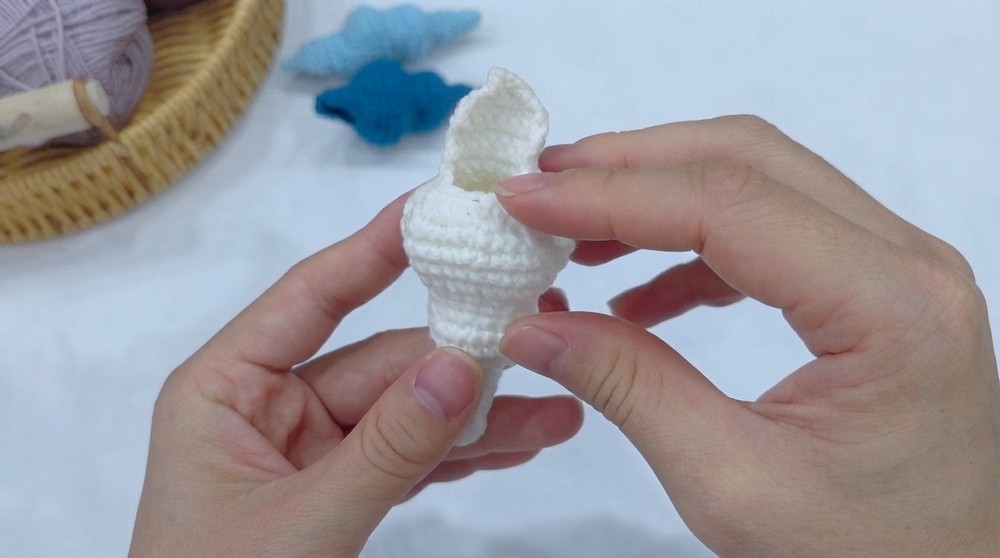
Round 25:
Chain 1. Decrease, 4 sc, decrease. Slip stitch to join. (6 sts)
Round 26:
Chain 1. Decrease, 2 sc, decrease. Slip stitch to join. (4 sts)
Round 27:
Chain 1. 2 decreases in a row. Slip stitch to join. (2 sts)
Round 28:
Chain 1. Work one single crochet. Fasten off and weave in the ends with a yarn needle.
Assembly & Finished Size
Once you have fastened off, weave in all ends securely. Shape the shell slightly with your fingers and block gently if desired. Your finished sea shell should measure 6–8 cm wide and 7–10 cm tall depending on yarn and hook.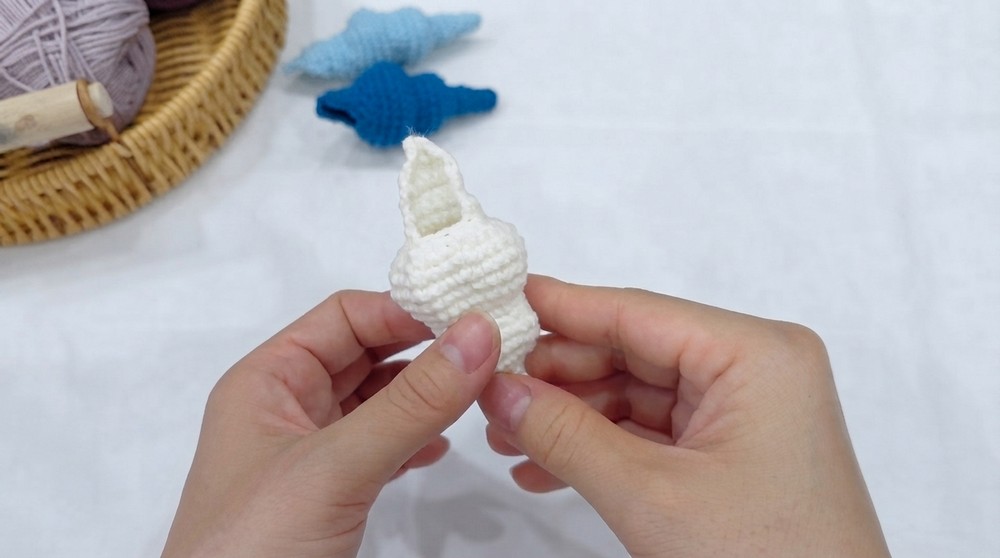
Conclusion and Ending Words
The seashell is finished. Thanks for watching. Don’t forget to like, share, and subscribe for more crochet patterns. Enjoy practicing your crochet and trying different colors to make a whole collection of unique seashells.