Easy Free Crochet Burger Keychain Pattern With Video Tutorial

Make a fun accessory with this Free Crochet Burger Keychain Pattern, featuring easy-to-follow steps to design a cute and creative handmade keepsake.
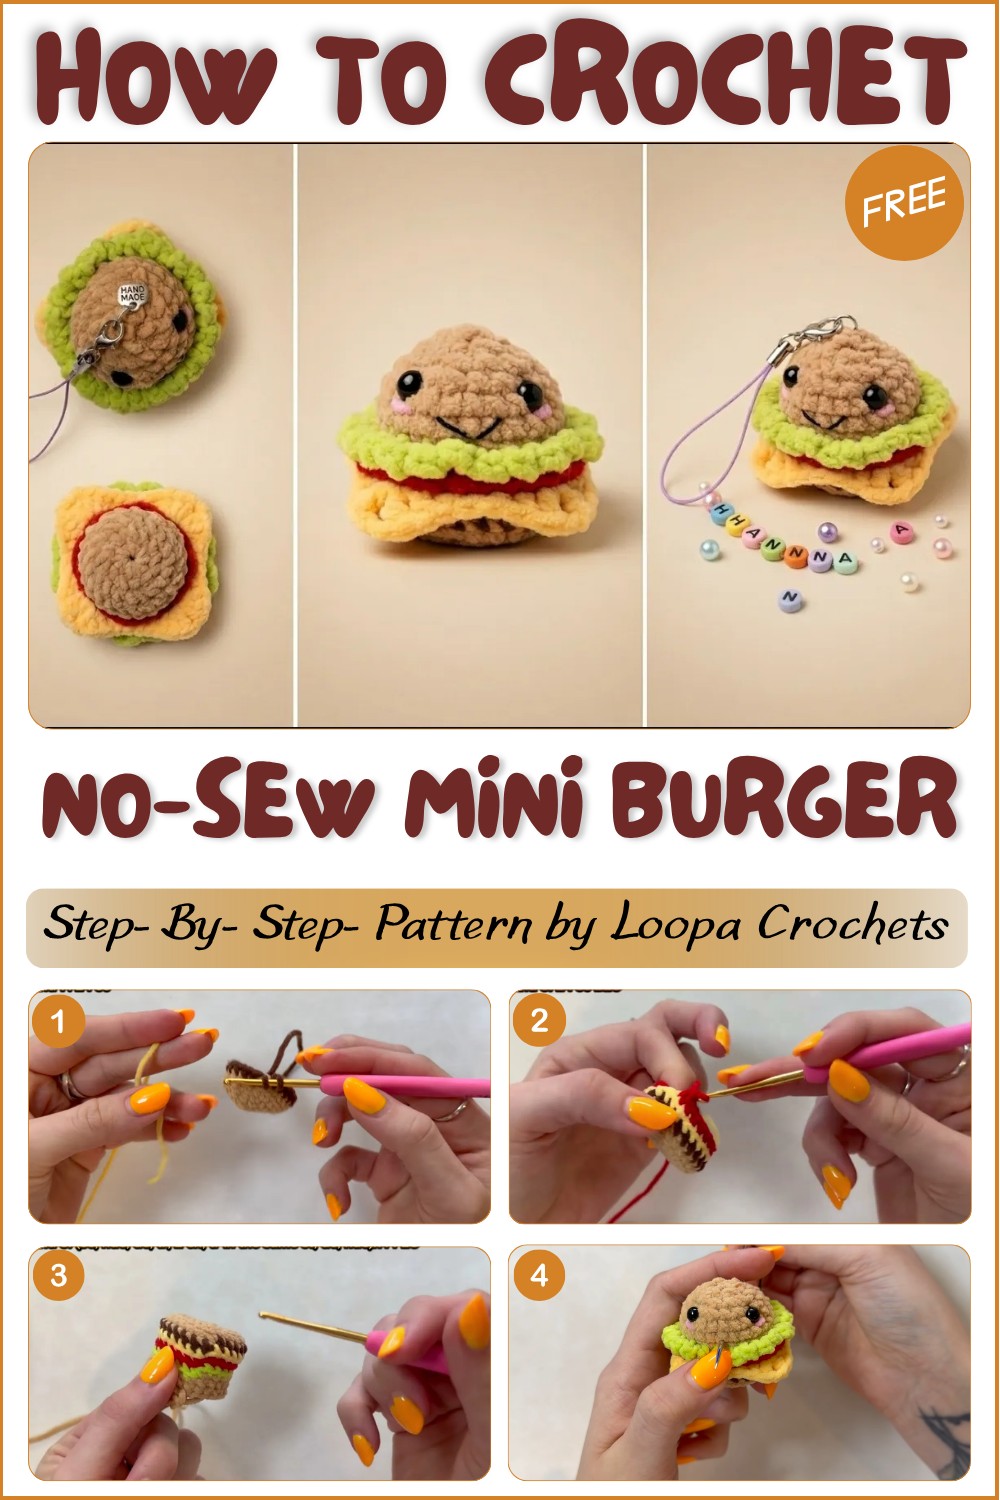
There’s something really satisfying about making tiny, fun accessories that you can carry everywhere, small projects that bring a smile every time you see them. One of my favorite quick and creative crochets is this free burger keychain pattern from Loopa Crochets. Their collection of free tutorials offers clear and engaging instructions perfect for crocheters of all levels. This particular tutorial guides you through creating a charming mini burger keychain that combines the adorable appeal of amigurumi with practical everyday use.
Beginner Free Crochet Burger Keychain Pattern with Photos
Whether you’re just starting out or want a fast, playful project, this burger keychain is easy to follow and truly addictive to make. Loopa Crochets’ friendly approach and detailed explanations make it a joy to watch and crochet along, turning a simple yarn project into a cute accessory you’ll love to carry everywhere.
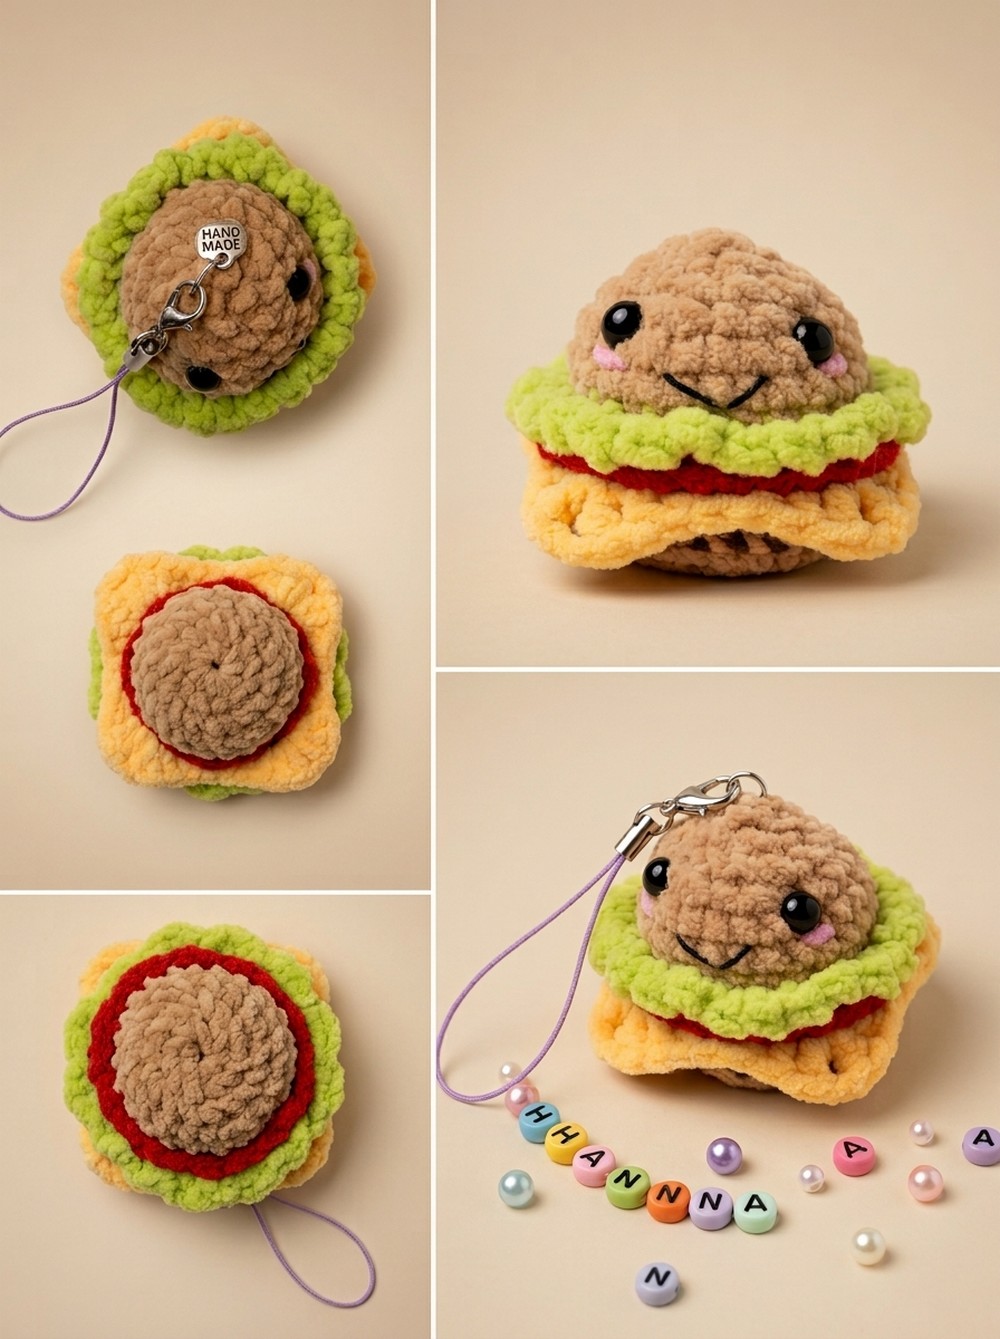
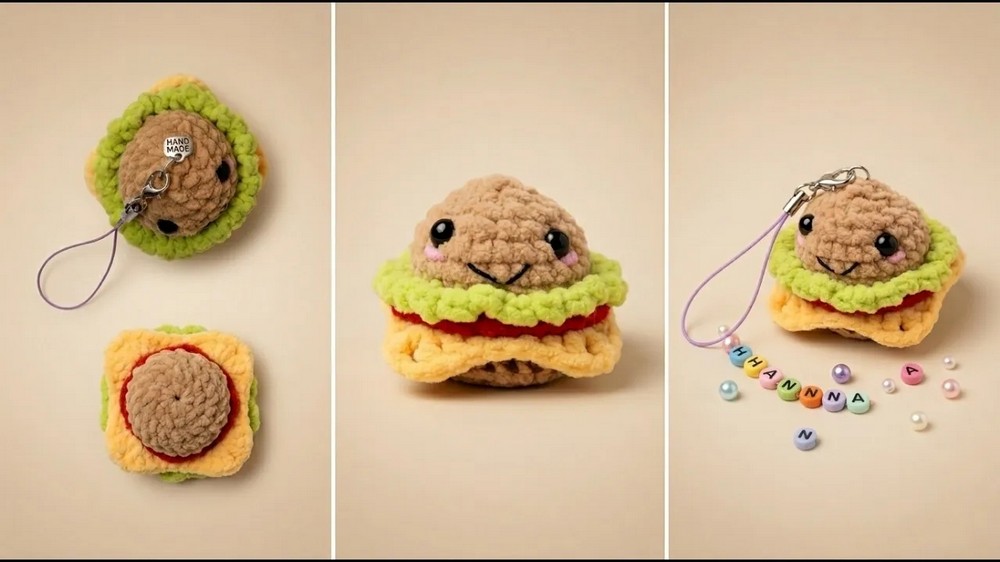
This mini burger stands out with its bright, inviting colors and adorable layered design that mimics every part of a real burger, the bun, juicy patty, melted cheese, lettuce, and tomato all crocheted with soft yarn that feels nice to the touch.
Its round, compact shape fits snugly in your hand or pocket, and the texture is pleasantly firm yet slightly squishy thanks to the tight single crochet stitches. The keychain ring attached makes it super practical, turning a simple crochet toy into a stylish accessory for your keys, backpack, or purse. Its whimsical and tasty look is sure to catch people’s attention and add a bit of personality wherever it goes.
Beginner-Friendly Design
This project is great for beginners and intermediate crocheters because it mainly uses basic stitches like single crochet and simple increases and decreases to create the burger’s shape. Working in continuous rounds with a magic ring keeps the piece smooth and seamless. The pattern is straightforward, making it a quick and rewarding crochet that helps build your confidence with amigurumi techniques.
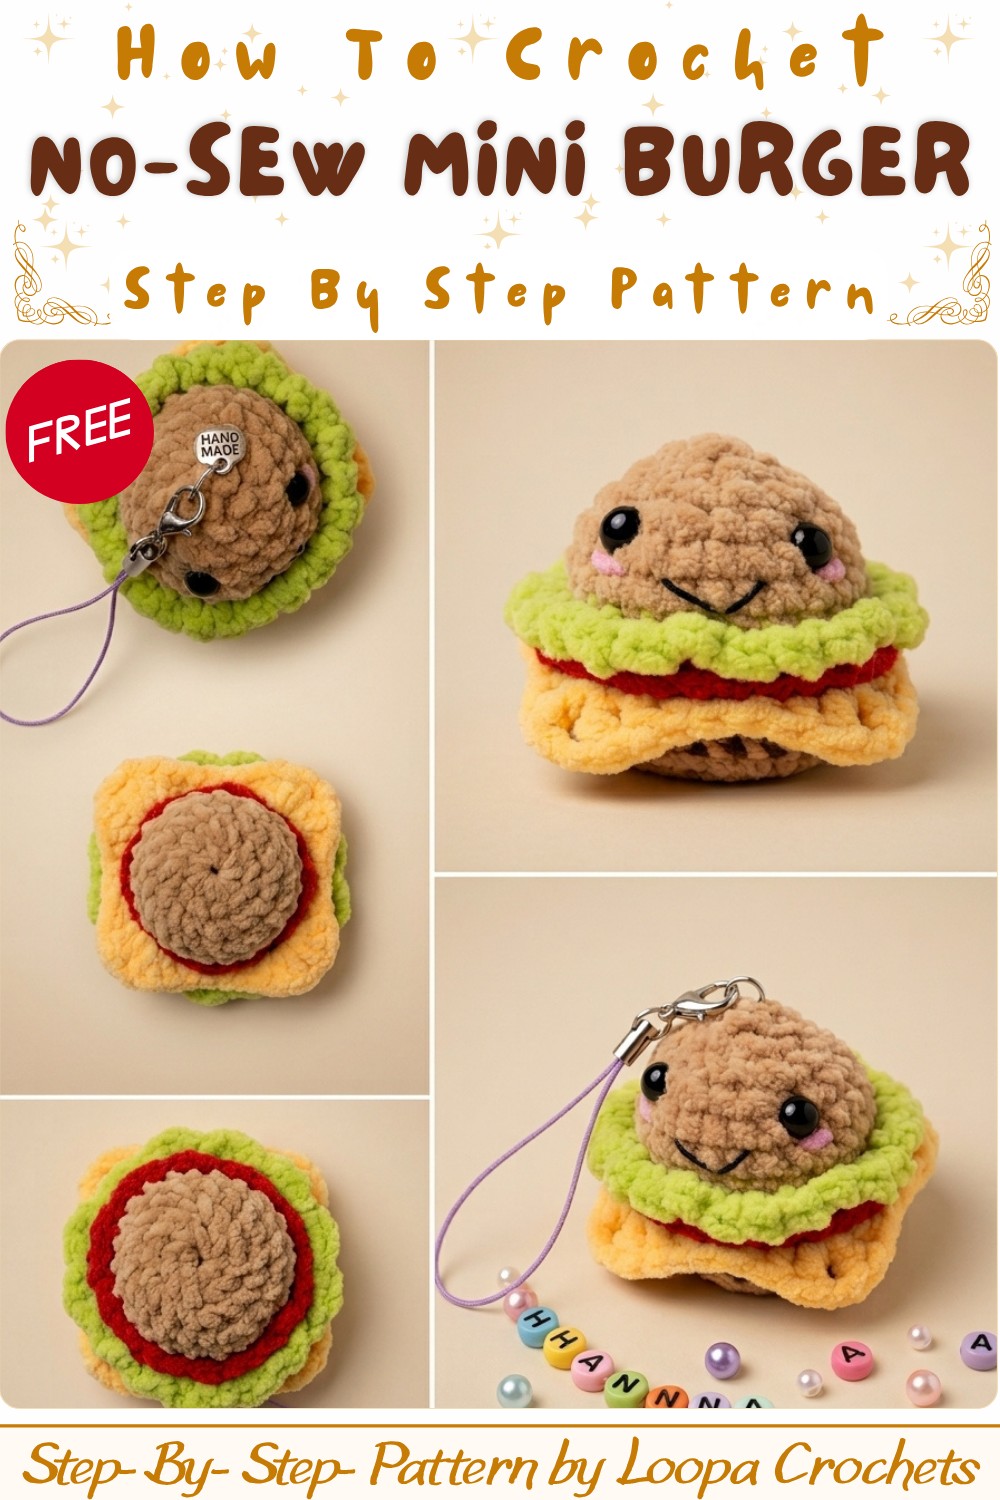
Aside from being a cute accessory for yourself, this burger keychain makes an excellent handmade gift, charming party favor, or a fun collectible for anyone who loves food-themed crafts. If you’re looking to add a playful touch to your everyday items or find a small project that’s easy and enjoyable, this pattern is a perfect fit. Give it a try—you might just fall in love with creating these tasty little works of yarn art.
Amigurumi Mini Burger Crochet Pattern
Hi everyone! Today we’re going to crochet this adorable mini burger in the amigurumi style. It turns out so cute and is truly a joy to make. Grab your yarn and hook—let’s get started making this burger that adds a cheerful touch to any collection. If you need to slow down, feel free to pause at every step.
Quick Overview Of Pattern
- Start with a magic ring and work in continuous rounds.
- Form the bottom and top buns in beige yarn; the patty in brown; cheese in yellow, tomato in red, and lettuce in green.
- Use color changes and work in back loops only for ridges.
- Add decorative ruffles into the front loops for realistic toppings.
- Finish with amigurumi assembly, stuffing, and facial embroidery for a cute look.
Notes
- Work in a spiral (do not join rounds unless specified).
- Use a stitch marker to mark the first stitch of each round.
- Change colors at the end of specified rounds by pulling the new color through the final stitch.
- “Back Loop Only” (BLO) leaves a ridge; you will work decorative toppings into these front loops later.
- When pattern states to “make a loop imitation,” this means to finish off by pulling the yarn through the last loop to prevent unraveling.
Skill Level
Advanced Beginner
You should know how to:
- Work in a round (magic ring and continuous spiral)
- Make basic crochet stitches (sc, hdc, dc, tr)
- Increase and decrease stitches
- Change colors
- Embroider simple details
Materials
- 3 mm cotton yarn or amigurumi yarn in Beige, Brown, Yellow, Red, and Green
- 2.5 mm or 3 mm crochet hook (or size suited to your yarn)
- Safety eyes or black embroidery thread
- Polyester stuffing
- Tapestry (yarn) needle
- Scissors
- Stitch marker
- Blush or soft pink textile crayon for cheeks (optional)
Measurements / Sizing
- Finished size is approximately 5–6 cm (about 2″–2.3″) tall and wide, depending on your yarn and tension.
Gauge
- Not critical but aim for tight and even stitches so stuffing does not show through.
Stitch Abbreviations
- MR = Magic Ring
- sc = single crochet
- inc = increase (2 sc in same stitch)
- dec = decrease (sc 2 together)
- hdc = half double crochet
- dc = double crochet
- tr = treble (triple) crochet
- ch = chain
- BLO = back loop only
- FLO = front loop only
- st(s) = stitch(es)
- sl st = slip stitch
Special Stitches
- Single Crochet Decrease (sc dec): Insert hook into next st, yarn over, pull up a loop, insert hook into next st, yarn over, pull up a loop, yarn over, pull through all loops.
- Cheese Ruffle (one cluster in FLO): (sc, hdc, dc, tr, ch 2, tr in same st, dc, hdc) all in one stitch.
The Crochet Pattern
Bun Bottom (Beige)
- Begin with a Magic Ring. Ch 1, make 6 sc into the ring. (6)
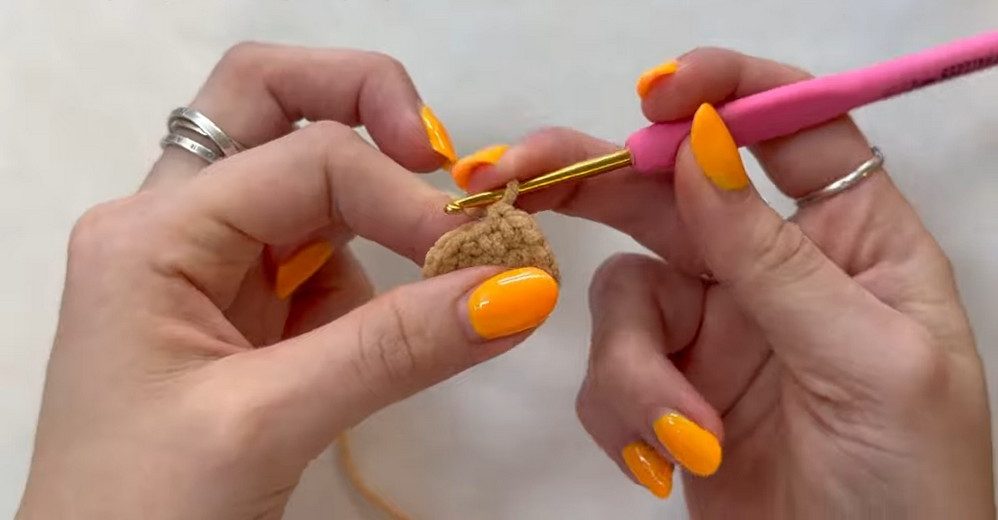
- Pull the tail to close the ring.
- Rnd 2: 2 sc in each stitch (inc in every stitch) around. (12)
- Rnd 3: (1 sc, inc) x6. (18)
- Rnd 4: (1 sc, inc, 1 sc) x6. This is: sc in first st, inc in next (2 sc in one), sc in next; repeat around. (24)
- Rnd 5: 24 sc, working BACK LOOP ONLY (BLO). This forms the bottom edge and leaves a ridge for assembly and decoration later.
Patty (Brown)
- Before finishing the last sc of Rnd 5, stop with 2 loops on the hook. Grab your brown yarn and pull through to change color.
- Rnd 6: 24 sc (in both loops). At the end, stop before finishing the last sc—switch to yellow for cheese.
Cheese (Yellow)
- Rnd 7: 24 sc with yellow yarn.
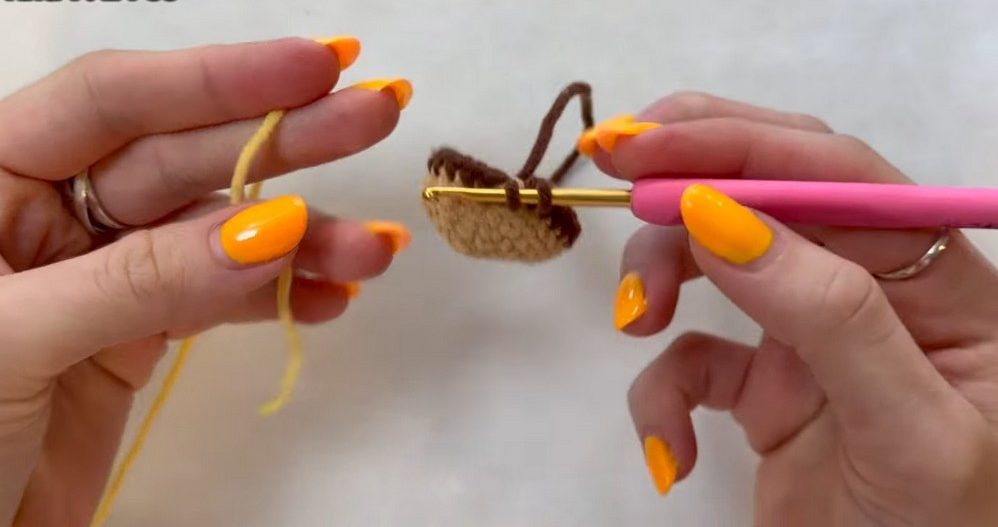
- Secure your yarn tails with knots inside the piece if desired.
Tomato (Red)
- Join red at the last sc of yellow, pulling through for smooth color change.
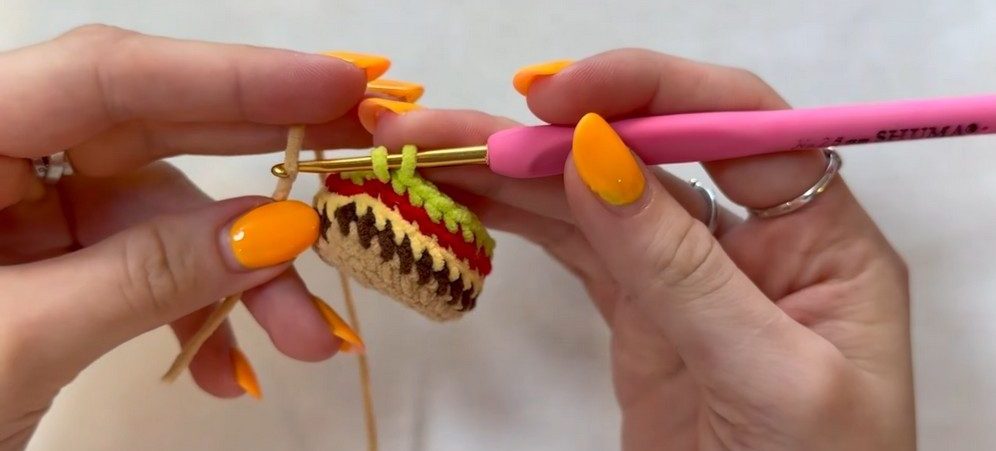
- Rnd 8: 24 sc BLO in red.
Lettuce (Green)
- Join green at end as before.
- Rnd 9: 24 sc BLO.
Top Bun (Beige)
- Join beige at end as before.
- Rnd 10: 24 sc BLO.
- Rnd 11 & 12: Work 24 sc in both loops (two rounds).
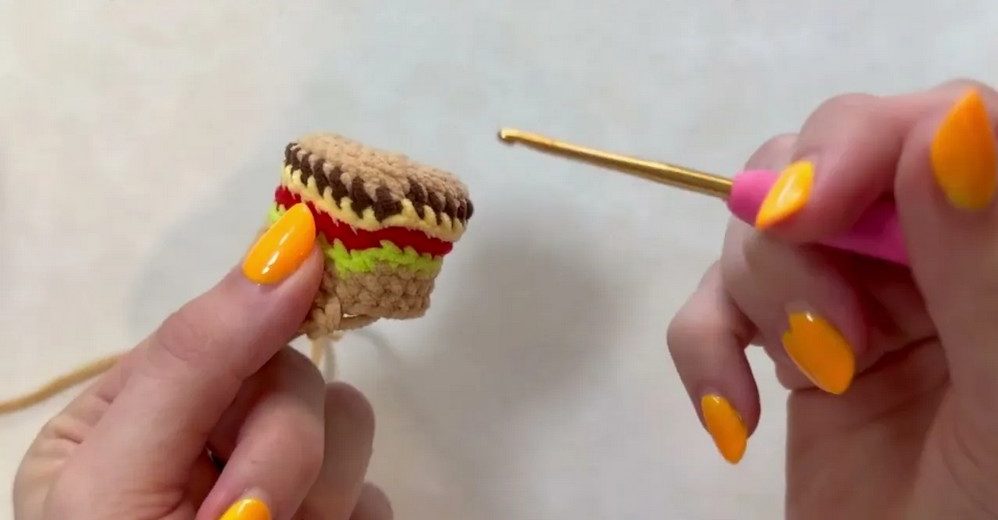
Cheese Ruffles
Now, work into the exposed front loops of Round 8 (red). Join yellow yarn.
- In each stitch: [ch 1, sc in same st, hdc in same, dc in same, tr in same, ch 2, tr in same, dc in same, hdc in same]. This creates a cheese slice with a melted ruffle effect in each stitch.
- Repeat this “ruffle” four times, evenly spaced around, for a total of 4 cheese ruffles.
- After finishing, cut yarn leaving a tail and secure with a loop imitation.
Tomato Frill
In the exposed front loops of Round 9 (green), join red yarn.
- [ch 1, sc in first st, sc in next, sc in next, inc (2 sc in same st)]—do three sc, then inc—repeat this (sc, sc, sc, inc) 6 times (total 24 front loops).
- Finish, cut yarn, secure with a loop.
Lettuce Edge
Join green yarn in the exposed front loops of Round 10 (beige).
- [ch 1, sc in next st, ch 2, sc in next st, ch 2]—repeat around.
- This creates the curly lettuce ruffle.
- At end, fasten off and secure yarn.
Shaping the Top & Closing
- Begin decreases:
- Rnd 13: (sc, dec, sc) x6 (18)
- Rnd 14: (sc, dec) x6 (12)
- Insert safety eyes between rounds 12 and 13, about 4 stitches apart.
- Firmly stuff the burger with fiberfill.
- Rnd 15: dec x6 (6)
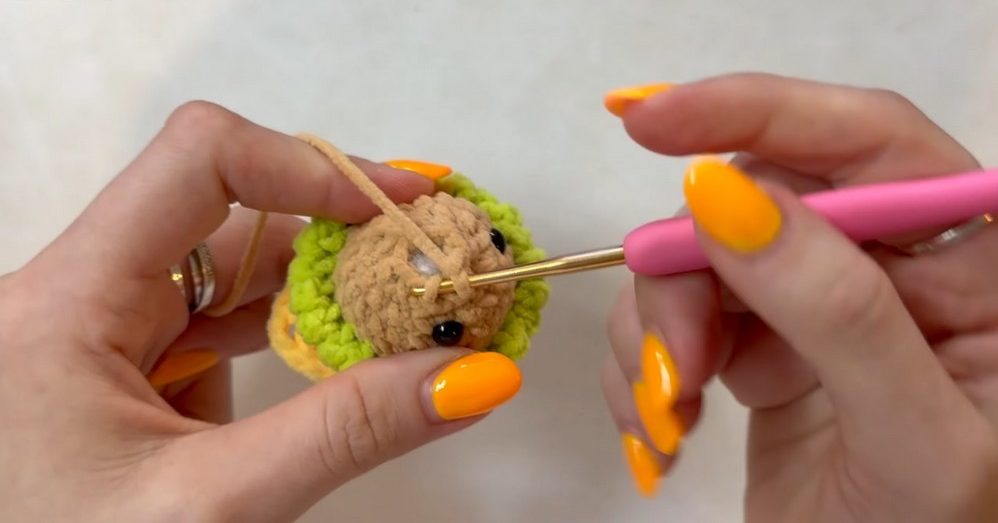
- Sl st in the next stitch, chain 1, cut the yarn and thread the tail through the last 6 stitches to close (use a yarn needle for a neat finish).
Embroidering the Face
- Using black thread or yarn, stitch a small smile centered on round 11, between the eyes.
- Add a hint of blush between rounds 11 and 12, directly under the eyes with textile crayon or blush.
Assembly & Finished Size
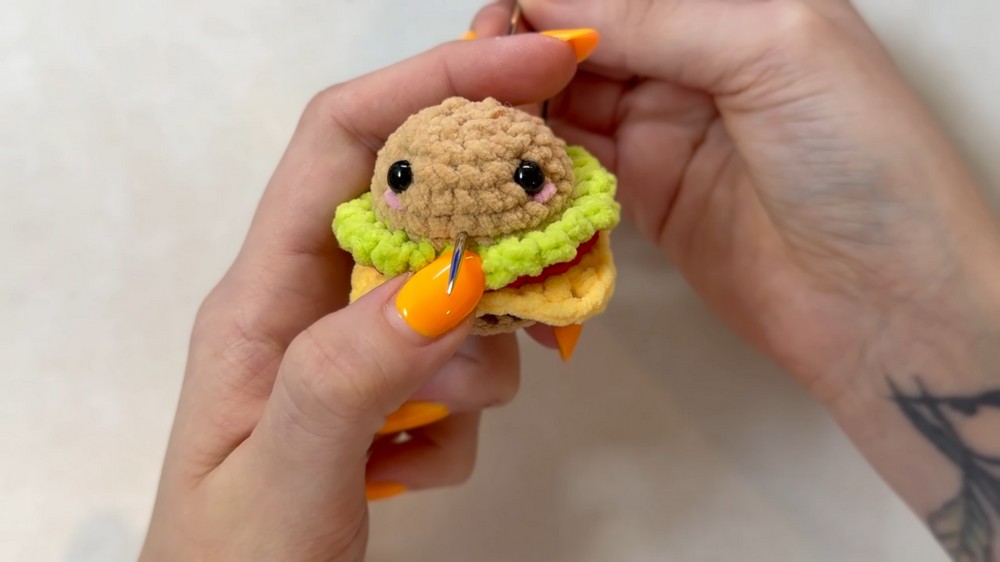
- Weave in all ends inside, adjust your ruffles.
- Your mini burger measures about 5–6 cm wide and tall.
- You can attach a keychain ring at the top if you wish to make it into a bag charm or accessory.
Conclusion and Ending Words
That’s it—your cute amigurumi mini burger is finished! Enjoy your little creation, decorate your bag, desk, or gift it to friends. Remember, this adorable burger isn’t edible, but it’s sure to make anyone smile. Thank you so much for crocheting along with me. Leave a comment to let me know if you loved this project. I’ll see you in the next crochet adventure.
For More Help Click On this Video Link.