Adorable Free Crochet Christmas Snowman Pattern for Your Décor

Bring holiday cheer with our free crochet snowman Christmas pattern, helping you easily create cute, festive decorations or personalized handmade gifts.
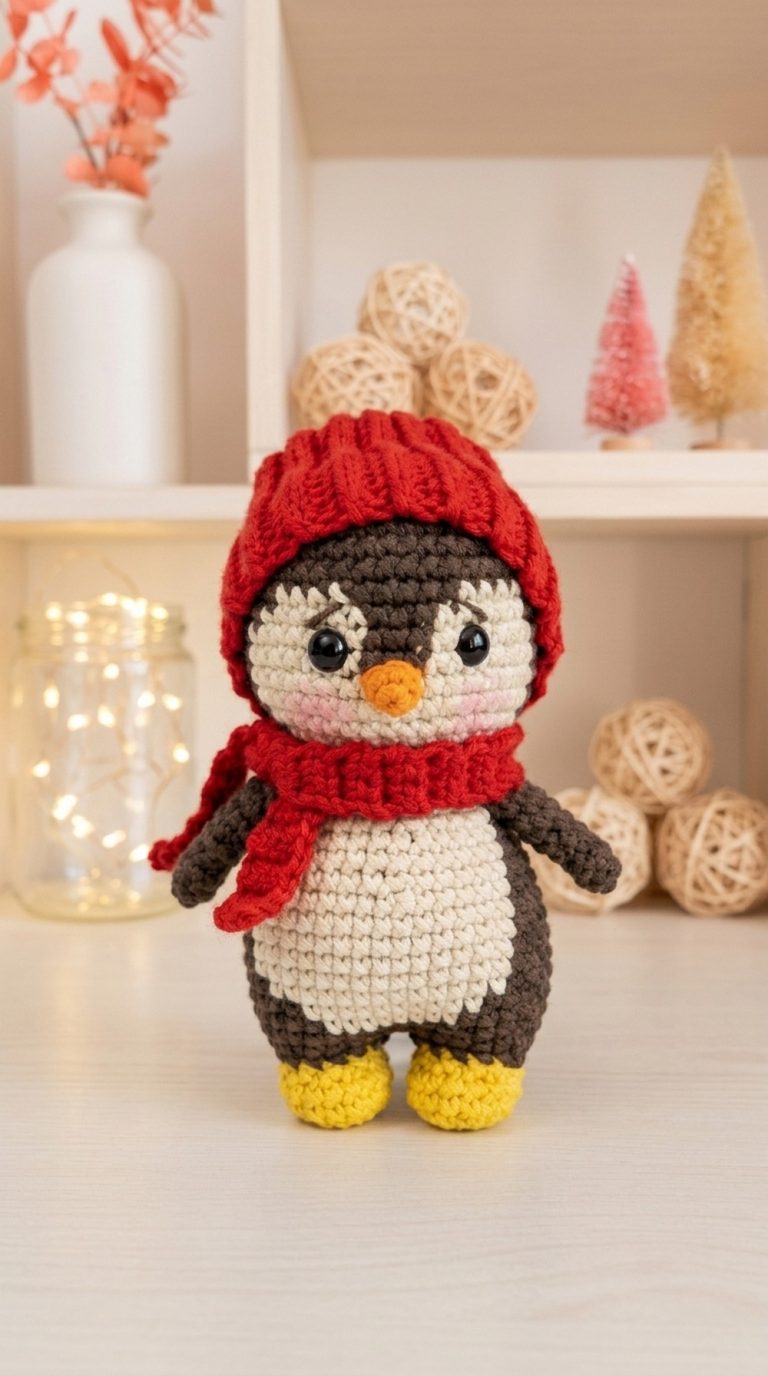
There’s something magical about making winter decorations by hand, which is why I fell in love with this free crochet Christmas snowman pattern. This adorable amigurumi project brings a little frosty charm into your home with a soft, cuddly snowman figure that’s perfect for holiday decorating or gifting. Its cheerful personality shines through in every stitch, making it a truly heartwarming creation.
Adorable Crochet Snowman Pattern for Your Christmas Décor
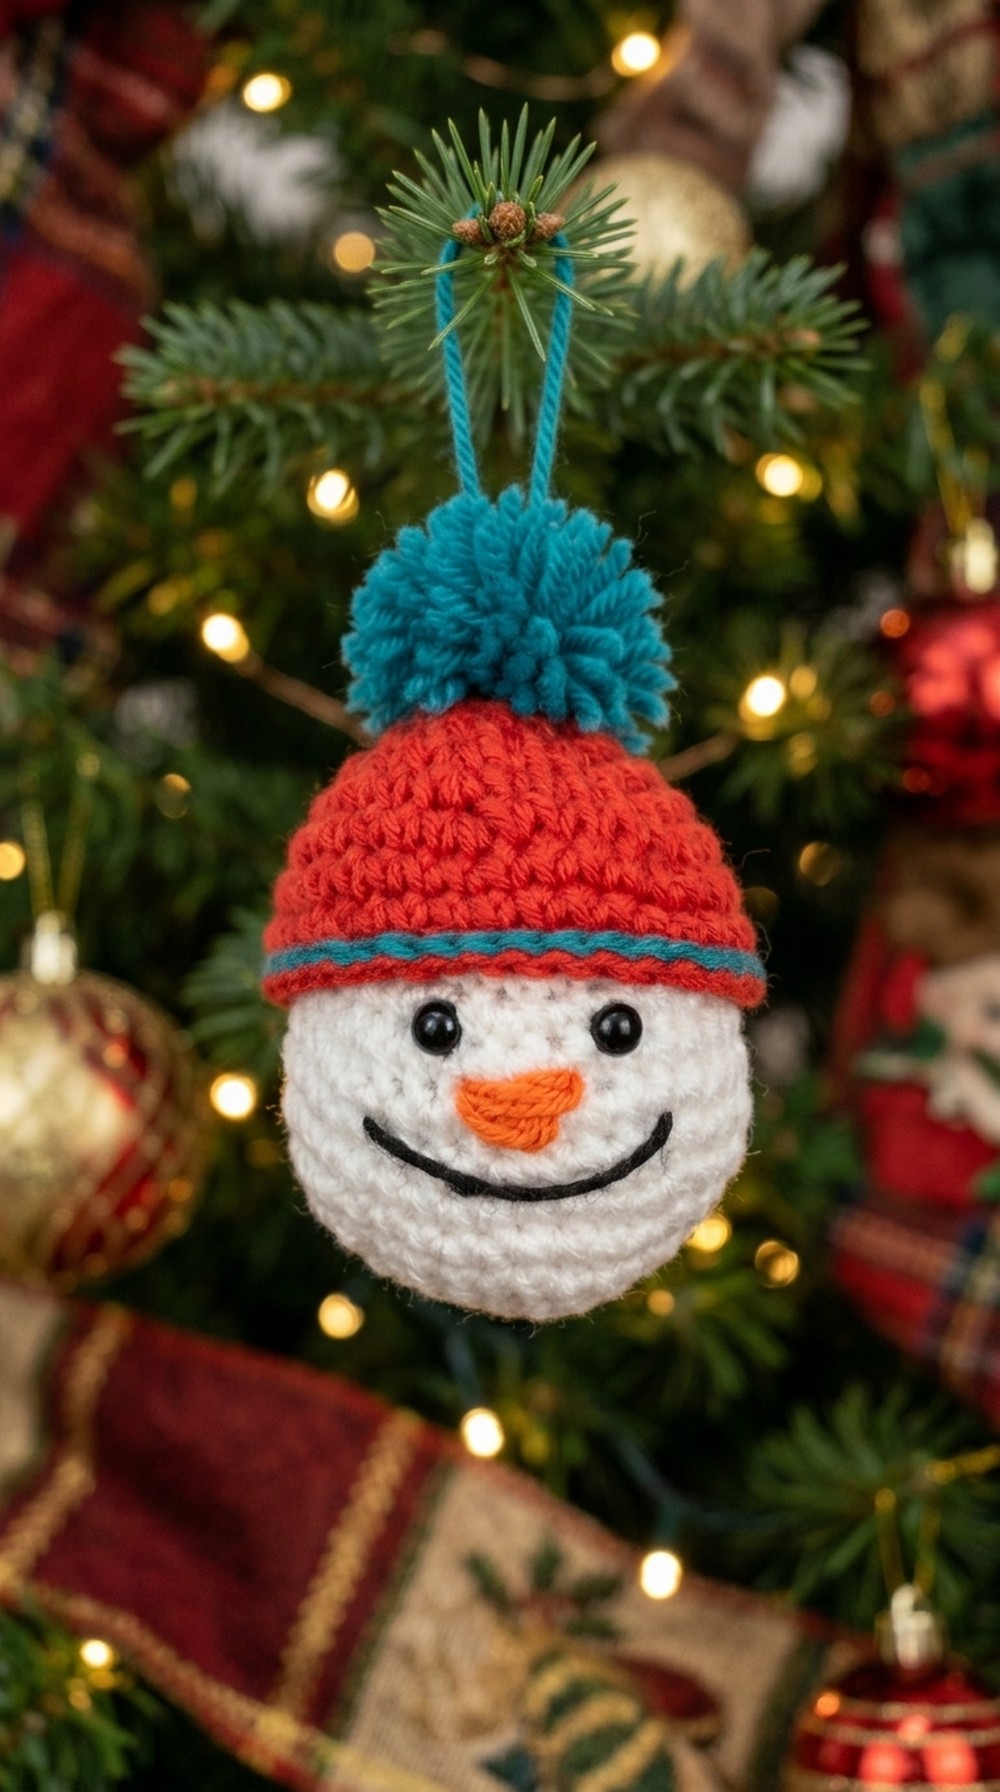
The snowman’s style is classic and whimsical, featuring a plump round body made up of stacked spheres that mimic snowballs. The texture is smooth yet cozy, thanks to the tight single crochet stitches that give it structure while keeping it soft to the touch. Standout details like a tiny scarf, hat, and embroidered smile add delightful character. You can easily customize the snowman’s size by choosing heavier or lighter yarn and adjusting hook sizes, making it suitable for beginners or seasoned crocheters looking for a quick festive project.
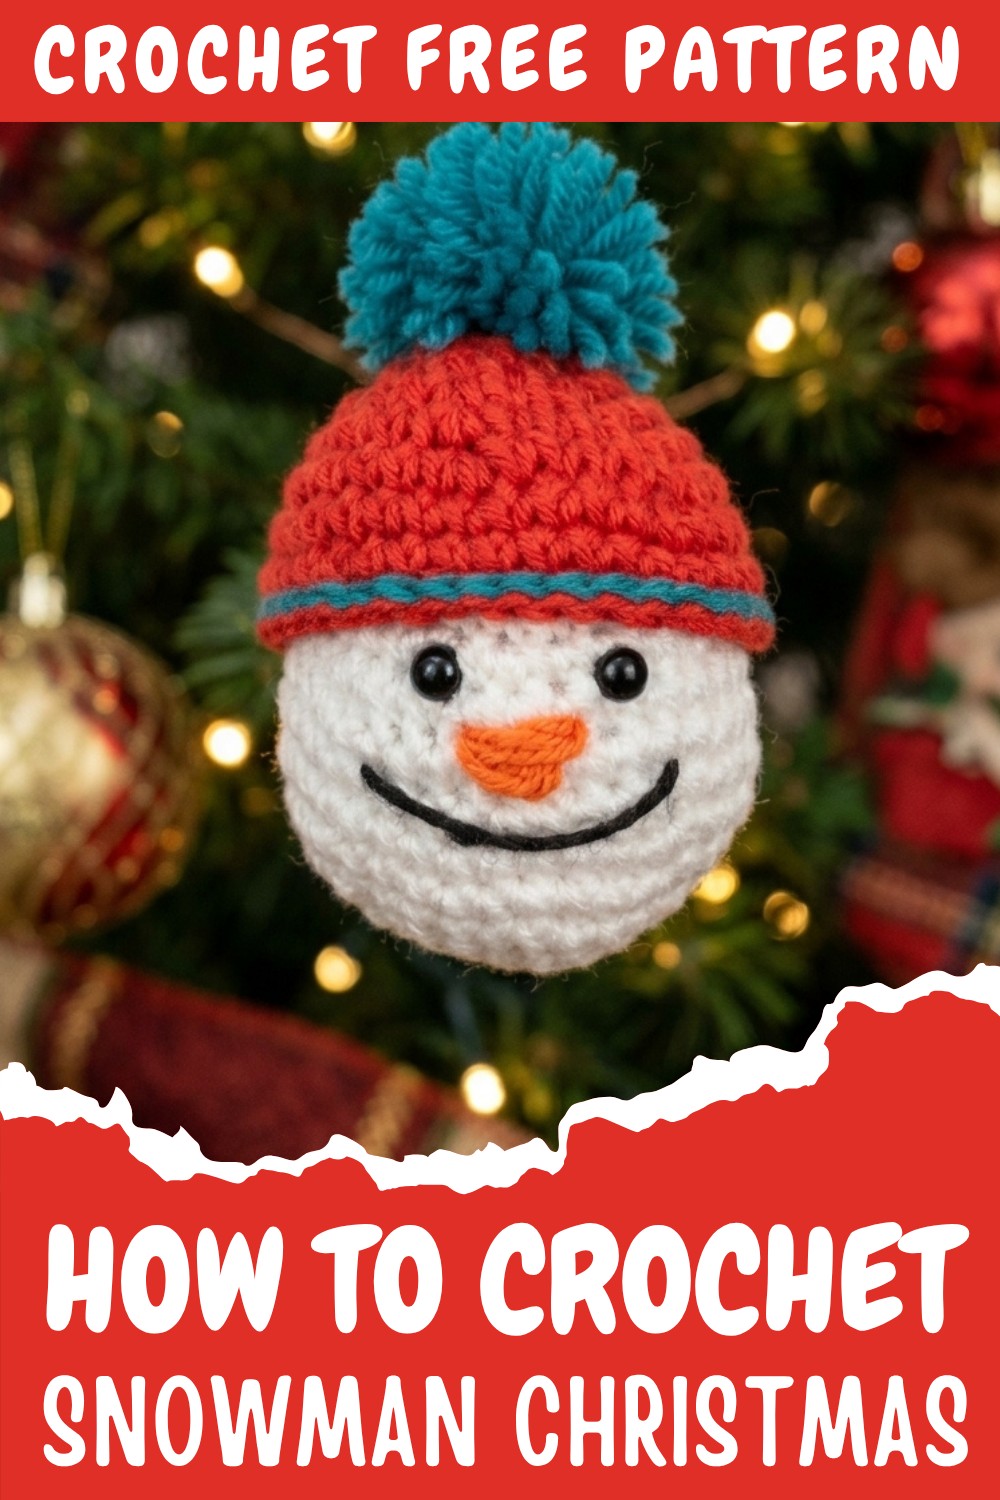
Constructed in separate pieces—body, head, and accessories—the pattern uses basic crochet techniques like single crochet and simple increases and decreases. For best results, I recommend using a smooth, worsted-weight yarn. This type of yarn highlights the stitch definition beautifully and gives the snowman a clean, polished look.
Inspired by the joy of snowy holidays and childhood memories, this charming snowman makes a perfect handmade gift or a cozy addition to your seasonal décor. Feel free to get creative by adding buttons, a carrot nose, or mini mittens! If you love simple, cheerful projects that capture the spirit of the season, this pattern is a wonderful choice.
handmade crochet lollipop keychain
Inspired by classic confectionery, this design utilizes a rainbow color sequence to bring a touch of joy to your accessories collection. This pattern is intentionally crafted to be accessible for those new to the art of amigurumi while providing enough structure to satisfy intermediate crafters. By following the detailed instructions provided, you will be able to construct two distinct styles of lollipops, ensuring a versatile and rewarding creative experience.
Gauge and Stitch Pattern
For this project, consistency in tension is more important than achieving a specific gauge measurement. Because the lollipop requires stuffing, you must ensure your stitches are tight enough to prevent the fiberfill from showing through. The primary stitch used throughout this project is the single crochet, which provides the necessary density to maintain the sphere’s shape. If you notice large gaps between your stitches, consider switching to a smaller hook size or adjusting your yarn tension to keep the structure uniform.
Measurements and Sizing
This delightful crochet lollipop is designed to be a miniature, charming accessory. The finished piece stands at approximately 3.5 centimeters in diameter, making it the perfect scale for a keychain or a decorative bag charm. Its compact nature ensures it is both lightweight and sturdy, suitable for everyday use.
Materials
To begin your crafting journey, you will need the following supplies:
-
Yarn: High-quality 4-ply milk cotton yarn. You will need a variety of colors to achieve the rainbow effect: Red, Orange, Yellow, Green, Sky Blue, Blue, Purple, and Milky White.
-
Crochet Hook: A 2.25 mm crochet hook, which is optimal for the tension required for amigurumi.
-
Stuffing: High-quality polyester fiberfill to give the lollipop its signature rounded shape.
-
Essential Tools: A stitch marker to track your rounds, a sharp pair of scissors, and a tapestry needle with a large eye for weaving in ends and final assembly.
-
Extras: A small lollipop stick for the core and a sturdy metal key ring to transform your creation into a functional accessory.
Pattern Notes
This pattern is worked in continuous spiral rounds. This means you will not join your rounds with a slip stitch at the end, but rather move directly into the first stitch of the next round. Using a stitch marker at the beginning of each round is essential to avoid losing track of your place. When changing colors to achieve the rainbow progression, ensure you carry your yarn strands neatly or fasten off and rejoin them securely according to the specific round instructions.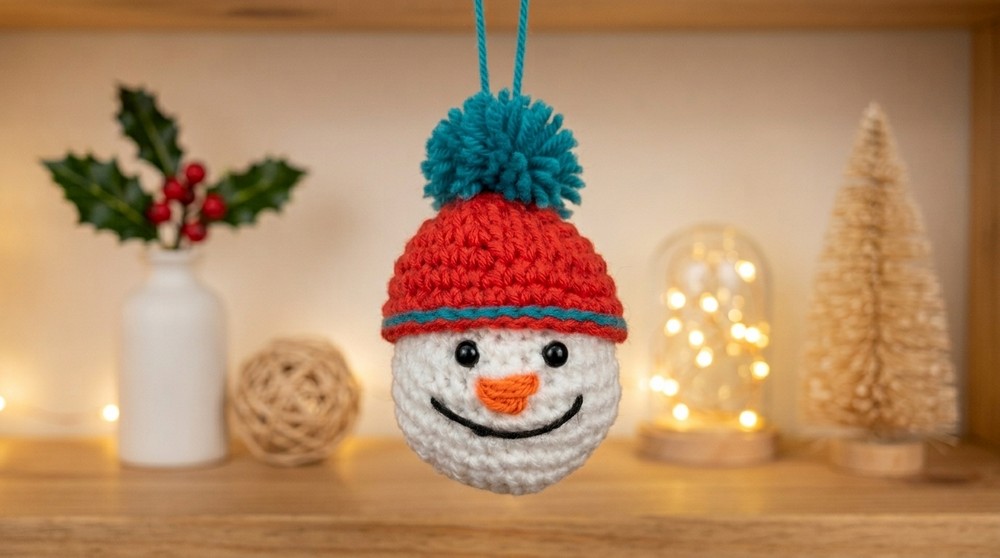
Stitch Abbreviations
To ensure clarity, please refer to the following definitions for the terms used in this pattern:
-
Single Crochet: Insert the hook into the stitch, yarn over, pull up a loop, yarn over, and pull through both loops on the hook.
-
Increase: Work two single crochet stitches into the same stitch to expand the circumference.
-
Decrease: Insert the hook into the front loop of the first stitch and the front loop of the second stitch, yarn over, pull through both front loops, yarn over, and pull through the remaining two loops on the hook.
-
Magic Ring: A circular starting method that allows you to pull the center tight.
-
Slip Stitch: Insert hook, yarn over, and pull through both the stitch and the loop on your hook.
Special Stitches
Beyond the standard single crochet, this project relies heavily on the “invisible decrease.” This technique ensures that your decreases look nearly identical to your regular stitches, preventing unsightly gaps in the structure of the lollipop. When performing a decrease, always aim to pick up only the front loops of the stitches, as this creates a smoother finish.
Skill Level
This project is categorized as Beginner-Friendly. It focuses on the fundamental concepts of amigurumi: shaping via increases and decreases, working in a spiral, and seamless color changing. It serves as an excellent introduction to professional-looking toy making.
The Crochet Pattern
Follow these steps precisely to build your rainbow lollipop.
The Head
-
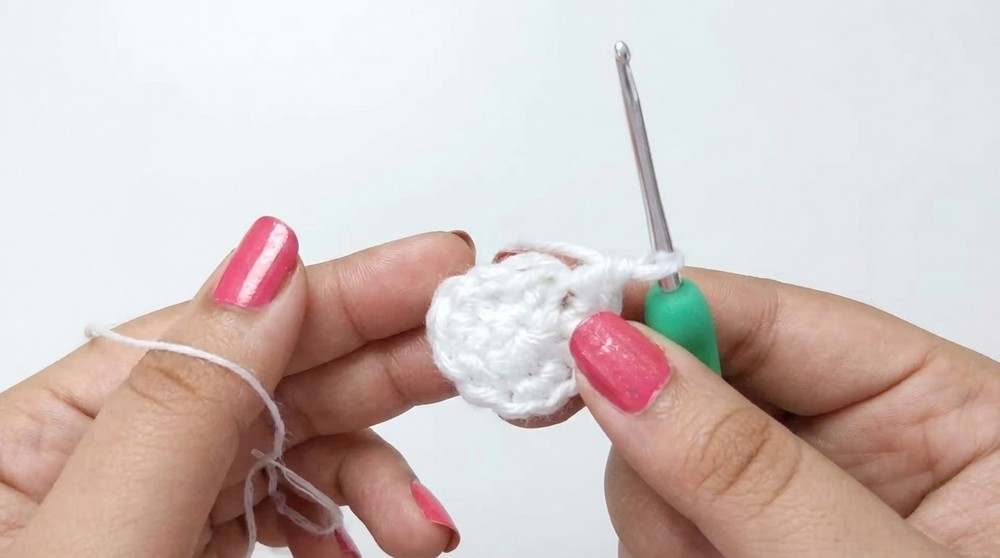
Row 1: Make a magic ring and work 6 single crochets into the ring.
-
Row 2: Increase in every stitch (total 12 stitches).
-
Row 3: 1 single crochet, 1 increase—repeat 6 times (total 18 stitches).
-
Row 4: 2 single crochets, 1 increase—repeat 6 times (total 24 stitches).
-
Row 5: 3 single crochets, 1 increase—repeat 6 times (total 30 stitches).
-
Row 6: 4 single crochets, 1 increase—repeat 6 times (total 36 stitches).
-
Rows 7–10: Work 1 single crochet in every stitch around (total 36 stitches each row).
-
Note: Attach safety eyes between rows 5 and 6, leaving about 2 stitches of space between them.
-
-
Row 11: 4 single crochets, 1 decrease—repeat 6 times (total 30 stitches).
-
Row 12: 3 single crochets, 1 decrease—repeat 6 times (total 24 stitches).
-
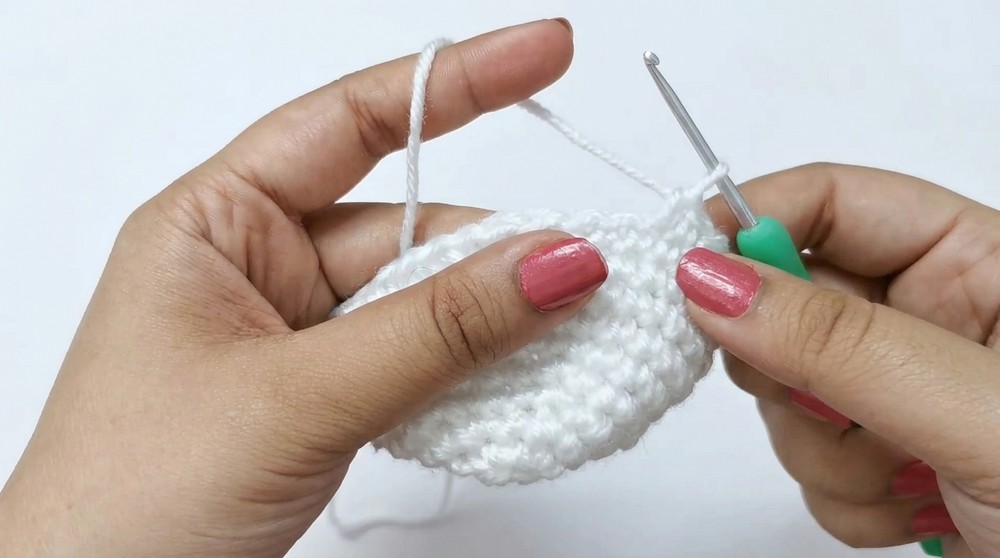
Row 13: 2 single crochets, 1 decrease—repeat 6 times (total 18 stitches).
-
Stuff the head firmly now.
-
-
Row 14: 1 single crochet, 1 decrease—repeat 6 times (total 12 stitches).
-
Row 15: 6 decreases to close the piece.
The Hat
-
Row 1: Make a magic ring and work 6 single crochets into the ring.
-
Row 2: Increase in every stitch (total 12 stitches).
-
Row 3: 1 single crochet, 1 increase—repeat 6 times (total 18 stitches).
-
Row 4: 2 single crochets, 1 increase—repeat 6 times (total 24 stitches).
-
Row 5: 3 single crochets, 1 increase—repeat 6 times (total 30 stitches).
-
Row 6: 4 single crochets, 1 increase—repeat 6 times (total 36 stitches).
-
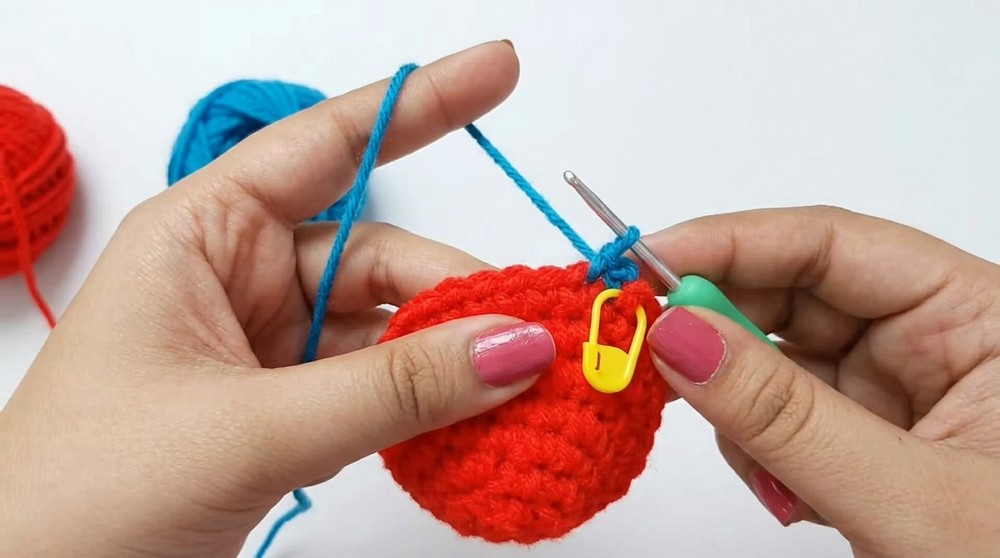
Rows 7–9: Work 1 single crochet in every stitch around (total 36 stitches each row).
-
Color Change: Fasten off the white yarn and attach your accent color. For the next row, work into the back loops only, 1 single crochet in each stitch around.
Finishing Touches
-
Assembly: Use a needle to sew the head onto the body.
-
Features: Use orange yarn to stitch a nose and black yarn to embroider a smile.
-
Hat: Create a small pom-pom by wrapping yarn around two fingers, tying it in the middle, and trimming it to size before attaching it to the top of the head.
-
Hanging Loop: Add a chain loop to the top of the hat to allow for hanging.
Assembly and Finished Size
- Once the final round is complete, cut your yarn, leaving a long tail.
- Use your tapestry needle to weave the tail through the front loops of the remaining 6 stitches, then pull tightly to seal the sphere.
- Secure the knot by pulling the needle through the center of the lollipop and trimming the excess yarn.
- To complete the assembly, insert the lollipop stick into the base, applying a small amount of fabric glue if necessary for extra security.
- Finally, attach your chosen key ring to the top or side of the lollipop.
- Your finished project will measure approximately 3.5 centimeters, a perfect and adorable size.
Conclusion and Ending Words
You have successfully navigated the intricate process of creating your own rainbow lollipop keychain. This project not only enhances your technical skills with yarn and hook but also results in a tangible piece of art that reflects your personal style. Whether you keep it for yourself or present it as a thoughtful, handmade gift, you can take pride in the meticulous work required to complete every round.