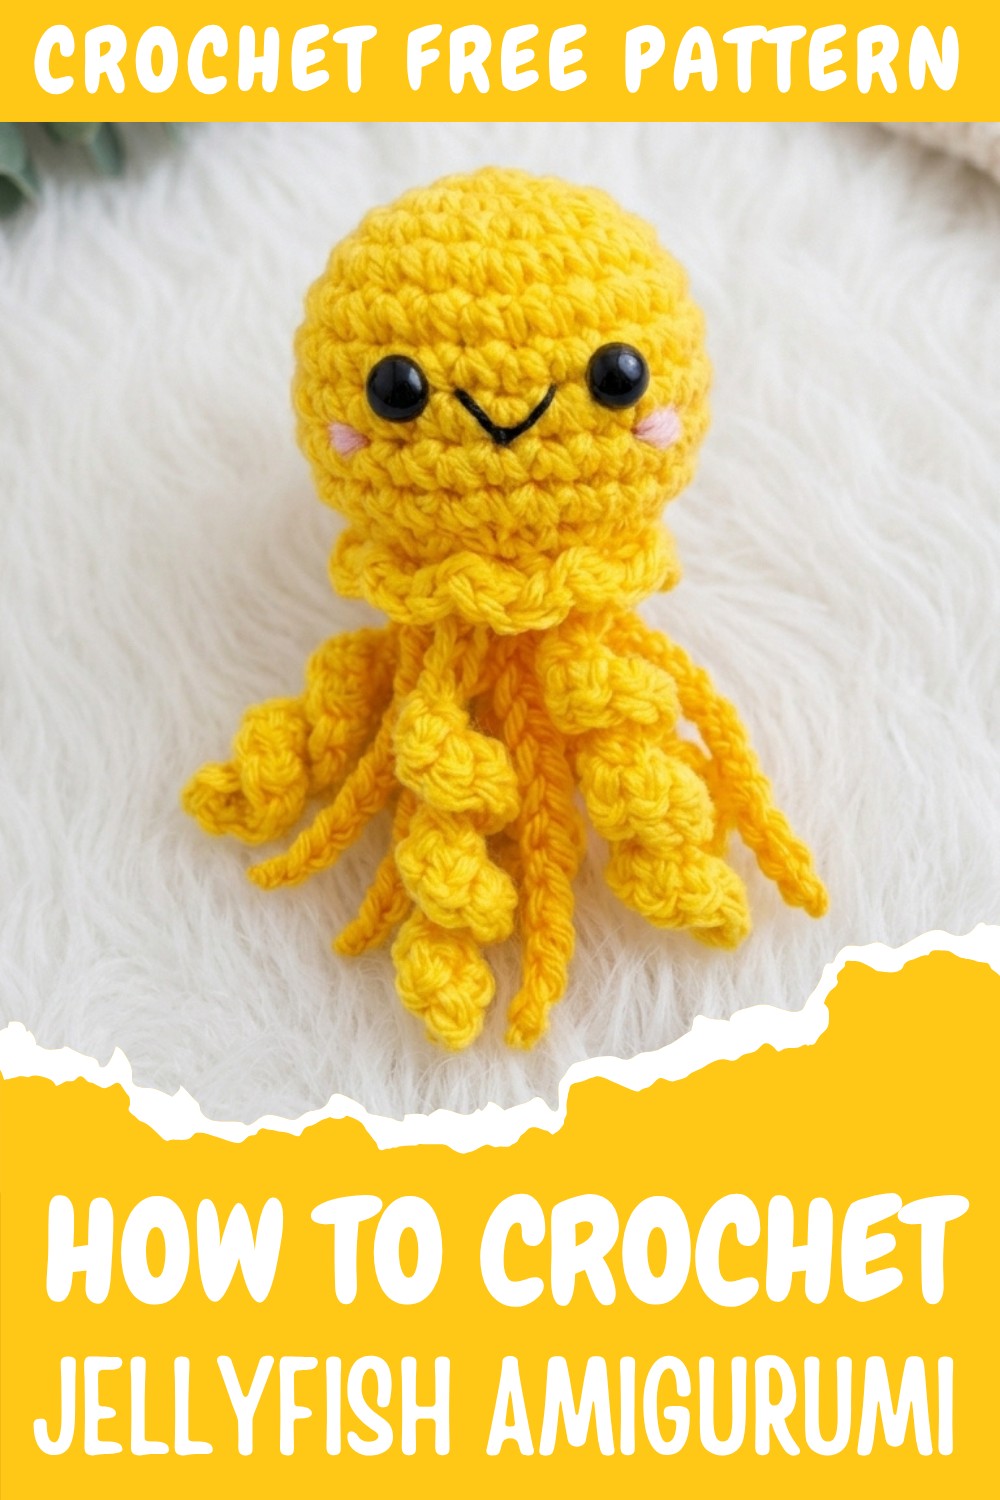
Easy Free Crochet Jellyfish Amigurumi Pattern – Perfect for Handmade Gifts
See how this Free Crochet Jellyfish Amigurumi Pattern brings ocean-inspired charm to life with a simple, adorable, and fun design everyone will love.
If you love the ocean and cute sea creatures, you’re going to enjoy making the Free Crochet Jellyfish Amigurumi Pattern. This little project is not only fun but also easy to make, even if you’re just starting to crochet. The jellyfish is soft and squishy, with long flowing tentacles that wiggle when you play with it.
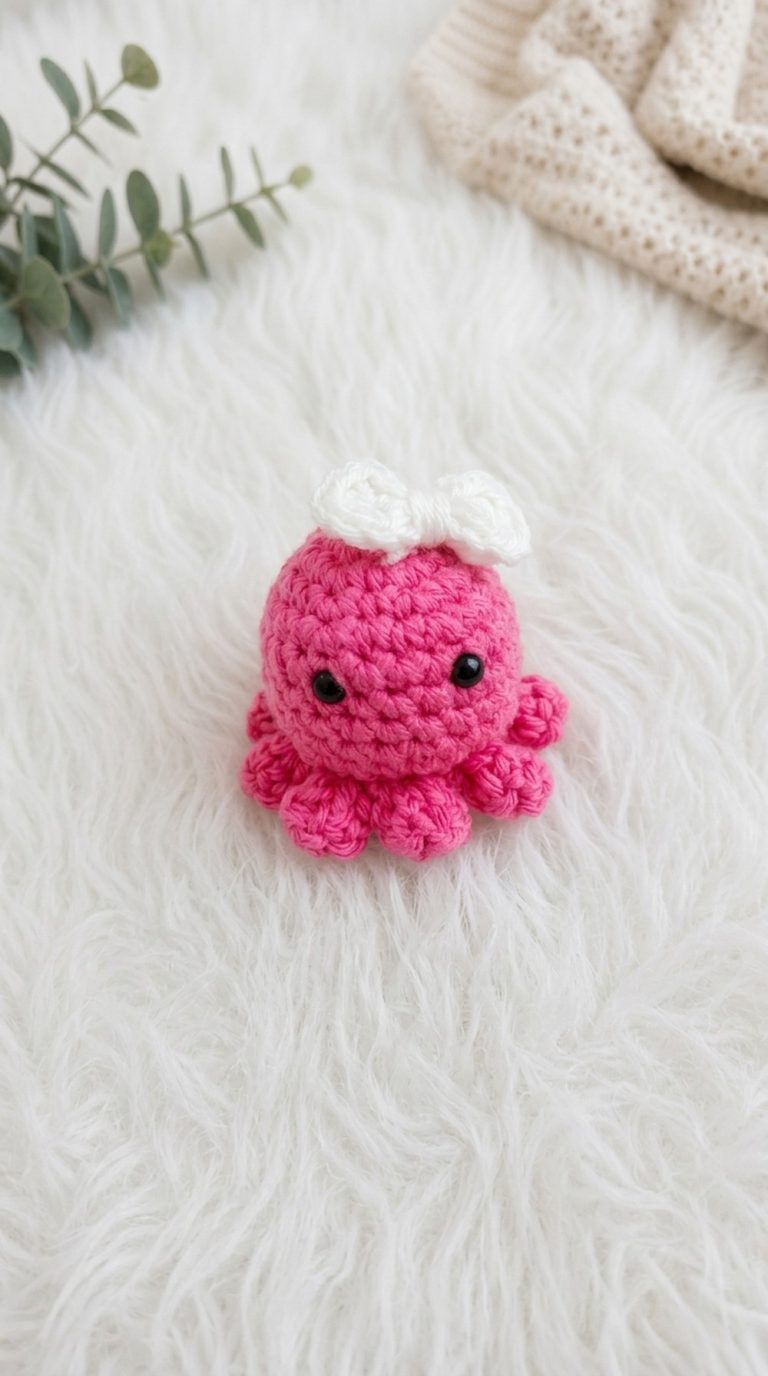
Cute Crochet Jellyfish Amigurumi Free Pattern for Baby Shower
Its round, bell-shaped body looks smooth and bouncy because of the simple stitches used. You can choose bright or pastel colors, anything you like, to bring your jellyfish to life. Changing colors is easy, so you can make a whole family of jellyfish in different shades.
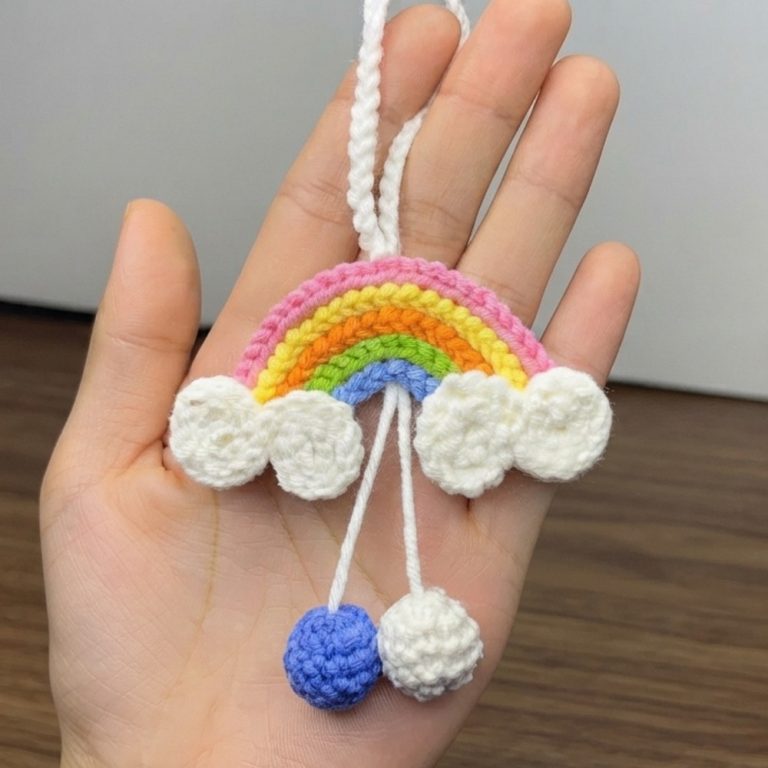
This pattern is great for making toys, decorations, keychains, or even cute gifts for friends and family. You can make the jellyfish small enough to hang on your backpack or big enough to cuddle with. To change its size, just use thicker yarn and a bigger hook for a bigger jellyfish, or thinner yarn and a smaller hook for a tiny one. One of the most important stitches in this pattern is the single crochet stitch, which keeps the jellyfish firm but soft. The tentacles are made with simple chains or slip stitches, creating a pretty, flowing look.
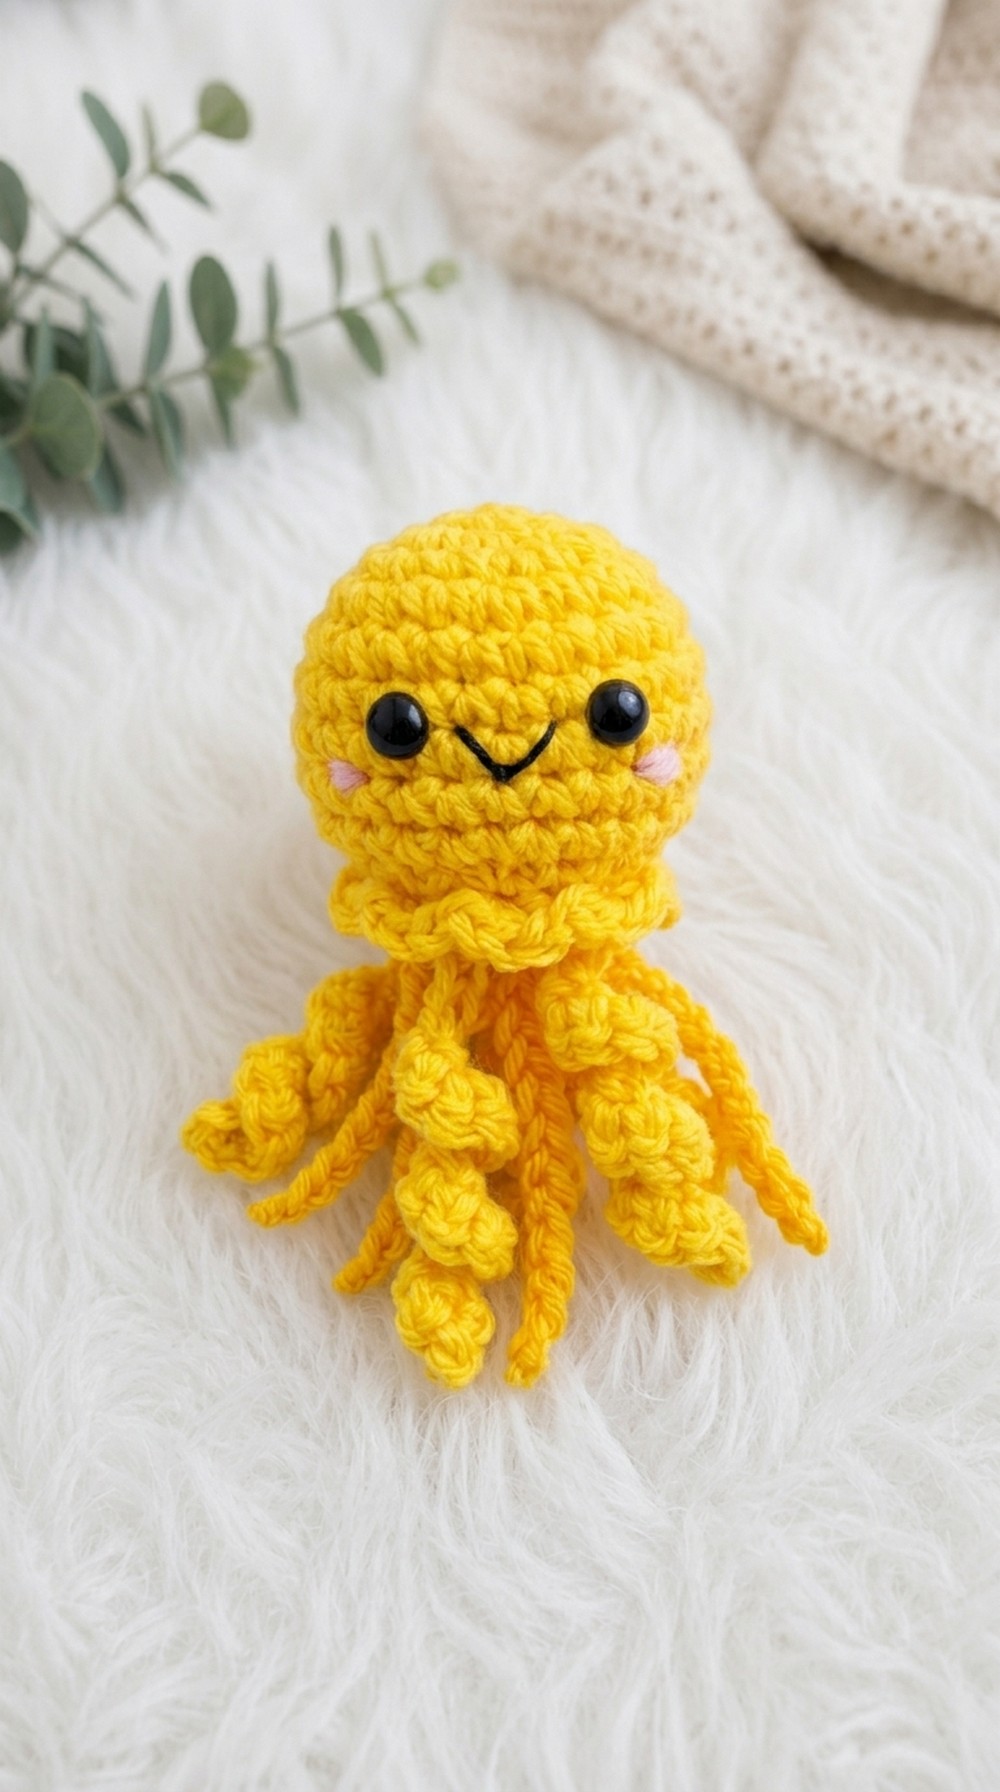
Making this jellyfish is a wonderful way to practice basic crochet skills without feeling overwhelmed. Plus, it’s perfect for adding a splash of ocean magic to your home or for making gifts that are truly special and handmade. So grab your yarn and hook, pick your favorite colors, and start crocheting a jellyfish that’s as beautiful and graceful as the ones swimming in the sea.
Adorable Jellyfish Amigurumi Keychain Crochet Pattern
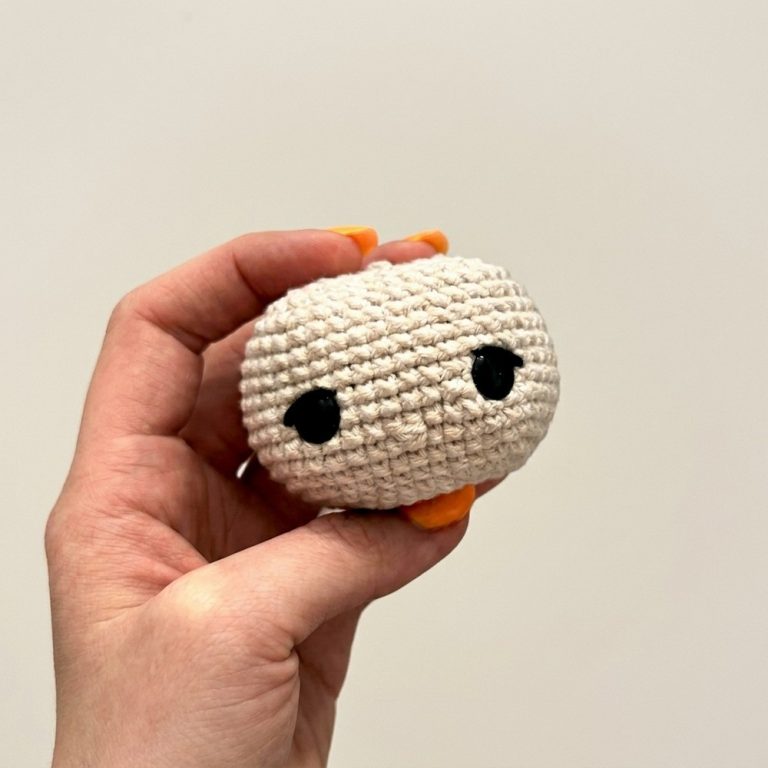
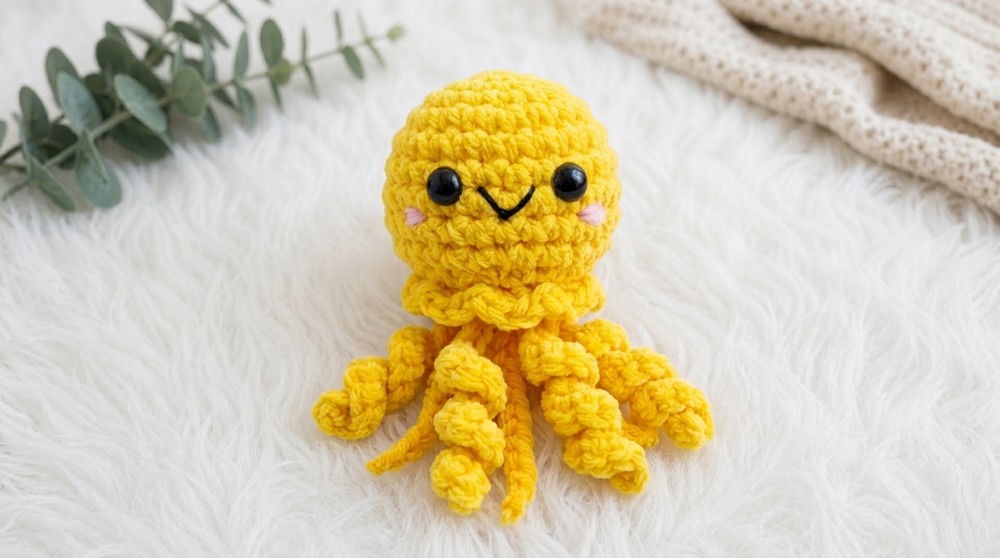
Create your own cute jellyfish amigurumi—a charming, no-sew pattern perfect for beginners and ideal as a keychain, bag charm, or desk buddy! This plush jellyfish features a round body, curly and straight tentacles, a ruffle border, safety eyes, and simple embroidered features.
The base is worked in continuous rounds using tight single crochet to ensure a neat finish. With detailed instructions and clear steps, this project is a fun and rewarding introduction to amigurumi.
Pattern Notes
- Work in continuous rounds without joining; use a stitch marker or scrap yarn to mark the first or last stitch of each round.
- The jellyfish body is crocheted tightly to prevent stuffing from showing.
- Tentacles are crocheted directly into the body; there’s no separate sewing required except for adding the keychain hardware.
- Amigurumi patterns commonly use US crochet terminology.
- Safety eyes can be substituted with embroidered or glued eyes if desired.
- Color changes: Choose a light and a dark version of your main color for the body and tentacles.
Skill Level
Beginner Amigurumi
You will need to know:
- Magic circle/ring
- Single crochet (sc)
- Invisible decrease
- Slip stitch (sl st)
- Working in front and back loops
- Embroidery for facial features
- Attaching keychain hardware
Materials
- DK or worsted yarn: light main color, dark accent color, pink for blush, black for smile
- 3 mm crochet hook (smaller than recommended to keep stitches tight)
- 4 mm safety eyes (or alternative eyes)
- Polyester stuffing (fiberfill)
- Yarn needle
- Stitch marker or scrap yarn
- Scissors
- Keychain hardware (blank earrings, jump ring)
- Optional: Blush or felt for cheeks
Measurements / Sizing
- Finished jellyfish (without keychain): approx. 5–6 cm (2–2.5 in) in diameter
- Tentacles: vary between 5–7 cm (2–2.75 in) long
- Keychain ring adds ~2 cm (¾ in)
- Size adjusts based on yarn and hook
Gauge
- Gauge is not critical but stitches should be tight enough so that stuffing doesn’t show through.
- Approx. diameter of body after Round 9: 5 cm (2 in)
Stitch Abbreviations
| Abbreviation | Meaning |
|---|---|
| MR | magic ring/circle |
| ch | chain |
| sc | single crochet |
| sl st | slip stitch |
| dec | decrease (sc2tog) |
| inc | increase (2 sc in 1 st) |
| st(s) | stitch(es) |
Special Stitches
- Magic Ring (MR): Wrap yarn into a loop, crochet stitches inside, pull tight to close.
- Invisible Decrease: Insert hook into front loop of first sc, then into front loop of next sc, yarn over and pull up loop, yarn over and pull through both remaining loops.
- Working in Front/Back Loops: Used to create ruffle and tentacles.
The Crochet Pattern
1. Jellyfish Body
With light main color and 3 mm hook:
Round 1: MR, ch 1 (does not count as st), 6 sc into ring (6)
Round 2: inc in each st (2 sc in each) (12)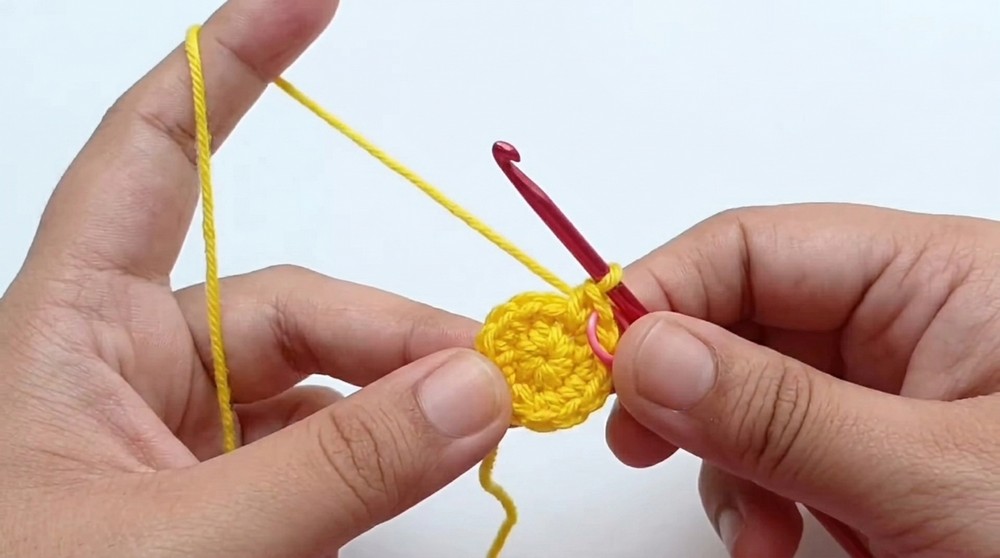
Round 3: [sc 1, inc] around (18)
Round 4: Start with sc 1, inc, then [sc in next 2, inc] repeat; stagger increases (~5 times total) (24)
Round 5: sc in each st (24)
Rounds 6–9: sc in each st (24)
Body begins to curve—this is normal.
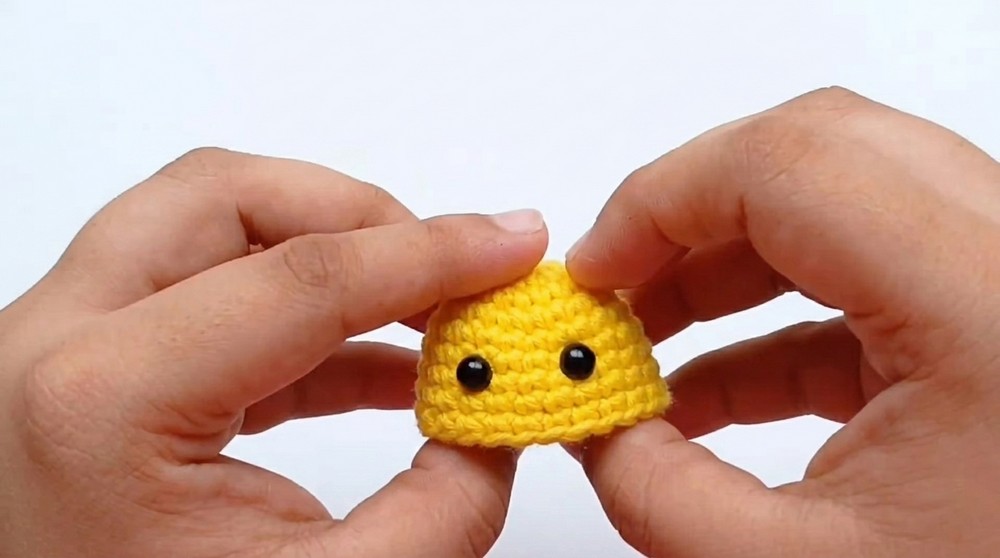
2. Insert Safety Eyes
- Place eyes between rounds 6 and 7, spaced 3 stitches apart.
- Attach safety backings.
3. Body Decreases
Round 10: [sc 1, invisible dec] around (16)
- Repeat sequence 8 times (16 sts total).
- Stuff the body with fiberfill before closing.
Round 11: Invisible dec in every back loop around (8)
- Work in back loops only to leave front loops exposed for tentacles/ruffle.
- Repeat 8 times.
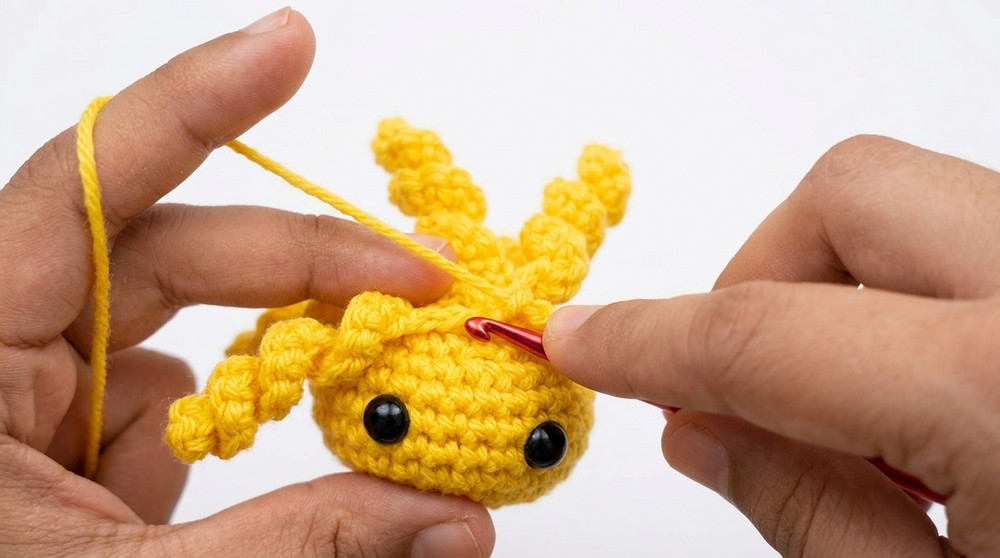
4. Curly Tentacles (Worked Into Front Loops of Round 11)
Make four curly tentacles using front loops only:
- Sl st in first front loop, ch 12.
- Skip first ch, in each remaining ch, work 2 sc (22 sc in total).
- Sl st in next front loop twice.
- Repeat steps for 3 more tentacles (total: 4 curly tentacles).
5. Closing the Body
- Cut yarn, leaving a long tail.
- With yarn needle, weave tail through the 8 back loops of Round 11, pull tight to close.
- Bring the tail out at the top center of head and leave for attaching the keychain.
6. Straight Tentacles (Dark Accent Color)
Make four straight tentacles between curly tentacles:
- Join dark yarn at slip stitch between curly tentacles.
- Ch 12.
- Cut yarn, pull tail to create a knot at the last chain.
- Repeat for a total of four straight tentacles, spacing them evenly between curly tentacles.
- Bring all tails with yarn needle through the body and out the back. Tie knot and hide inside.
7. Ruffle Border (Worked Into Front Loops of Round 10)
- Join main color yarn with sl st into first front loop of Round 10.
- [Sl st in first front loop, 3 sc in next front loop] repeat all the way around.
- Sl st to first loop to join, fasten off.
- Weave in ends.
8. Embroidered Features
Smile:
- With black yarn, embroider a smile between the eyes, at Round 7.
- Make a straight stitch about 2 stitches wide and tack it down at the middle.
- Tie off at the back and hide ends inside.
Blush:
- With pink yarn, embroider two short stitches under each eye.
- Tie off at the back and hide ends inside.
Assembly & Finished Size
- Attach keychain hardware using yarn tails from center top.
- Knot securely and hide ends inside.
- Finished size: ~5–6 cm diameter, ~6–7 cm tentacle length, total ~8 cm with keychain.
Quick Pattern Overview for Beginners
- Make a magic ring, crochet body in continuous rounds with basic increases.
- Work even rounds to form rounded shape.
- Add safety eyes, stuff body.
- Decrease, leaving loops for tentacles.
- Crochet curly tentacles into body, then add straight tentacles with contrasting yarn.
- Crochet ruffle border around head.
- Embroider blush and smile under eyes.
- Attach keychain ring at top.
Tips for Success
- Use a stitch marker for the last stitch of every round to keep track.
- Place safety eyes before stuffing and closing up the body.
- Stuff the body firmly but don’t overstuff so the shape remains round.
- Use invisible decreases to keep shaping smooth.
- Tentacles can be made longer or shorter by adjusting chain count.
- Optional: Use felt or blush for cheeks if you don’t want to embroider.
- Secure all knots and hide ends inside for a polished look.