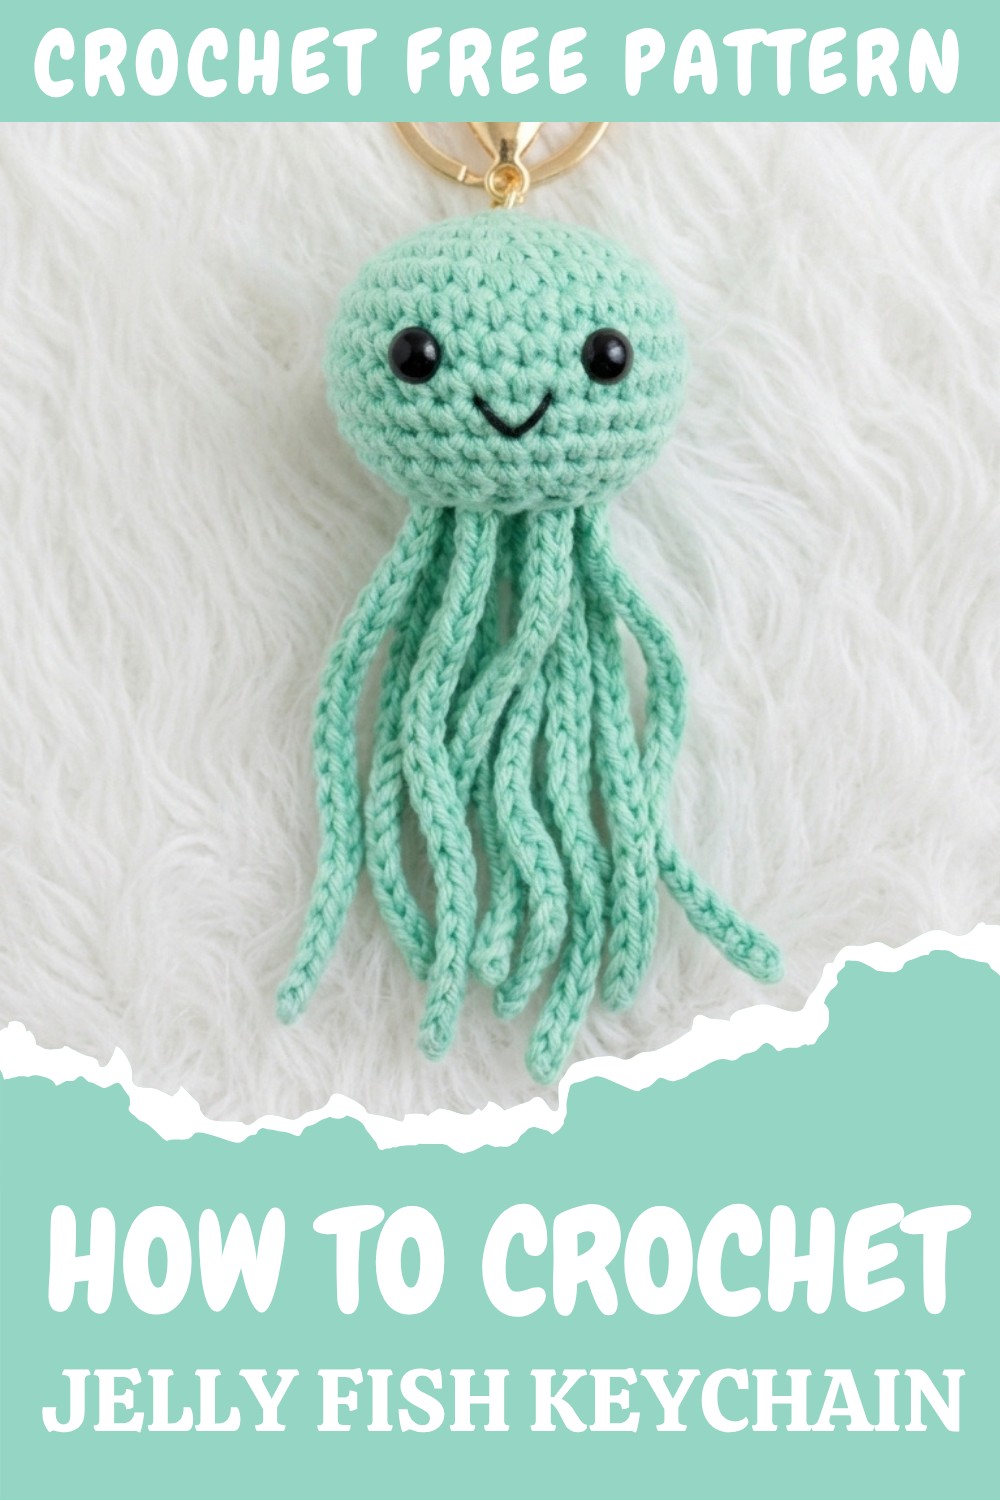
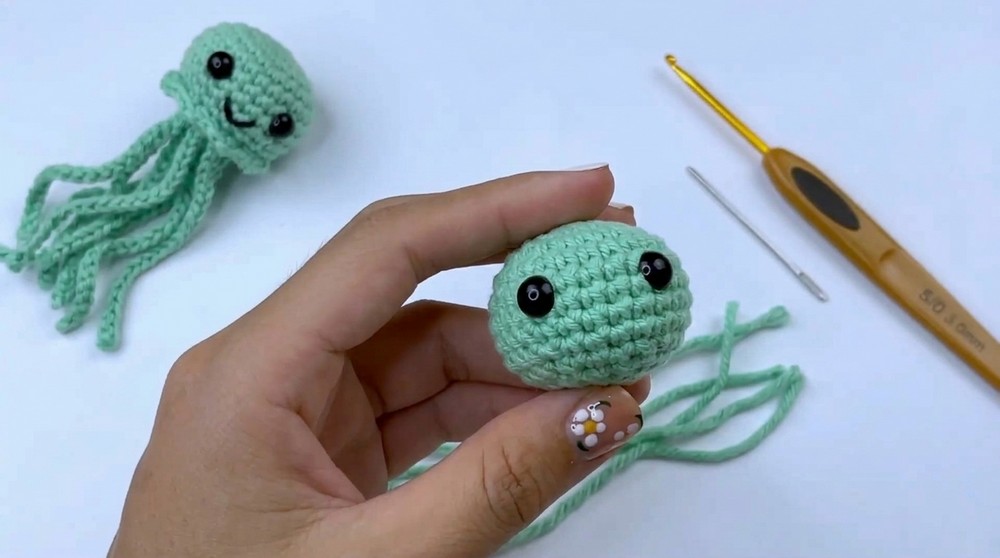
Adorable Mini Jellyfish Keychain – Free Crochet Project
Crocheting a jellyfish keychain offers a relaxing and creative way to spend time and make something special. Picture picking up a soft ball of yarn and turning it, loop by loop, into a cheerful jellyfish with swirly tentacles. Many people love that sense of accomplishment and the burst of color each completed keychain brings. Creating something so cute and handy can brighten anyone’s mood and the best part, you don’t need much experience to get started.
Cute Crochet Jellyfish Keychain Pattern
Why Crochet Jellyfish Keychains Are So Appealing
Each jellyfish keychain comes to life with beautiful colors pastels for a dreamy vibe, neons for a fun look, or even rainbow stripes to show off your creativity. The single crochet stitch forms the rounded jellyfish head, making construction simple and enjoyable. Magic rings start the pattern smoothly, and chain stitches then twist into playful, bouncy tentacles. By tweaking the pattern such as changing tentacle lengths or colors the same design can become a bag charm, party favor, or ornament for school events or gifts.
Troubleshooting and Fixes
Tentacles not curling? Add a few extra chains, then let them coil naturally. Uneven jellyfish shapes usually mean a stitch was skipped or repeated—review each round for accuracy. Hard-to-crochet rounds often happen with yarn pulled too tight, so keeping an even, relaxed tension helps. Notice a gap or hole at the top? Pull the magic ring’s tail firmly for a snug closure.
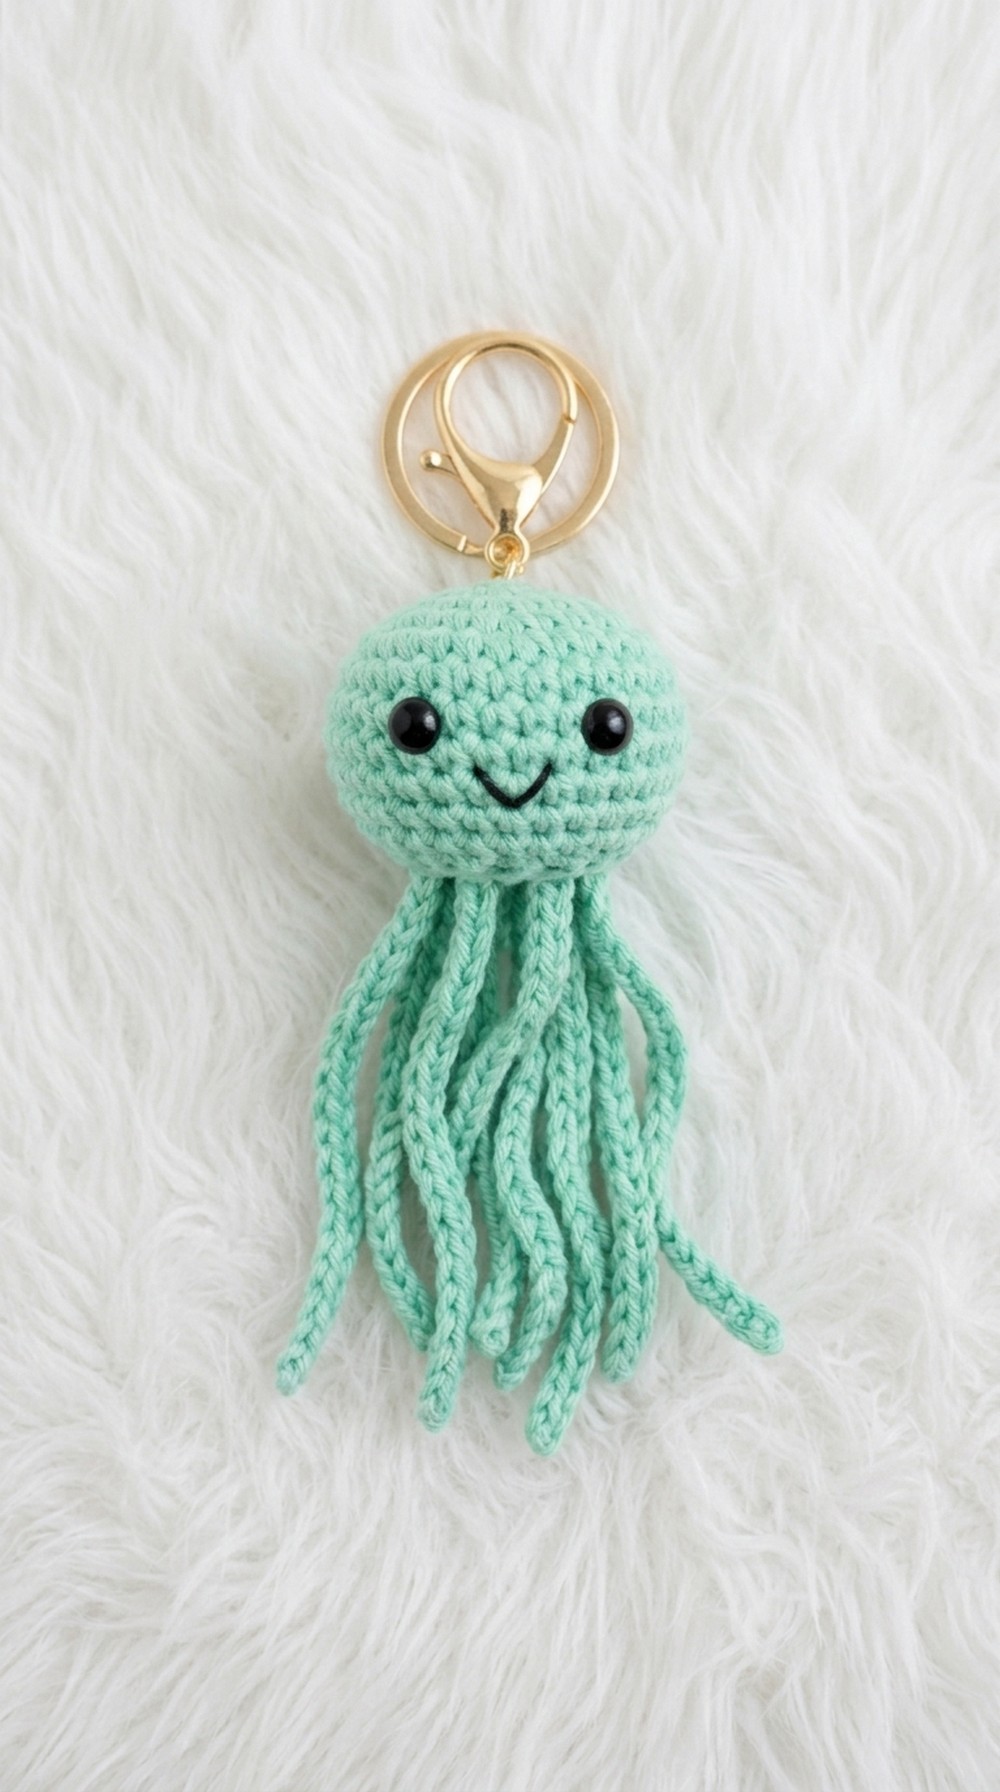
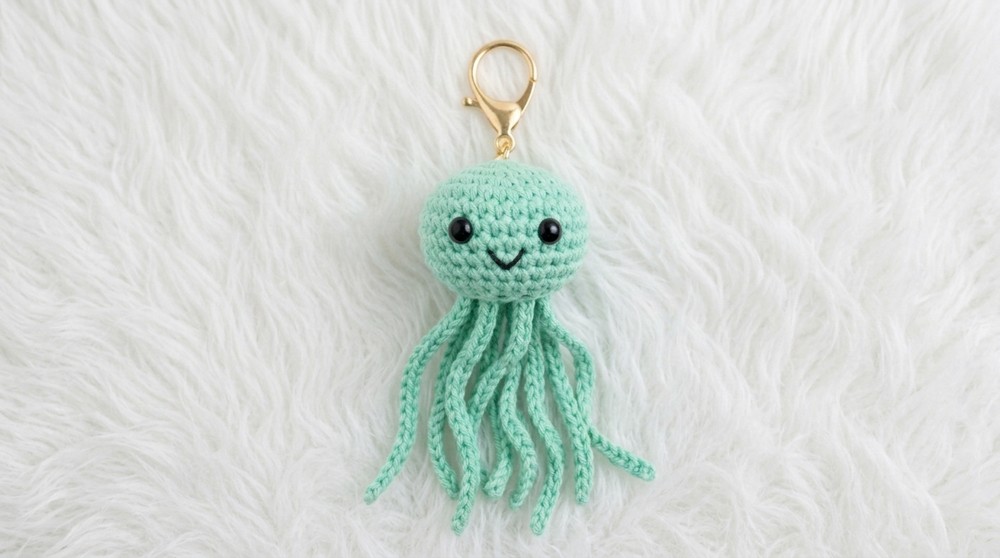
A finished jellyfish keychain measures about 2–3 inches for the round head and adds another 2–3 inches with dangling tentacles—the perfect size to clip onto keys or bags. Stay patient, have fun choosing colors, follow the steps, and the final result will bring a bright smile every time you see it. This simple project opens the door to endless creative crochet adventures!
Cute Jellyfish Keychain Crochet Pattern
What You’ll Need
- Milk Cotton Yarn (5 ply, 125g skein is plenty; any soft worsted or DK yarn works!) Pick your favorite color for the jellyfish and a little white or a contrasting color for the tentacles if you like.
- 3mm Crochet Hook (or close; smaller hooks make tighter stitches and a neater finish)
- Polyester/cotton stuffing (for filling the jellyfish head)
- Two Doll Safety Eyes (about 6–8mm, or embroider with black yarn if preferred)
- Black thread or yarn (for sewing the smiley mouth)
- Keychain Ring
- Stitch Marker (helpful to keep your place)
- Scissors
- Yarn or tapestry needle (for sewing parts together and weaving in ends)
Crochet Skills & Terms Used
We’ll use the most basic, friendly stitches for this project:
- Slip knot: How you start every piece of yarn on your hook.
- Magic ring (magic circle): The best way to begin projects worked in the round, gives a tight, closed center.
- Chain (ch): The foundation of many crochet patterns.
- Single Crochet (sc): The simplest and most common stitch.
- Increase (inc): Two single crochets in the same stitch (for shaping).
- Decrease (dec): Single crochet two stitches together (for shaping).
- Slip Stitch (sl st): For joining rounds or finishing off.
In case you’re new: The numbers in brackets “(8 stitches)” mean the total number of stitches you’ll have at the end of that round.
Crochet Jellyfish Head (Body)
Round 1: The Start of the Head
- Make a magic ring.
- Ch 1.
- Work 8 sc into the magic ring.
- Sl st to the first sc to close the round. (8 stitches)
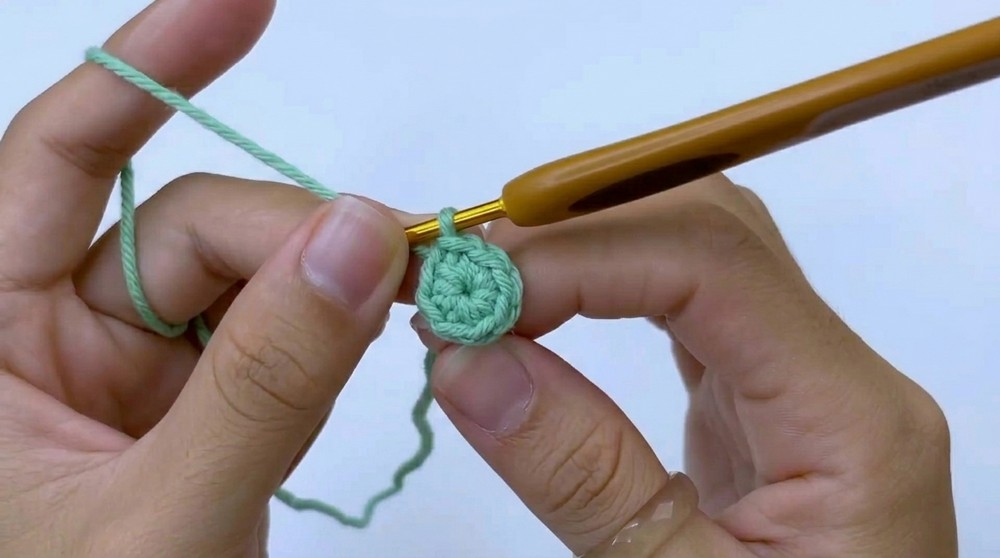
What this means: Begin with a magic ring so your jellyfish has a tightly closed top. Chain one just to get to the right height, then work 8 single crochets right into the loop. When you’re done, pull the loose end to tighten the loop until there’s no gap, then join the round with a slip stitch. Now you have the tiny cap of your jellyfish head!
Round 2: Making It Bigger
- Ch 1.
- 2 sc in each stitch around (so, make 2 single crochets in each of the 8 stitches from the last round).
- Sl st to the first sc to finish the round. (16 stitches)
Now you’re going to increase the size of the jellyfish head. This is done by putting two single crochets into every stitch from the first round. Your work will double in size, turning the flat circle into a bigger round shape. By the end of this round, you have a neat circle—count your stitches to be sure you have 16!
Round 3: Shaping the Crown
- Ch 1.
- (1 sc in the next stitch, then 2 sc in the following stitch)—repeat all the way around.
- Sl st to the first sc to close. (24 stitches)
This round alternates between one regular single crochet and one increase (two sc in the same stitch). This means you’ll do one sc, then two in the next, one in the next, etc. These increases make the crown curve gently, helping form the rounded top of the jellyfish.
Round 4: Building the Sides
- Ch 1.
- 1 sc in every stitch around.
- Sl st to the first sc to close. (24 stitches)
Here’s where your circle stops getting wider and starts growing “up” instead! You simply make one single crochet into each stitch. This makes the sides of the jellyfish, starting to look like a shallow bowl or cap.
Rounds 5–8: Making the Head Tall
- Ch 1.
- 1 sc in every stitch around.
- Sl st to close each round. (24 stitches per round)
You’ll do this four more times. No increases; just work one single crochet in each stitch. Watch the cap turn into a deeper, more jellyfish-like body! These rounds build height and give your jellyfish head its lovely dome shape.
Add the Eyes!
- When done with Round 8, stop and insert the safety eyes between Rounds 6 and 7 (place them about 6 to 7 stitches apart, wherever you want the front to be).
Take your time placing the eyes symmetrically so your jellyfish looks cute and smiling! If you’re using embroidery instead, wait until the head is stuffed and closed.
Round 9: Start Closing the Head
- Ch 1.
- (1 sc in each of next 2 stitches, then single crochet decrease over the next 2 stitches)—repeat 6 times.
- Sl st to the first sc to close. (18 stitches)
Now it’s time to make the bottom smaller. You crochet two single crochets, then decrease (sc two together). Do this six times for the whole way around. This gradual shrinking will round off the bottom of the jellyfish head, giving it the cute, almost-ball shape you want.
Round 10: Almost Closed!
- Ch 1.
- (1 sc in next stitch, single crochet decrease over the following two stitches)—repeat 6 times.
- Sl st to the first sc to close. (12 stitches)
Keep making the opening smaller by crocheting one sc, then decreasing, all the way around. See the little opening at the bottom? Don’t close it yet!
Stop and Stuff!
- Before proceeding, fill the jellyfish head with stuffing.
- Use small bits of polyfill or cotton—push it in with your finger or the back of your hook.
- Shape it into a neat ball, not too tight and not too floppy, so it holds its form.
Gently stuffing at this point is important—leave the last opening for one more row or the stuffing will fall out!
Round 11: Close it Up
- Ch 1.
- (Single crochet decrease over every two stitches)—repeat 6 times (so 6 decreases in total).*
- Sl st to finish. (6 stitches)
This will bring the bottom together into a tiny closed ring. Weave in your yarn tail with a yarn needle to pull the hole tight and make it tidy! Now your jellyfish head/body is complete!
Making Tentacles (Tails)
- For Each Tentacle:
- Make a slip knot.
- Work ch 25 (or more/less, depending on how long you want the tentacle).
- Fasten off, leaving a few inches for sewing.
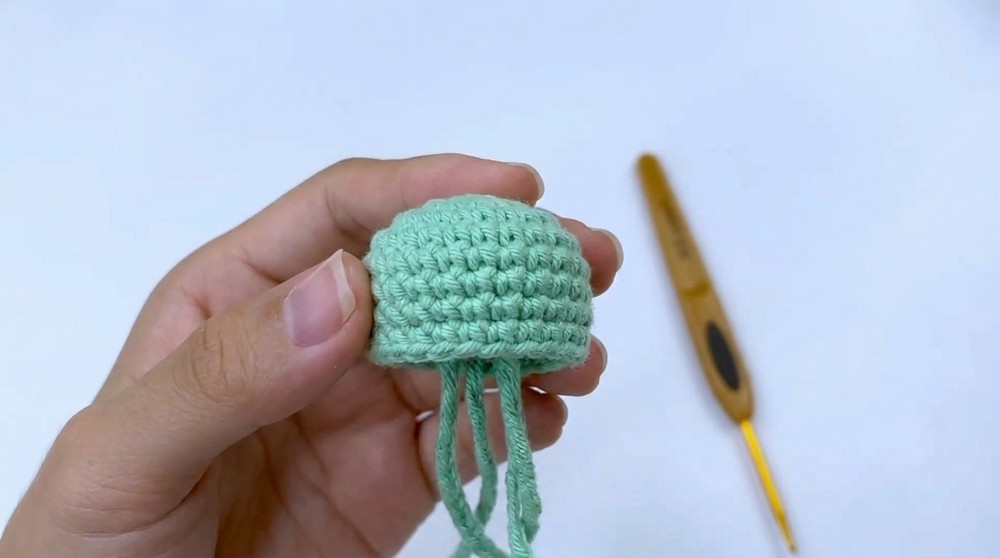
Make at least 6 tentacles (or more for a really frilly jellyfish). You can use the same yarn as the body, or mix in some different colors for fun!
Finishing Details and Assembly
- Sew the Mouth:
- Thread a tapestry needle with black yarn or thread.
- Embroider a small, curved smile directly under the eyes by passing the needle through the crocheted stitches until you have a happy mouth.
This step adds so much personality! Don’t be afraid to try a few times until you’re happy with your jellyfish’s smile.
- Attach Tentacles:
- Push the ends of the tentacles through the bottom of the jellyfish using your hook or needle.
- Pull until they’re secure; tie knots if needed, or sew in place from the inside so they won’t pull out during use.
Space them around the opening for an even, wiggly look! You can add as many as you like—no need to be exact.
- Attach Keychain:
- Attach a keychain ring to the center top of the jellyfish.
- You can do this by pulling a loop of yarn through the head and tying it to the ring, or by sewing the ring directly to the topmost stitches.
Make sure the ring is really secure so your jellyfish can go everywhere with you!
- Weave in Ends and Shape Jellyfish:
- Tuck in any last bits of yarn with your needle.
- Fluff and arrange tentacles so they hang cutely.
You Did It!
Now step back and admire your adorable jellyfish keychain! You learned to crochet in the round, make increases and decreases, add details, and put everything together for a fun, wiggly keychain. Try making more jellyfish—experiment with colors, tentacle shapes, or even add blushing cheeks with embroidery or a tiny bit of pink yarn.
Extra Tips for Success
- Don’t be afraid to pull out stitches and redo if you aren’t happy! Crochet is very forgiving.
- If your head seems bumpy or uneven, try counting your stitches carefully after each round.
- Use your stitch marker to mark the start of each round—you’ll always know where you are.
- Want the body rounder or flatter? Adjust the number of single-crochet-only rounds before decreasing.