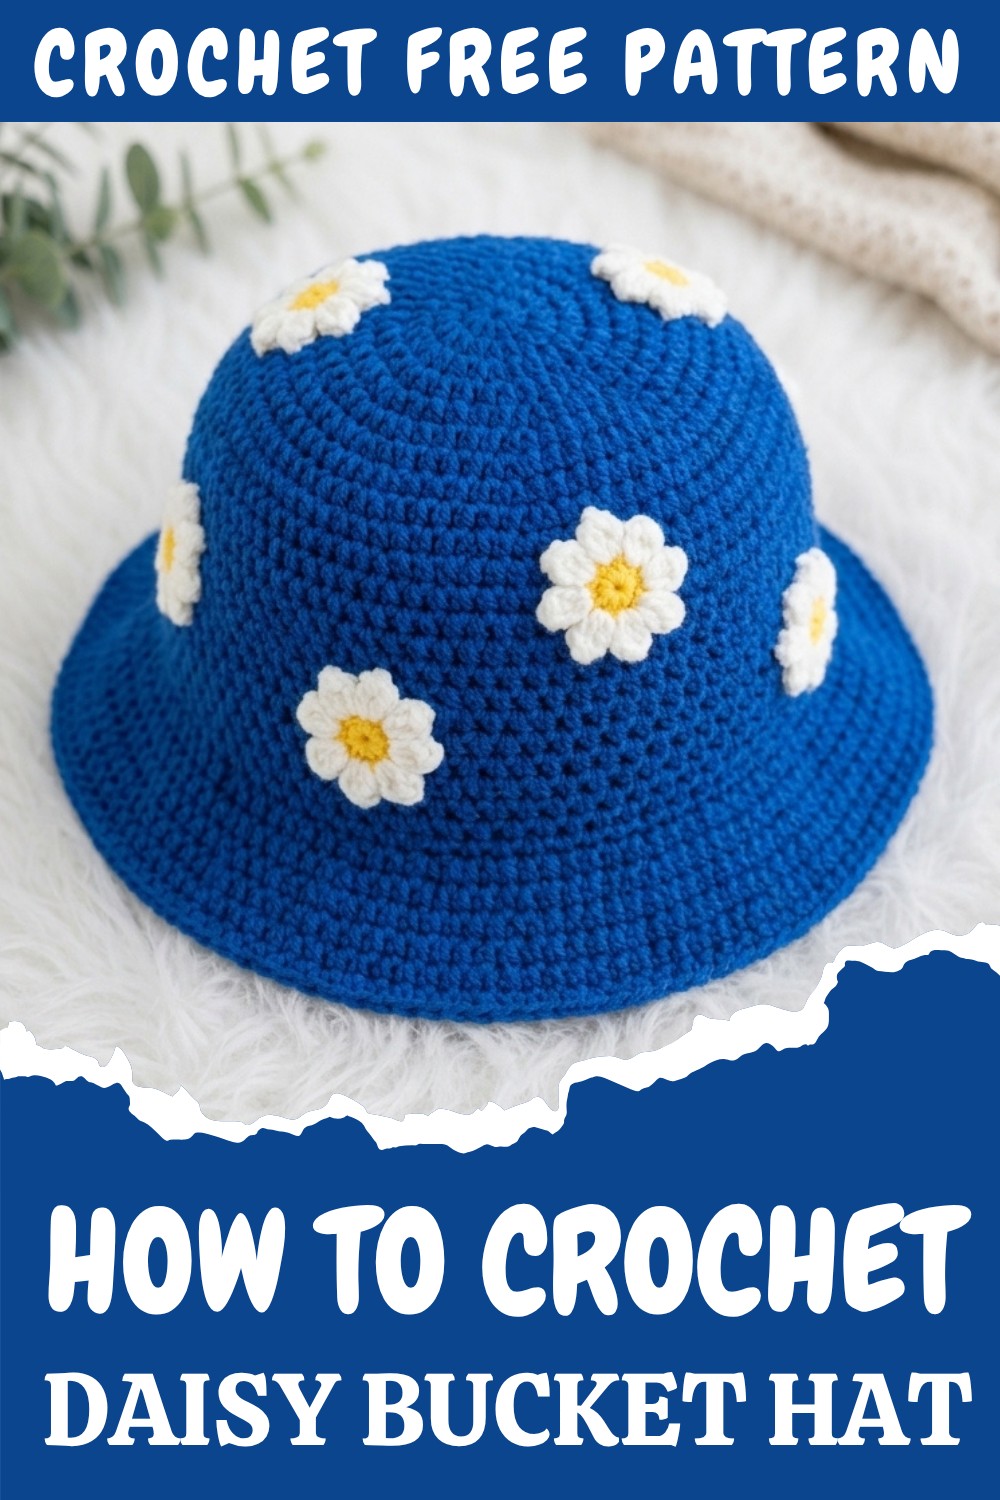
Free Crochet Daisy Bucket Hat Pattern You Can Make Today
I found myself searching for a new creative adventure. That’s when I came across a crochet daisy bucket hat pattern online. The adorable flowers and practical design immediately drew me in. Even if you haven’t done much crochet before, this project is perfect for beginners and anyone looking for a quick and satisfying craft. All you need is some basic yarn, a hook, and an eagerness to create something trendy and useful. Starting this hat felt like starting a small journey—one where you get to wear your success at the end.
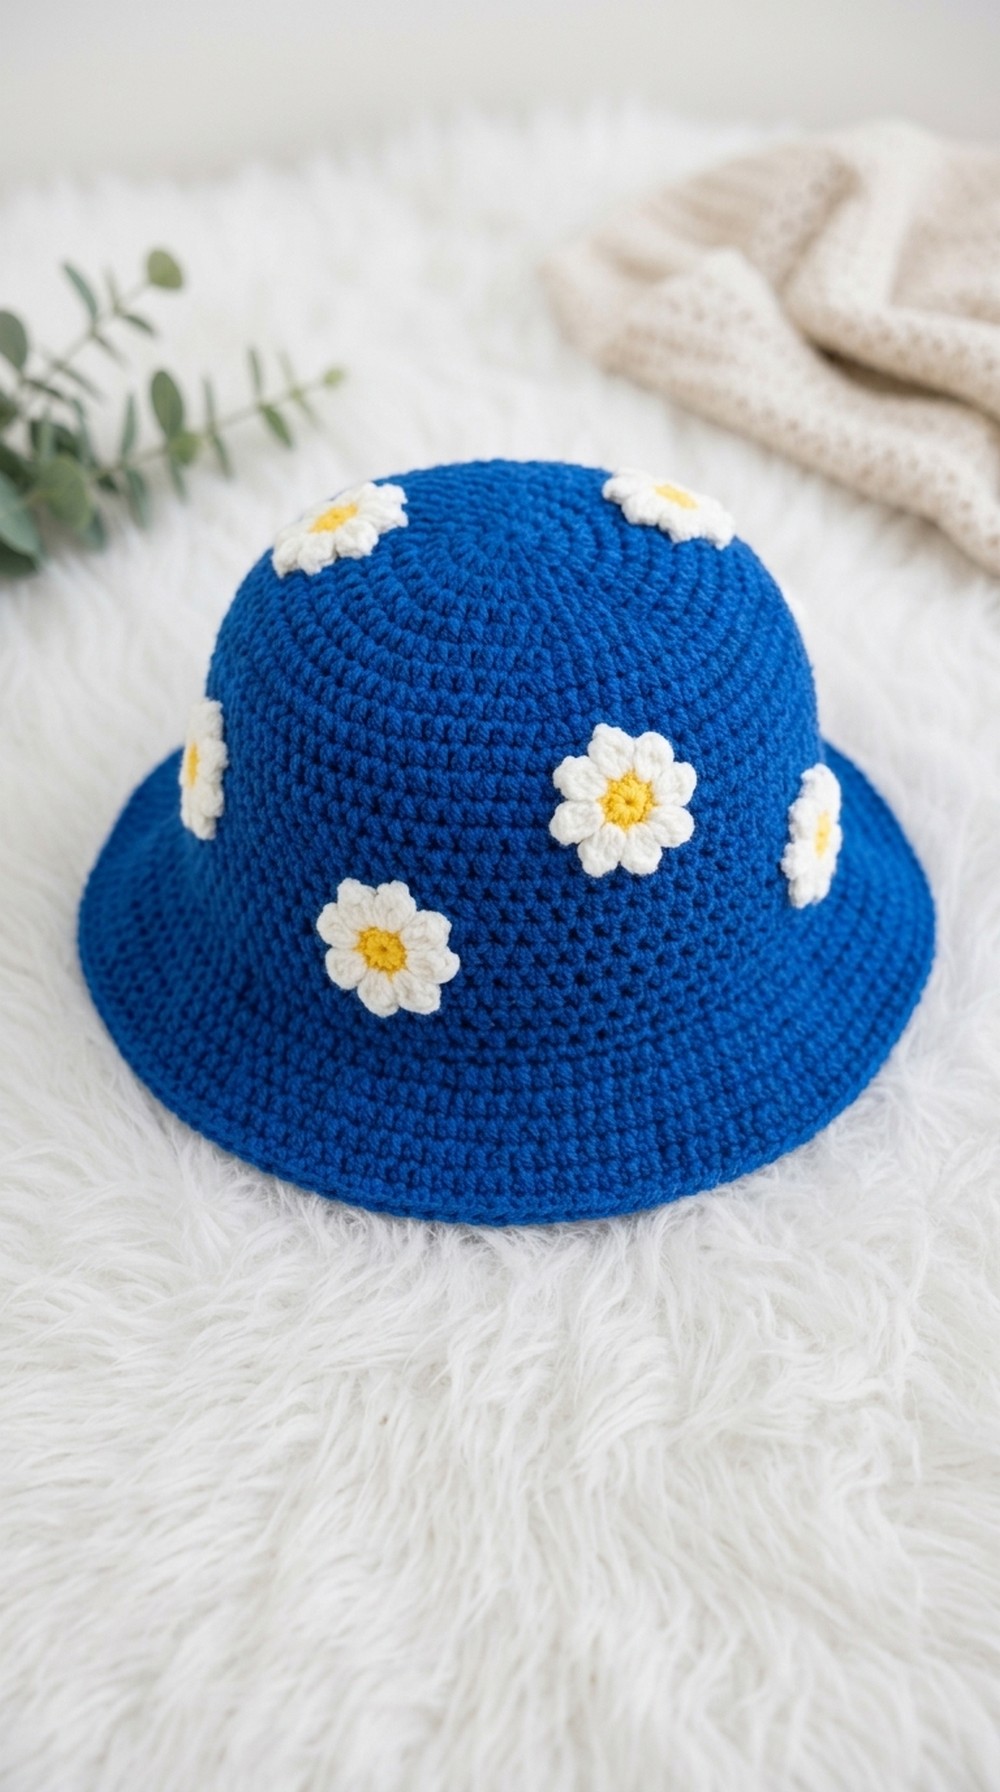
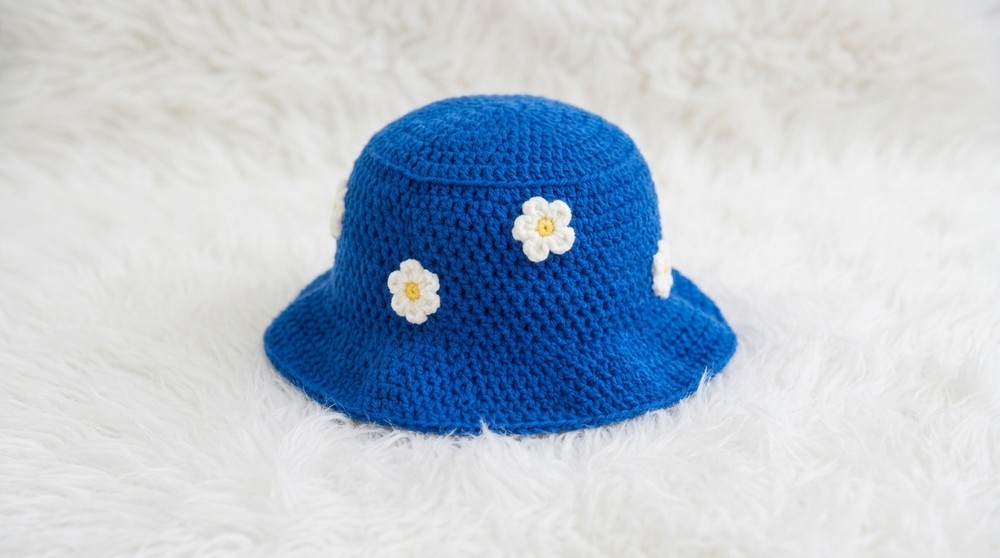
Cute Crochet Daisy Bucket Hat Pattern for Women
This daisy bucket hat really stands out because of its whimsical charm:
- The hat uses double crochet stitches for most of the structure, which is simple and quick to learn.
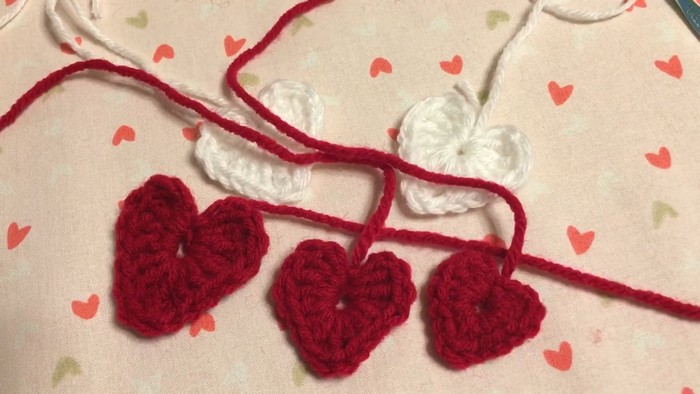
- Daisies are crocheted separately, usually using cheerful white and yellow yarn, and then attached to the main hat body for a 3D effect.
- You can play with colors, using classic neutrals for the hat and bright flower centers, or mix it up with pastel or bold combos.
- By tweaking the size or repeating the technique, you can make matching items like bags, headbands, or even a daisy-themed purse!
Use the right size crochet hook and yarn for a snug, even texture. Make a neat magic ring to start the crown (top) of the hat so the shape stays nice. Attach daisies securely so they stay in place when you wear or wash the hat. Count each stitch carefully during increases and decreases to keep the hat proportional. Always check your hat’s circumference after the main rounds to make sure it will fit your head comfortably.
Possible Issues and How to Fix Them
- If your rows look uneven, recount your stitches at the end of each round.
- Daisies or brim feeling floppy? Add extra stitches to secure them or use a smaller hook for firmer shapes.
- Too tight or too loose? Simply add or subtract rounds in the hat’s body, or adjust your hook size.
- If the brim doesn’t sit flat, steam it gently or lay the hat out to shape it while it dries.
When your hat looks complete, measure the circumference to be sure it fits (typically, 21–23 inches around for adults). Adjust by adding or removing rounds as needed for a custom, comfy fit. Take your time attaching flowers and weaving in ends for a polished look.
By the end of your project, you’ll have a playful, handmade hat that’s both stylish and functional. Plus, you’ll gain confidence to try other creative projects! This daisy bucket hat is proof that anyone even a beginner can turn simple yarn into eye-catching fashion.
Daisy Bucket Hat – Step-by-Step Pattern
Materials Needed
- 120g yarn (worsted weight)
- 4mm crochet hook
- Darning needle
- Scissors
Abbreviations (US Terms)
- ch = chain
- sl st = slip stitch
- hdc = half double crochet
- dc = double crochet
- inc = increase (2 hdc in one stitch)
- BLO = back loop only
- dc2tog = double crochet 2 together
The Hat
- Round 1:
- Make a magic ring
- Ch 1
- Work 8 hdc into the ring
- Sl st to the first hdc to join
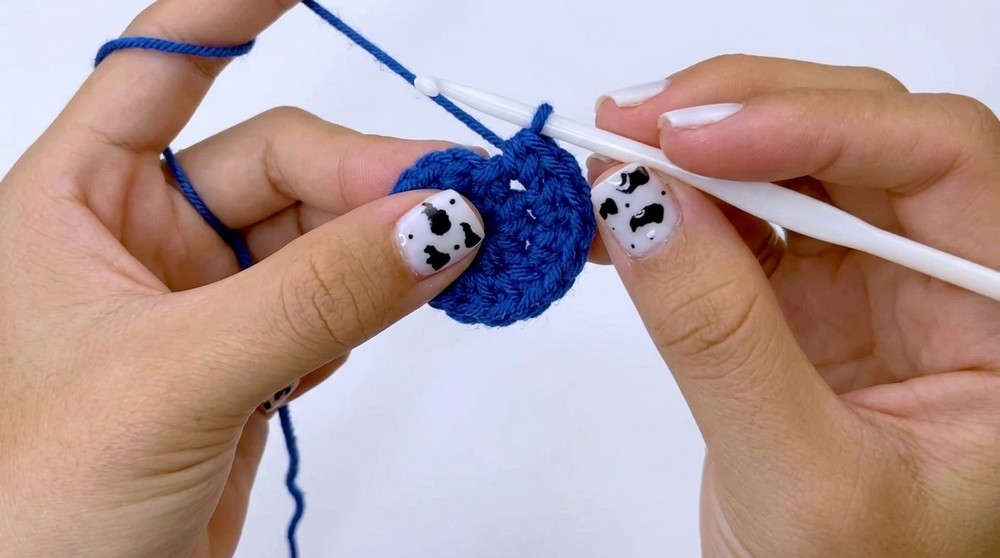
This is your flat circle start. Pull the ring closed so there’s no hole in the center.
- Round 2:
- Ch 1
- Work 2 hdc in each st around (inc in every stitch)
- Sl st to join (16 hdc total)
You are doubling the number of stitches to make your circle grow evenly.
- Round 3:
- Ch 1
- (1 hdc in next st, 2 hdc in next st) — repeat around
- Sl st to join (24 hdc total)
Every second stitch is an increase. This keeps your hat crown flat and growing smoothly.
- Round 4:
- Ch 1
- (1 hdc in next 2 sts, 2 hdc in next st) — repeat around
- Sl st to join
Increase is now worked after every 2 hdc stitches. Your circle is still growing steadily.
- Rounds 5–11:
- For each round, continue increasing by adding one more hdc between every 2 hdc in the same st.
- Example: Round 5 — (1 hdc in next 3 sts, 2 hdc in next st), and so on.
- Stop when your circle (the top of the hat) measures about 16cm (6 inches) across.
The crown of your hat is growing. Add rounds as needed to reach the correct size for your head.
- For each round, continue increasing by adding one more hdc between every 2 hdc in the same st.
- Round 12:
- Ch 1
- Hdc in each st around, working in the Back Loop Only (BLO)
- Sl st to join
This back loop technique helps the sides of the hat start to turn downward for a nice bucket shape.
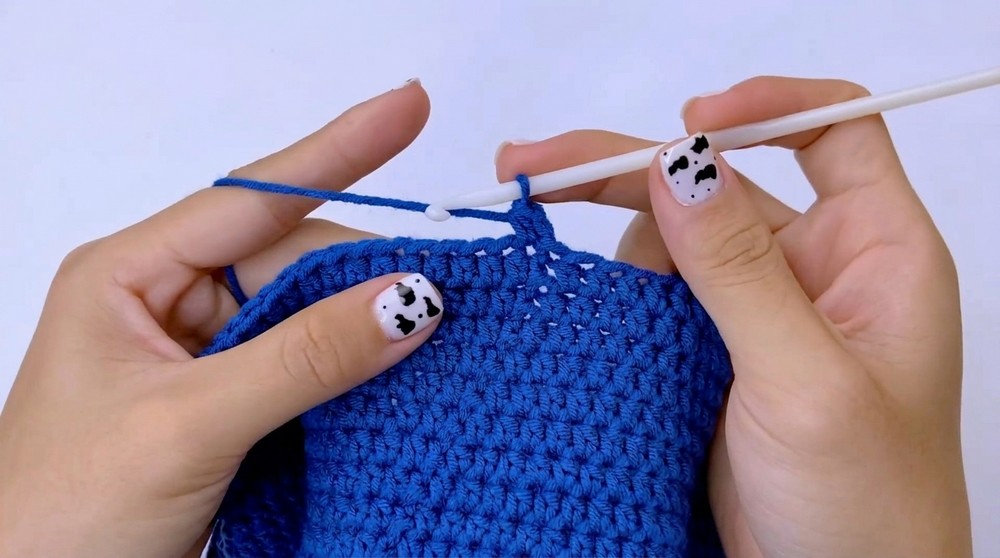
- Rounds 13–21:
- Ch 1
- Hdc in each st around (through both loops as normal)
- Sl st to join at the end of each round
- Repeat for a total of 9 rounds
These rounds simply build the straight sides of the hat. No increasing here, so your hat will begin to look like a bucket!
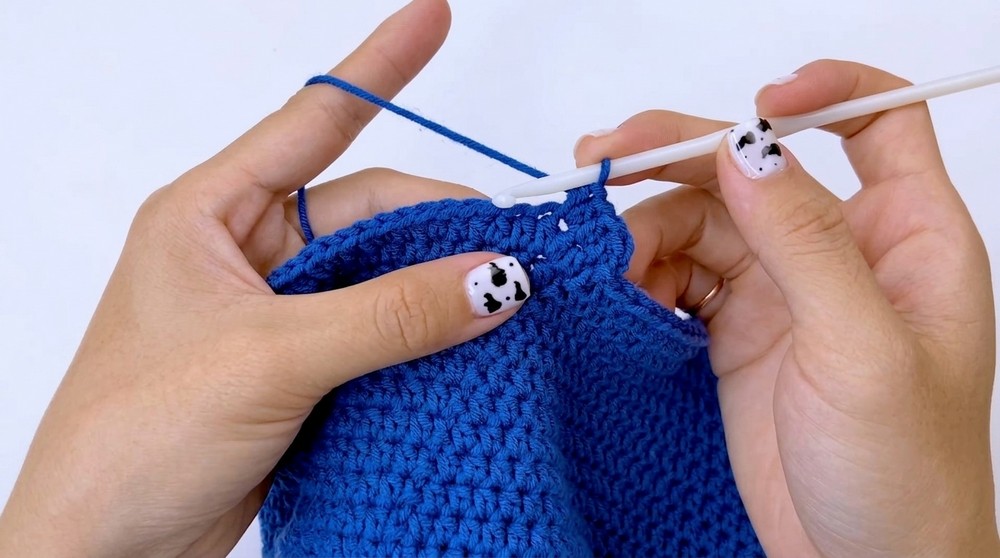
- Round 22:
- Ch 1
- (1 hdc in next st, 2 hdc in next st) — repeat all the way around
- Sl st to join
This begins the brim. The increases help the brim to gently flare out.
- Round 23:
- Ch 1
- (1 hdc in next 2 sts, 2 hdc in next st) — repeat around
- Sl st to join
Continue making the brim wider and more floppy.
- Rounds 24–33:
- Ch 1
- Hdc in each st around
- Sl st to join at the end of every round
These rounds create a soft, gently wide brim. Repeat more or fewer rounds here to make your brim longer or shorter as you like.
- Finish:
- Cut yarn and fasten off.
- Weave in all ends with your darning needle.
Your basic hat is ready!
Daisy Flower
- Use a 2mm hook and fine yarn.
- Step 1:
- Make a slip knot
- Ch 5
You’re starting the middle of the daisy.
- Step 2:
- Sl st into the first ch to form a little ring
The petals will be built onto this ring.
- Step 3: (Repeat for 5 petals)
- Ch 3
- Work 2 dc2tog into the center ring
- Sl st
- Ch 3
- Sl st again into the center ring
Repeat these steps five times all into the center ring to make your daisy’s petals.
- Attach the Flower:
- Use a darning needle and yarn to sew the daisy wherever you like on your hat
Add as many as you wish, and space them out or cluster as you prefer!
Final Dimensions
- Hat crown diameter: 16cm (6 inches)
- Hat height: 16cm (6 inches)