Free Crochet Pouch Pattern for Earphones and Small Items

Keep your essentials organized with this Free Crochet Pouch Pattern, designed to help you create a stylish and functional accessory with ease.
I don’t like messy small items lying around, so I wanted to find a way to keep them neat and tidy. That’s why I created this free crochet pouch pattern. It’s a simple and useful little bag that helps you organize things like coins, makeup, or chargers. As a crochet designer, I made sure this project is easy and quick to make.
Free Crochet Pouch Pattern for Organizing
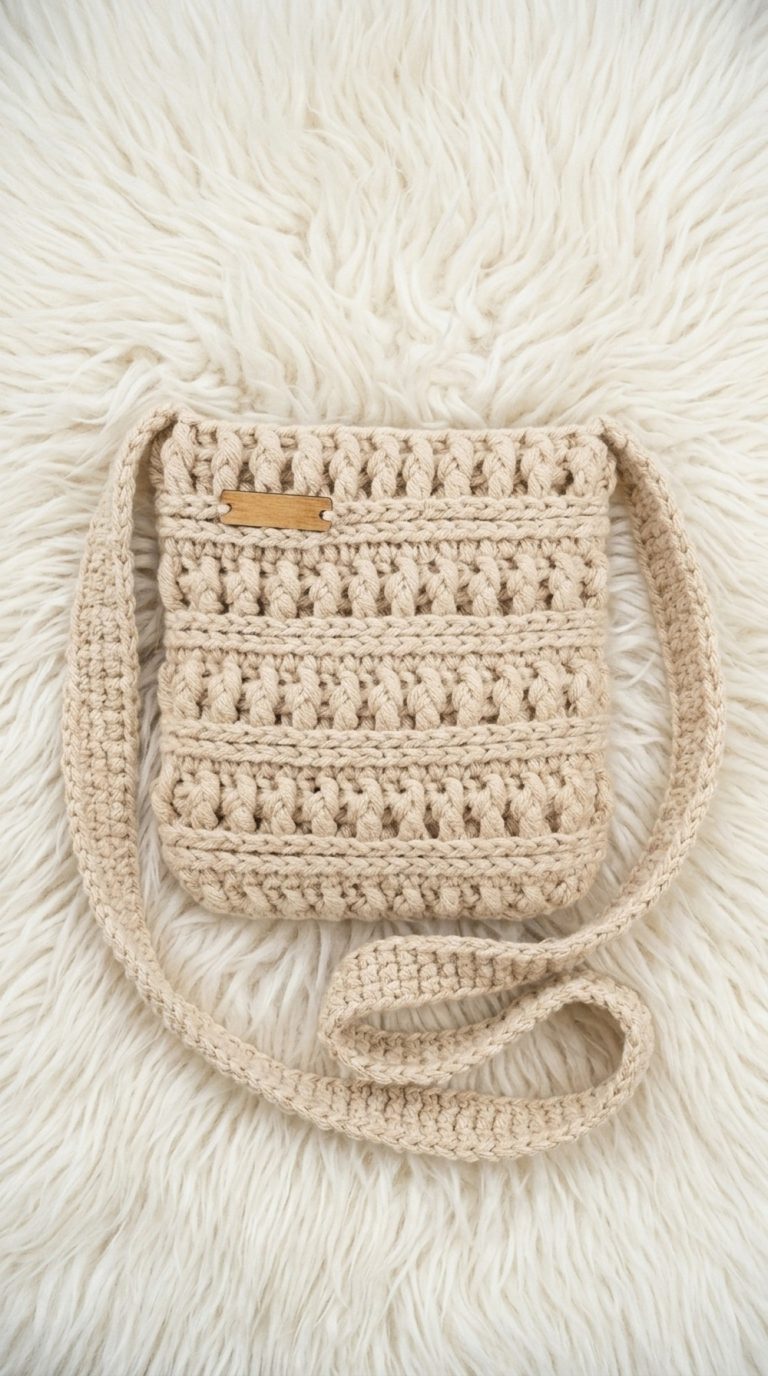
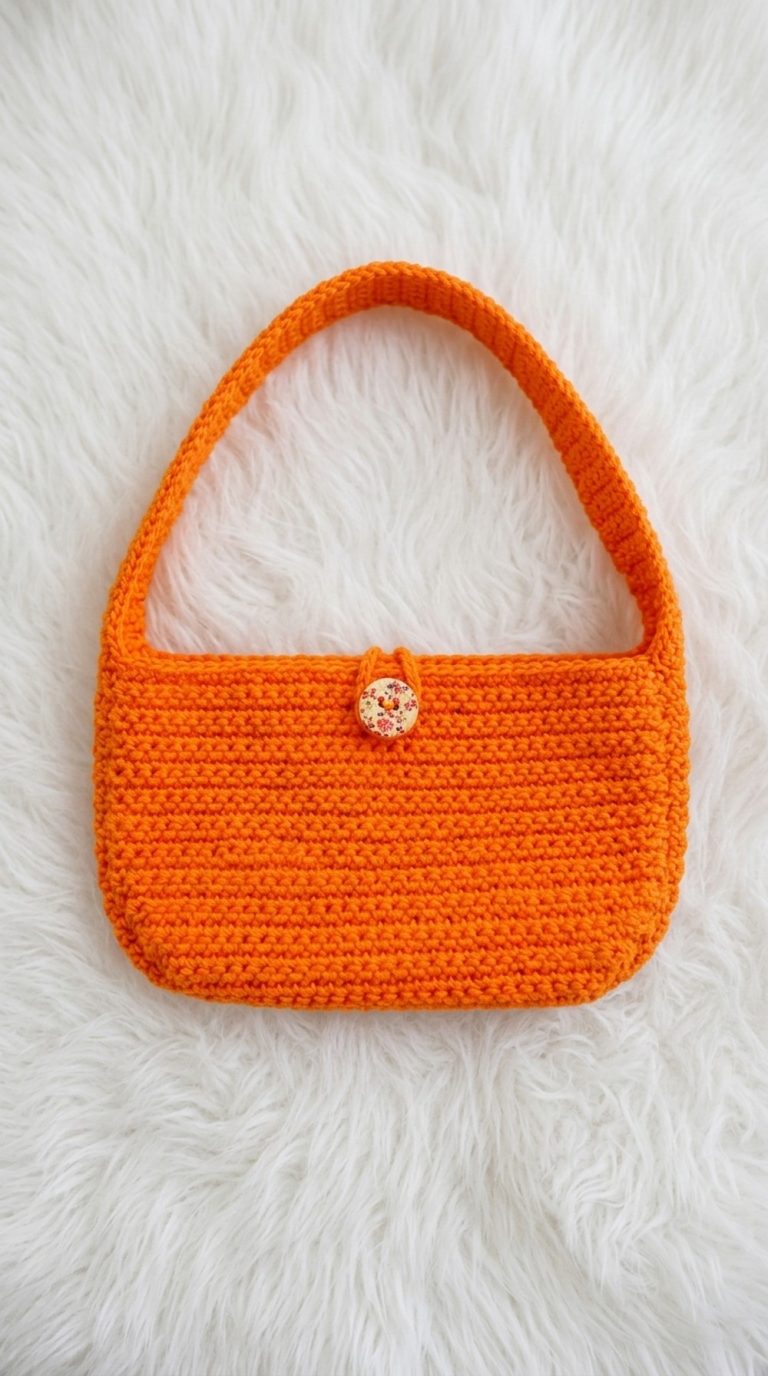
The pouch has a simple rectangle shape and a soft but strong feel because of the tight crochet stitches. You can pick any colors you like, and it’s easy to add a zipper, button, or drawstring to close it. You can make it small for coins or bigger to hold more stuff by changing the yarn or hook size.
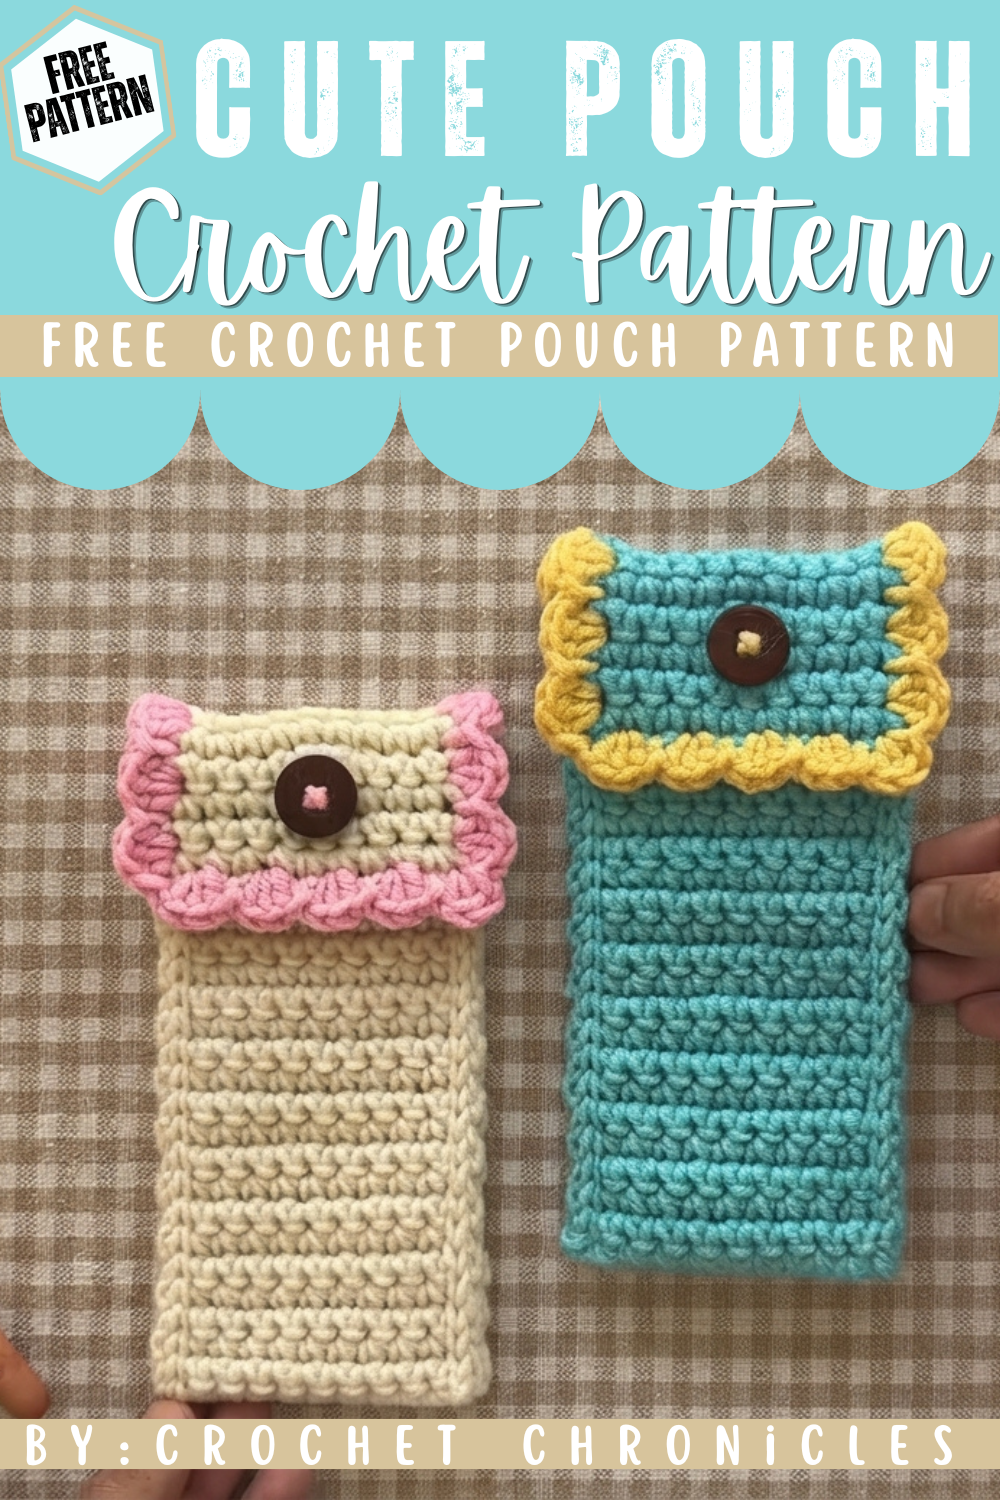
To make this pouch, you mostly use basic stitches like single crochet. It’s good for beginners. One tip: choose a yarn that’s a bit firm, like cotton, so the pouch keeps its shape and the stitches look nice. I got the idea because I always had small things everywhere and needed an easy way to keep them in one place.
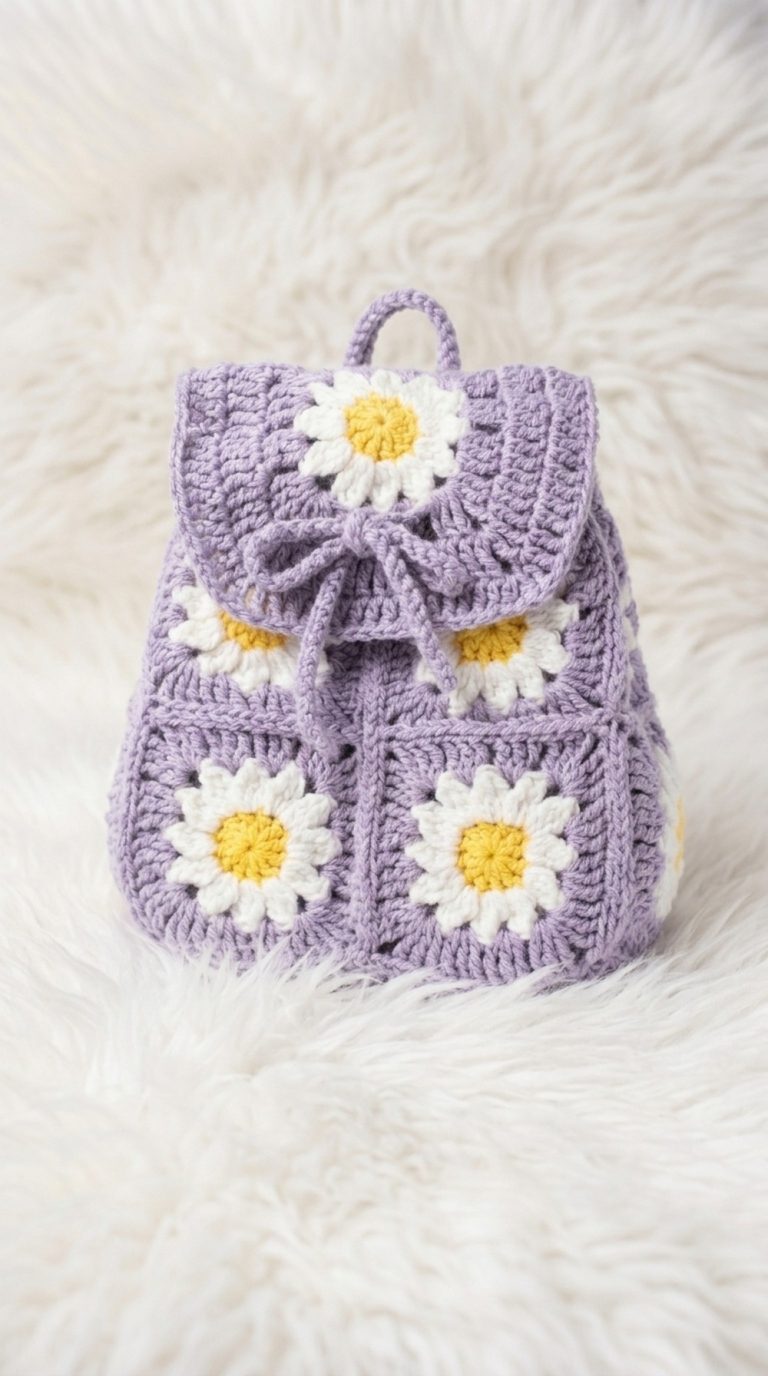
This free crochet pouch pattern is great to keep for yourself or to make as gifts for friends and family. You can also have fun changing colors or adding little decorations to make each pouch special. If you want a quick and handy project, this pouch is a perfect choice.
Simple and Useful Crochet Pouch Pattern
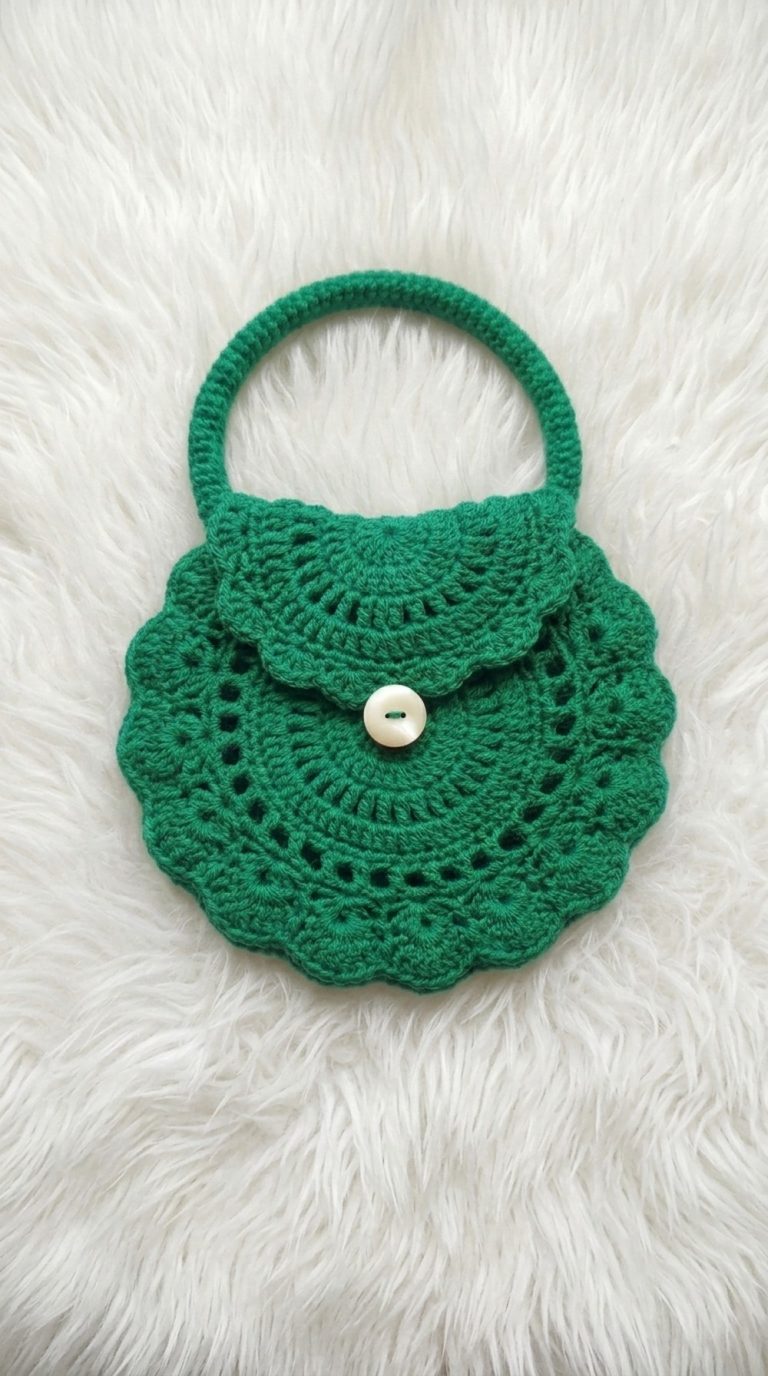
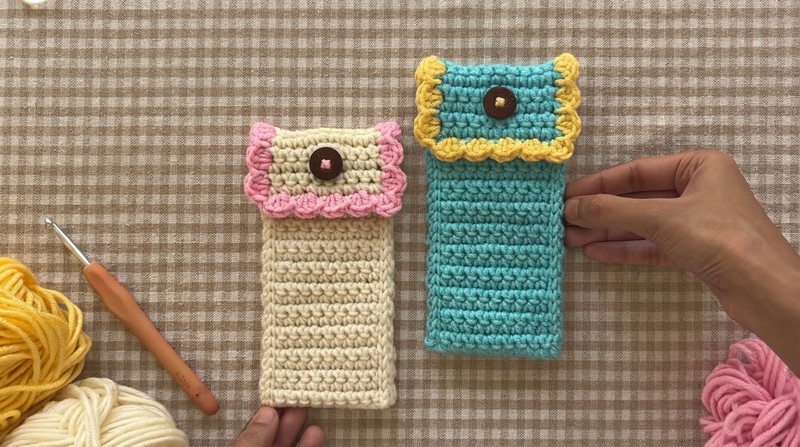
In this pattern, we will be making a simple and useful crochet pouch. This pouch features a very easy repeat pattern made up primarily of single crochet, and is finished with a beautiful scalloped shell stitch border. Let’s get started!
Quick Overview Of Pattern
- Made in two colors using worsted weight (weight 4) acrylic yarn.
- Worked in rows of single crochet with a simple foundation chain.
- Flap has a buttonhole and a decorative scalloped/shell border.
- Sides and top joined seamlessly with slip stitch seams.
- Finished with a sewn button for closure.
Notes
- Pattern uses US crochet terms.
- Chain one at the start of each row is a turning chain and does not count as a stitch.
- Insert your hook under both loops (the “V”) of each stitch on all rows except row 1, where you insert in the back loop of the foundation chain.
- Keep the stitch count consistent for a straight, even pouch.
- Weave in all ends on the wrong side of your work.
- Suitable for all sorts of uses: as a hook case, glasses case, or for stationary.
Skill Level
Beginner
If you know how to chain, single crochet, slip stitch, and work basic shaping (buttonhole), you can make this pouch.
Materials
- Worsted weight (weight 4) acrylic yarn, two colors (main and contrast for border)
- 4.5 mm crochet hook
- Pair of scissors
- Darning/yarn needle (thin enough to sew on a button)
- Button (size to fit your buttonhole)
Measurements / Sizing (Schematic)
- Foundation chain: 11 chains (approx. 3–4 inches wide; adjust chain for custom sizing)
- Rows: 57 total (approx. 7–8 inches tall)
- Finished piece fits hooks, glasses, pens, etc.
Gauge
Gauge is not critical, but for reference:
10 sc x 10 rows = approx. 2“ x 2” (5 x 5 cm)
Stitch Abbreviations
- ch: chain
- sc: single crochet
- sl st: slip stitch
- hdc: half double crochet
Special Stitches
- Back Loop (for foundation row): Insert hook only under the back loop of the chain.
- Shell (scallop): 3 hdc made in the same stitch or space.
The Crochet Pattern!
Creating the Foundation & Body
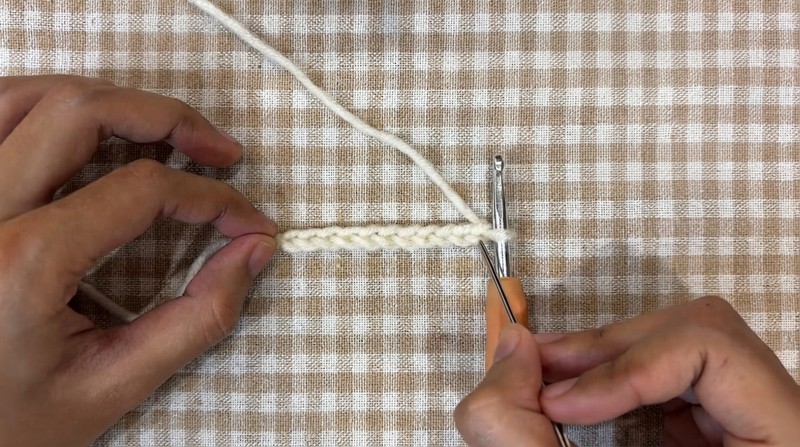
- Slip knot & Foundation Chain
- Start with a slip knot.
- Chain 11.
- Row 1:
- Work 1 sc in back loop of the 2nd chain from the hook, and in every chain across. (10 sc)
- (Do not count the loop on the hook as a chain.)
- At the end: Chain 1, turn.
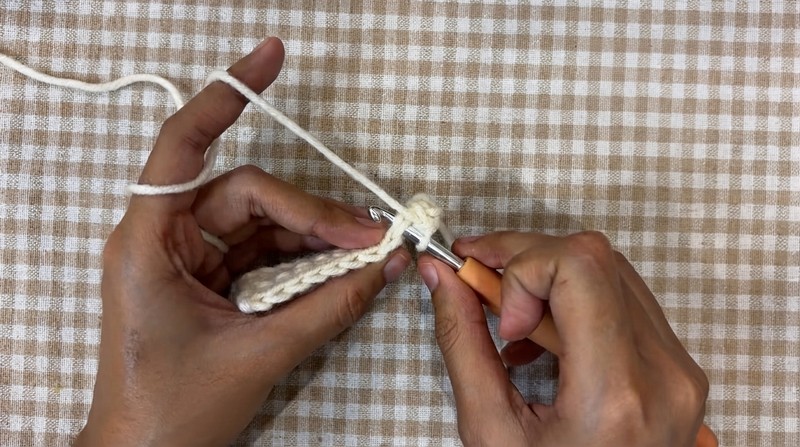
- Row 2 (and all body rows):
- Skip the turning chain — it does not count as a stitch.
- Insert your hook under both loops (the “V”) on the top of each sc.
- 1 sc in each stitch across (10 sc total).
- Chain 1, turn.
- Rows 3 – 54:
- Repeat Row 2 for each row, always ensuring you have 10 sc.
- Remember to count your stitches at end of each row and keep edges straight.
Flap and Buttonhole
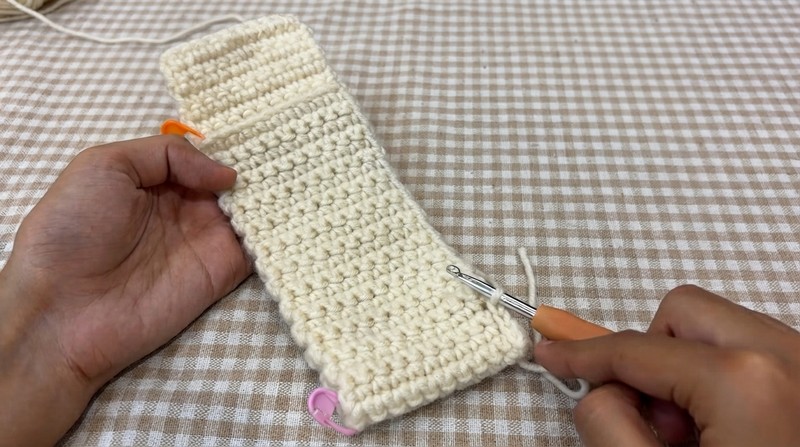
- Rows 51 – 54:
- Continue as above, 1 sc in each st. (These rows form the flap.)
- Row 55 (Buttonhole):
- Sc in first 4 sts.
- Ch 2 (buttonhole).
- Skip next 2 sts.
- Sc in last 4 sts. (10 sc total – counting the two ch as two sts.)
- Chain 1, turn.
- Row 56:
- Sc in first 4 sts.
- 2 sc in the ch-2 space (insert hook into the actual space, not the ch).
- Sc in last 4 sts (10 sc).
- Chain 1, turn.
- Row 57:
- Sc in each st across. (10 sc.)
- Cut yarn, chain 1, fasten off, leaving a long tail for weaving.
Weaving Ends
- With right side facing you, flip to wrong side.
- Weave in starting chain tail and ending tail on the wrong side.
- Weave in starting chain tail and ending tail on the wrong side.
Assembly & Seaming
- Folding the Panel:
- With wrong side facing up, count & mark Rows 25 and 50 with stitch markers or spare yarn.
- Fold panel between Row 25 and Row 50 to form the main pouch (Rows 1–50 form the front & back, Rows 51–57 the flap).
- Joining Sides:
- Align both edges. Insert hook through both layers at the fold (Row 25) and work up the side with slip stitch seams, inserting through edge stitches on both layers.
- When you reach end of seam (Row 50), fasten off.
- Repeat for other side.
- Joining Top Edge:
- At the top of the pouch (foundation ch edge), work slip stitches just through the front loops of the starting chains for a decorative seam.
- Only work into one layer.
Scalloped (Shell) Border
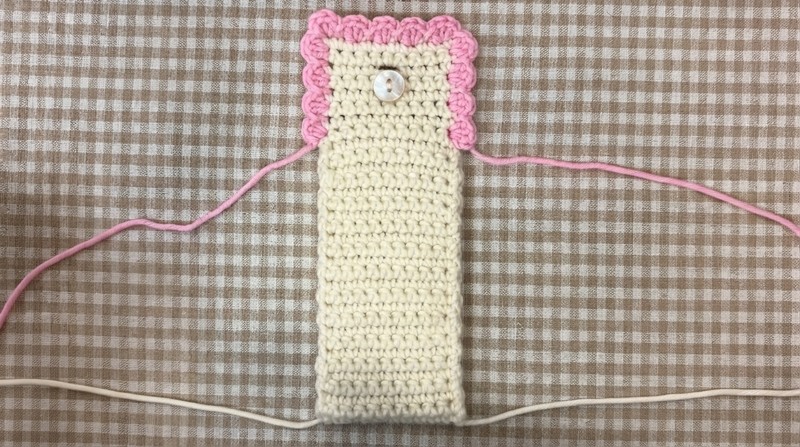
- With contrast color yarn (e.g., pink), start at 8th row from the top on the side.
- Attach yarn, chain 1 (does not count as stitch).
- (Side Edges): In the same space, work 3 hdc. In the next row end, sl st. Repeat: 3 hdc, sl st all the way up.
- (Across Flap Top): Work [3 hdc in one st, sl st in next] across the 10 stitches. You should end flap with 3 hdc.
- (Other Side): Repeat as first, down the side. End with 3 hdc and sl st.
- Cut yarn, fasten off, weave in all border yard tails securely.
Attaching Button
- Lay pouch flat with flap closed, position button to align with buttonhole.
- Using a yarn needle and matching yarn, sew button in place with several tight stitches (up through one hole, down through the other, repeat in “X” pattern).
- Secure yarn on inside of pouch with a couple of knots, weave in remaining tail.
Finished Size & Schematic
- Folded size (approx.): 3–4” wide, 7–8” tall (with flap).
- Fits crochet hooks, pens/pencils, or glasses.
Conclusion and Ending Words
Your simple crochet pouch with a charming shell stitch border is finished and ready for use! Use it for crochet hooks, stationery, or glasses. Thank you for following along this step-by-step pattern.