Free Crochet Tote Bag Pattern for Everyday Use

Stay stylishly organized with this free crochet bag pattern that’s offering a versatile design that’s great for daily use or special occasions.
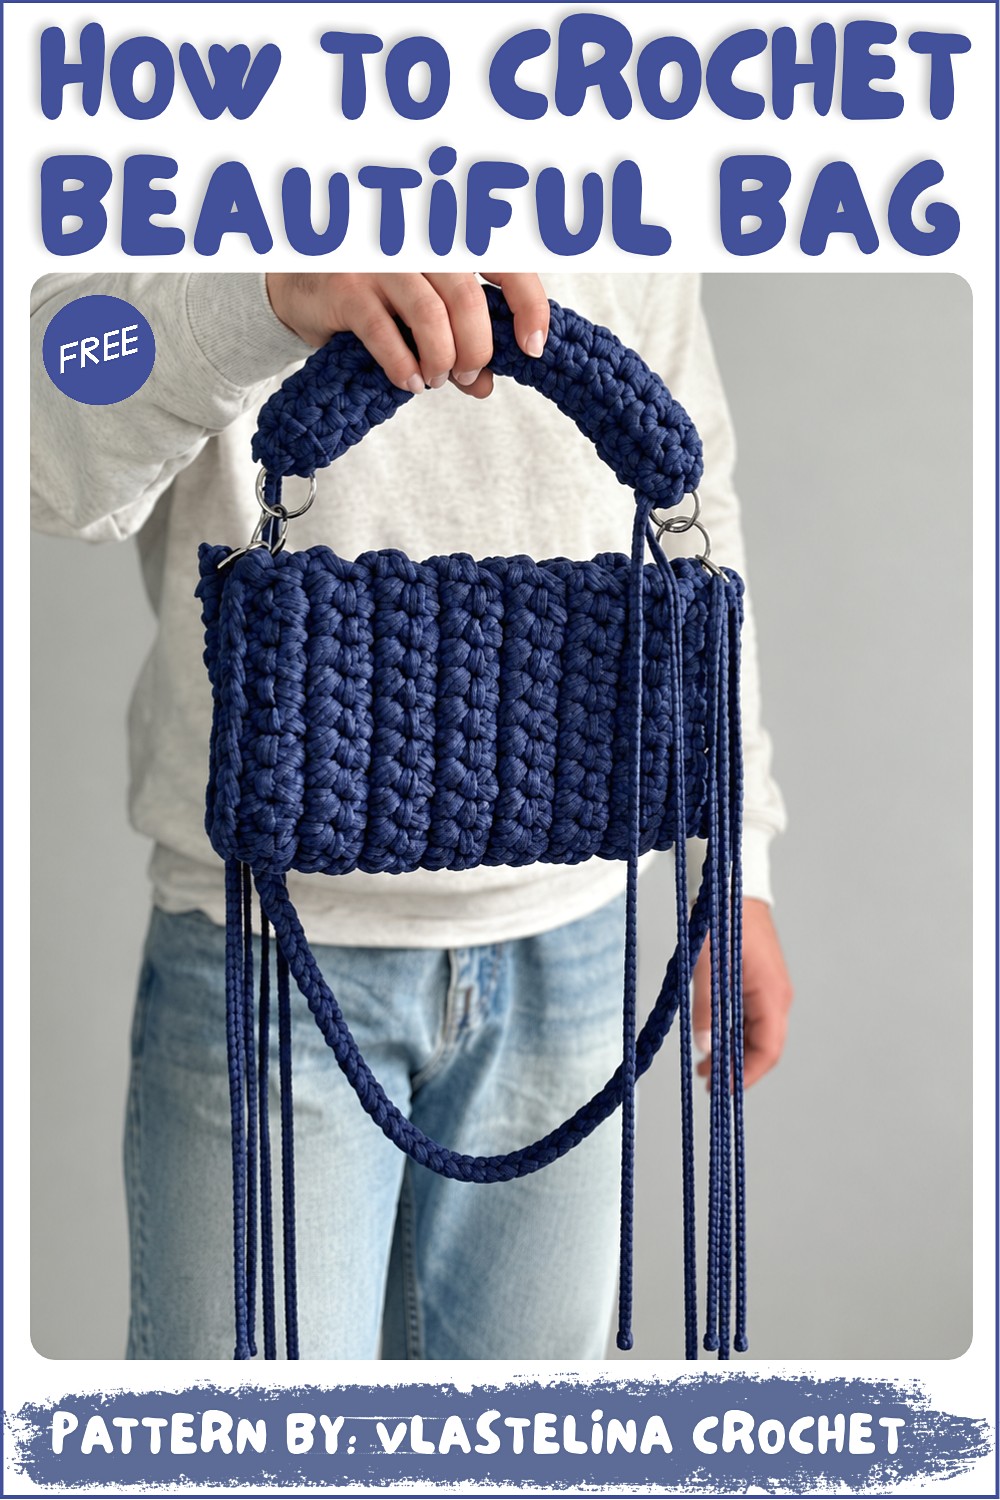
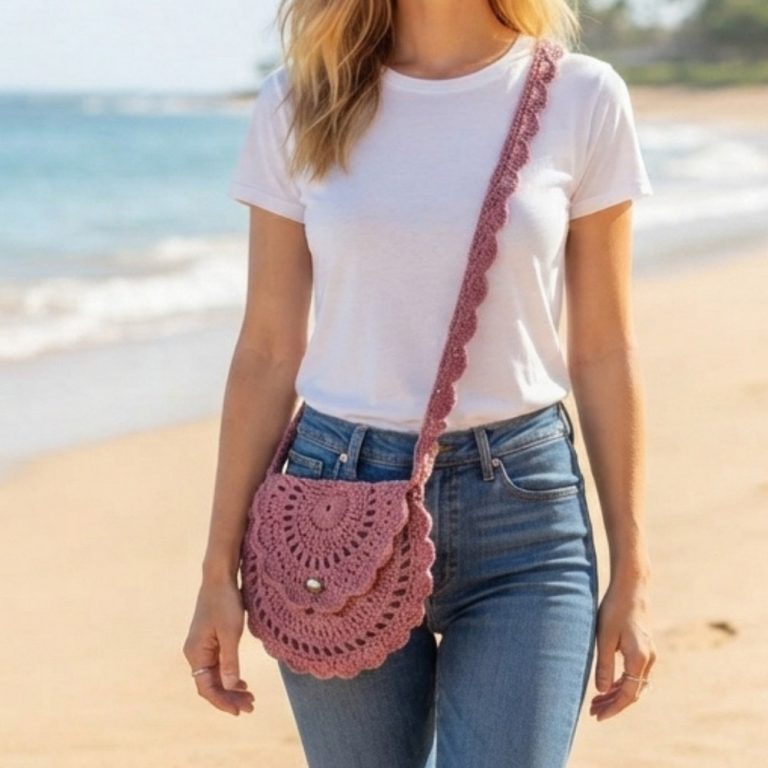
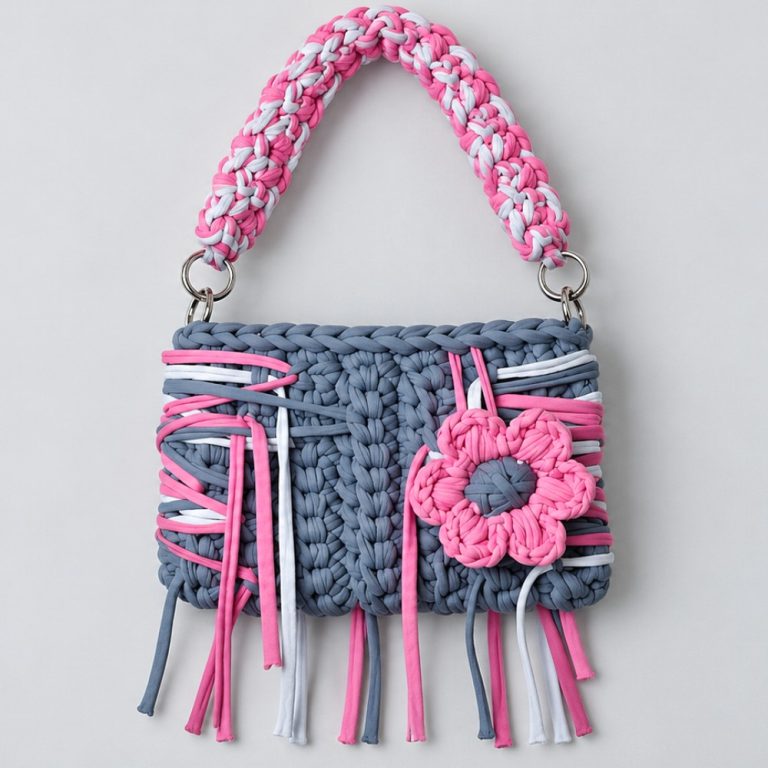
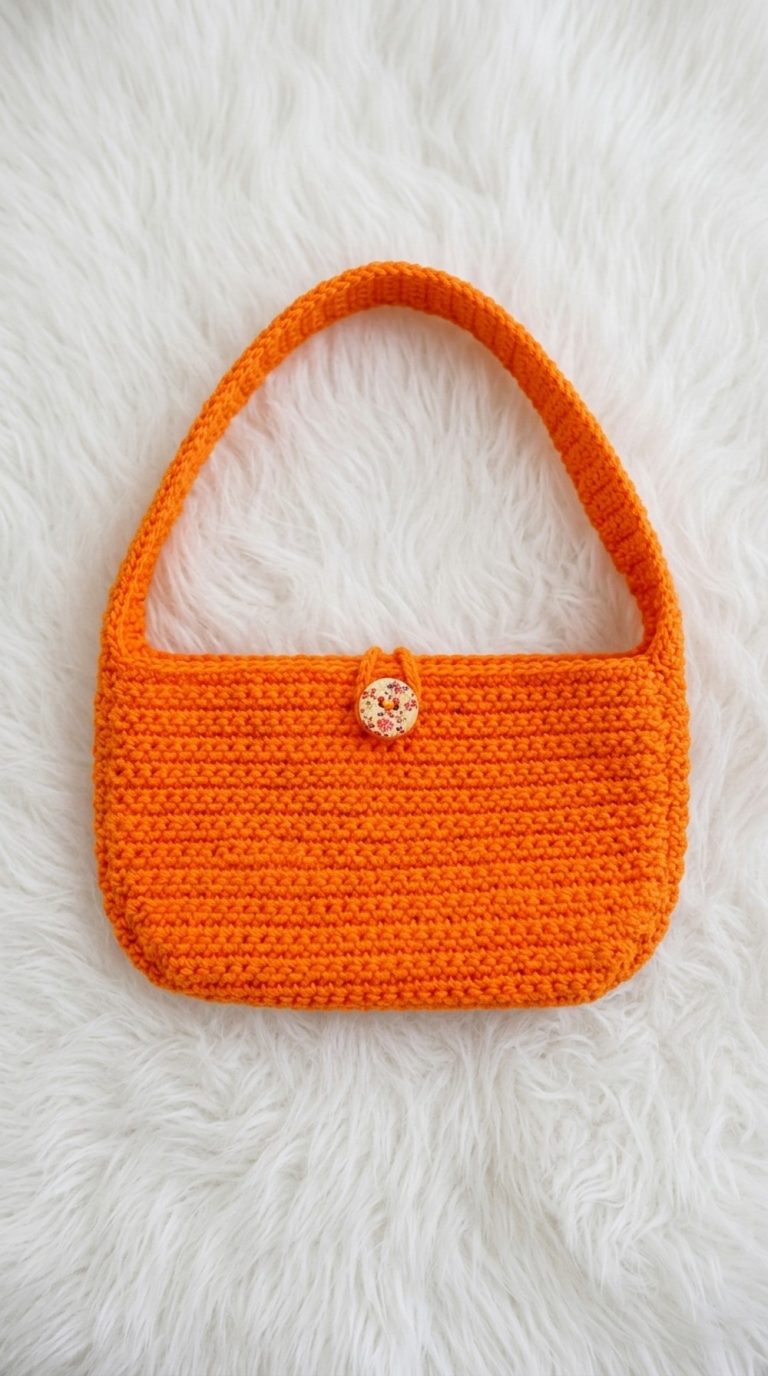
A crochet bag is a versatile accessory that combines functionality with timeless charm. With the free crochet bag pattern, you can crochet a stylish yet practical piece that adds a touch of elegance to your everyday essentials. This thoughtfully designed pattern is made available by the talented creator behind Vlastelina Crochet on YouTube, where you’ll find a detailed tutorial to guide you through the process.
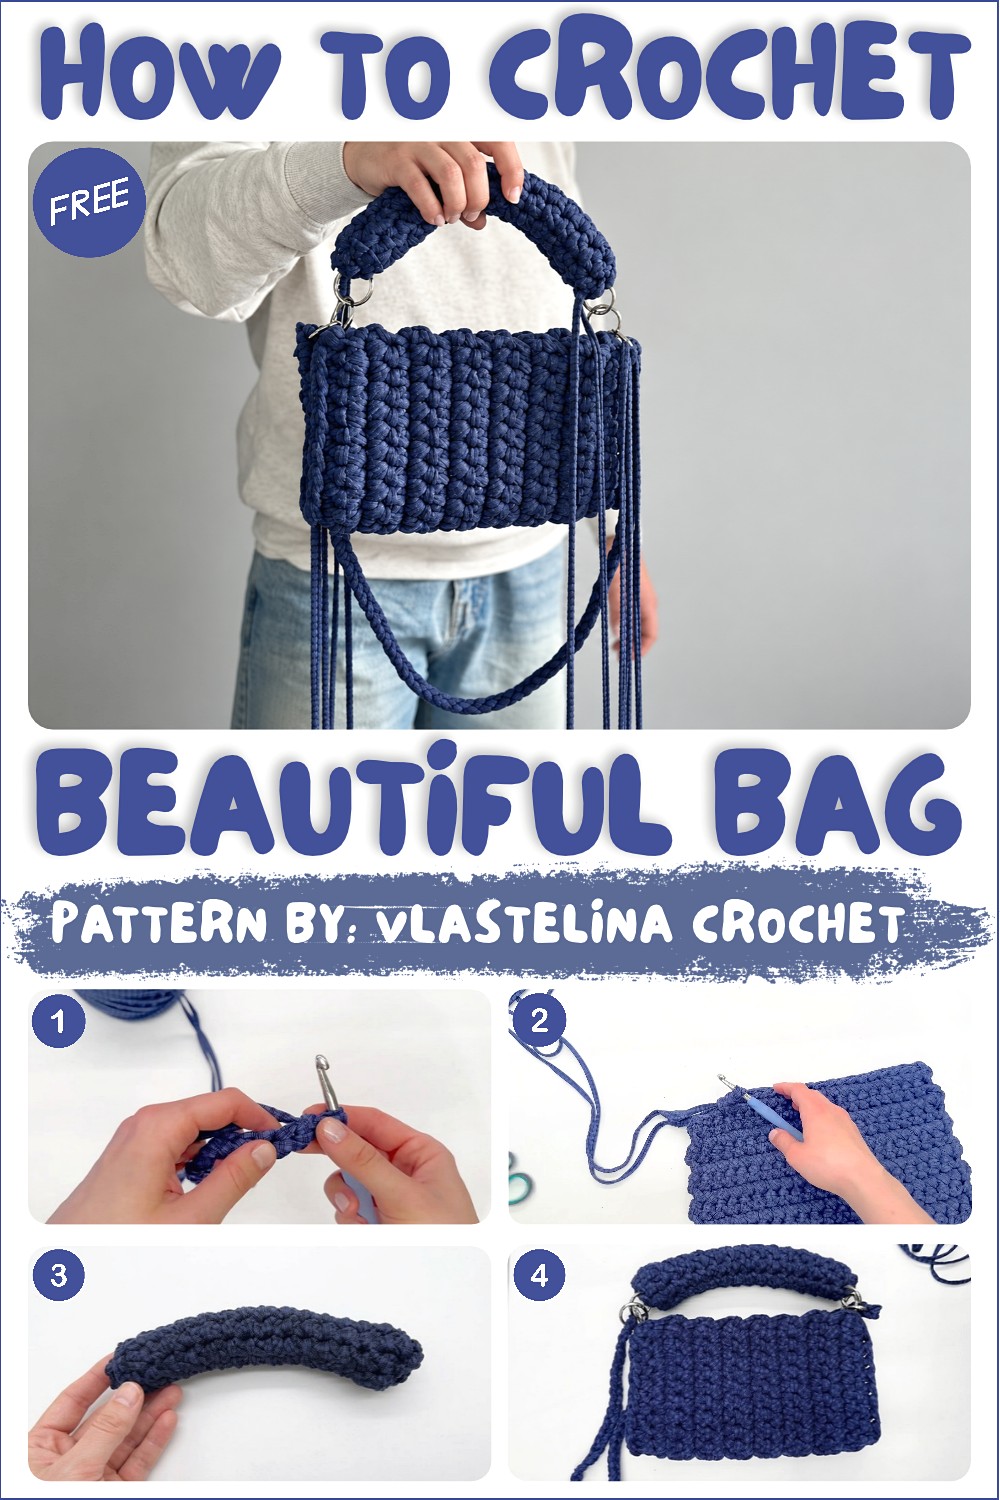
Beautiful Free Crochet Bag Pattern for Summer
The design of the bag stands out for its clean lines and modern simplicity. Its well-structured shape makes it perfect for holding items such as keys, a wallet, or other daily necessities, while the intricate crochet texture adds depth and a handmade uniqueness. Offering endless possibilities for customization, this bag can be created in neutral tones for a sophisticated look or in bold colors for a playful touch. Its durability ensures it’s as functional as it is stylish, making it suitable for both casual outings and everyday errands.
Not only is this project visually appealing, but it’s also incredibly versatile. The bag is ideal for running errands, casual shopping trips, or even as a reusable tote for eco-conscious individuals. Its handmade charm also makes it a thoughtful, personalized gift for loved ones, perfect for any occasion.
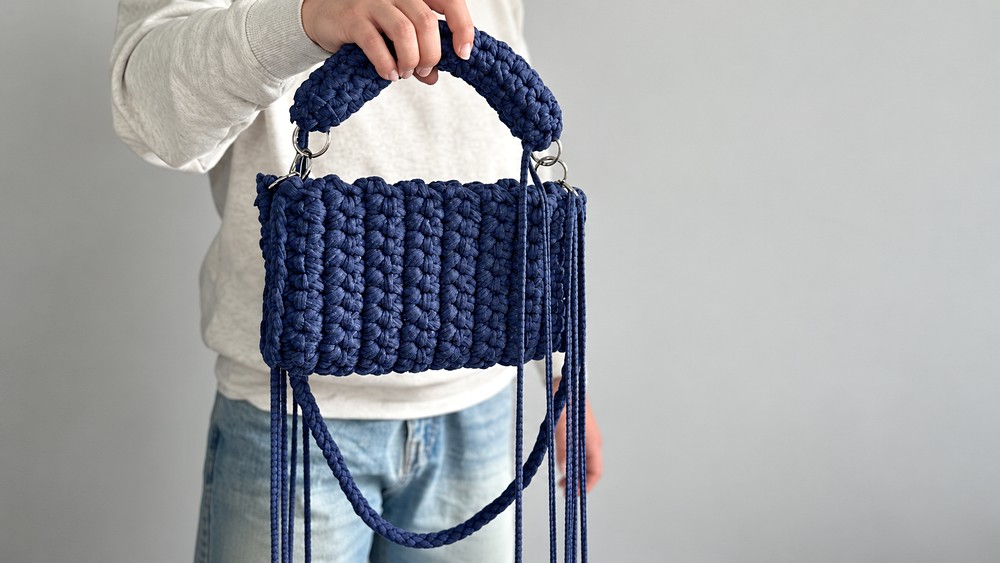
Through the thorough step-by-step video tutorial by Vlastelina Crochet, creating this beautiful bag becomes an approachable and enjoyable project for crafters of all levels, from beginners to experts. The free crochet bag pattern is an opportunity to crochet something practical yet elegant, making it a standout addition to any wardrobe or gift collection. It’s where style meets creativity, all wrapped in the joy of handmade craftsmanship.
Stylish Crochet Jersey Yarn Bag Pattern with Two-Strand Technique
This crochet tutorial guides you through making a stylish and robust bag crafted with knitted-style jersey yarn, worked using two strands simultaneously for enhanced thickness and texture. The project involves constructing a flat base, attaching side walls for structure, creating both a short handle and a longer crossbody strap, and finishing with carrabiner ring attachments and optional decorative yarn strands. The use of thick yarn paired with a 7 mm hook ensures a dense, durable fabric ideal for everyday use.
Pattern Highlights
- Two-strand yarn technique: Both the base and walls are crocheted using two strands of Biskvit jersey yarn worked simultaneously for sturdiness and dimensionality.
- Rectangular bag base: Constructed with single crochet stitches worked in rows, creating a firm foundation.
- Walls: Crochet and attach two side walls to the base using single crochet stitches worked through both layers for stability.
- Short handle: Built as a loop to attach to the bag and hold comfortably.
- Crossbody strap: A long, straightforward chain-based strap perfect for hands-free carrying.
- Hardware integration: Six carabiner rings securely attach the handles and strap to the bag.
- Optional decorative elements: Hanging yarn strands can be added for personalized flair.
Notes
- The project uses thick jersey yarn (approx. 7-9 mm in thickness), held doubled for a dense fabric.
- Two yarn strands are taken simultaneously — one strand from inside the skein and one from outside — to maintain even tension.
- Materials such as double-sided tape or yarn sewing techniques can help seamlessly join yarn when skeins run out.
- Stitch markers or small scraps of colored yarn help identify critical stitch positions during assembly.
- Patience is necessary for joining walls and attaching hardware precisely for a neat finish.
Skill Level
Intermediate – ideal for crocheters who have experience with:
- Working with bulky yarn and large hook sizes (7 mm).
- Single crochet in rows and rounds.
- Joining crochet pieces by stitching through two layers.
- Basic chain stitch knowledge.
- Using stitch markers to manage intricate assembly points.
- Attaching hardware such as carabiner rings to crochet fabric.
Materials
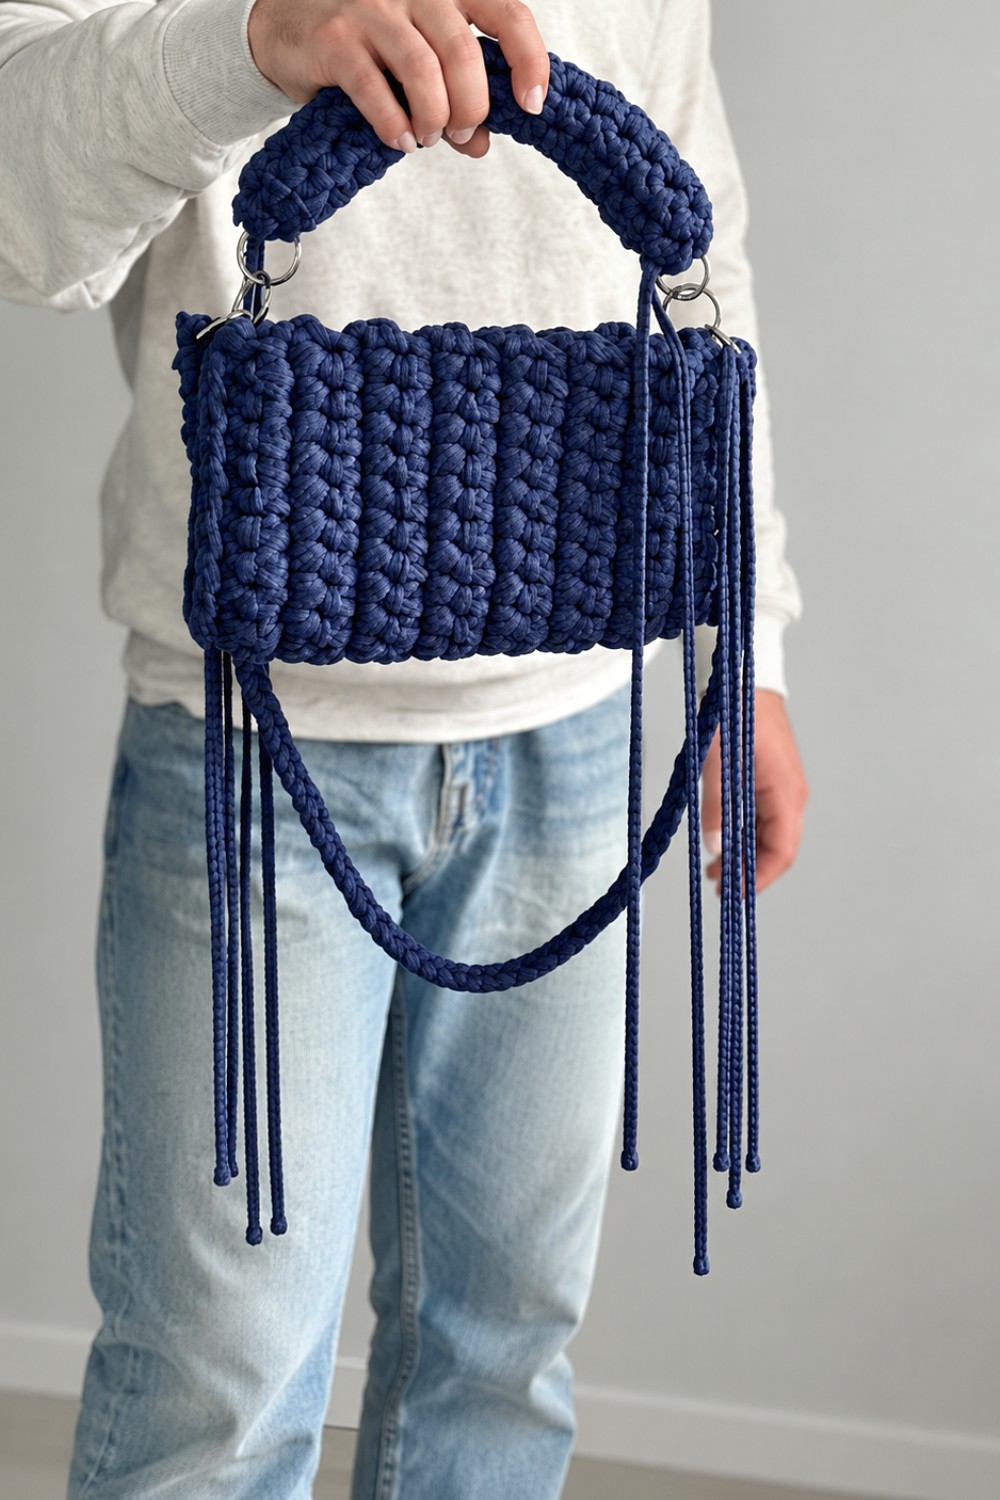
- 2 skeins of Biskvit jersey yarn (approx. 100m, 330g each, thickness 7–9 mm).
- Crochet hooks: 7 mm (main work), 4 mm (optional for finer details).
- 2 stitch markers (or colored yarn pieces).
- Double-sided tape (or sewing needle and thread for joining yarn).
- 6 carabiner rings (28 mm diameter).
- Scissors.
Measurements / Sizing
- Base dimensions: 21-chain foundation row, finished size approximately 10 inches wide.
- Bag height: Determined by 14 rows for the base and 8 rows of wall height, approximately 9–10 inches tall.
- Short handle: Created as a loop from 8 chains, crocheted in rounds.
- Crossbody strap: Length customizable; recommended 86 cm (approx. 33.85 inches) for an average height of 178 cm.
- Optional hanging yarn strands can be adjusted in length per user preference.
Gauge and Stitch Pattern
- Gauge is flexible given the bulky yarn; however, consistent tension yields the best fabric density.
- Stitch pattern is exclusively single crochet (sc), worked in rows for the base and walls, and continuous rounds for the short handle.
- Two strands of yarn held together create a thick, firm fabric.
- At walls joining, single crochet stitches are made through both fabric layers to secure seams.
Stitch Abbreviations
| Abbreviation | Meaning |
|---|---|
| ch | Chain stitch |
| sc | Single crochet |
| sl st | Slip stitch |
Special Stitches
- Joining two layers with single crochet: Insert the hook through corresponding stitches of both layers (base and wall edges), then complete a sc stitch to seam the pieces firmly.
- Using two yarn strands held together: Maintain both strands parallel and tensioned together throughout to ensure an even, thick fabric.
- Knotting or taping yarn ends: When yarn runs out, carefully connect new yarn with double-sided tape or knot and weave ends to maintain seamless fabric and color continuity.
The Crochet Pattern!
1. The Base
Prepare yarn:
- Take two yarn strands simultaneously — one from inside and one from outside of the skein for better tension and thickness.
Foundation Row:
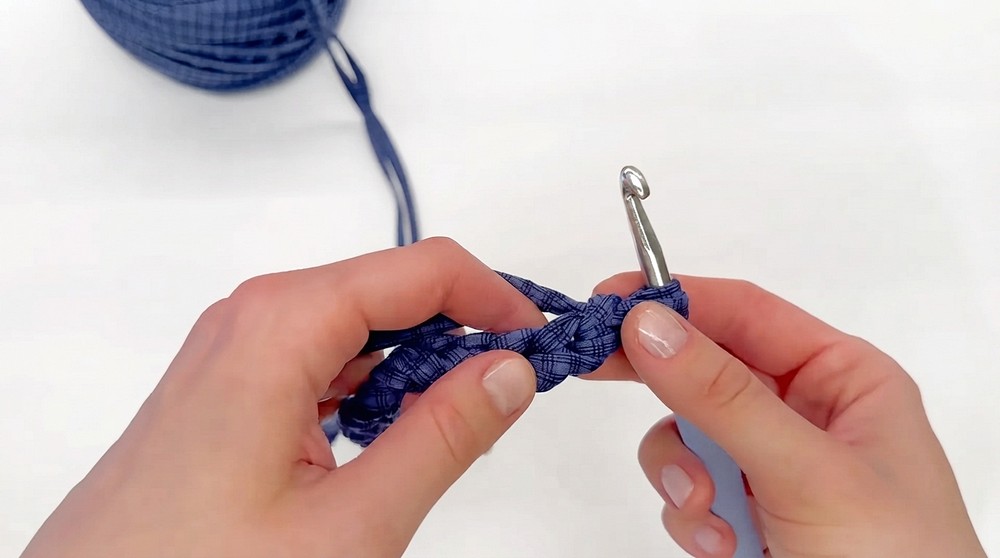
- Create a slip knot and chain 21 stitches. This sets the width of your bag base.
Turning chain:
- Chain 1 to turn (does not count as a stitch).
Row 1:
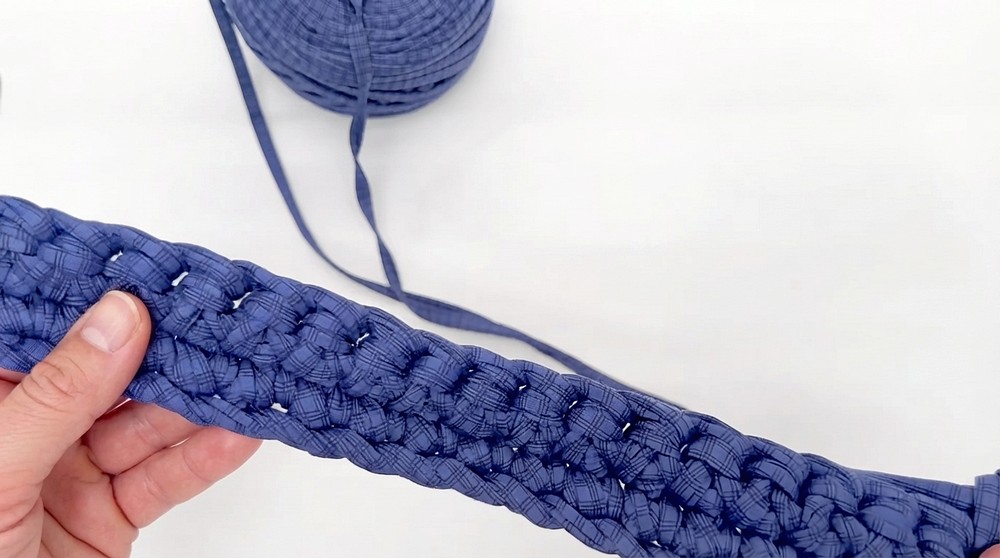
- Skip the first chain from the hook.
- Work one single crochet (sc) stitch into each of the remaining 20 chains.
Rows 2 to 14:
- Chain 1 and turn your work.
- Work single crochet evenly across all stitches in each row.
- Continue this pattern for 14 rows total, building a firm rectangular base.
- Tip: Every stitch column corresponds to 2 rows, helping track progress visually.
Yarn joining:
- If your yarn runs out before you complete the required rows, join the next skein with either double-sided tape, a tight knot, or by sewing the ends together.
- Position the joins to minimize visibility and maintain fabric integrity.
2. Crocheting and Attaching the Side Walls
Wall Preparation:
- Chain 3 at the end of the base piece to begin the wall foundation.
Rows:
- Work single crochet stitches for 8 rows to form the height of the first side wall.
Marking attachment points:
- Use stitch markers or scrap colored yarn to mark the 1st and 3rd stitch at the base of the wall. These help align precisely where increases are needed during attachment.
Attaching the wall:
- Position the wall vertically along the side edge of the base.
- Join the wall by working single crochet stitches through the corresponding stitches of both base and wall layers, effectively sewing them together.
- At marked stitch points (1st and 3rd stitches), insert 2 stitches into 1 hole to accommodate the angled seam and maintain shape.
- Continue evenly joining all stitches until the wall is securely attached.
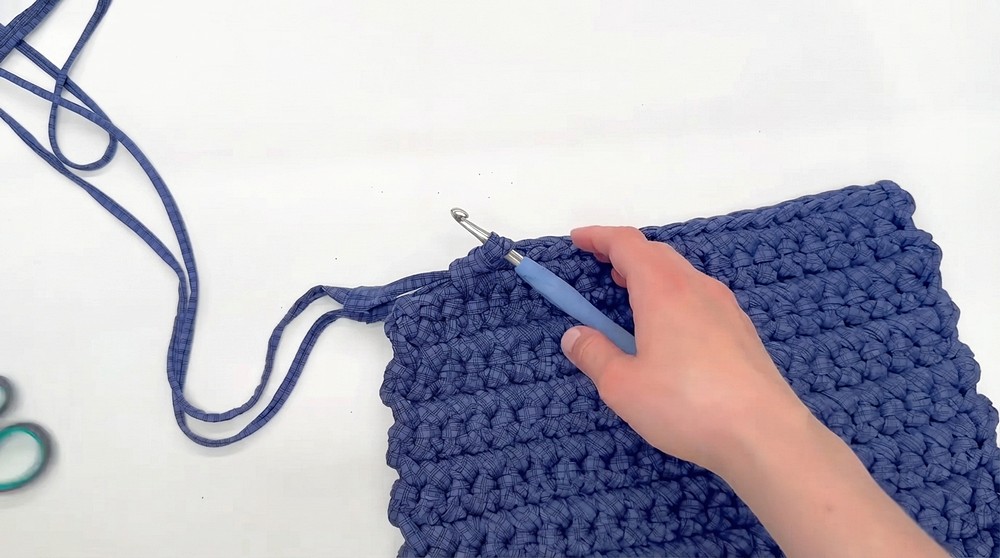
Repeat:
- Make and attach the second wall on the opposite side following the same method.
3. Making the Short Handle
Foundation:
- Chain 8 stitches to establish the handle loop width.
Joining:
- Join chain into a ring with a slip stitch in the first chain.
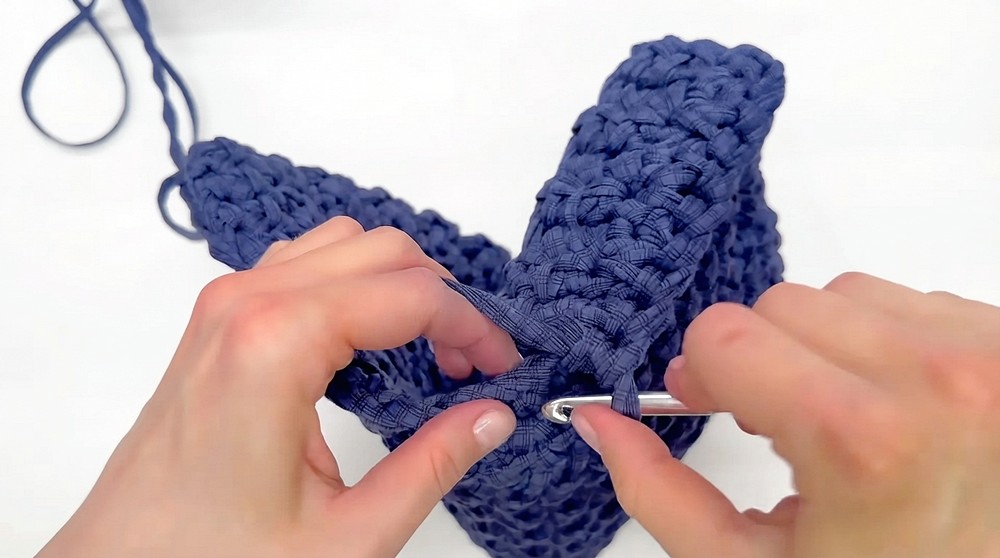
Rounds:
- Work continuous rounds of single crochet stitches around the loop.
- Continue crocheting in rounds until the handle length fits your desired comfort (roughly to fit hand or wrist).
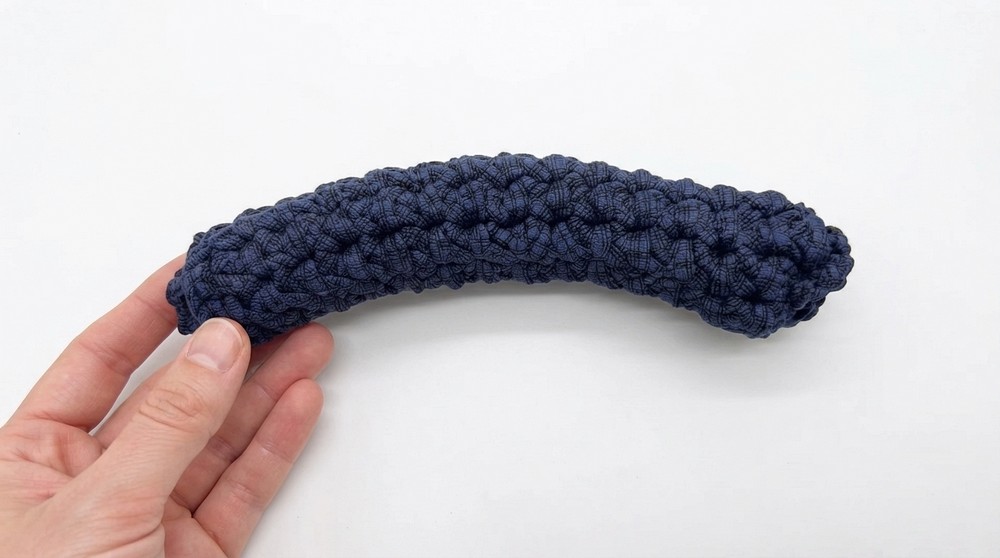
Finishing:
- Fasten off by slip stitching to secure.
- Leave ends for later attachment to bag.
4. Creating the Crossbody Strap
Foundation:
- Create a starting knot and chain an adjustable number of stitches for the length of the strap you desire.
Recommended length:
- For a person about 178 cm tall, chain enough to make an 86 cm strap. Adjust this length for your height and preference.
Finish ends:
- Secure the ends by tying dense, tight knots for durability.
- Weave in loose yarn ends carefully.
5. Final Assembly and Decorations
Attaching components:
- Use the 6 carabiner rings (28 mm) to connect the short handle and the crossbody strap to the bag at appropriate points. Typically, attach 2 rings per side for handles and 2 rings for the crossbody strap to ensure balanced distribution.
Optional decorations:
- Add hanging yarn strands to the sides by tying short yarn pieces directly onto the bag edges.
- Arrange them in any pattern you prefer — zigzag, random, or spaced evenly — to personalize your bag.
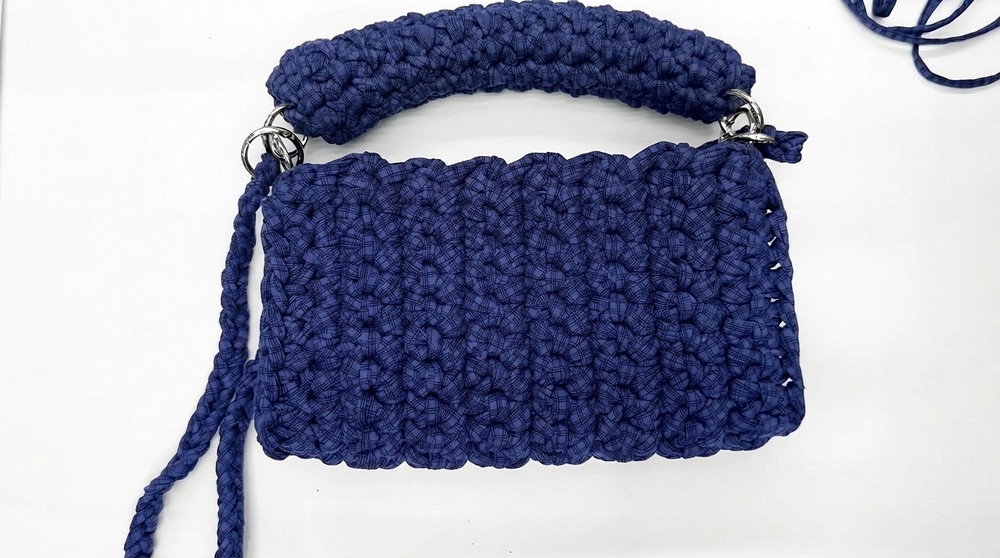
Assembly & Finished Size
Once all parts are crocheted and joined:
- Your bag will measure approximately 10 inches wide by 9-10 inches tall (base and walls combined).
- The short handle creates a functional grip or shoulder hold.
- The crossbody strap allows versatile carrying options and hands-free convenience.
- The sturdy fabric formed by two strands of bulky jersey yarn ensures longevity and shape retention.
- Decorative hanging yarn strands add texture and individual style.
Conclusion
This crochet bag pattern employs the clever technique of working two strands of thick jersey yarn simultaneously, generating a dense but flexible fabric. The modular construction—separating base, walls, and handles for individual creation—makes assembly manageable and professional in appearance. Incorporating carabiner rings enhances practicality and aesthetics by allowing detachable handles and strap options. The optional hanging strand decoration personalizes each finished bag. Following this step-by-step guide, you will master working bulky yarn in tandem, constructing clean joins, and integrating hardware to produce a unique, durable accessory suitable for daily use or gifting.