Trendy Free Crochet Phone Bag Pattern + Complete Tutorial

Store your phone stylishly safe with this Free Crochet Phone Bag Pattern featuring easy steps to make a trendy and functional accessory you’ll love to carry.
Keeping your belongings safe while staying stylish has never been easier. With the Free Crochet Phone Bag Pattern, you can create a handy accessory that’s both beautiful and functional. Shared on the CBH Academy channel, this project is perfect for crocheting a lightweight pouch to secure your phone and other small essentials. It’s also a thoughtful and personal gift idea for friends and family, showcasing charm and practicality in every stitch.
Free Crochet Phone Bag Pattern for Stylish Everyday Use
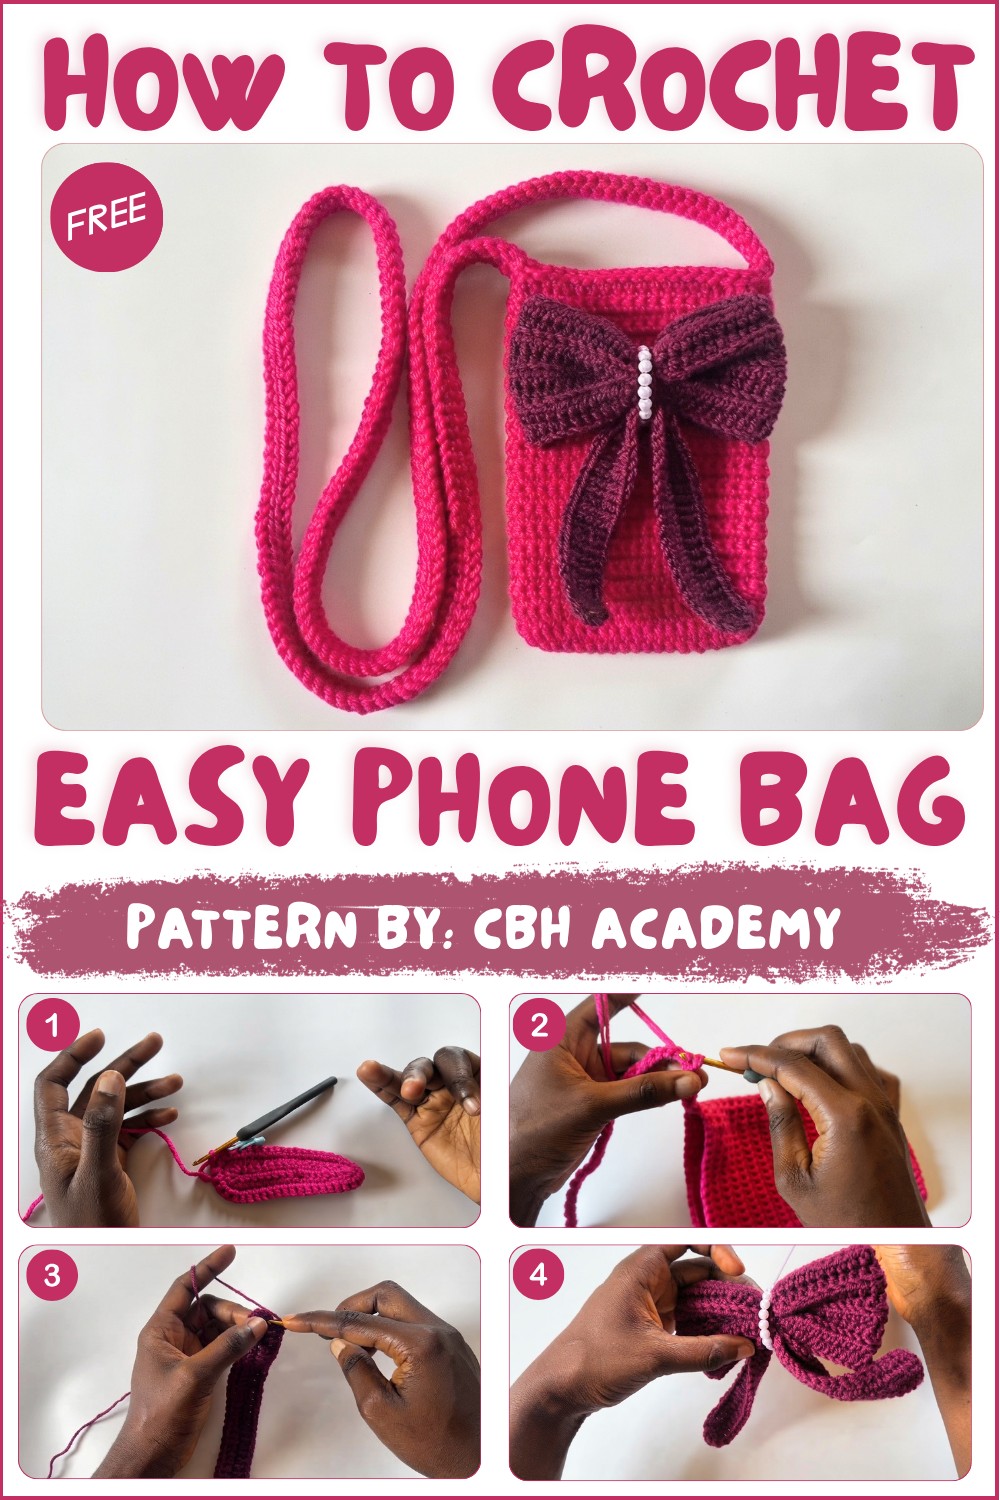
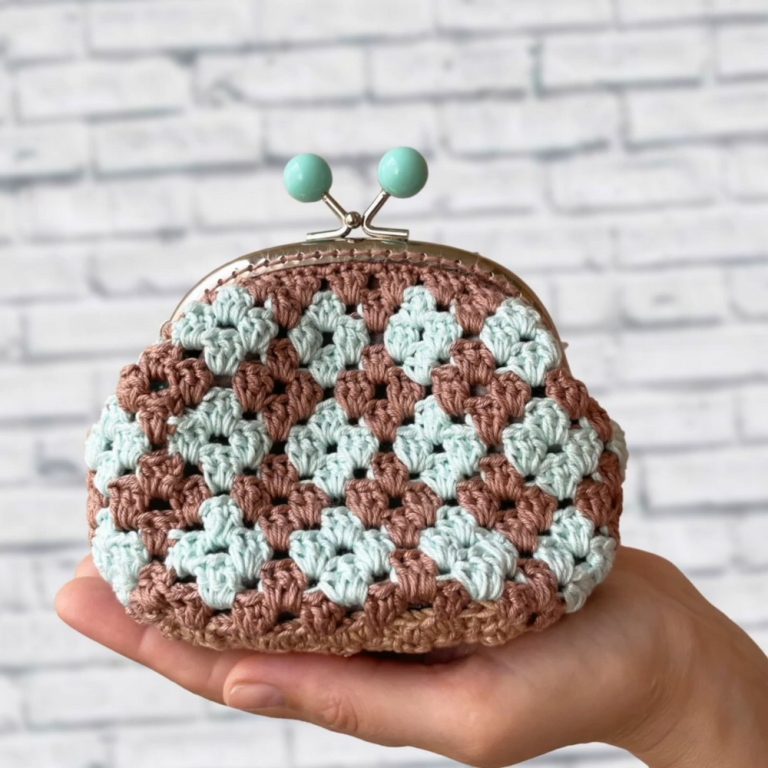
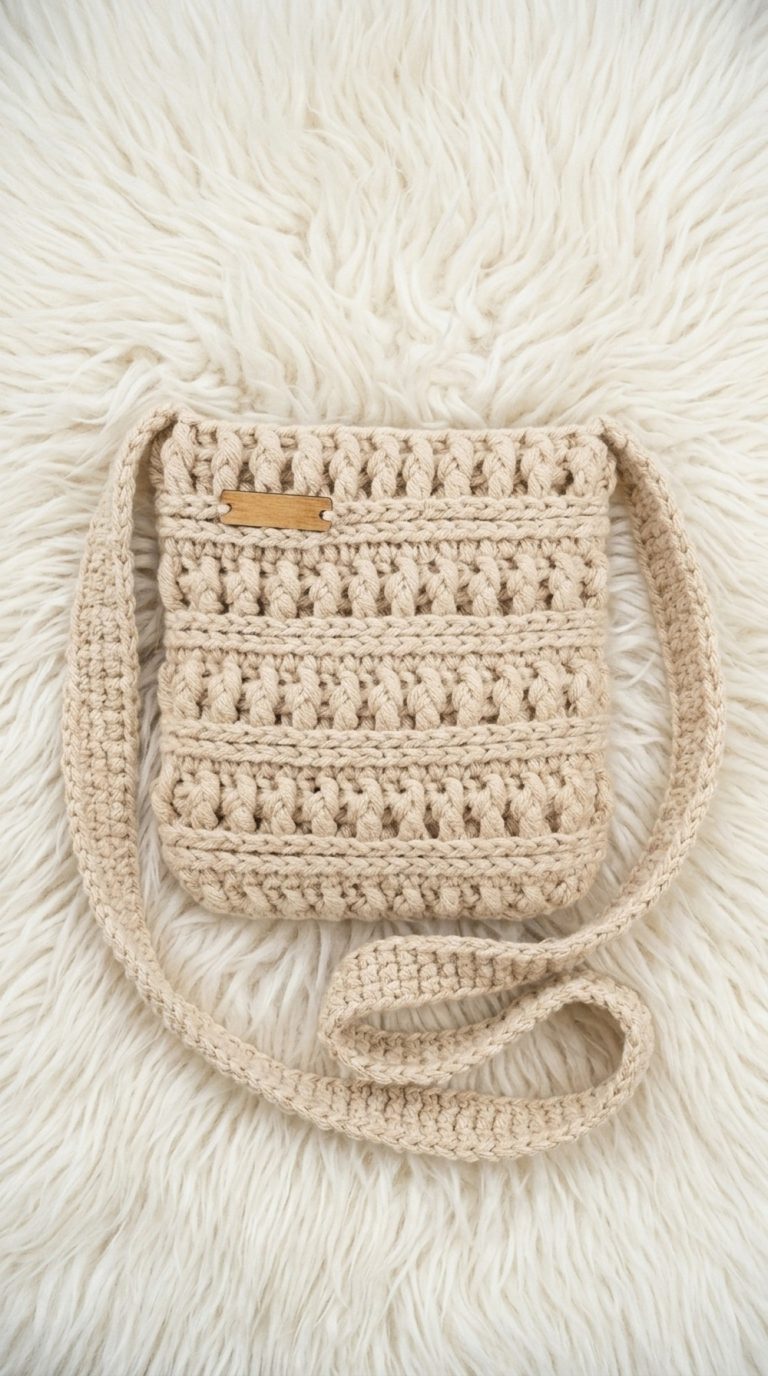
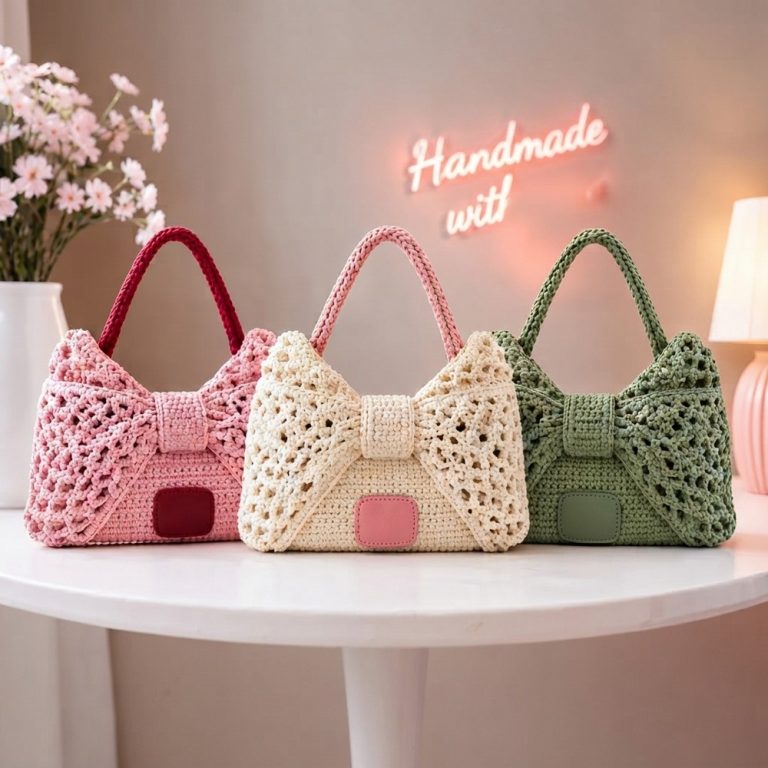
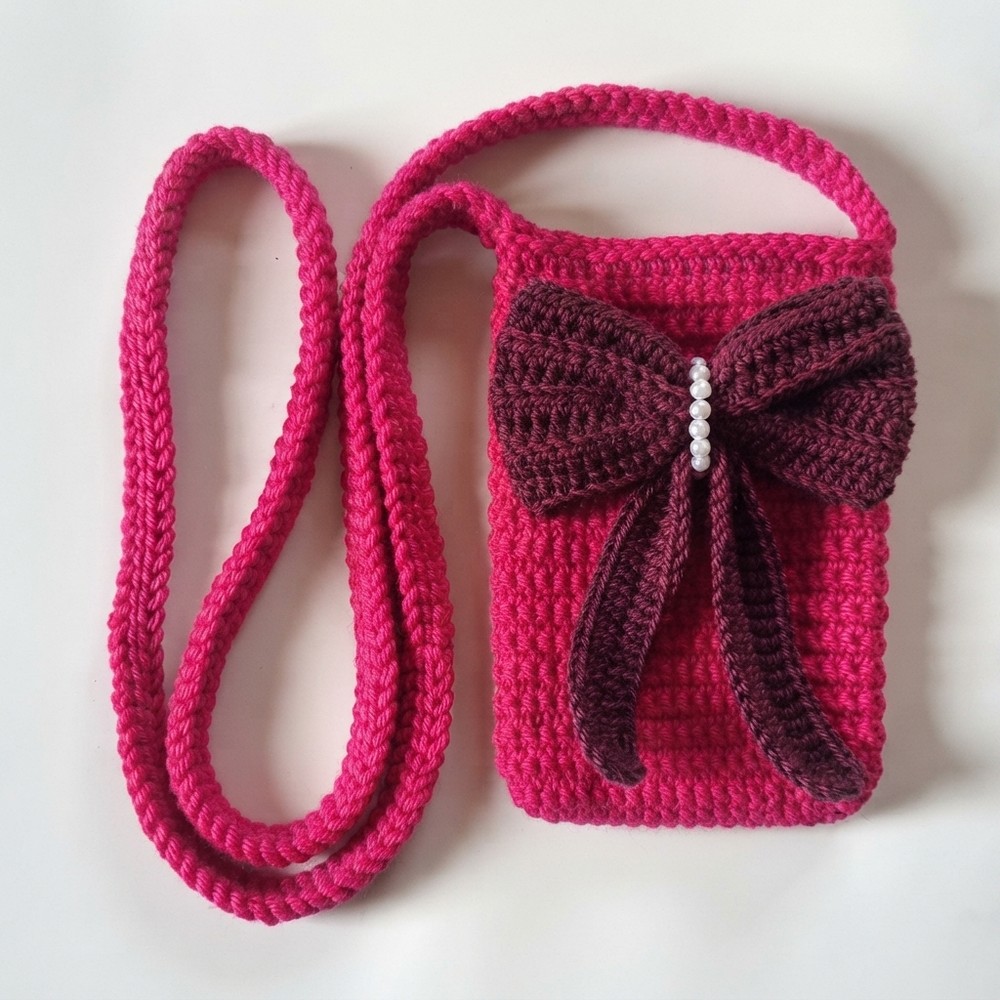
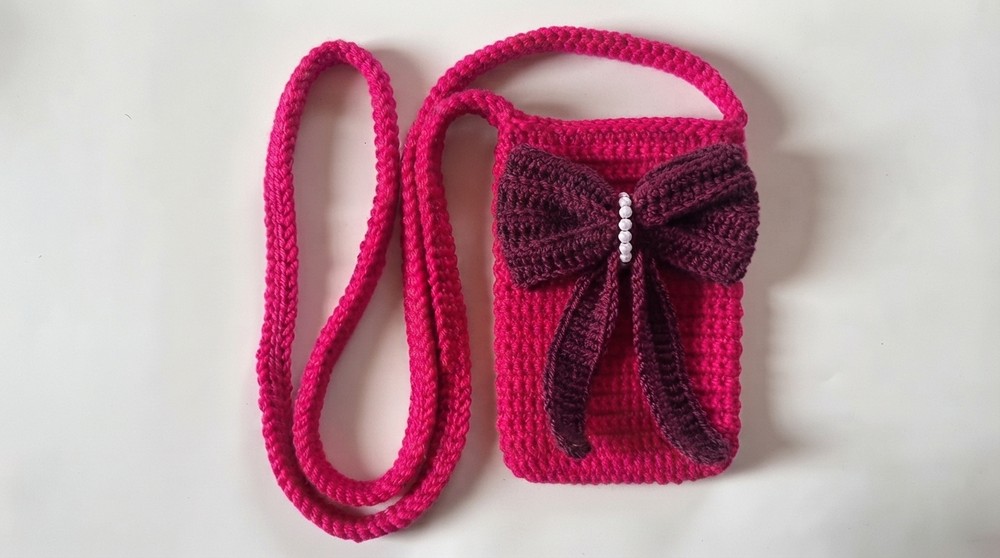
The phone bag’s design is simple yet elegant. It features a sleek, rectangular pouch with sturdy stitches for durability and a neat appearance. The standout detail of the pattern is the pearl-beaded bow, which adds a touch of refinement and makes the bag truly eye-catching. The texture is soft and smooth, giving it a polished finish, while the adjustable strap allows you to wear the bag comfortably, whether cross-body, over the shoulder, or as a small clutch. Its clean lines and decorative accents make it a stylish addition to any outfit.
This bag offers incredible functionality, keeping your phone, keys, or small items organized while you’re on the go. Whether used as a daily accessory or gifted as a handmade treasure, it’s a versatile item that combines beauty with purpose.
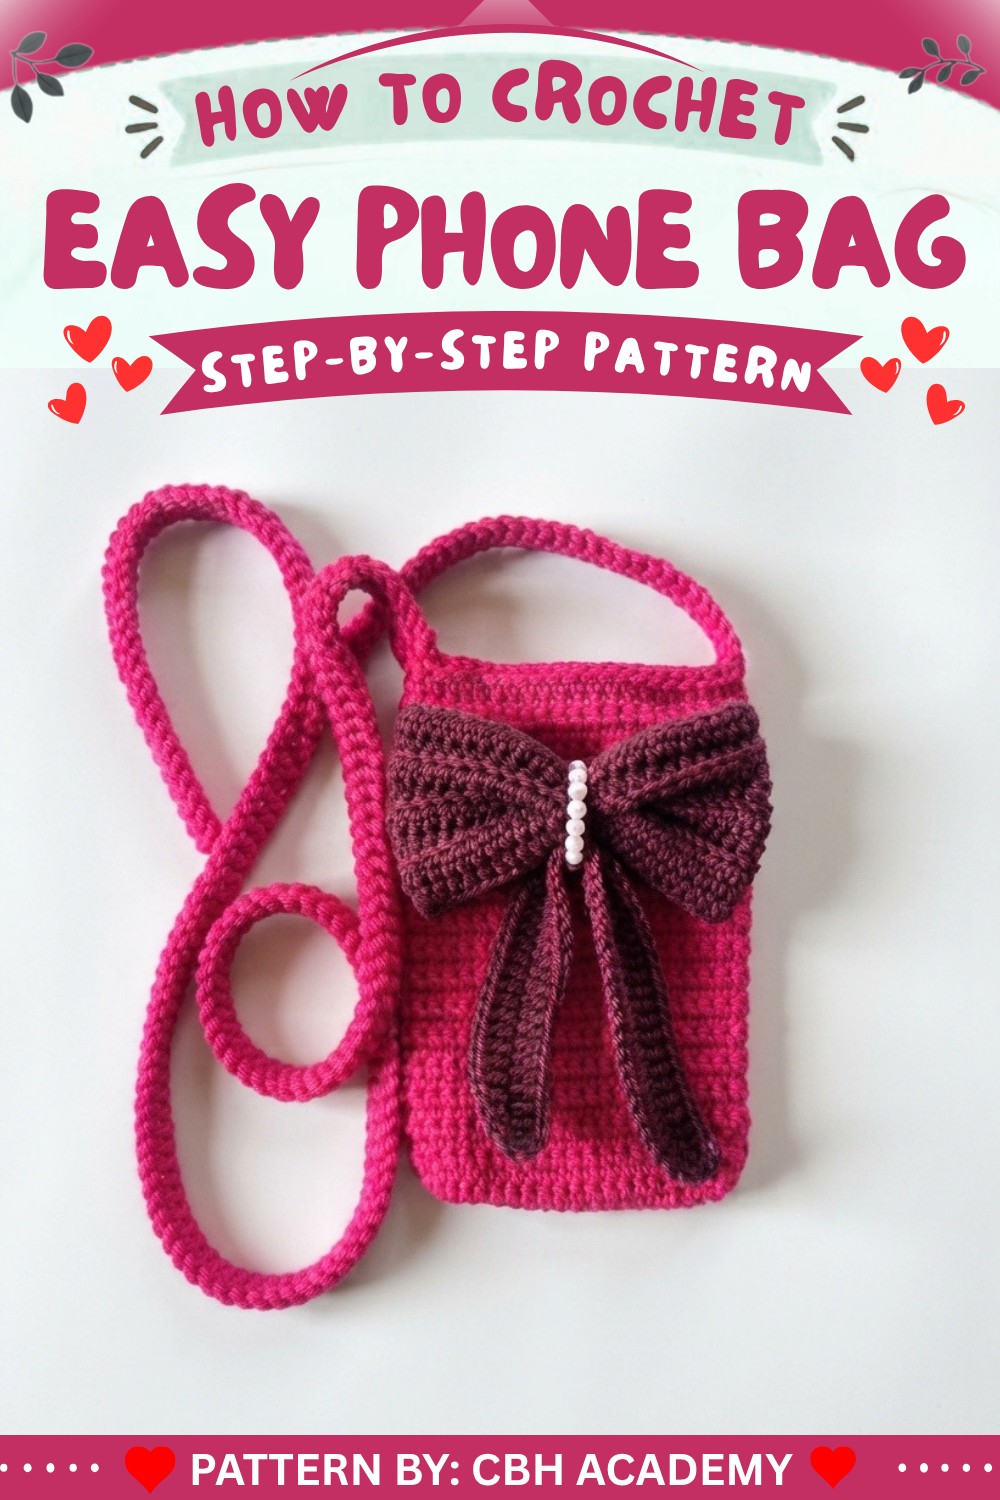
Crochet Phone Pouch Pattern
This crochet phone pouch is not only functional but also highly customizable to fit your phone’s unique dimensions. With a simple yet graceful design, it features a sturdy strap, decorative bow, and optional embellishments to give it a polished finish. This project combines both form and utility, making it an excellent choice for practical daily use.
Skill Level
Beginner
This pattern is suitable for beginners who are familiar with basic crochet stitches like single crochet (SC), and half-double crochet (HDC). It also involves simple shaping, a ribbed effect for the bow, and strap creation for added flexibility in techniques.
Materials
- Main Yarn: Alize Superlana Midi (or any similar medium-weight yarn for the pouch body).
- Bow Yarn: Alize Superlana Klasik (lighter weight yarn for the decorative bow).
- Crochet Hooks:
- 3.00mm for the pouch body.
- 4.00mm for the straps to ensure sturdiness.
- Additional Tools:
- Scissors for trimming yarn.
- Tapestry Needle for weaving in ends and attaching components.
- Measuring Tape to measure your phone’s dimensions.
- Stitch Markers to keep track of key points during the pattern.
- Snap Buttons or Beads for decoration and functionality.
Special Stitches
- Single Crochet (SC): Insert the hook into the stitch, yarn over, pull up a loop, yarn over again, and pull through both loops on the hook.
- Half-Double Crochet (HDC): Yarn over, insert the hook into the stitch, yarn over again and pull up a loop, yarn over, and pull through all three loops on the hook.
- Slip Stitch (SL ST): Insert the hook into a stitch, yarn over, and pull through both the stitch and the loop on the hook.
- Back-Loop-Only (BLO): Work the stitch into the back loop of the stitch only, leaving the front loop unworked, to create a ribbed effect.
Stitch Abbreviations
| Abbreviation | Description |
|---|---|
| ch | Chain |
| sc | Single Crochet |
| hdc | Half-Double Crochet |
| sl st | Slip Stitch |
Useful Tips
- Measuring: Start by measuring your phone to ensure a snug, custom fit. Add a bit of cushion to its width for easier slide-in access.
- Stitch Marker Placement: Use stitch markers to identify the start of each round to maintain even stitches.
- Strap Tension: Work the strap with uniform tension, ensuring it’s both sturdy and aesthetically pleasing.
- Back-Loop-Only Technique: For the bow, working in the back loop creates a ribbed texture that adds elegance and structure to the design.
- Secure Ends: Always weave in your loose ends securely to prevent unraveling during use.
Detailed Pattern
1. Foundation
- Using the main yarn and a 3.00mm hook:
- Step 1: Measure your phone’s width and create a chain that matches the measurement (e.g., 15 chains for ~7.5cm width).
- Step 2: Ensure the chain count is an odd number to maintain symmetry.
2. Pouch Body
Round 1:
- Work 1 SC into the second chain from the hook and in each chain across.
- In the last stitch, work 3 SC to curve the edge.
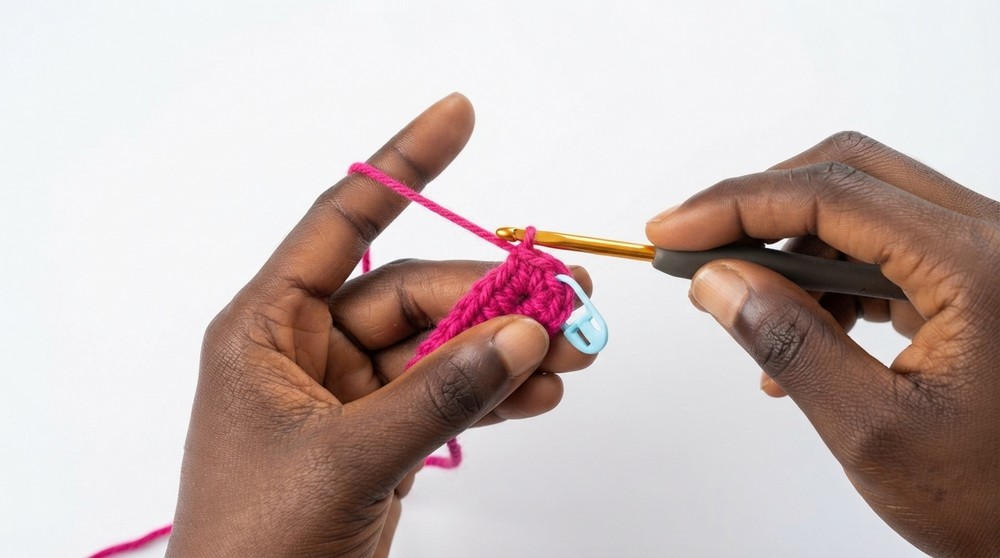
- Rotate the work to the opposite side of the foundation chain. Work 1 SC into each stitch along the opposite side. In the final stitch, work 4 SCs to round the corner.
- Join to the first SC with a slip stitch. (Measure against your phone to confirm the fit).
Round 2:
- Chain 1 and turn your work.
- Skip the first ‘false’ stitch and begin the round by working 2 SC into each of the next 4 stitches to shape the corner.
- Work 1 SC in each stitch until 3 stitches before the opposite corner marker.
- Work 2 SC into each of the next 4 stitches, then 1 SC in the remaining stitches.
- Join to the first stitch with a slip stitch.
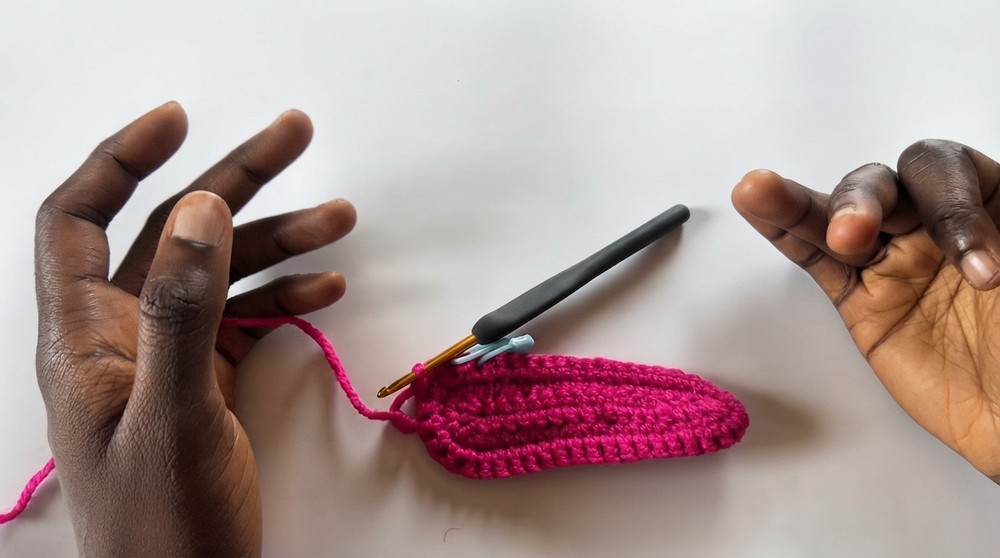
Round 3 and Onwards:
- Chain 1 and turn.
- Work 1 SC into each stitch around, without adding increases, until you reach your desired pouch height. Measure frequently against your phone to determine the correct length.
- Fasten off the yarn once the desired height is reached.
3. Strap
- Using two strands of yarn and the 4.00mm hook:
- Step 1: Chain to your desired length (e.g., 54 inches for a cross-body strap).
- Step 2: Slip stitch each end of the chain to the sides of the pouch, ensuring the strap is evenly spaced from the edges.
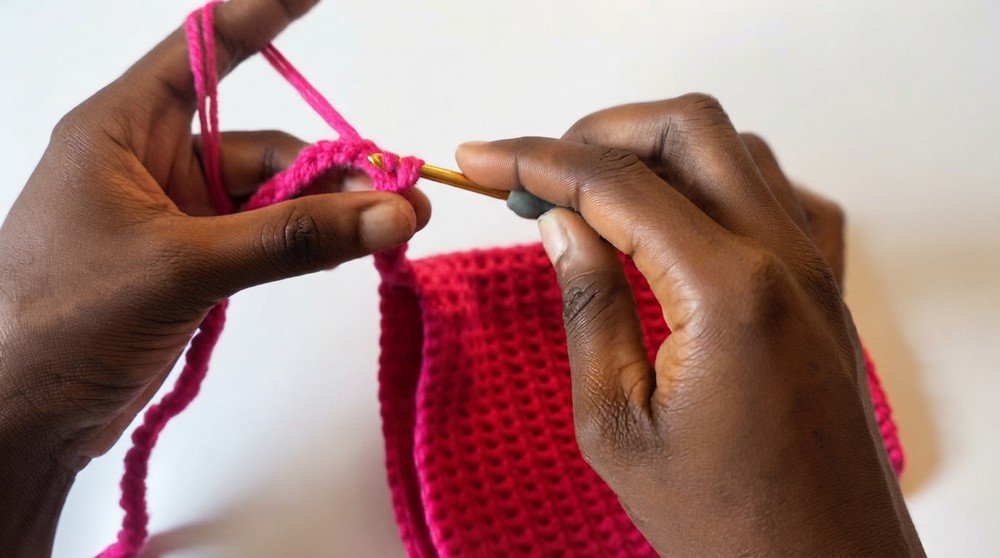
- Step 3: Work slip stitches along the entire chain, back and forth, to thicken and reinforce the strap.
- Fasten off and weave in the ends securely.
4. Bow
- Using the bow yarn and the 3.00mm hook:
- Step 1: Create a chain approximately the width of your pouch.
- Step 2: Work back and forth in rows of HDC stitches. Use the BLO technique to create a ribbed texture. Continue until the bow piece reaches a rectangular shape.
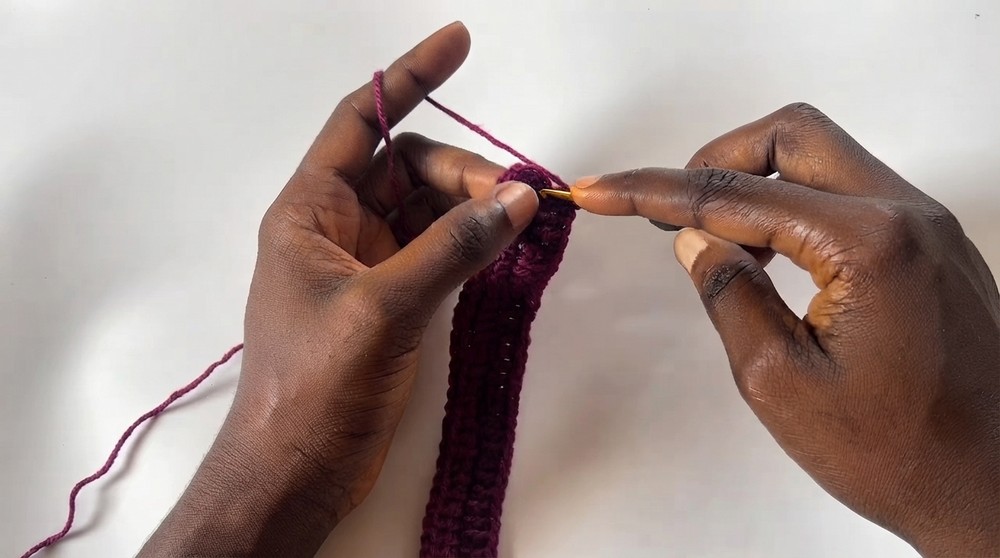
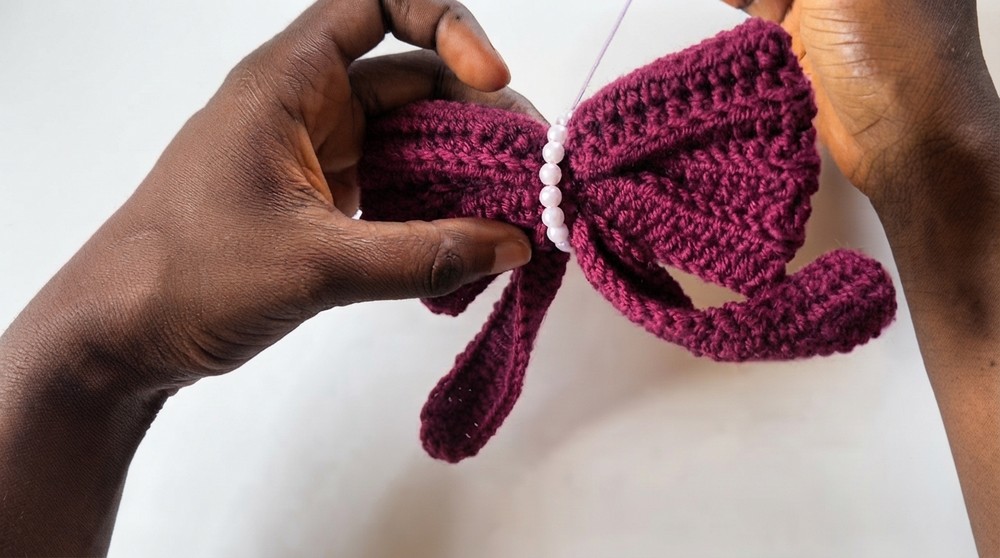
- Step 3: Fold the rectangle, cinch the center, and wrap yarn around several times to form a bow shape. Secure the wrap with a knot.
5. Finishing
- Attach the Bow: Sew the bow to the front of the pouch using a tapestry needle and matching yarn. Ensure it is centered neatly.
- Add Snap Buttons or Beads: Sew on snap buttons for closure or decorative beads to the pouch for a bit of flair. Make sure the buttons or beads are securely attached.
- Weave Ends: Carefully weave in all loose ends for a neat finish.
Assembly and Sizing
- Finished Size: Customize this pouch to fit phones of any size. Ensure the width of the foundation chain and the height of the rounds correspond to your phone’s dimensions.
- Customization: Use contrasting colors for the bow, beads, or strap to create fun and stylish variations.
Conclusion
This crochet phone pouch combines simplicity with functionality, ensuring a snug fit for your phone while maintaining a stylish design. It’s a versatile piece with limitless customization options, from color choices to embellishments. Whether for personal use or as a gift, this pouch is a practical and beautiful addition to your crochet repertoire.