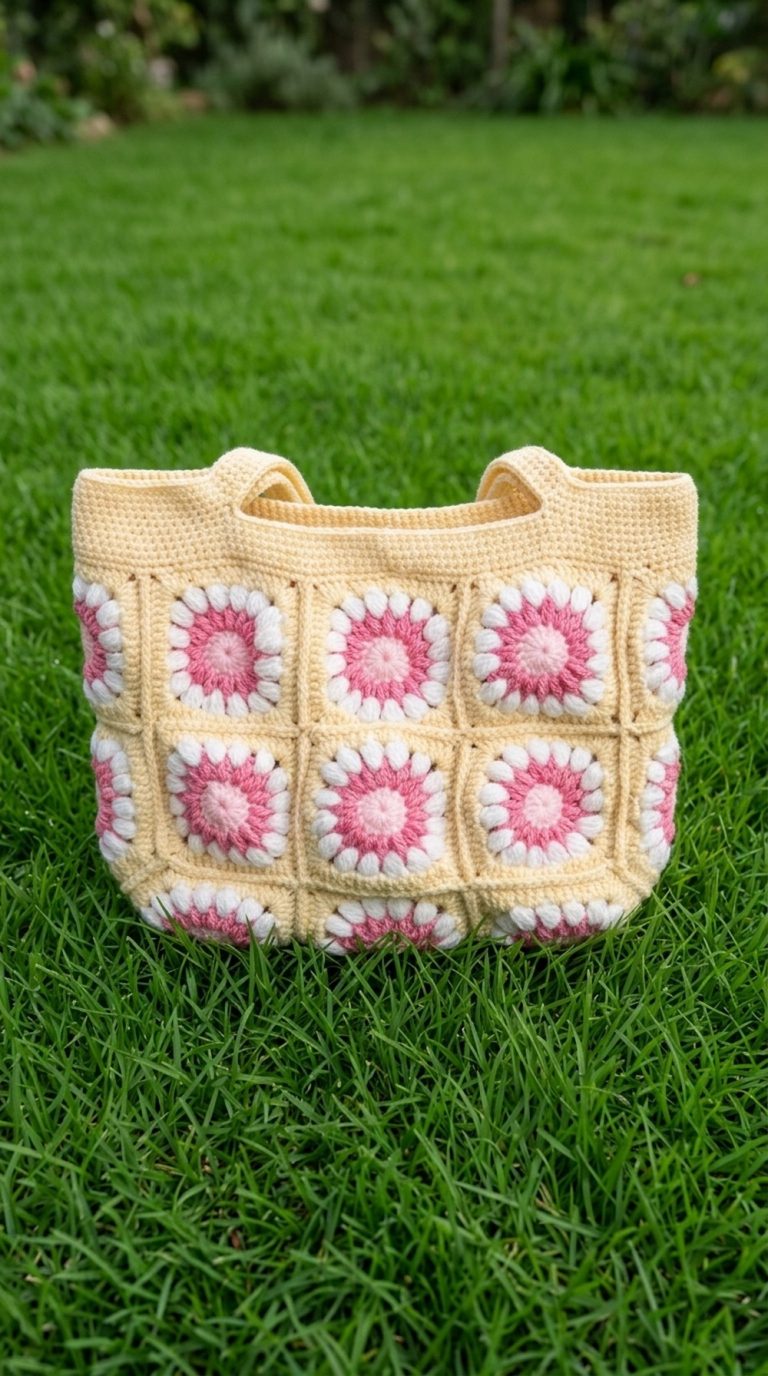
Free Crochet Daisy Flower Tote Bag Pattern for Everyday Use

Stylish Daisy Flower Tote Bag comes with clear, detailed crochet instructions to guide you in producing a unique and charming handmade accessory for everyday use.
When looking for the perfect handmade accessory to brighten up your everyday look, a charming tote bag can make all the difference. The Free Crochet Daisy Flower Tote Bag pattern offers an inspiring way to create a stylish, practical bag that effortlessly combines vintage charm with modern flair.
Crochet Daisy Flower Tote Bag Pattern FREE
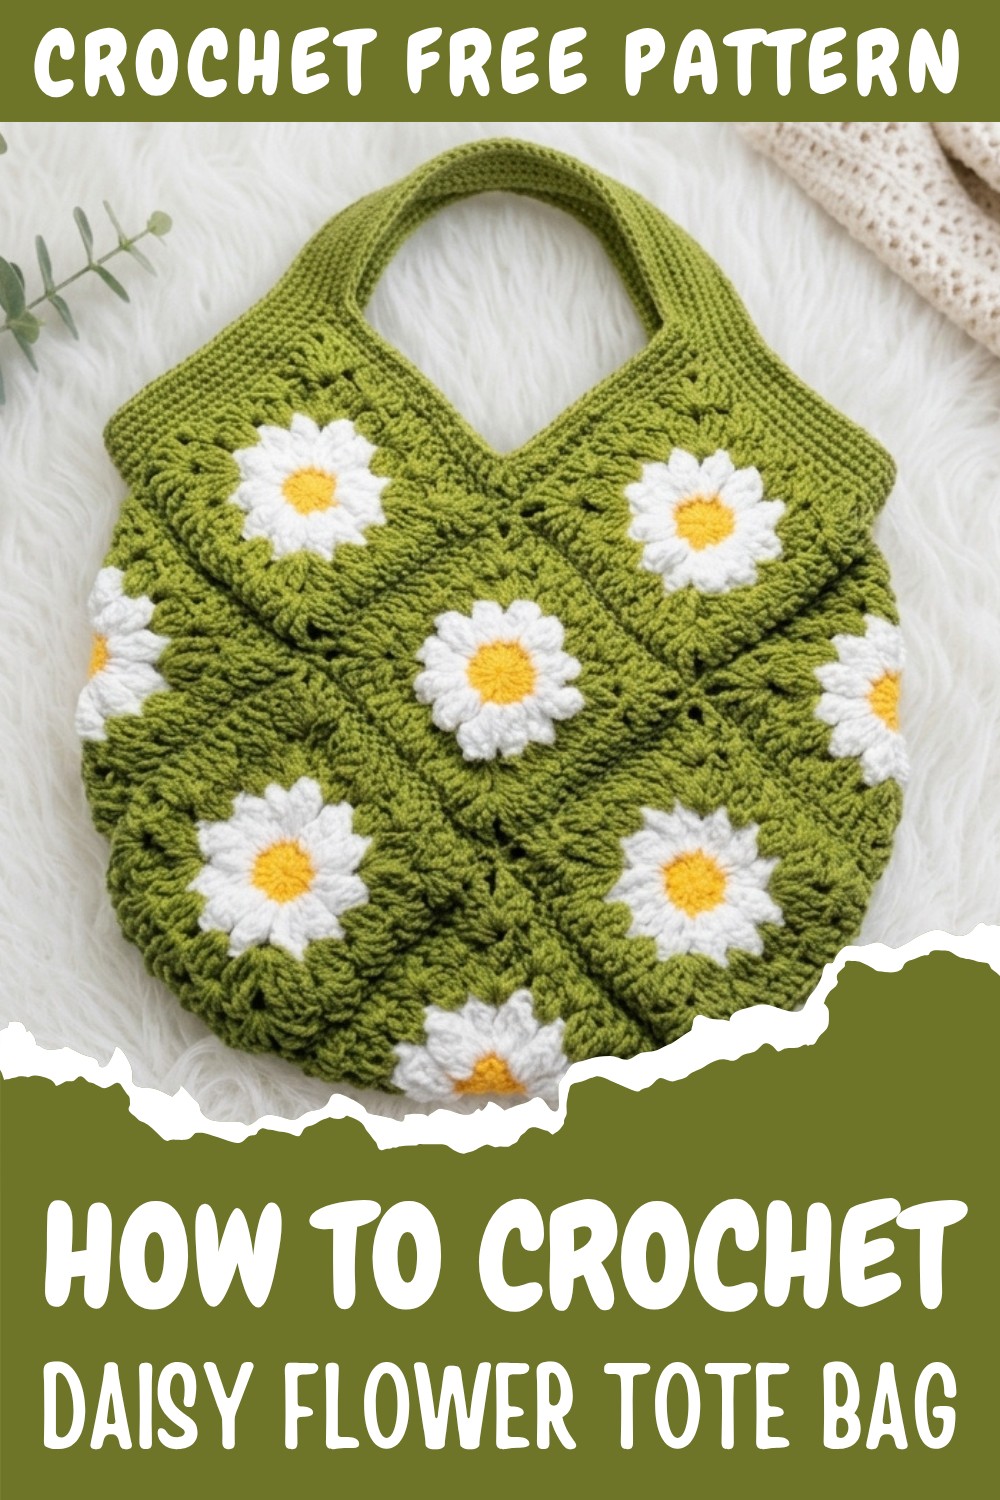
This crochet tote stands out with its fresh and lively daisy flower motifs, lending a cheerful and feminine touch ideal for spring and summer outings. Whether you’re planning a casual day at the farmers market, a beach trip, or a relaxed weekend hangout, this tote bag is both a fashion statement and a comfortable carry-all. It pairs beautifully with flowy dresses, jeans, or even your favorite shorts and T-shirt combo, adding personality to any outfit.
Additional standout features include a reinforced strap made with multiple crochet rounds for extra strength and comfort, making the tote easy to carry all day. The Free Crochet Daisy Flower Tote Bag pattern is a wonderful project that merges creativity, functionality, and style—perfect for adding a personalized touch to your spring and summer wardrobe.
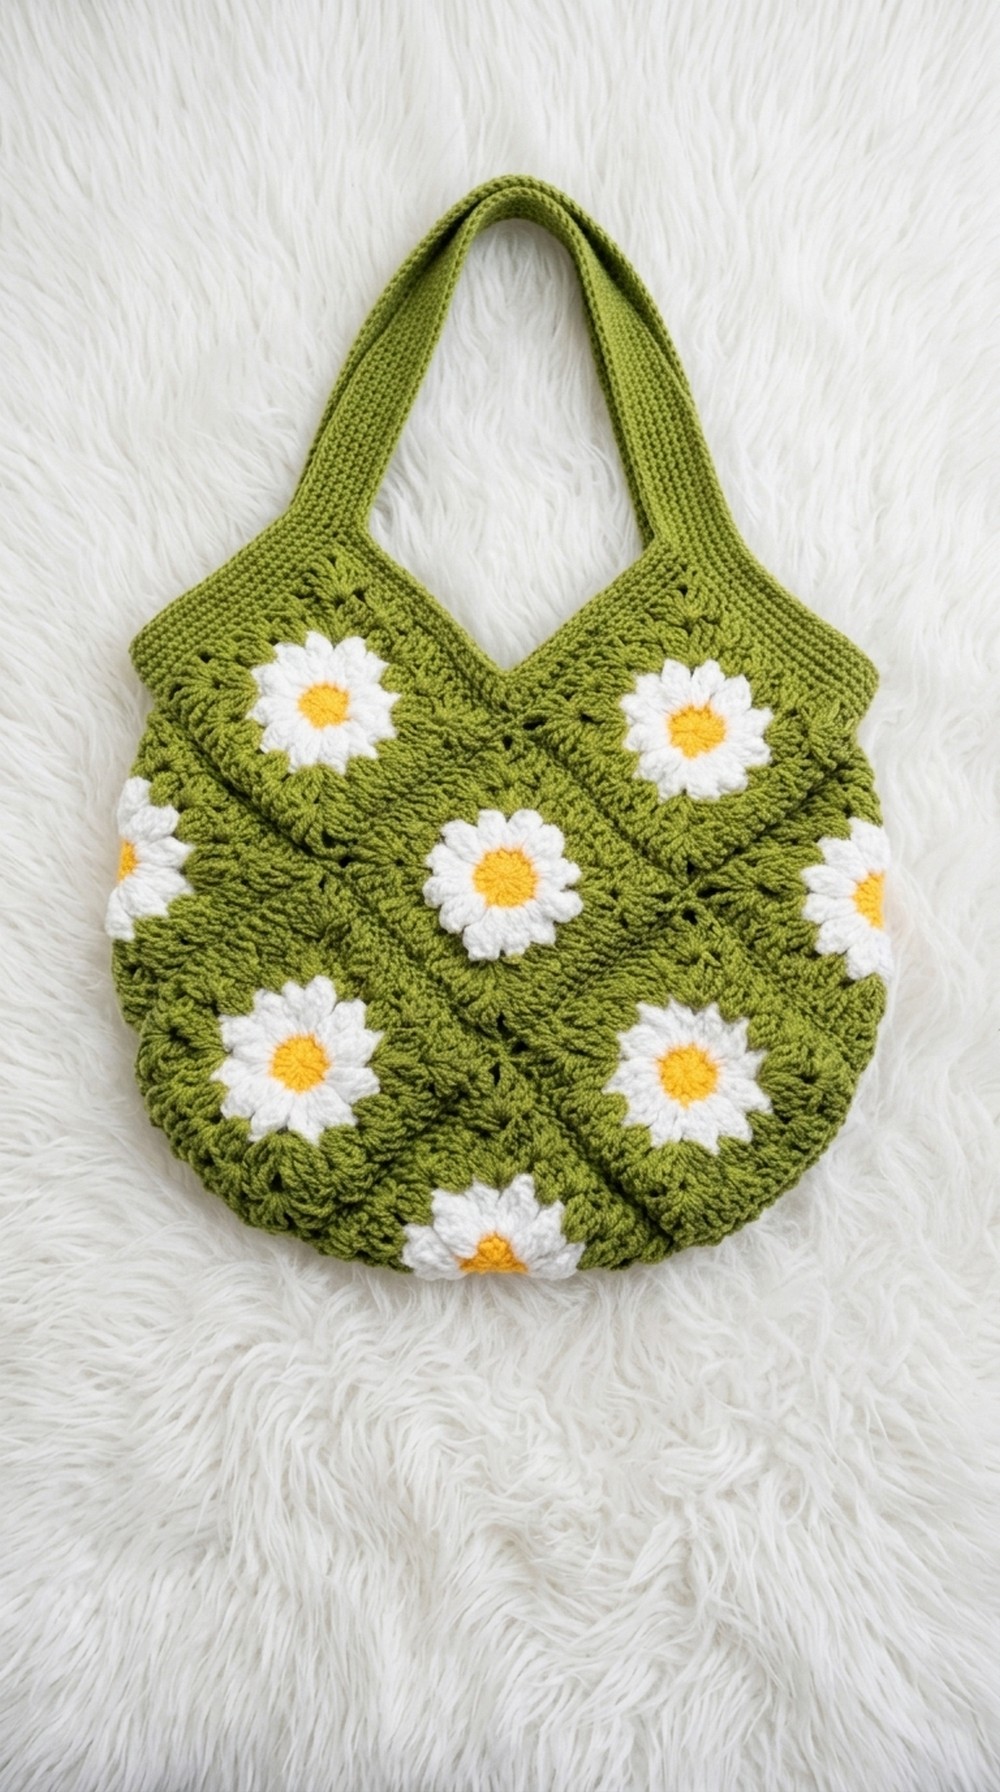
Daisy Granny Square Tote Bag
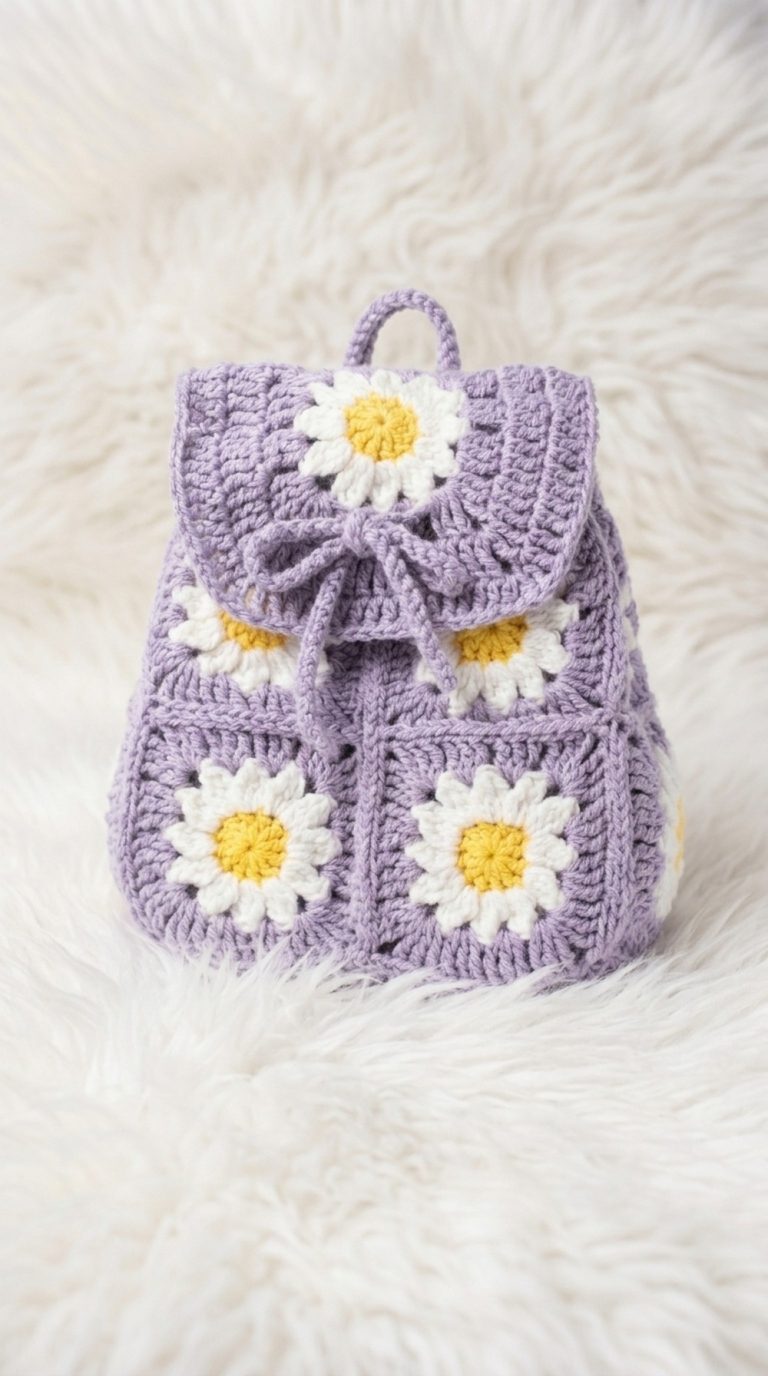
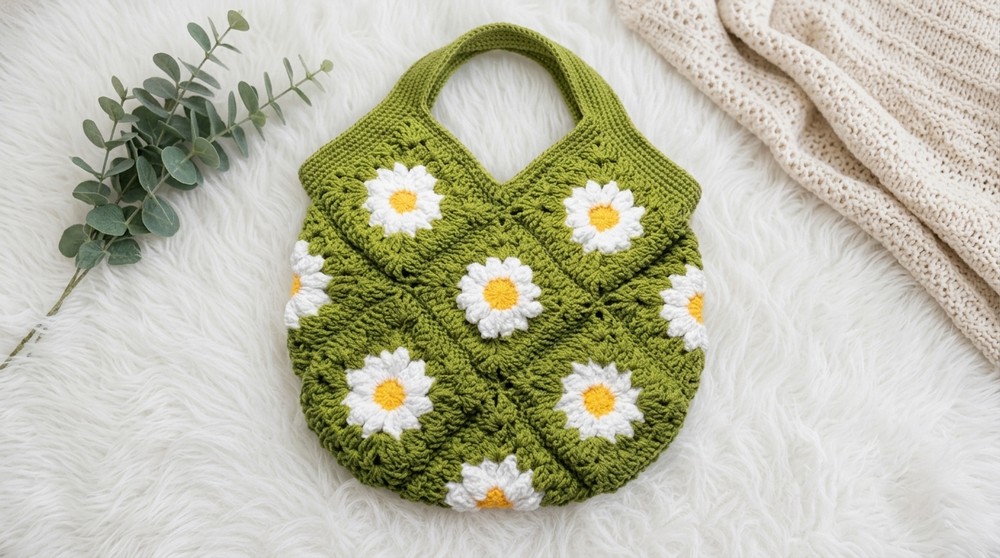
The Daisy Granny Square Tote Bag is an elegant handmade accessory featuring 13 daisy-themed granny squares joined together. With its simple yet eye-catching design, the bag is practical for everyday use and can be personalized with different colors and sizes. This project is ideal for showcasing your crochet skills while creating something beautiful and functional.
Skill Level
Intermediate – This pattern involves creating granny squares, working with treble crochets, and joining pieces together, making it suitable for crocheters familiar with these techniques.
Materials
- Yarn:
- Mustard Yellow: For the daisy centers.
- White: For the daisy petals.
- Jungle Green: For the granny square body and the bag straps.
- Crochet Hook: 4.5 mm.
- Additional Tools:
- Scissors.
- Tapestry needle (for weaving in ends).
- Button (for the closure).
Stitch Abbreviations
- Ch: Chain
- Sl St: Slip Stitch
- SC: Single Crochet
- DC: Double Crochet
- TR: Treble Crochet
- Magic Ring: Adjustable ring used as a base to crochet in the round.
Special Stitches
Treble Crochet (TR)
- Yarn over twice.
- Insert the hook into the stitch or space indicated.
- Yarn over and pull up a loop (4 loops on hook).
- Yarn over, pull through the first two loops on the hook (3 loops remain).
- Yarn over, pull through the next two loops (2 loops remain).
- Yarn over and pull through the remaining two loops to complete the stitch.
Magic Ring
- Form a loop with the yarn and hold it with your fingers.
- Insert the hook through the loop, pull up a loop, and chain one to secure the ring.
- Work the desired number of stitches into the ring, and pull the tail to close the loop tightly.
Useful Tips
- Consistent Tension: Maintaining the same tension throughout will ensure all your granny squares are uniform in size and shape.
- Block Squares: Wet blocking or steaming the finished granny squares will give them a clean, professional appearance and make joining easier.
- Plan Ahead: Arrange the 13 squares into your desired layout before joining them to avoid unnecessary adjustments later.
- Handle Lengths: Customize handle length by varying the number of chains while maintaining an even stitch pattern for uniformity.
- Strap Strength: Reinforce the straps with several rows of single crochet to create durable and comfortable handles.
Pattern Instructions
The Daisy Granny Square Tote Bag is worked in three main phases: Creating the Daisy Granny Squares, Joining the Squares, and Finishing the Bag. Follow these detailed sections for a step-by-step guide.
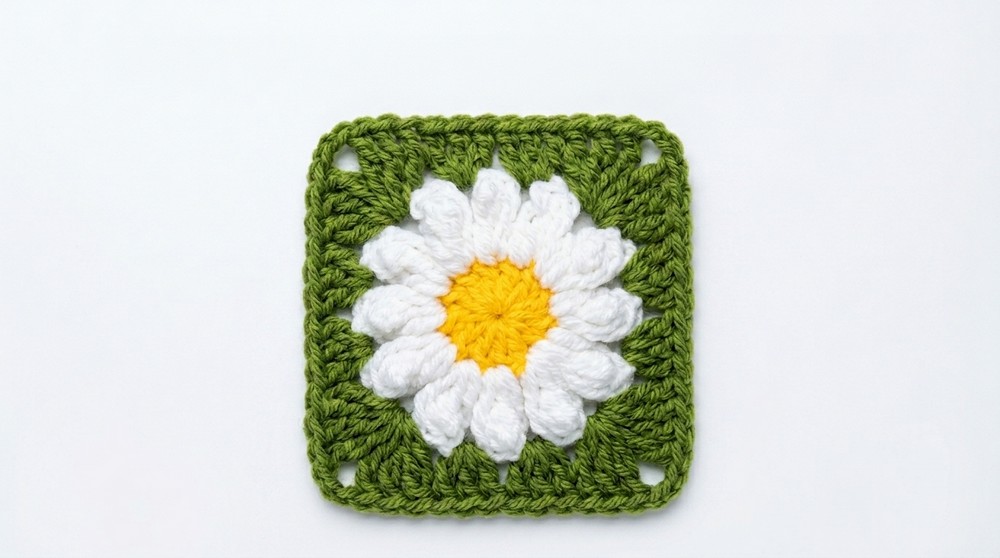
Phase 1: Making the Daisy Flower
The daisy motif in each square is worked in two parts: the center and the petals.
Step 1: Center of the Daisy
- Create a magic ring.
- Ch 3 (does not count as a stitch).
- Work 12 DC into the magic ring.
- Pull the ring tight to close completely.
- Join with a Sl St into the first DC.
- Cut and fasten off the mustard yellow yarn.
Step 2: Creating the Petals
- Attach white yarn with a Sl St to any stitch from the previous round.
- Ch 4 (counts as the first TR).
- Work 3 TR into the same stitch.
- Sl St into the top of the Ch 4. Ch 2 to move to the next petal space.
- Repeat this sequence (4 TRs in a stitch, Sl St into chain top, Ch 2) in each of the 12 stitches from the previous round to form 12 petals.
- Join with a Sl St to finish and cut and fasten off.
Phase 2: The Granny Square
The daisy is encased in a colorful green granny square that expands the motif into a larger square.
Round 1: Create the Base of the Granny Square
- Attach jungle green yarn into a petal gap with a Sl St.
- Ch 4 (counts as the first TR), and work 2 TR, Ch 2, 3 TR into the same space (first corner created).
- In the next 2 petal spaces, work 3 DC in each space (no chains in between).
- Repeat the corner/side pattern (3 TR, Ch 2, 3 TR for the corner; 3 DC in gaps along the side) until reaching the start of the round.
- Join with a Sl St to the first TR and fasten off.
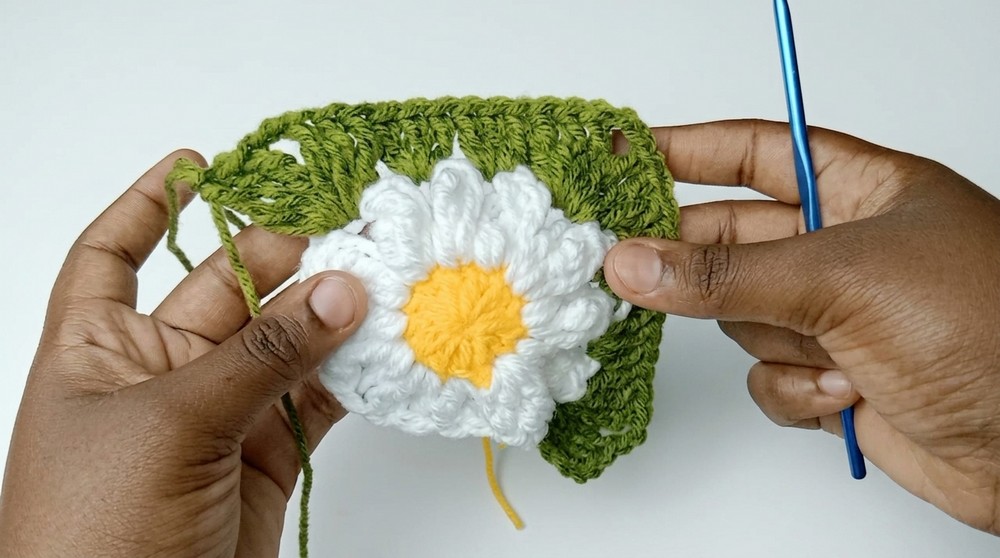
Round 2: Expanding the Granny Square
- Attach green yarn into any corner space.
- Ch 4, work 2 TR, Ch 2, 3 TR into the same corner space.
- Work 3 DC into each space along the side of the square.
- Repeat the corner/side pattern (3 TR, Ch 2, 3 TR for corners; 3 DC in side spaces).
- Join with a Sl St, and fasten off.
- Make 13 squares total using this process.
Phase 3: Assembly and Finishing
Joining the Squares
- Arrange all 13 squares into the desired layout for the tote bag. This typically involves:
- 5 squares for the front panel.
- 5 squares for the back panel.
- 3 squares for the bottom panel.
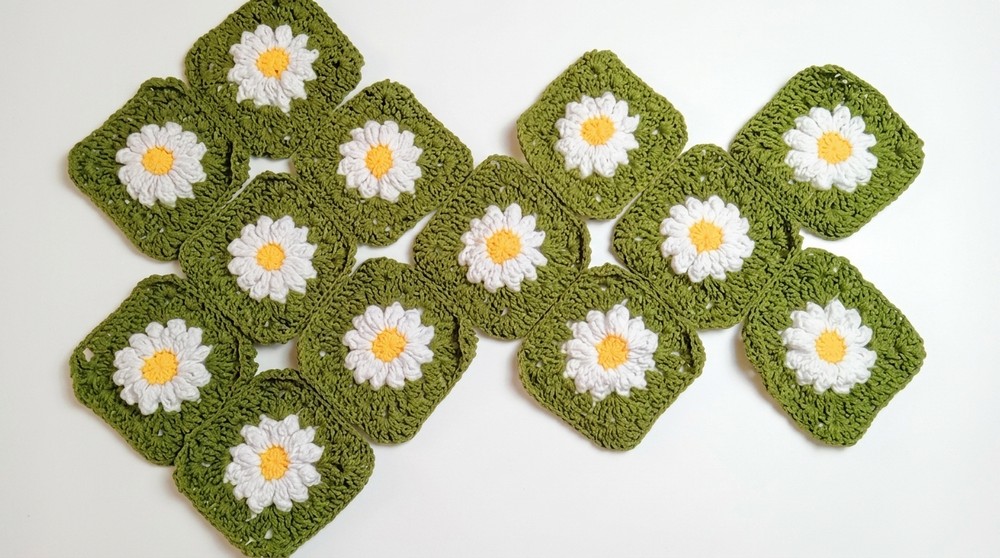
- Using the wrong sides together, join the squares into place using a single crochet join. Work through the back loop of one square and the front loop of the adjacent square for clean seams.
Creating the Straps
- Attach green yarn to any corner space along the top edge.
- Work 1 row of single crochets around the entire top edge to stabilize it.
- At the top corners of the bag, Ch 60 (or a custom length) to create a strap. Attach the chain to the opposite corner with a Sl St, forming the handle.
- To strengthen the strap, work 8 rounds of single crochet around the strap, continuing seamlessly around the entire top edge of the bag.
Adding a Closure
- Attach green yarn to the center of the top edge of one panel.
- Ch 16, then work back along the chain with Sl St into each chain stitch to create a sturdy button loop.
- Sew a button to the opposite side using thread or yarn, aligning it with the loop for a functional closure.
Conclusion
The Daisy Granny Square Tote Bag is a charming and practical accessory, perfect for day-to-day use or as a thoughtful handmade gift. The cheerful daisy motif creates a fun, summery vibe, while the solid granny square base ensures durability. This pattern also allows room for creativity—experiment with different yarn colors, embellishments, or layouts to craft a bag that reflects your personal style.