Easy Crochet Cherry Keychain – Free Pattern

Learn to create a crochet cherry keychain with this simple pattern featuring step-by-step instructions for a fun and stylish accessory.
Imagine adding a splash of handcrafted charm to your everyday essentials with a sweet, playful accessory. This free crochet cherry keychain pattern offers just that—a delightful way to brighten your keys, backpacks, or handbags with a touch of whimsy and color.
Free Crochet Cherry Keychain With This Easy Pattern
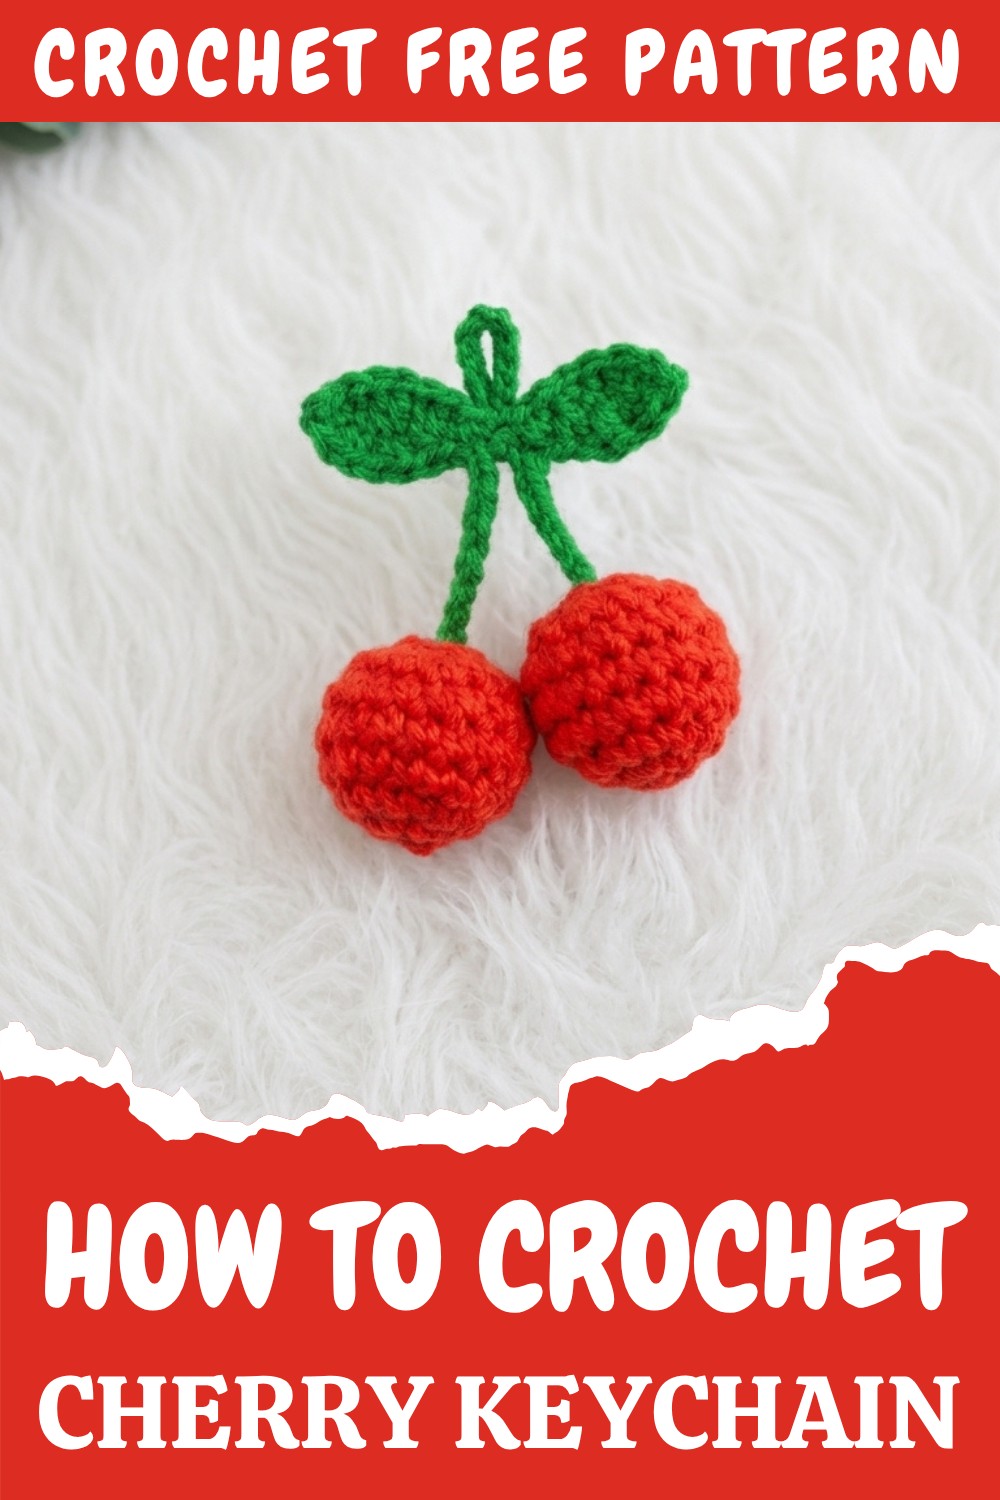
Perfect for gifting or personal use, this tiny crochet project is ideal for any season but shines particularly well during spring and summer when fresh, fruity motifs are in vogue. Whether you’re heading to a casual outing, beach day, or simply want to add personality to your daily carry, this cherry keychain pairs beautifully with vibrant accessories and casual styles.
The keychain features a soft yet sturdy texture created through tight single crochet stitches that give it durability without sacrificing a cozy feel. Its rounded cherry shapes are plump and inviting, achieved by cleverly stuffing the pieces to hold form. The subtle use of decreases and slip stitches shapes the cherries perfectly, while the attached crocheted leaf adds a natural, organic flair.
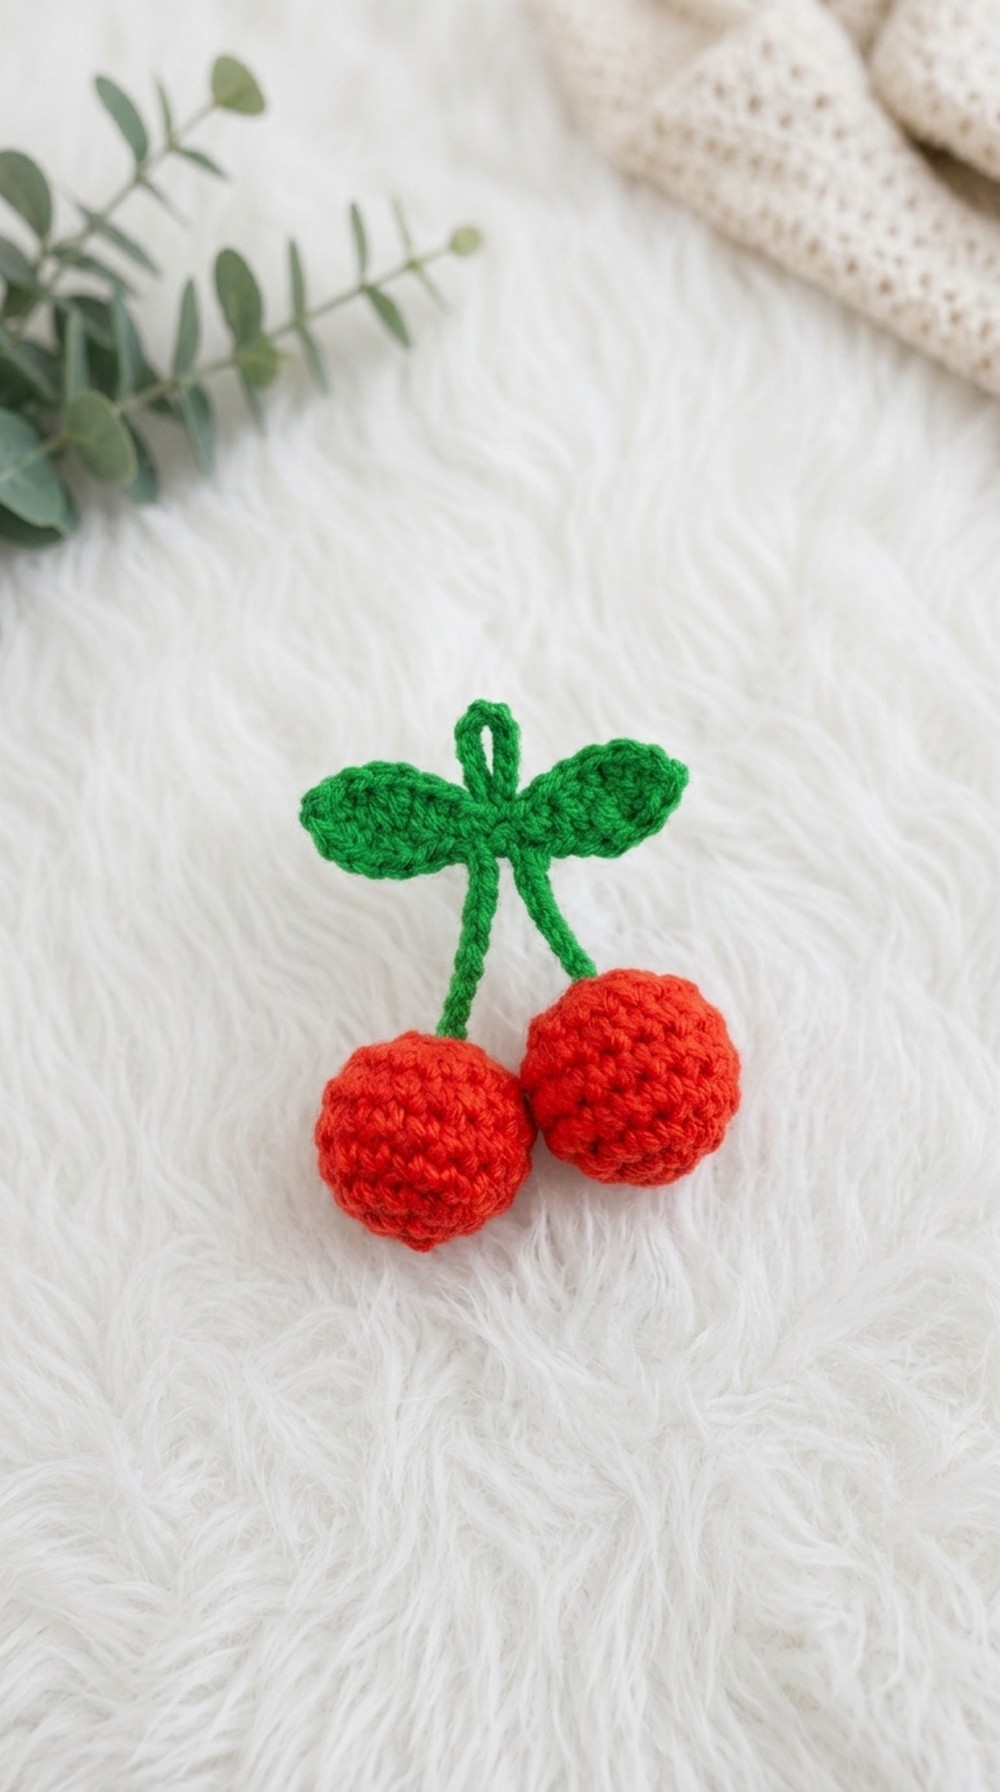
A standout aspect of this pattern is the charming combination of colors and the precise detailing on each cherry and leaf, which makes this keychain a mini work of art. Plus, its compact size and secure stitch work ensure it withstands everyday use, whether dangling from keys or adorning a zipper pull.
Crochet Cherry Keychain Pattern
The Crochet Cherry Keychain is an adorable handmade accessory that can be used as a charm for your keys, bags, or as a decorative piece. Simple yet delightful, this project combines small amigurumi techniques for the cherry bodies with a leaf and stem design. The pattern is beginner-friendly with clear step-by-step instructions, requiring only a few basic crochet skills.
Skill Level
Beginners – This pattern is great for newcomers as it uses basic stitches like single crochet, half-double crochet, and double crochet. It’s an excellent introduction to working with a magic ring and creating 3D shapes for small amigurumi projects.
Materials
- Yarn:
- Red: For the cherries.
- Green: For the leaves and stem.
- Crochet Hook: 3 mm.
- Stuffing: Cotton fiber or polyfill for filling the cherry bodies.
- Additional Tools:
- Scissors.
- Tapestry needle (for sewing and weaving in ends).
- Keychain ring (for attachment).
Stitch Abbreviations
- Ch: Chain
- Sl St: Slip Stitch
- SC: Single Crochet
- HDC: Half Double Crochet
- DC: Double Crochet
- Dec: Decrease (combine two stitches into one)
Special Stitches
Magic Ring
The magic ring is used to begin crocheting in the round.
- Wrap the yarn around your fingers to form a loop.
- Insert the hook into the loop, pull up a loop, and chain 1 to secure the ring.
- Work the specified number of stitches directly into the ring.
- Pull the tail end of the yarn to close the ring tightly.
Decrease (Dec)
- Insert the hook into the first stitch and pull up a loop (2 loops on hook).
- Insert the hook into the next stitch and pull up another loop (3 loops on hook).
- Yarn over and pull through all three loops.
Useful Tips
- Stuffing the Cherries: Add stuffing piece-by-piece to shape the cherry but avoid overstuffing, as this may stretch the stitches too much.
- Secure Attachment: To ensure the cherries and leaves are firmly attached, sew through multiple spots and go back and forth while sewing the parts together.
- Keychain Ring Attachment: It’s easier to attach the keychain ring after the cherry and leaves are securely assembled. This prevents accidental unraveling.
- Color Play: Experiment with different shades of red, or use unconventional colors for a playful look.
Pattern Instructions
Follow each phase step-by-step to create your Crochet Cherry Keychain:
Phase 1: Creating the Cherry Body
You will crochet two spherical cherry bodies using the red yarn.
Cherry Body: Make 2
Round 1
- Create a magic ring, Ch 1, and work 6 SC into the ring.
- Pull the yarn tail to tighten the ring and close it tightly.
- Join to the first SC with a Sl St.
(Total: 6 SC)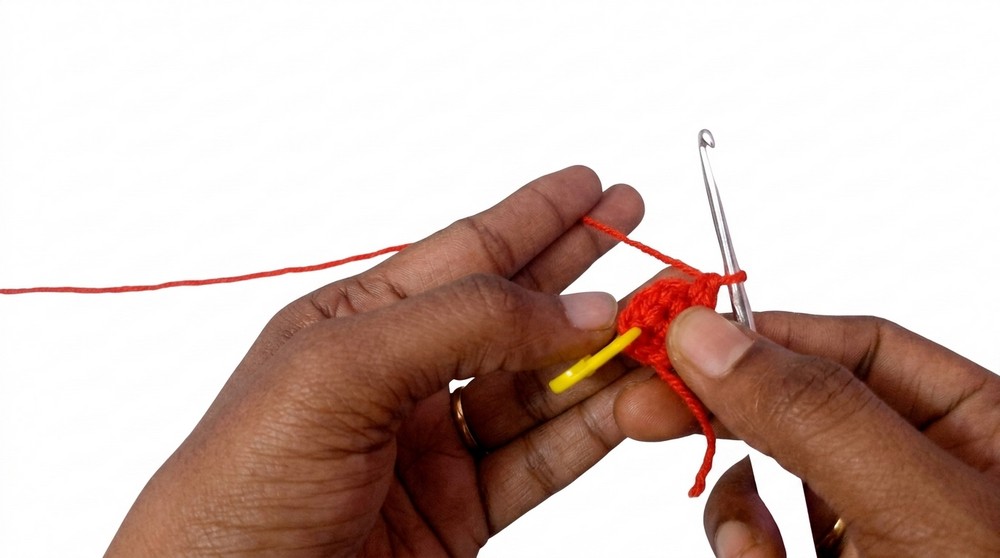
Round 2
- Ch 1, work 2 SC in each stitch around.
- Join to the first SC with a Sl St.
(Total: 12 SC)
Round 3
- Ch 1, work [1 SC in next stitch, 2 SC in next stitch] and repeat around.
- Join to the first SC with a Sl St.
(Total: 18 SC)
Rounds 4-5
- Ch 1, work 1 SC in each stitch around.
- Join to the first SC with a Sl St. Repeat this step for 2 rounds.
(Total: 18 SC per round)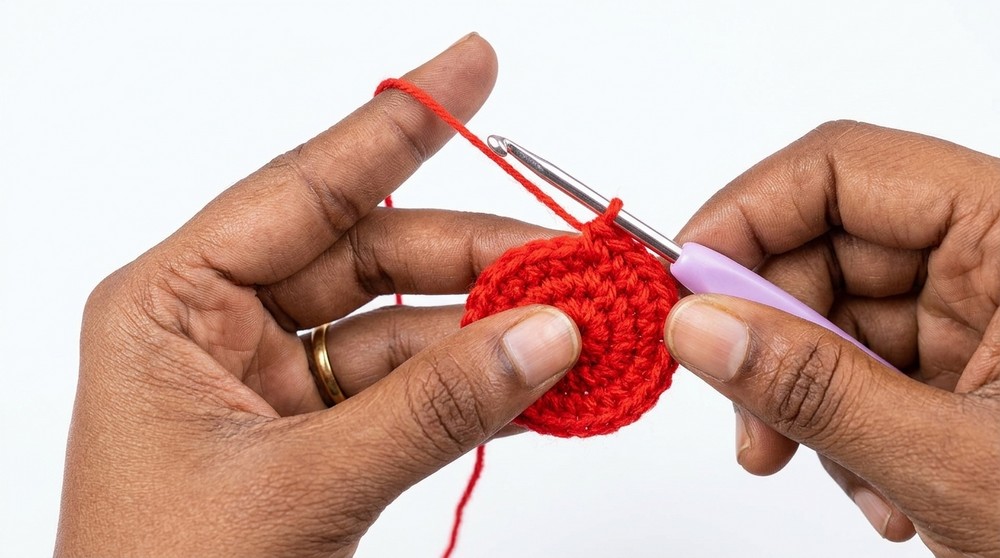
Round 6 (Decreasing Round)
- Ch 1, work [1 SC in next stitch, Dec] and repeat around.
- Join to the first SC with a Sl St.
(Total: 12 SC)
Finishing the Cherry Body
- Ch 1 and leave a long tail for sewing. Cut the yarn.
- Fill the cherry with cotton fiber or polyfill for added shape and firmness.
- Using a yarn needle and the leftover tail, thread through the front loops of the remaining stitches to tighten and close the top of the cherry. Pull securely and weave in the ends.
Phase 2: Creating the Leaves and Stems
Using green yarn, you will create a simple yet beautiful leaf design attached to stems.
Leaf and Stem (Part 1)
- Start with a slip knot.
- Ch 16 (length of the stem).
- Skip the first chain from the hook, and then work the following sequence, one stitch per chain:
- 1 SC, 1 HDC, 1 DC, 1 HDC, 1 SC, and 1 Sl St.
Leaf and Stem (Part 2)
- Ch 7, skip the first chain from the hook. Then work the following sequence (one stitch per chain):
- 1 SC, 1 HDC, 1 DC, 1 HDC, 1 SC.
- Slip stitch back to the base to attach the second leaf to the stem.
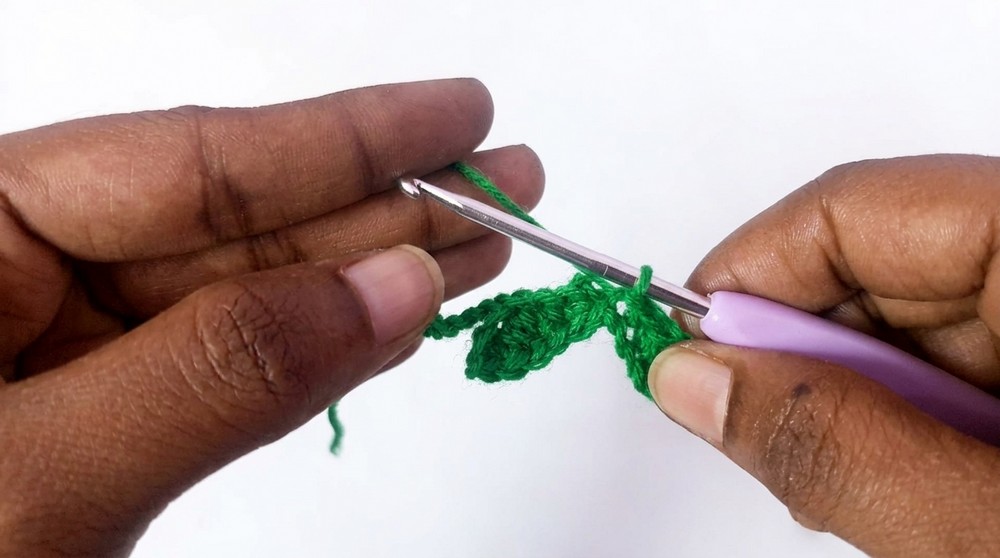
Final Stem Chain
- After completing the two leaves, Ch 8, then cut the yarn, leaving a long tail for sewing.
Phase 3: Assembly
Attaching the Leaves
- Take the two cherry bodies and the completed leaves with stems.
- Using a yarn needle and one of the long tails, sew one cherry to the base of the chain on one leaf. Secure it by threading the needle through the yarn at multiple points and knotting it tightly.
- Attach the second cherry to the base of the second leaf in the same way.
Securing the Pieces
- Connect the leaf and stem piece to the top of the cherry pair. Make sure the leaves and stem are balanced on top of the two cherries.
- Pass the needle through multiple sections to ensure a strong hold.
Adding the Keychain Ring
- Once the leaves and cherries are securely sewn together, attach a keychain ring to the Ch 8 loop created at the end of the stem.
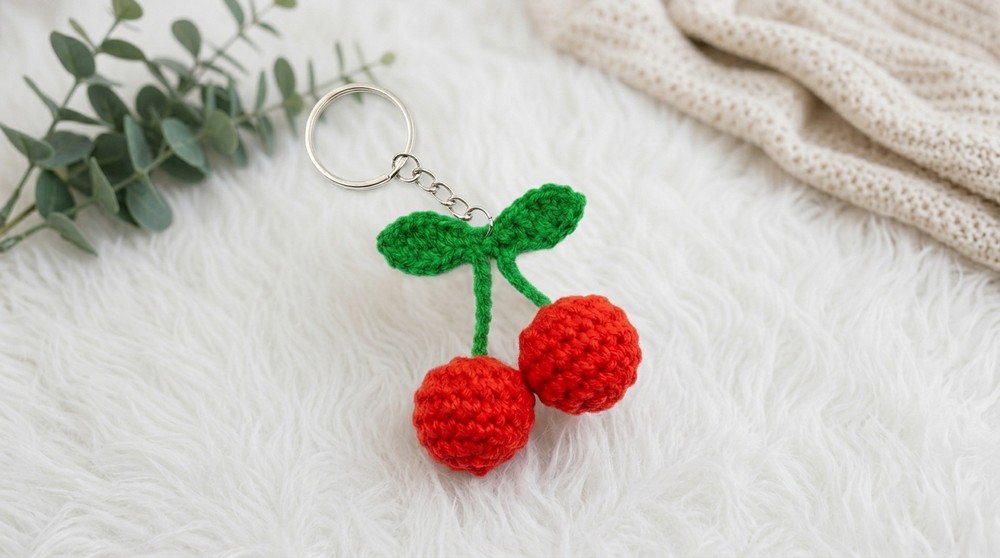
Conclusion
The Crochet Cherry Keychain is a delightful and cheerful project that serves as an excellent handmade gift or personal accessory. The dainty design, combined with the classic appeal of crochet art, makes it timeless. With just a small amount of yarn and a little time, you can craft these charming keychains to brighten your day. Detailing such as the delicate petals and the chic green leaves with a sturdy drawstring and button closure not only adds functionality but also delivers a finished look that stands out.