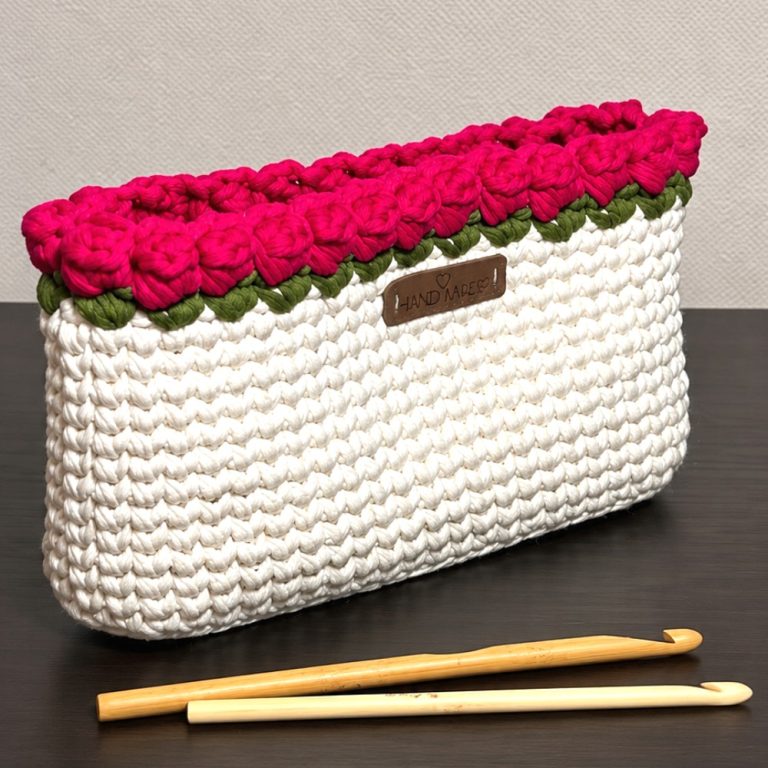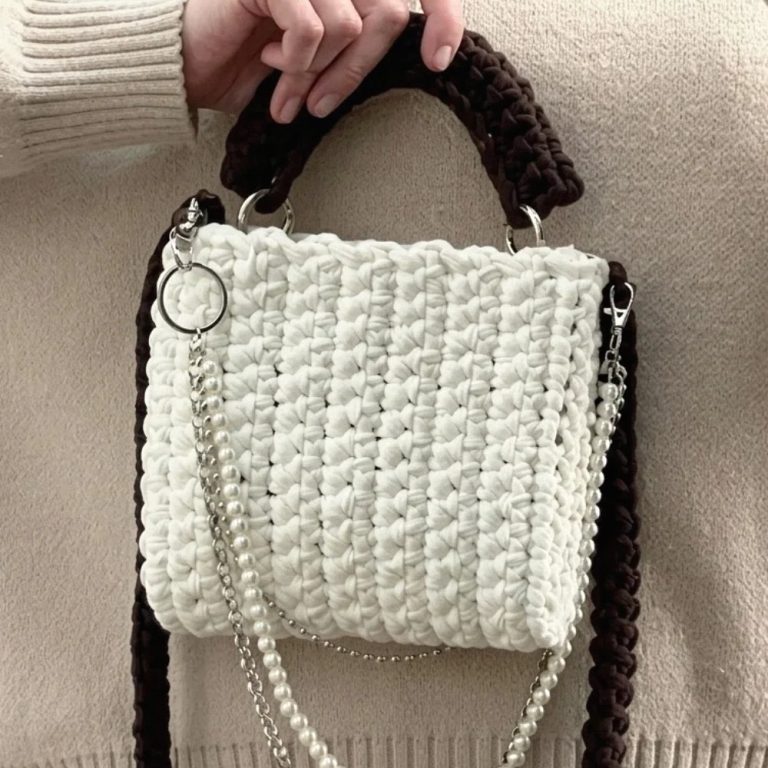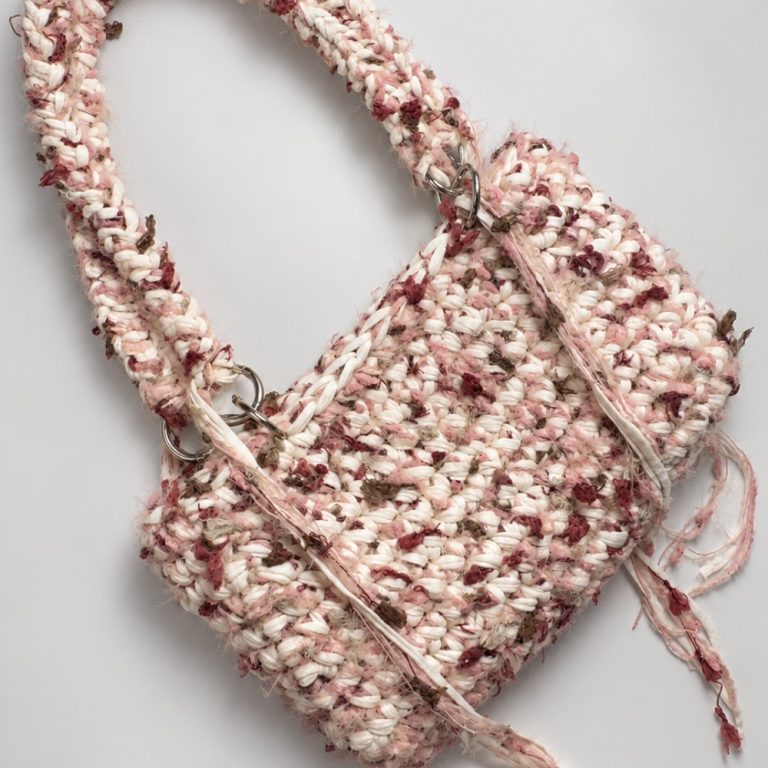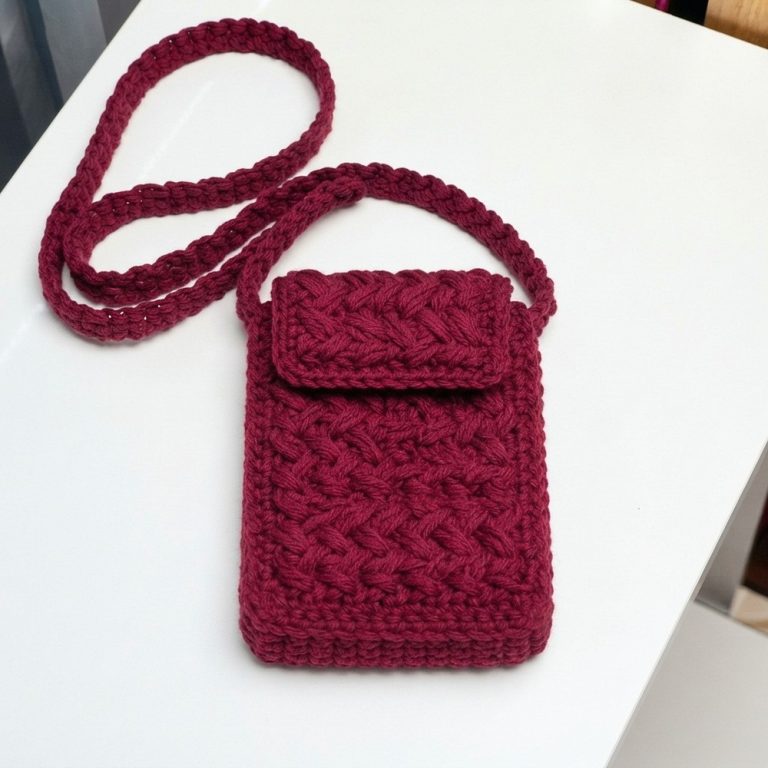
Free Shoulder Bag Crochet Pattern for Casual Outfits

Express your creativity with ease through this free crochet shoulder bag pattern that’s offering a stylish solution to combine fashion and utility effortlessly.
Free Shoulder Bag Crochet Pattern for Summer Outfits
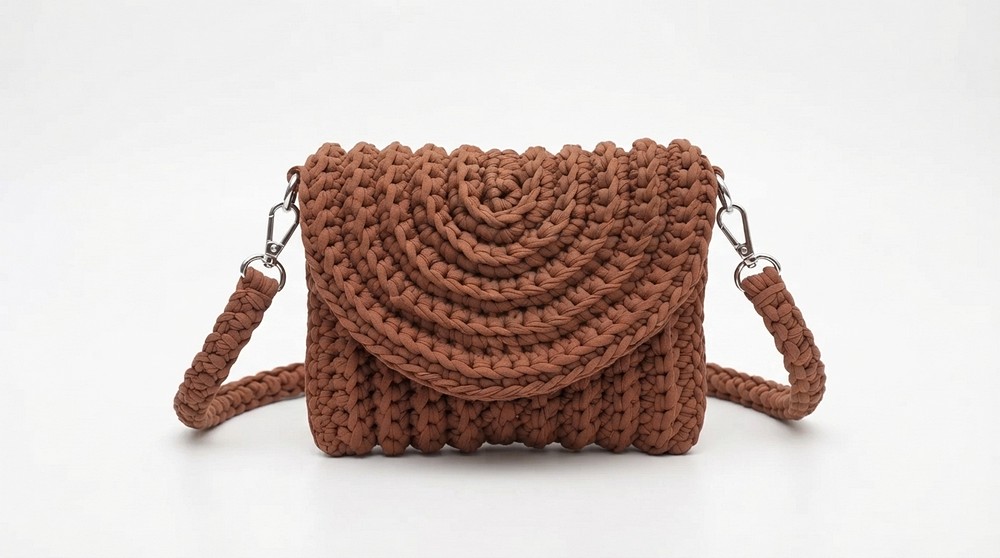
Displaying this chic handmade purse around town brings delightful pride to every outing. These versatile bags also make wonderful, thoughtful presents for friends and family during upcoming birthdays or winter celebrations, offering long-lasting beauty that your loved ones will cherish during every single season.
Crochet Cross-Body Bag Pattern Using Halva T-shirt Yarn
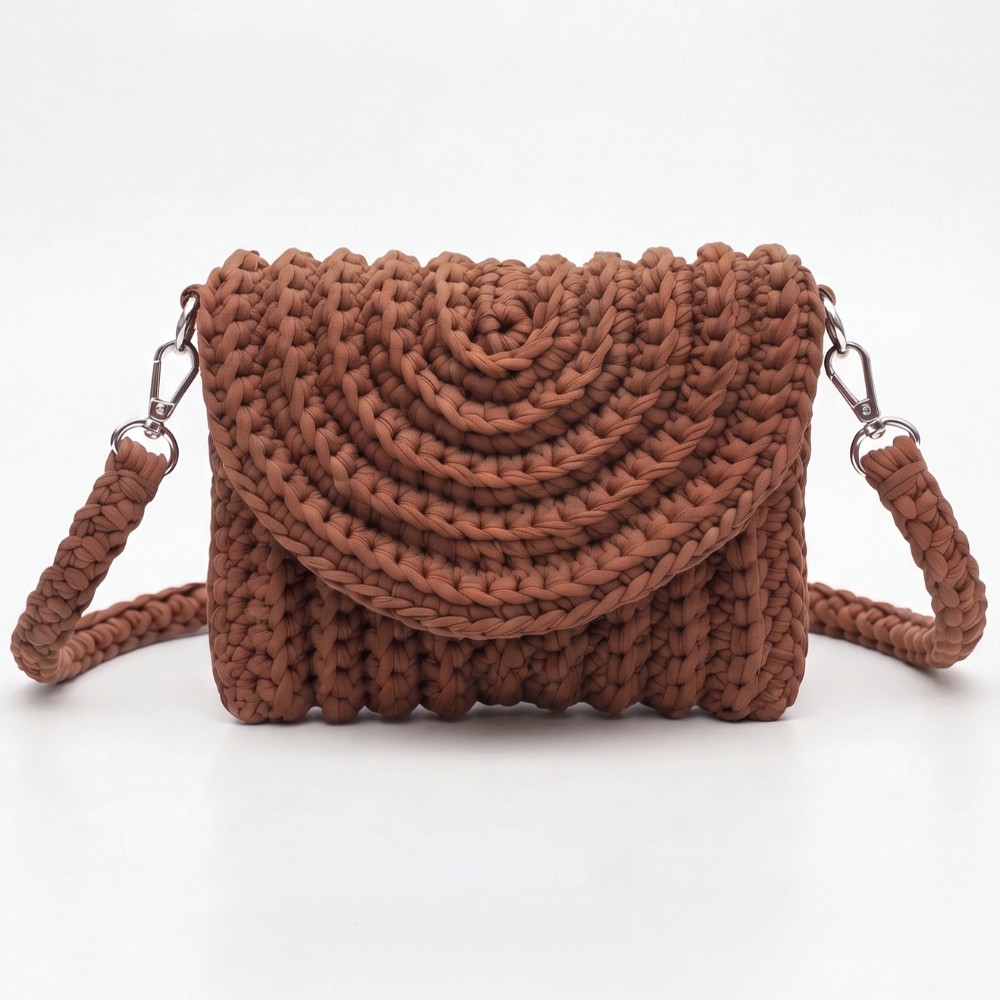
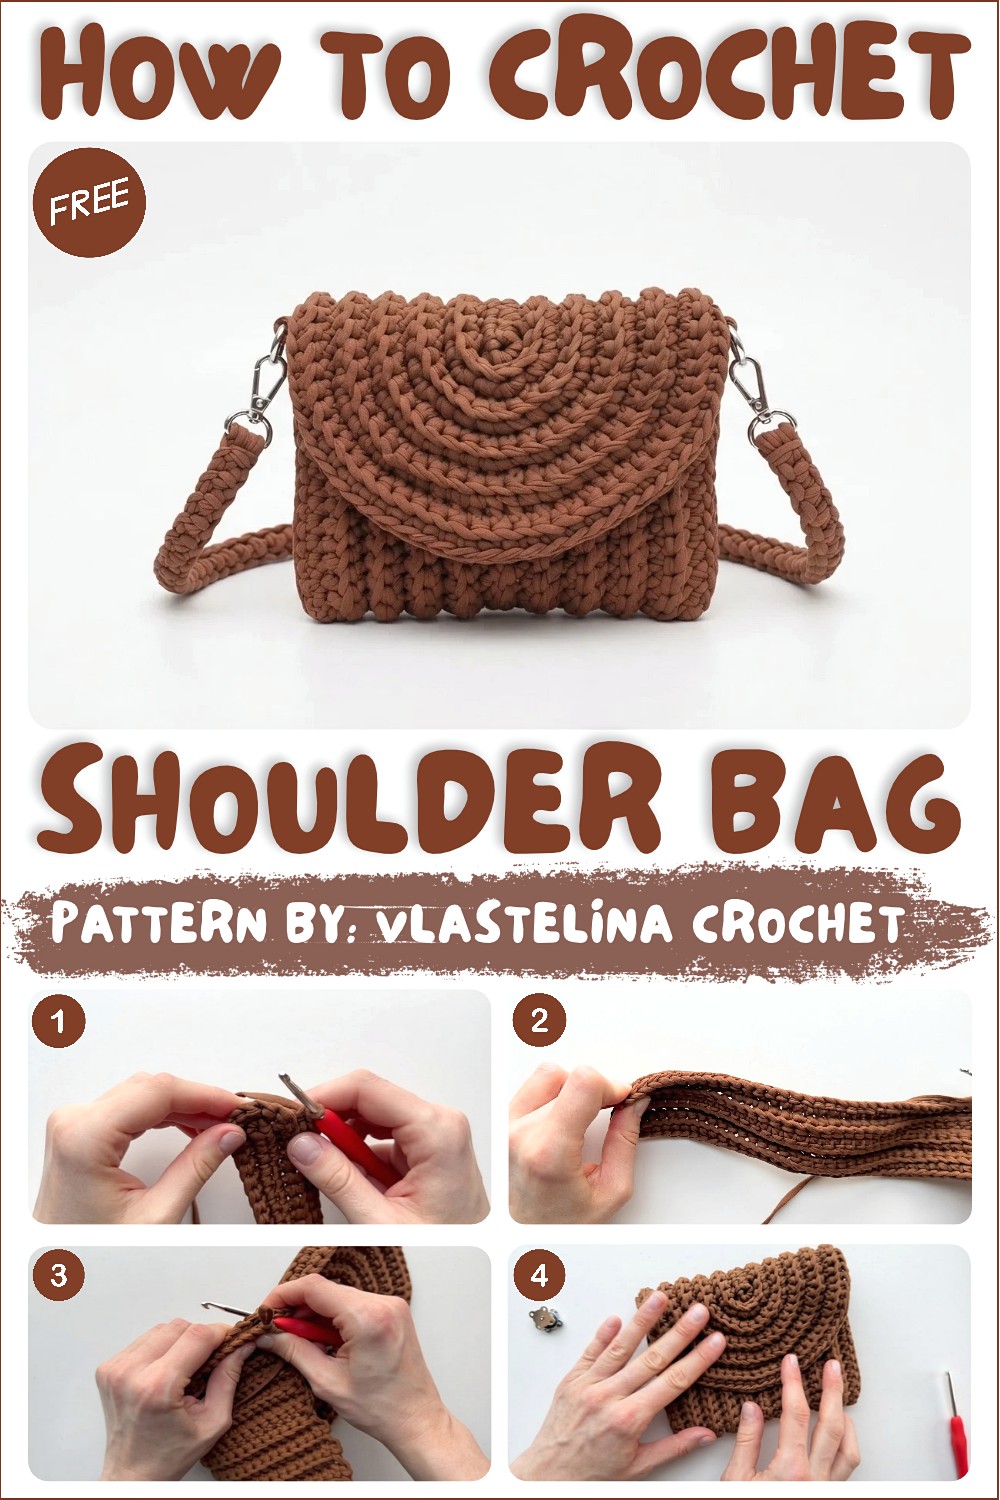
This crochet tutorial guides you through creating a stylish and functional cross-body bag using Halva t-shirt yarn in a warm cinnamon color. The pattern is highly customizable—adjusting the size is as simple as changing the starting chain count. The bag features a sturdy rectangular base, seamless body construction, and a long adjustable strap attached with carabiner clips. A convenient button closure adds style and security. Perfect for everyday casual use, this project teaches foundational crochet skills such as working in rounds with increases and creating straps with single crochet rows.
Pattern Highlights
- Customizable base size: Adjust starting chain length to create larger or smaller bags.
- Seamless body construction: Worked in rounds using back loops to maintain texture and stability.
- Controlled increases: Precise increases on turning rounds for a flat rectangular base that grows evenly.
- Simple strap: Crafted in rows of single crochet attached to carabiner clips for easy adjustability.
- Functional additions: Includes carabiner clips and a button closure for practicality and style.
Notes
- The pattern uses back loop only crochet for body rounds to enhance structure.
- Increases at turning points help the base expand flatly; following the prescribed increase repetition is important to keep the shape.
- The final assembly involves folding the rectangular piece and slip stitching the sides.
- The strap length is customizable by continuing rows until the desired length is reached.
- Carabiner clips provide an adjustable and detachable strap option.
- This pattern is suitable for intermediate crocheters familiar with rounds and working with bulky yarn.
Skill Level
Intermediate: Requires knowledge of single crochet, working in rounds, back loop crochet, increasing stitches systematically, and slip stitching for assembly.
Materials
- Yarn: 1 skein of Halva t-shirt yarn (3-4 mm thickness), Cinnamon color.
- Hook: 4.5 mm crochet hook.
- Extras: Scissors, carabiner clips (2 pieces), and one button for closure.
Measurements / Sizing
- The size of the bag is adjustable by altering the starting number of foundation chains. The tutorial starts with 37 chains as the base width.
- Final dimensions depend on your crochet tension and total rows worked before folding and seaming.
- The strap length is approximately 100 cm but can be lengthened or shortened by adding or removing rows.
Gauge and Stitch Pattern
- The gauge is less critical due to the customizable nature but using the designated 4.5 mm hook with Halva yarn will yield a sturdy and flexible fabric.
- The body is constructed mainly using single crochet (SC) stitches worked into the back loops only to promote a dense, textured weave.
- The base is worked as a flat rectangular piece using increases at the corners and along the turning rounds to maintain shape and flatness.
Stitch Abbreviations
| Abbreviation | Meaning |
|---|---|
| ch | Chain |
| sc | Single crochet |
| sl st | Slip stitch |
Special Techniques
Working into Back Loops Only
- Insert your hook into only the rear vertical loop of the stitch instead of both loops. This adds texture and creates a ridge effect.
Increasing at Turning Rounds
- Increases are performed by working multiple sc stitches into the same stitch or space at the corner ends to allow for flat expansion of the rectangular base.
Step-by-Step Pattern
1. Base Foundation
- Make a slip knot and chain 37 stitches (you can adjust this number to make a larger or smaller bag).
- Add 1 turning chain (counts as the first stitch in the new row).
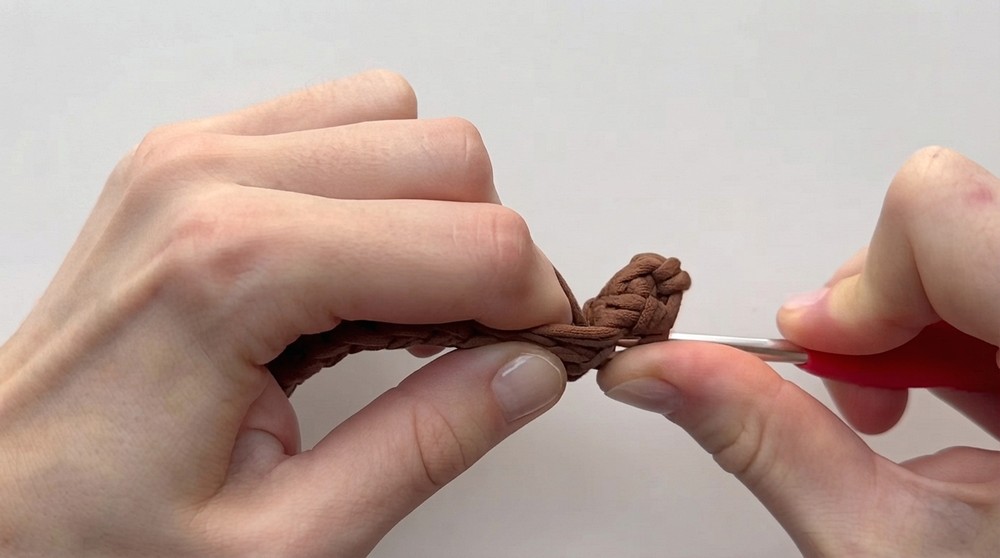
- Row 1:
- Work single crochet (sc) into the back loops only of each chain, skipping the very first chain to start.
- When you reach the end of the chain, work 3 single crochets (3 sc) into the last chain stitch to make a corner increase.
- Mirror side:
- Continue working along the opposite side of the foundation chain, inserting single crochets (sc) into the full stitch (both loops) this time.
- At the end of this side, again work 3 single crochets (3 sc) into the last stitch.
- You now have a firm rectangular base.
2. Body Construction – Working in Rounds
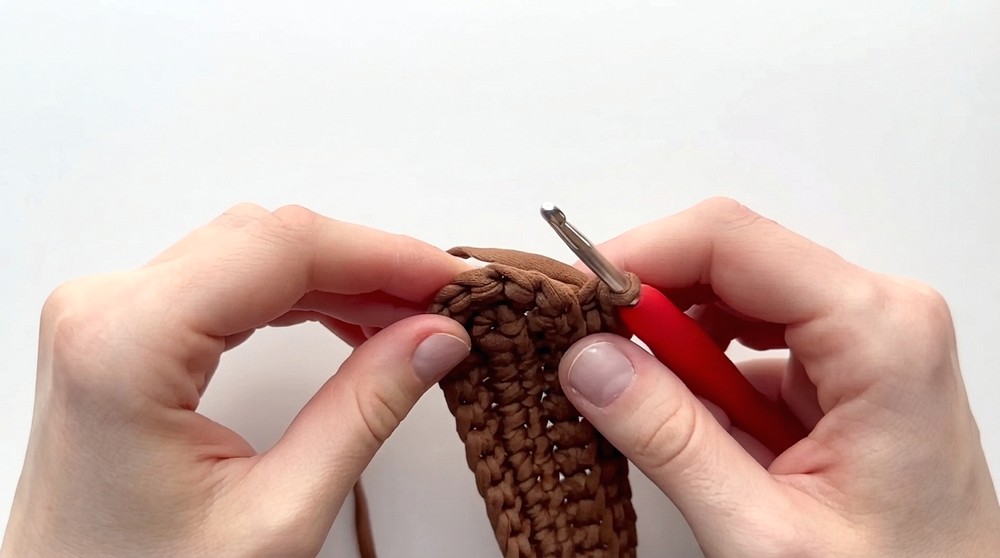
- Turn your work and start crocheting in rounds.
- Work single crochet (sc) stitches into the back loops only — this adds texture and sturdiness to the bag.
3. Increasing for Flat Base Expansion
At each corner of every round, perform 3 single crochets (3 sc) in the same corner stitch to allow the base to expand flatly.
Follow these increase patterns in the rounds between the corners:
- Round 2:
- 3 increases (each 3 sc) at corners.
- No increases in between corners yet.
- Round 3:
- Increase every other stitch between corners.
- Round 4:
- Increase every 2 stitches between corners.
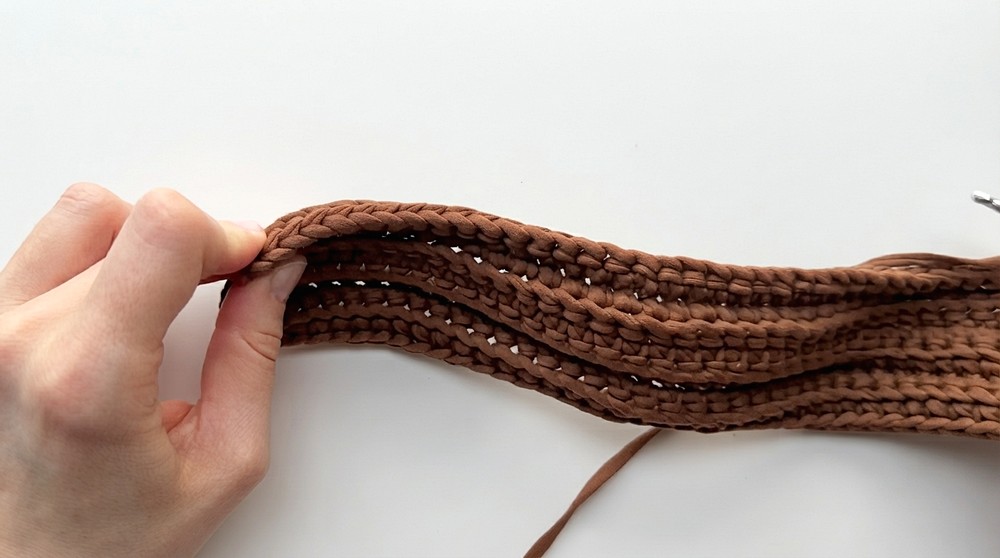
- Increase every 2 stitches between corners.
- Round 5:
- Increase every 3 stitches between corners.
- Round 6:
- Increase every 4 stitches between corners.
- Round 7:
- Increase every 5 stitches between corners.
- Round 8:
- Increase every 6 stitches between corners.
- Round 9:
- Increase every 7 stitches between corners.
- Round 10:
- Increase every 8 stitches between corners.
- Round 11:
- Increase every 9 stitches between corners.
Note: The number of stitches between increases grows each round to keep the base flat. This progression gives your bag a perfect rectangular shape.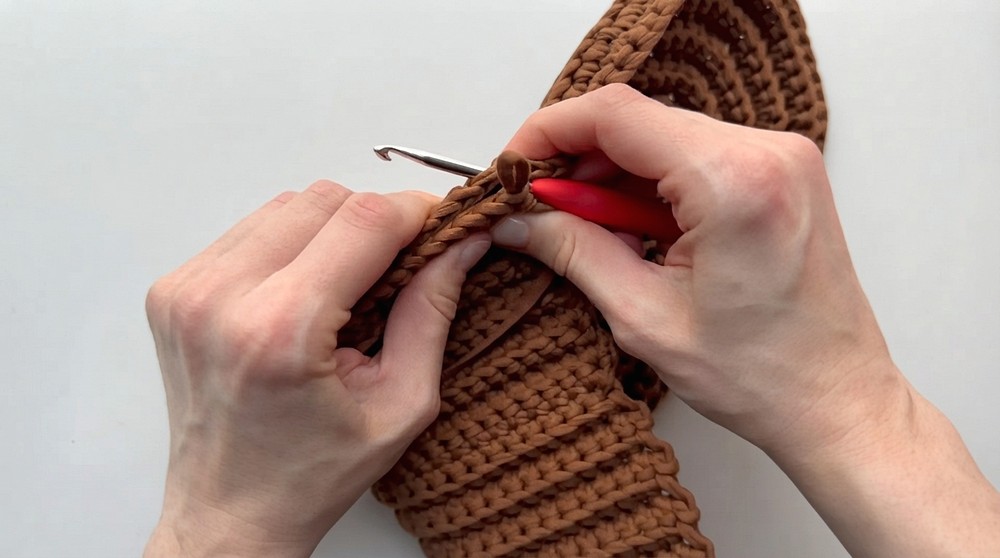
4. Finishing the Body and Assembling the Bag
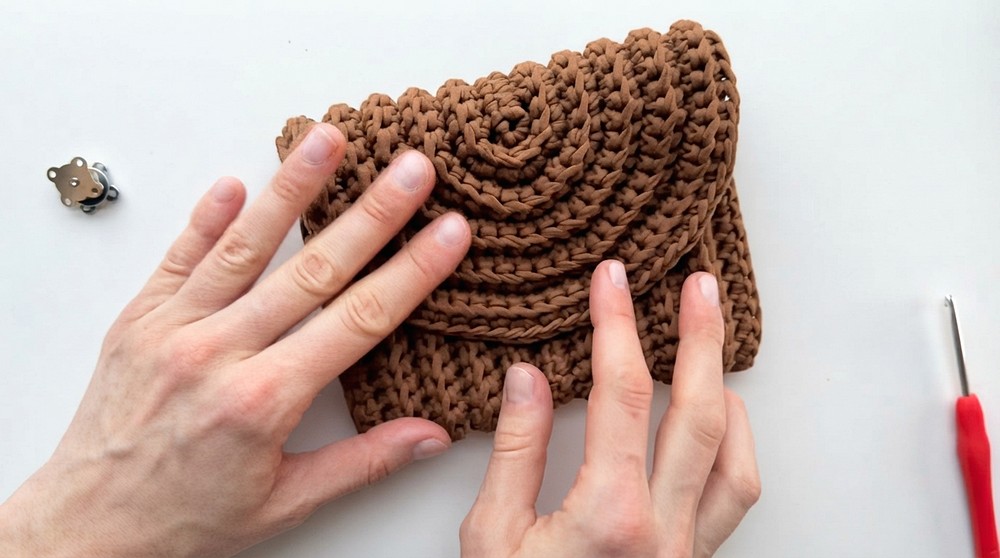
- Fold the piece in half to create the bag shape, with the base at the bottom and the sides matching up.
- Count 30 stitches along one edge and join the two sides together by working slip stitches (sl st) through both edges.
- Repeat on the other side to form a fully enclosed bag body.
- Turn the bag right side out so the seam is inside for a neat finish.
5. Making the Strap
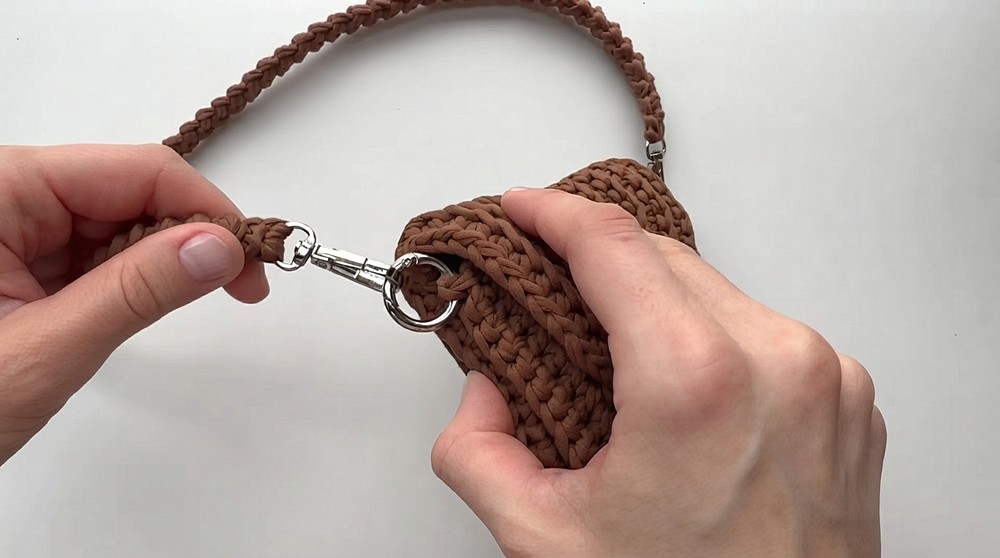
- Attach your yarn to a carabiner clip.
- Work 2 single crochets (2 sc) into the loop of the clip to secure yarn.
- Turn your work and crochet back and forth in rows of single crochet (sc).
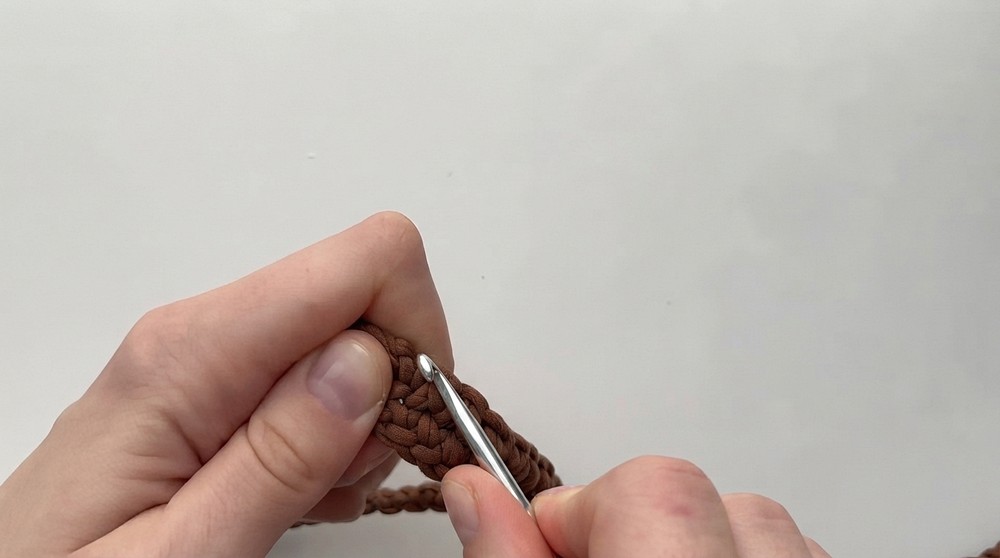
- Continue until the strap measures approximately 100 cm (or your desired length).
- Attach the free end of your strap to the second carabiner clip with the same method.
Assembly and Finished Size
- The size of your bag depends on the length of your foundation chain and how many rounds you crochet.
- Folding and slip-stitch joining the sides creates a sturdy rectangular bag shape.
- The single crochet strap clipped on both ends offers a comfortable, adjustable cross-body fit.
- Adding a button (optional) secures the top opening, completing your bag’s functionality and style.
Conclusion
This beginner-friendly crochet pattern for a cross-body bag teaches you how to work in rounds with systematic increases, giving you a beautiful flat base and a strong, textured body using single crochet in back loops only. The adjustable strap with carabiner clips adds versatility and ease of use. Perfect for daily use, this bag combines practical construction with stylish design.