Simple Lace Crochet Pattern (Completely Free)

Say Thanks & Support: (Ju and O)
Give your creative ideas a refined touch with this free crochet lace pattern that’s offering beautifully intricate designs to transform any look or space seamlessly.
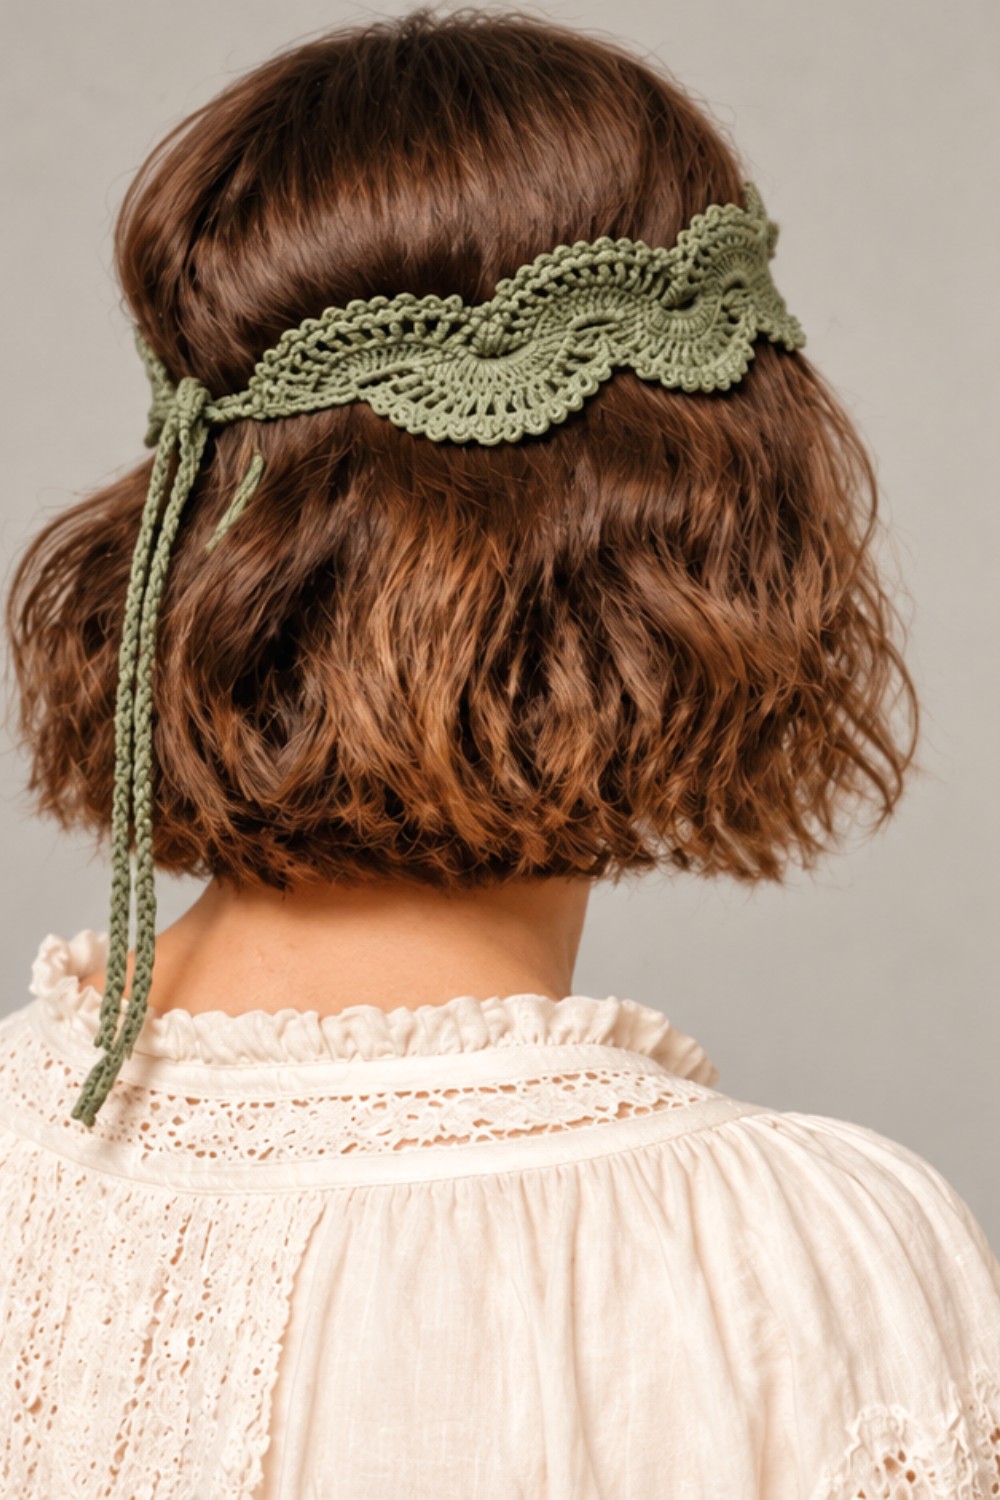
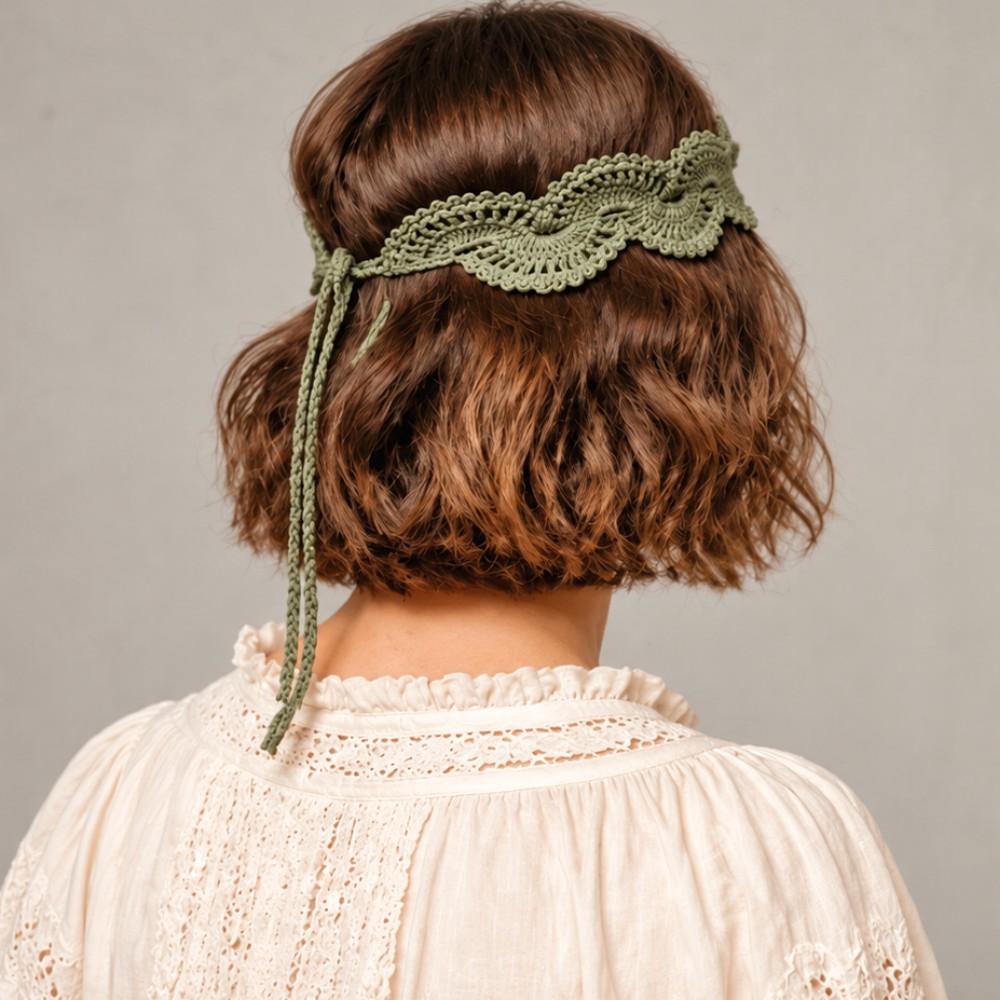
Delicate crochet lace designs can bring elegance and charm to any project. With a free crochet lace pattern, this beautiful design stands out for its intricate details, combining treble stitches, picots, and arches to form a graceful and timeless piece. The symmetrical structure gives it a refined, polished look, while the lacework ensures an airy, lightweight texture.
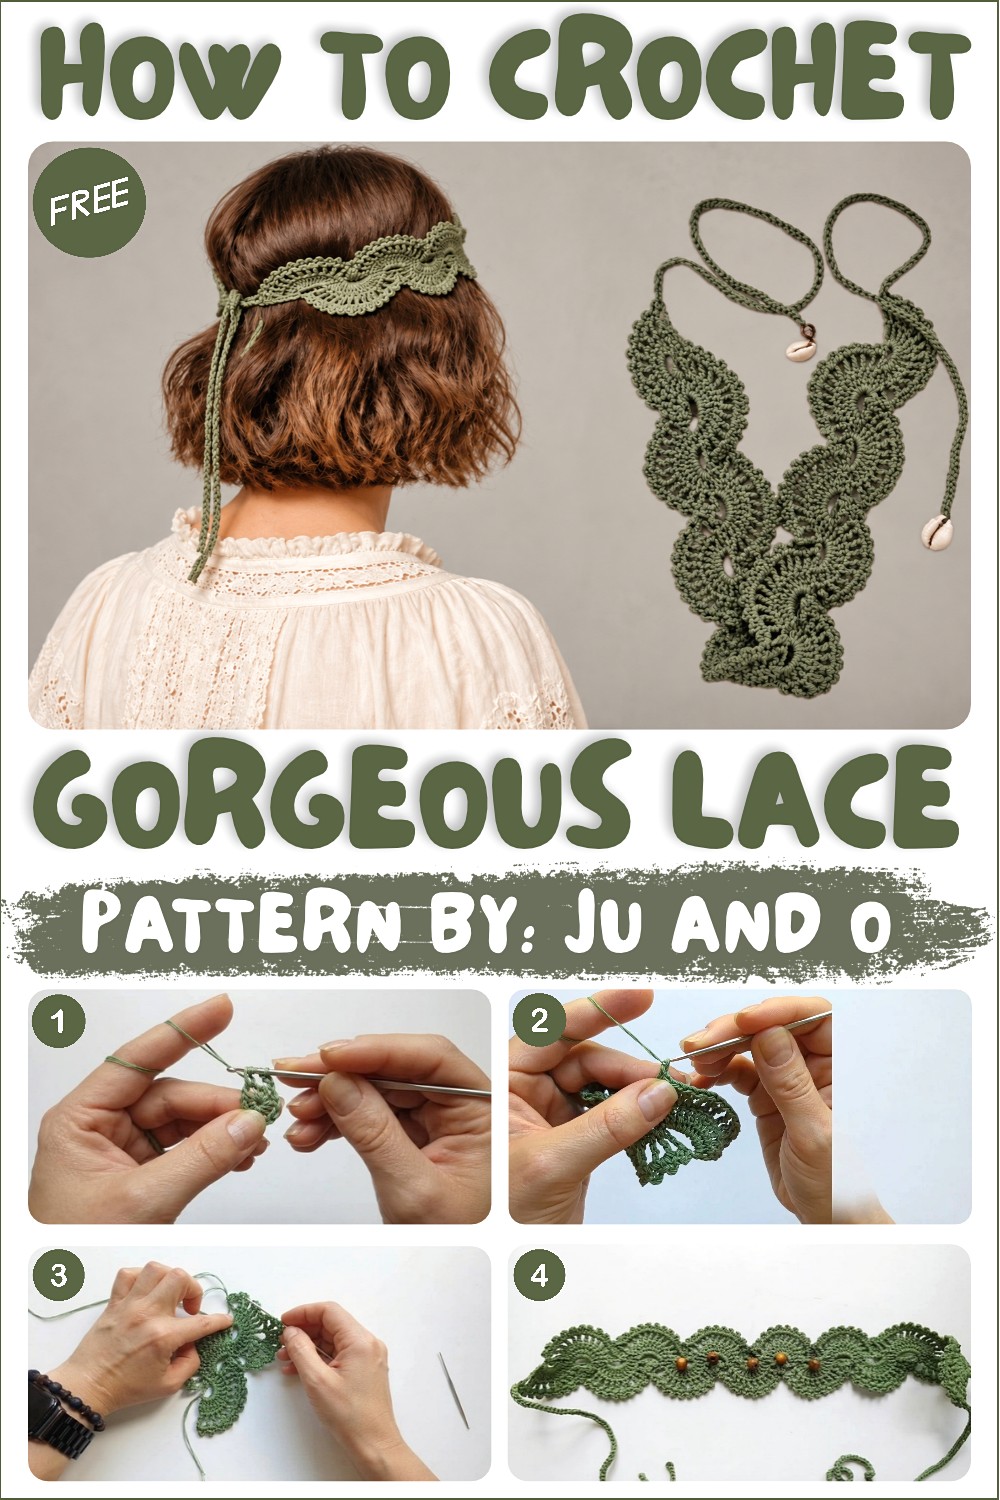
Beautiful Lace Free Crochet Pattern for Every Project
This versatile design isn’t just lovely; it’s highly functional. Perfectly suited for headbands, neck chokers, or even decorative belts, it can be customized with different yarn colors or embellished with beads for a personal touch. Its soft, flowing appearance makes it ideal for handmade gifts or accessories that add an elegant flourish to any outfit.
The (Ju and O) YouTube channel provides detailed and engaging tutorials for crochet enthusiasts. With clear, step-by-step demonstrations, it’s a helpful resource for mastering patterns just like this one, supporting crocheters in bringing artistic designs to life.
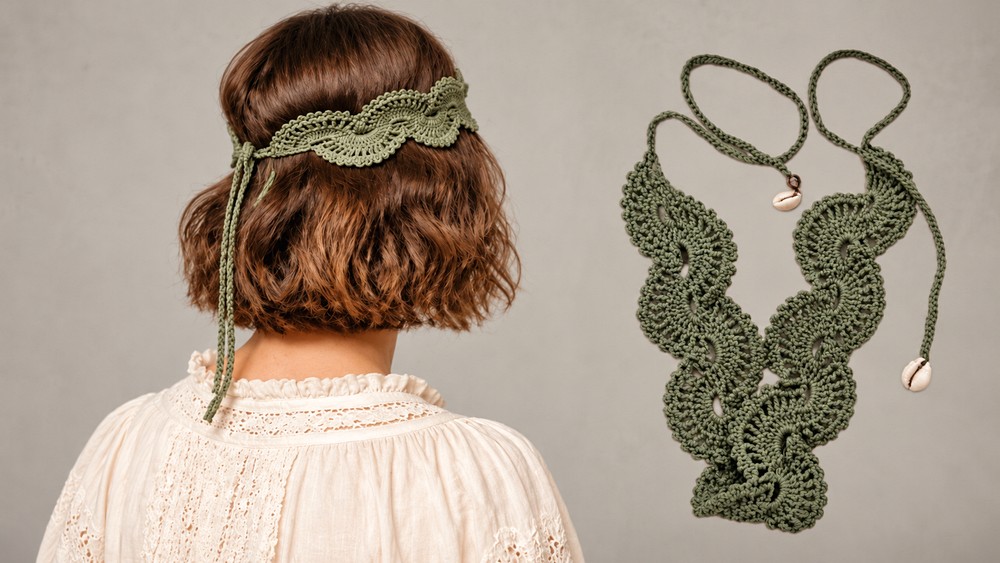
This lace pattern is a great project for intermediate crocheters who want to refine their skills, especially with detailed stitches and small hooks. The end result is more than an accessory—it’s a statement piece with both beauty and practical value, offering plenty of opportunities for creativity and personalization.
Lace Crochet Shell Design Pattern for Headbands, Chokers, or Belts
This beautiful lace crochet pattern features an elegant shell design ideal for creating delicate headbands, chokers, or belts. The pattern uses treble crochet and picot stitches to make an airy, textured fabric with pretty peaks along the edges. Since the design is modular, you can repeat the shell sections as many times as you want to make your desired length. This beginner-friendly guide explains each step clearly, helping you achieve a lovely finished piece, even if you are new to some stitches.
Quick Overview of Pattern
You will start by making a small ring with chains and work treble crochets into it to form a shell base. The next row adds open spaces between treble crochets for a lacy look. A picot row creates decorative peaks on the edge. Each shell section connects to the previous one by joining at specific points, making a continuous strip of lace. Finally, you will create ties by chaining and slip stitching to complete the piece.
Notes
- This pattern works best with fine thread or lightweight yarn and a small hook to show off the lace details.
- You may adjust your hook size depending on your yarn and tension to get the lace openness you like.
- Consistent tension makes the shells even and the joins seamless.
- The picot stitches not only decorate but strengthen the collar edges.
- Handles or ties at the end let you adjust how your headband, choker, or belt fits.
Skill Level
Beginner to intermediate.
You should know how to chain, slip stitch, single crochet, treble crochet, and make picots. Don’t worry — the pattern explains every step carefully.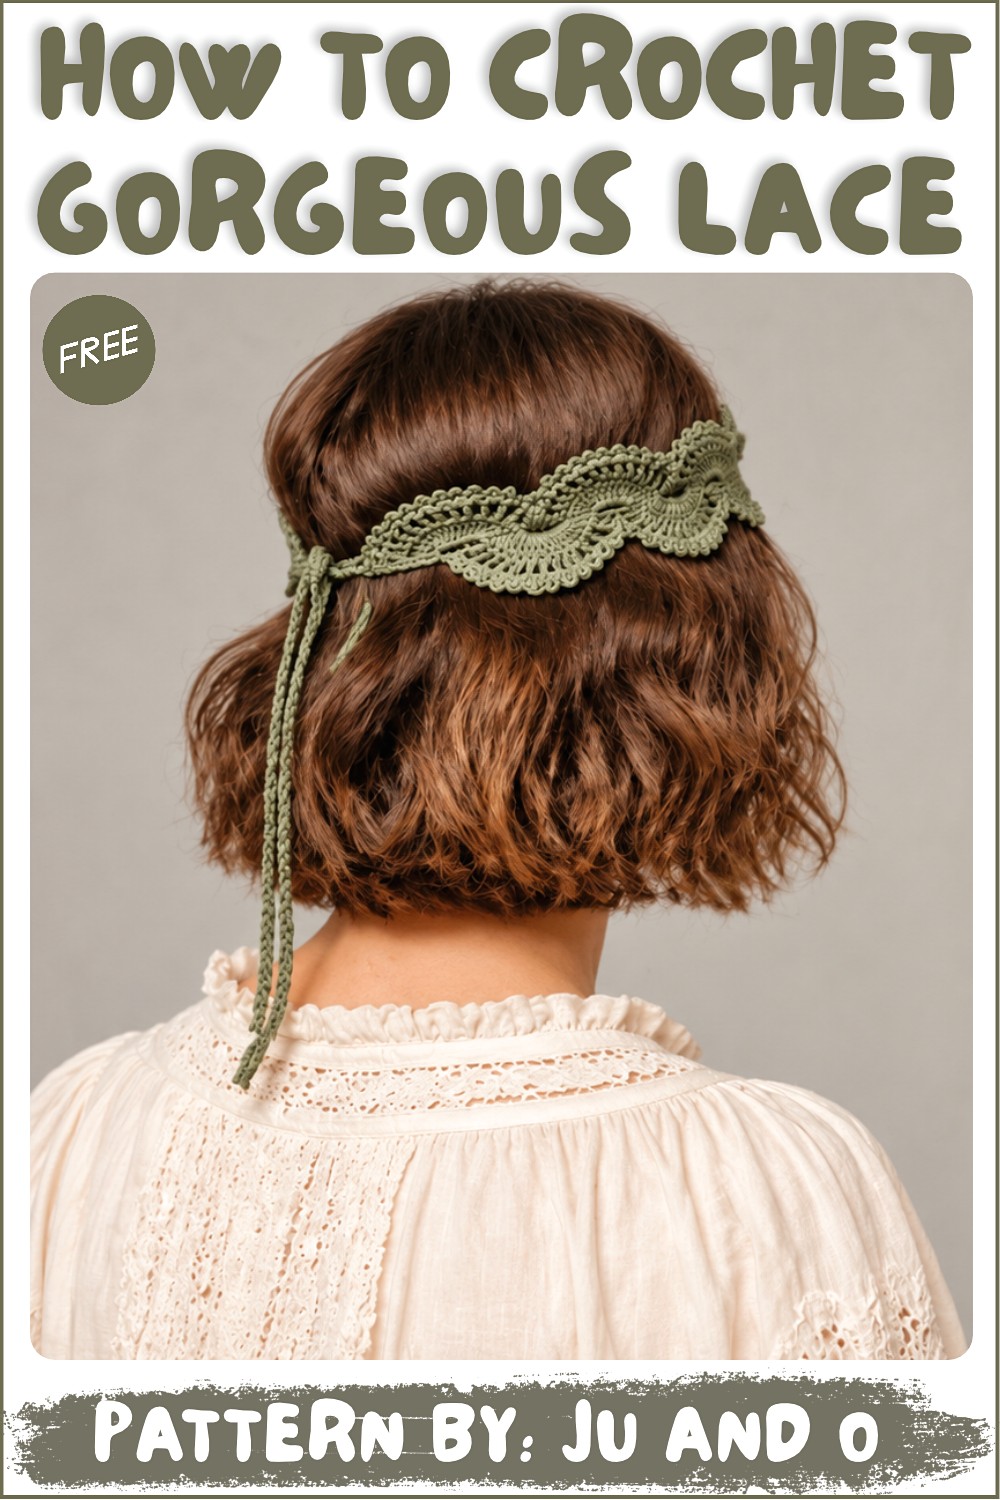
Materials
- Yarn or thread: Medium density (about 50g/200m). You can use fine crochet thread or crochet cotton. For an eco-friendly option, you can wind two strands of recycled sewing threads together.
- Crochet hook: Small size, preferably 0.85 mm. You can use a 2.0–3.5 mm hook depending on your yarn and how tight or loose you want your lace.
- Other: Scissors to cut yarn.
Measurements / Sizing
- Each shell section adds roughly 3.2 cm in length.
- 14 shell repeats make about 44.5 cm total length — a perfect size for a choker or narrow belt.
- Width is narrow and delicate, adjustable by yarn weight and tension.
- Tie length can be adjusted for comfort and fit.
Gauge and Stitch Pattern
- Gauge is not strict but aim for tight enough stitches so the shells keep their shape.
- The main stitches you’ll use:
- Treble Crochet (tr) — looks like a tall stitch for open lace.
- Chains to create spaces between stitches for the mesh effect.
- Picot stitches that create small peaks on the edge.
Stitch Abbreviations
| Abbreviation | Meaning | Description |
|---|---|---|
| ch | Chain | Yarn over and pull through loop on hook. |
| sl st | Slip Stitch | Insert hook, yarn over, pull through both loop and stitch. |
| sc | Single Crochet | Insert hook, yarn over, pull through loop, yarn over, pull through two loops. |
| tr | Treble Crochet | Yarn over twice, insert hook, yarn over, pull through two loops three times. |
| picot | Picot Stitch | Chain 3, then slip stitch into the first chained stitch to form a small bump. |
Special Stitches
Picot Stitch
Create a small “bump” or peak in your crochet edge. Chain 3, then slip stitch into the first chain of the three you just made.
Treble Crochet (Double Yarn Over)
Wrap the yarn over your hook twice before inserting into the stitch, which creates a tall open stitch perfect for lace.
Joining New Rings
Make a chain ring, then slip stitch to a specified point on the previous shell to keep your lace continuous without gaps.
The Crochet Pattern!
Step 1: Make the Initial Ring
- Chain 11 stitches (ch 11).
- Join into a ring by slip stitching (sl st) into the first chain you made.
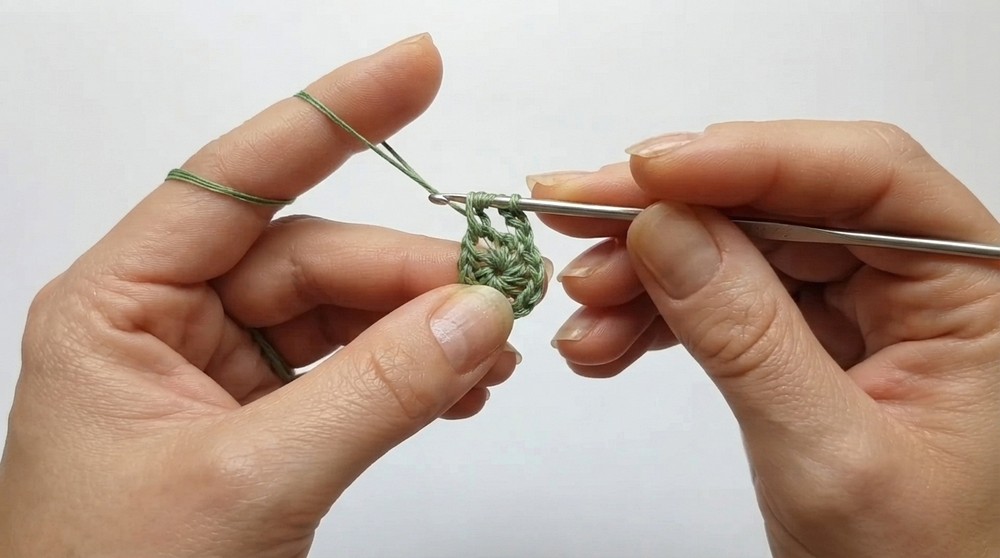
Step 2: Row 1 — Work the Shell Base
- Chain 4 (this counts almost as your first treble crochet).
- Work 12 treble crochets (tr) evenly spaced into the ring.
- These 12 tall stitches form the bottom half of your shell.
Step 3: Row 2 — Treble Crochets with Chain Spaces
- Chain 5 and turn your work.
- Work one treble crochet into the first stitch.
- Then repeat the following across the row: chain 1, skip one space, and treble crochet into the next stitch.
- This creates an open, lacy row forming the shell shape.
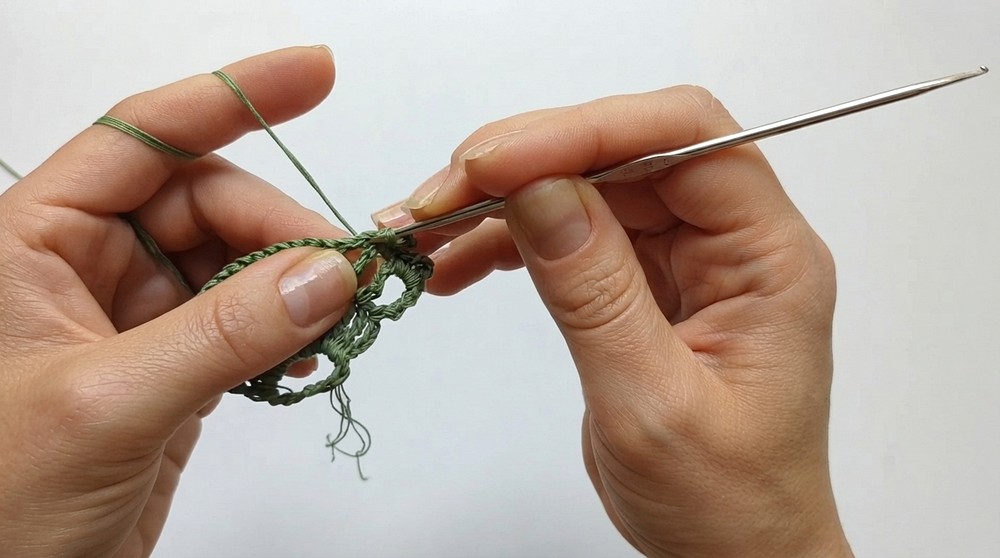
Step 4: Row 3 — Add Picot Peaks
- Chain 1 and turn.
- Into each chain-1 space from the previous row, single crochet (sc), chain 3, then single crochet (sc) again.
- These sets of stitches form pointed picot “peaks” along the edge.
Step 5: Create a New Ring for the Next Shell
- Chain 7 stitches, then join with a slip stitch into the base of the previous shell section. This forms a new ring to start the next shell.
Step 6: Connect the Structure
- Chain 4.
- Slip stitch back to the base of the first section to add stability to your pattern’s foundation.
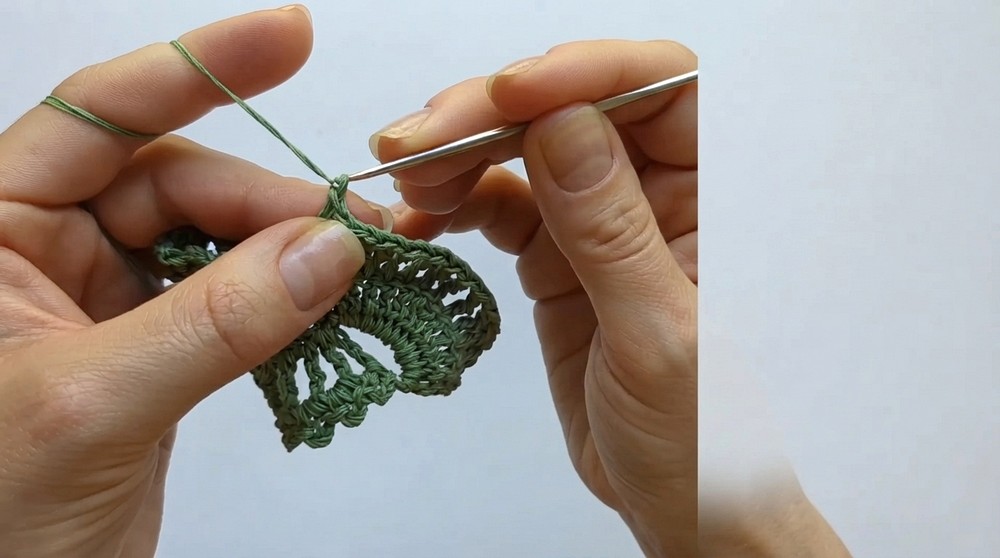
Step 7: Repeat the Shell Rows
- Work 12 treble crochets into the new ring.
- Follow with 12 treble crochets separated by chain 1 spaces as in Step 3.
- Finish with a row of picots (single crochet, chain 3, single crochet) as in Step 4.
Step 8: Join Subsequent Shell Sections
- For each new shell after the second one, join the last picot row to the third picot peak of the previous shell.
- Use a slip stitch to attach to the single crochet of that peak to create a seamless lace strip.
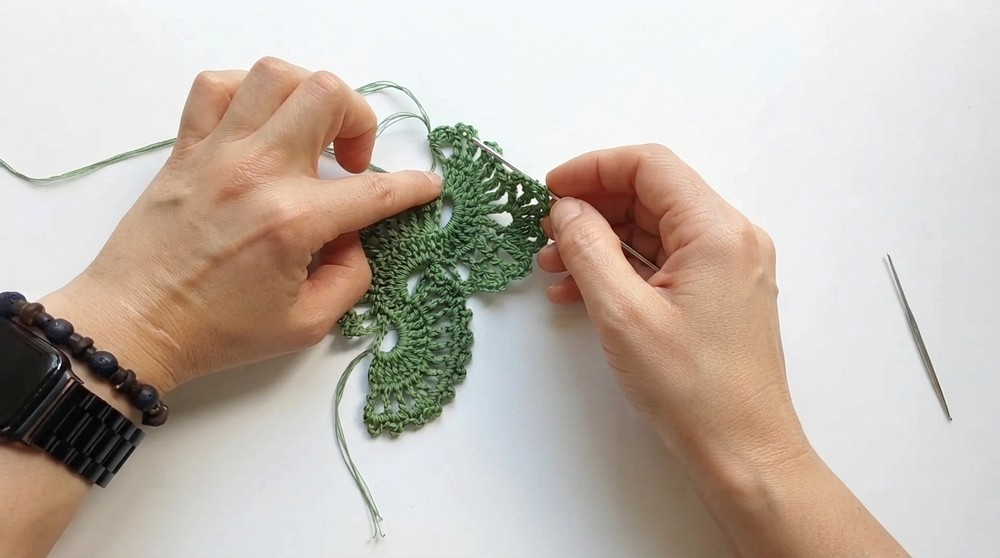
Step 9: Make Ties for Closure
- When your lace reaches the desired length (for example, 14 repeats), chain a length for your tie.
- Turn and work back over the chain with slip stitches into the back bars (back loops) of each chain to strengthen the tie.
- Secure the ends with knots for durability.
Assembly & Finished Size
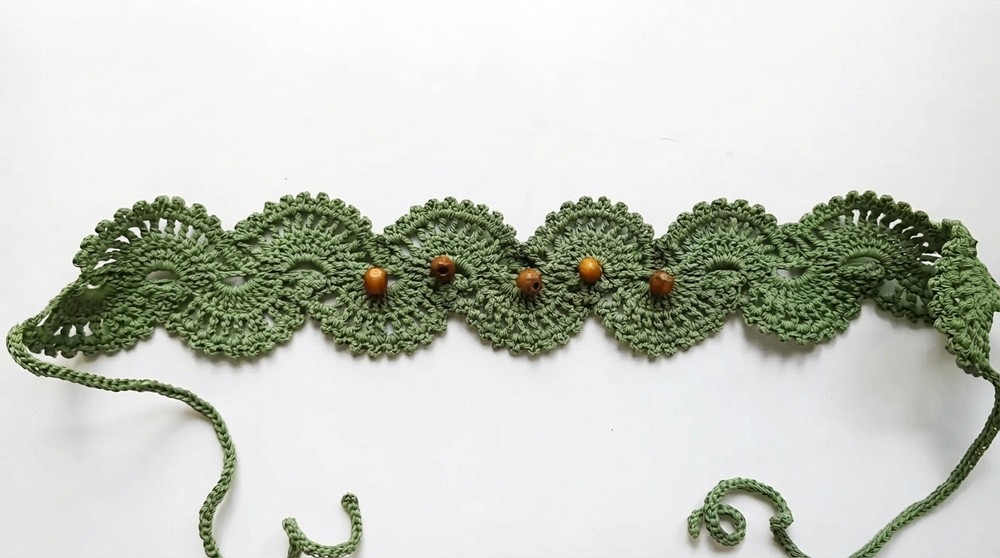
When your lace strip reaches the proper length, add ties to both ends (if applicable) for a comfortable and adjustable fit. The narrow shell design results in a lightweight, graceful accessory. Typical measurements after 14 repeats are about 44.5 cm long, perfect for a choker or slim belt. Width depends on tension but is generally narrow. The joins between shell repeats form a continuous lace without gaps, adding polish to your piece.
Conclusion
This lace crochet shell pattern is a wonderful project for beginners eager to try new stitches and create delicate accessories. The pattern’s modularity lets you customize length to your liking, making it perfect for headbands, chokers, or belts. The combination of treble crochets, chains, and picot peaks makes the lace both sturdy and decorative. With clear instructions and simple joining techniques, this project guides you to a beautiful handmade lace accessory.