How to Crochet Headband Pattern for a Cozy Modern Style

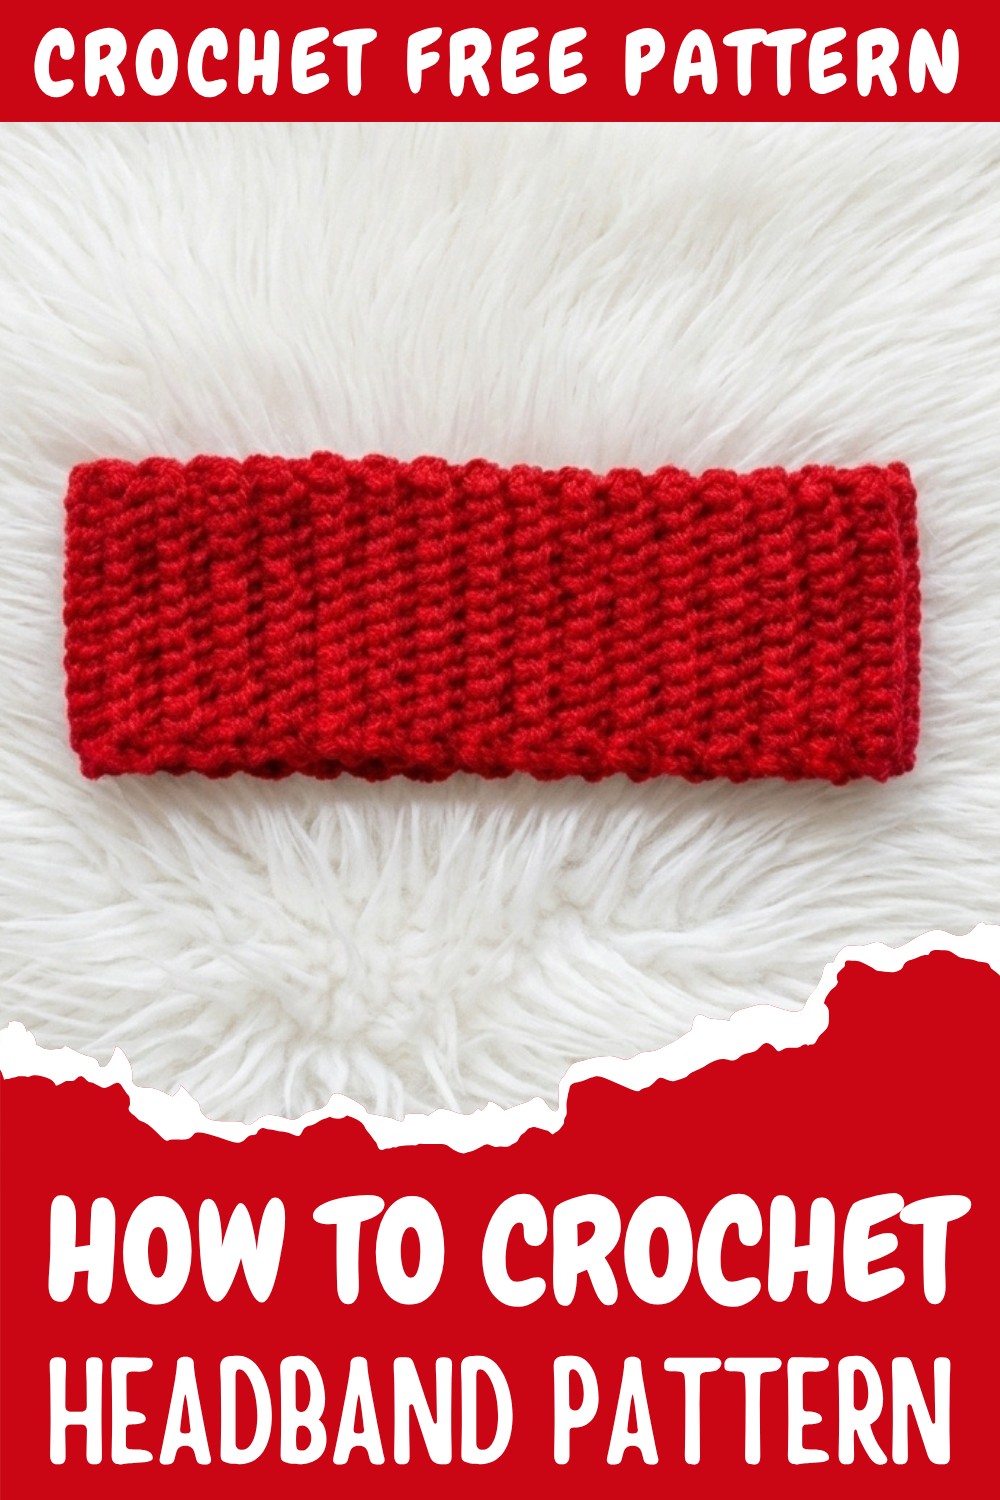
When I first tried my hand at making a cozy crochet headband, I was amazed at how something so simple could turn out so beautiful and practical. This chunky headband pattern isn’t just an accessory, it’s a warm, stylish statement piece that’s perfect for chilly fall days. The texture created using the back loop single crochet (blsc) stitch instantly caught my attention.
Beginner-Friendly Unique Crochet Headband Pattern Must Try
It adds a stunning ribbed effect, giving the pattern a unique and elegant charm. I love how easily this pattern can be personalized, with endless options for colors, widths, and even fun embellishments like crochet flowers or hearts. Whether you’re a beginner or seasoned crocheter, this project is worth a try, adding both style and functionality to your cold-weather wardrobe.
Through this pattern, I learned more than just working the basics like chains, single crochets, and turning chains. Understanding how to create texture with back loops only was a game changer, and mastering the sewing techniques for a seamless finish made completing projects feel so satisfying. If you’re eager to learn crocheting more, you’ll find that these stitches can be used for baby headbands, ear warmers, and even fun ribbed blankets. Crochet isn’t just a projet, it’s a way to turn simple stitches into something uniquely yours.
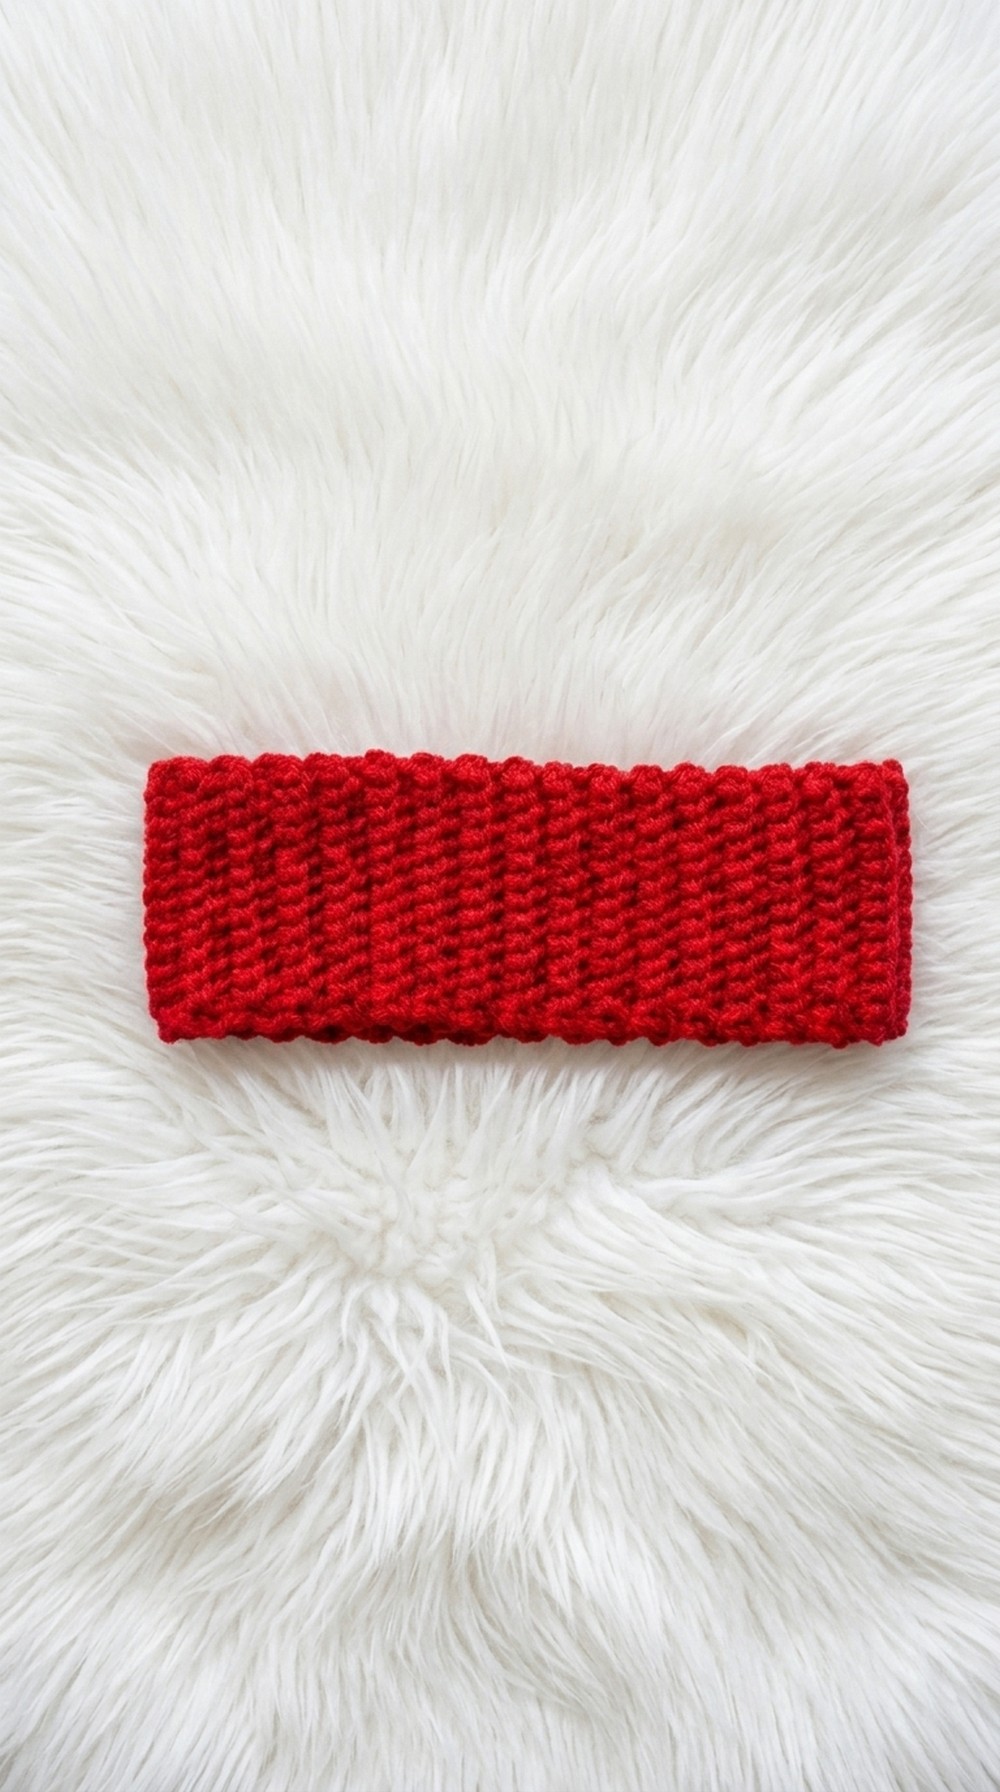
This Chunky Ribbed Crochet Headband is a beginner-friendly crochet pattern that is perfect for keeping your ears warm in the chilly fall and winter months. Made with simple stitches and a beautiful ribbed texture, this project is both practical and stylish. It’s an ideal quick project for relaxing crochet sessions, and perfect for personal wear or gifting.
Skill Level & Terminology
- Skill Level: Beginner
- Terminology: Pattern uses US Crochet Terms
Materials & Tools
To make this chunky crochet headband, you’ll need the following:
- Yarn: 1 ball of chunky bright red yarn (51% acrylic, 49% wool recommended)
- Crochet Hook: 4 mm
- Tapestry Needle: for sewing the ends together
- Scissors: for cutting the yarn
Gauge
For this project, gauge is not crucial. However, if you’d like to match the exact texture and size:
- 4 rows of 12 single crochets (worked in back loops only) = 2″ x 2″
Abbreviations List
Here’s a quick glossary for the pattern:
- ch: Chain
- sc: Single Crochet
- blsc: Single Crochet in Back Loop Only
- sl st: Slip Stitch
Special Stitch Instructions
- Back Loop Single Crochet (blsc):
Instead of inserting your hook under both loops of a stitch, insert it only under the back loop. This creates the distinct ribbed texture.
Finished Size
The final headband measures approximately:
- Width: About 4 inches (adjustable depending on chain count)
- Length: Customizable to fit comfortably around your head (about 21-23 inches for most adults).
The Pattern Itself
Step 1: Starting the Project
- Foundation Chain:
- Start with a slip knot on your hook.
- Ch 12 for a headband that covers the ears. If you want a wider headband, increase the base chain count to your preference.
- Add 1 extra chain for turning.
This initial step determines the width of your headband. For most, 12 chains create a comfortable width to cover the ears.
Step 2: First Row
- Starting from the second chain from the hook, work 1 sc into each chain across the row.
- Remember to keep your tension consistent.
- Total stitches: 12 (if you chained 12 initially).
This row serves as the base for your headband. Single Crochet is a beginner’s best friend—it’s simple and creates a sturdy foundation.
Step 3: Starting the Ribbed Pattern in Back Loops
- Turn your work and ch 1 to begin the next row.
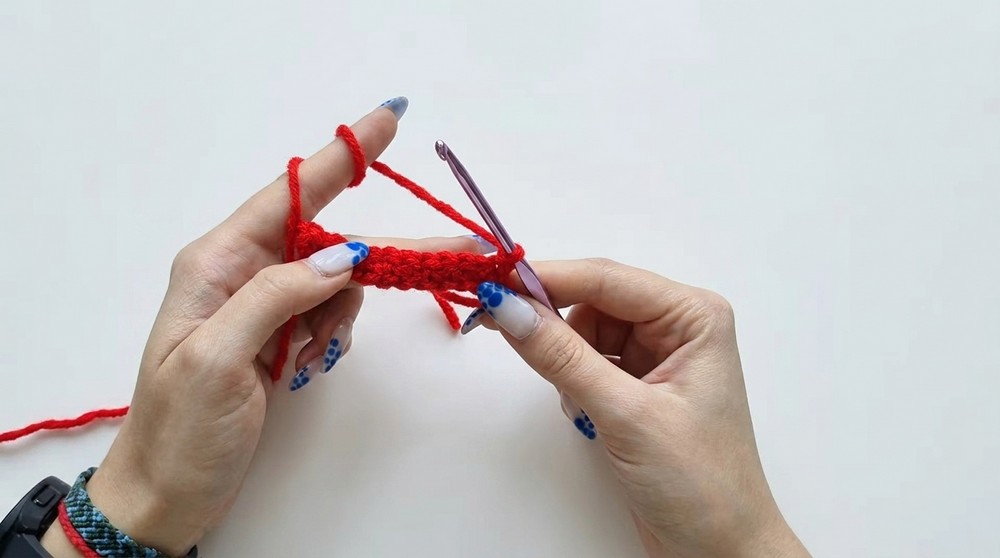
- Starting in the first stitch, work 1 blsc into each stitch across.
- Insert your hook into the back loop only of the stitch (not through both loops as usual).
- Stop at the end of the row, making sure you have the same stitch count as in Row 1.
The back loop technique is what creates the beautiful ridged texture that makes this headband unique and cozy!
Step 4: Continue Creating the Ribbed Texture
- Repeat Step 3: Begin each new row with ch 1, turn your work, and work blsc across the row.
- Continue these rows until your work measures approximately 21-23 inches in length or until it fits comfortably around your head.
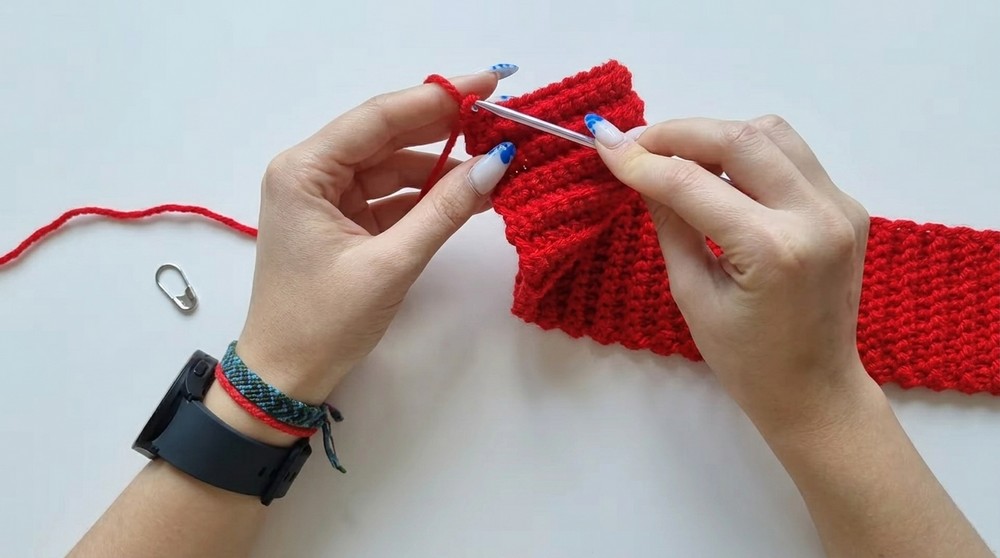
Consistency is key here! Measure periodically to ensure the headband length fits snugly but comfortably.
To Customize: Adjust the length based on your personal head circumference. You can also experiment with colors for a bold and vibrant headband!
Assembly & Finishing
Step 5: Joining the Ends
- Once your headband reaches the desired length, cut your yarn, leaving a long tail for sewing. Pull the yarn through the last stitch to secure it.
- Take a tapestry needle and thread the tail.
- Align the two ends of the headband, ensuring they are straight and even.
- Use a zigzag stitch to sew the ends together, inserting the needle into the back loop only of the last row and the base chain stitch of the first row.
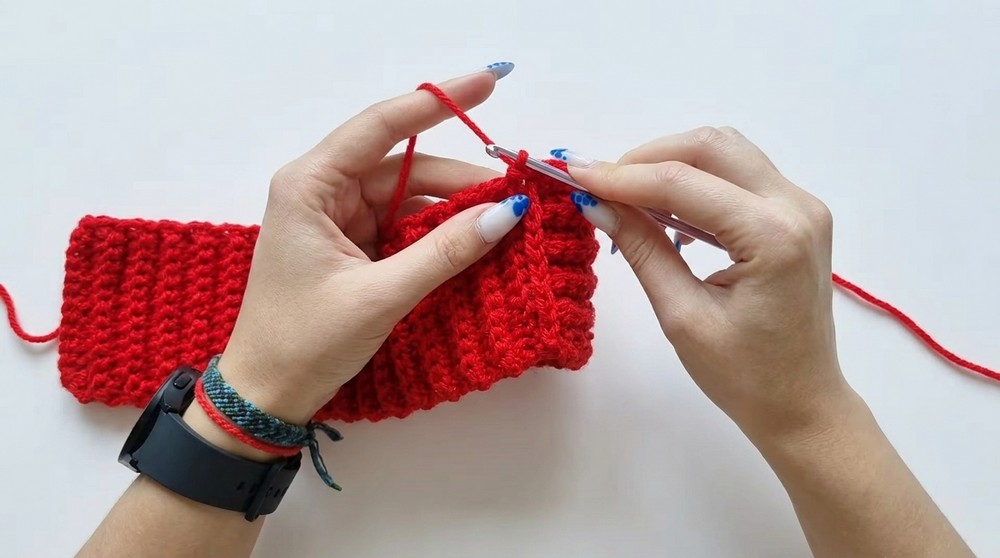
Take your time sewing to create a seamless and professional-looking finish. The less visible the seam, the better your headband will look!
Step 6: Securing and Hiding the Yarn
- Once the ends are joined, tie a secure knot to prevent unraveling.
- Use the tapestry needle to weave in any remaining yarn ends along the back of the headband. Trim excess yarn.
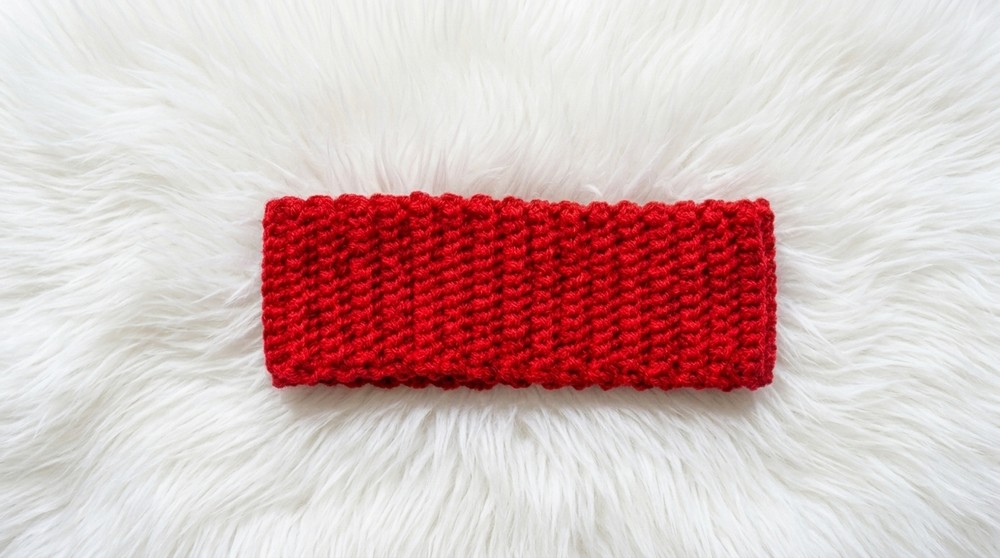
Weaving in all the loose ends ensures your work stays neat and polished, even after wear.
Completion
Your Chunky Ribbed Crochet Headband is now complete! The simple yet elegant stitch pattern creates a stylish, warm, and modern accessory for the colder months.
This project is perfect for personalizing—you can use multiple colors, add embellishments like patches or buttons, or even crochet matching gloves or a scarf to make a set. It’s a beginner-friendly design that’s easy to modify, making it enjoyable for crocheters of all skill levels.
Optional Additions
- Color Changes: Add stripes by changing yarn colors every few rows.
- Decorative Elements: Sew on embellishments like crochet flowers or hearts.
- Different Edging: Add a border using slip stitches, crab stitches, or a shell stitch for a unique finish.
Final Thoughts
This fun and simple ribbed headband is a versatile project you can easily complete in just a few hours. Whether you’re a newbie crocheter or revisiting the basics, this pattern provides a great opportunity to practice consistency in single crochet stitches while creating something stylish and functional.
Enjoy making this cozy headband your own with color changes, personalized details, or experimenting with varying widths.